DIY Paper Star Garland
This Post May Contain Affiliate Links. Please Read Our Disclosure Policy
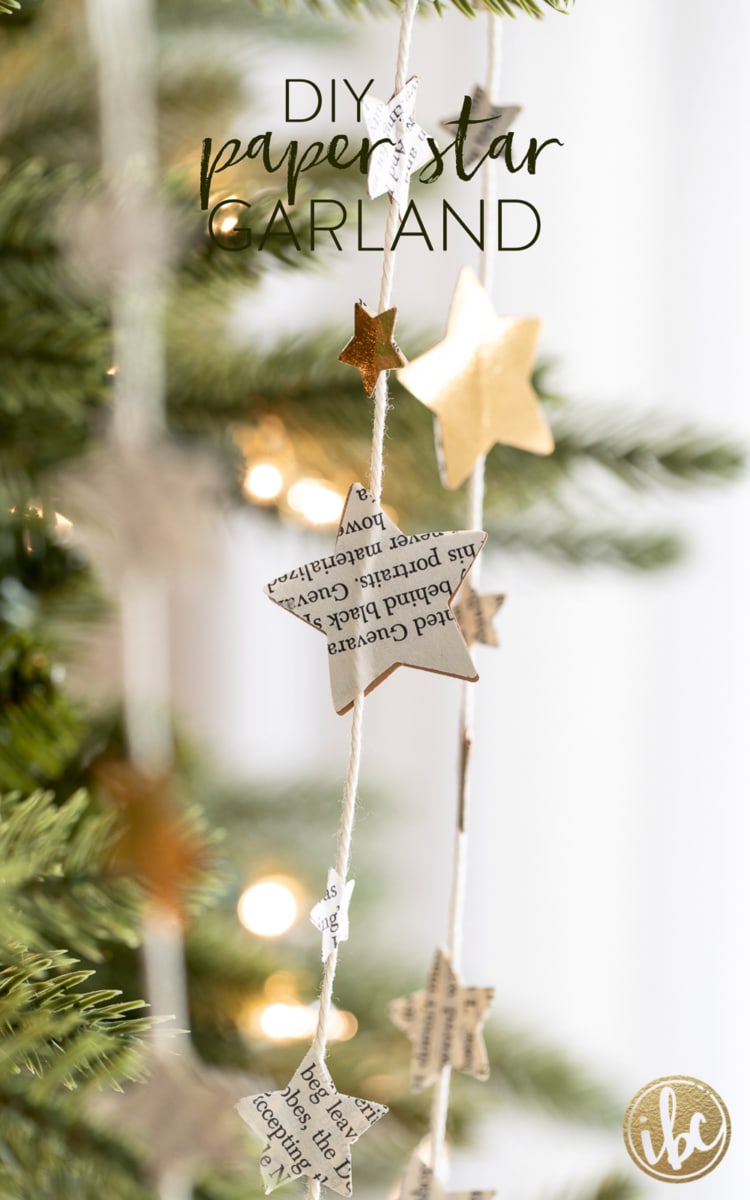
Add character and sparkle to your holiday decorating with this easy, budget-friendly DIY Paper Star Garland. You only need a few items and a little time to craft this unique and festive strand of stars.

Welcome back to IBC! In this post, we are going on a little crafting adventure where you will learn how to make this DIY Paper Star Garland.
If I had an unlimited amount of time during the holidays, I would do significantly more crafting. It’s just such a joy-inducing thing for me. I love hunting down and buying the supplies, I find the art of crafting relaxing and fulfilling, and the end results typically create something unique, handmade, and one-of-a-kind. Who doesn’t love a handmade holiday!?
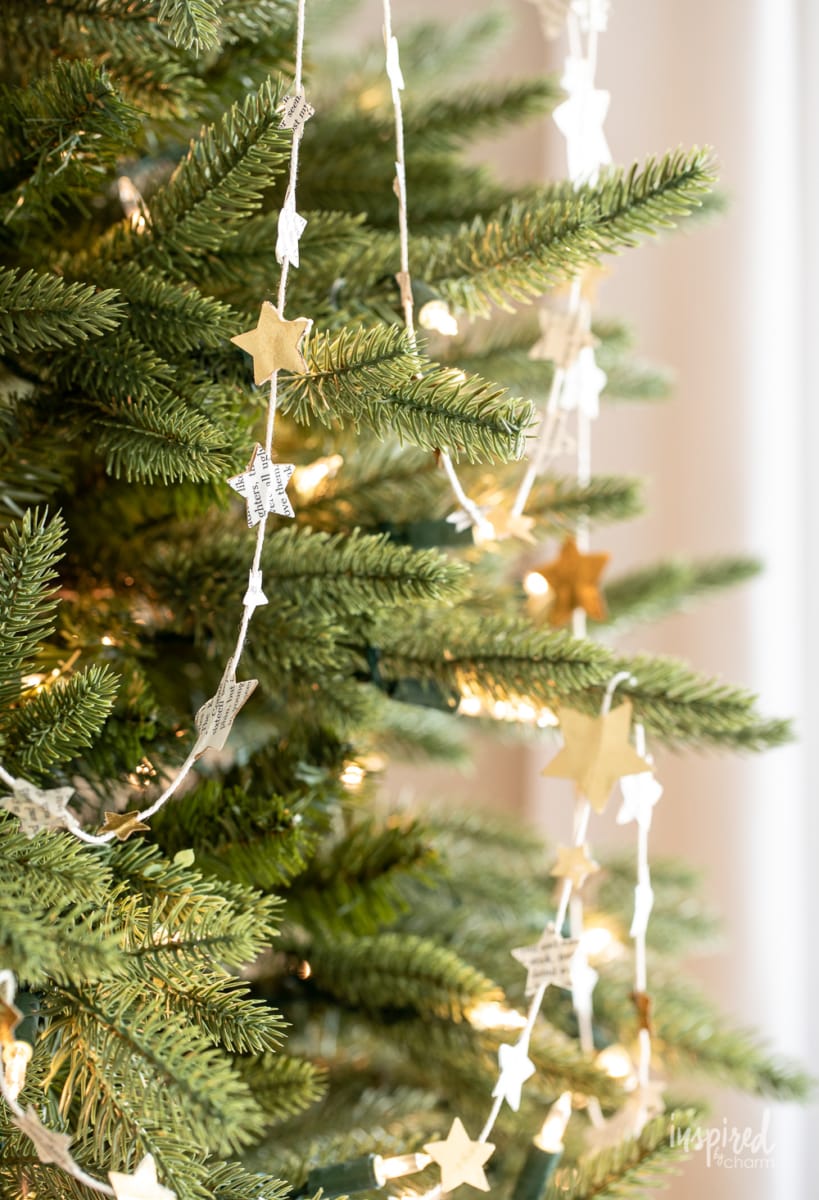
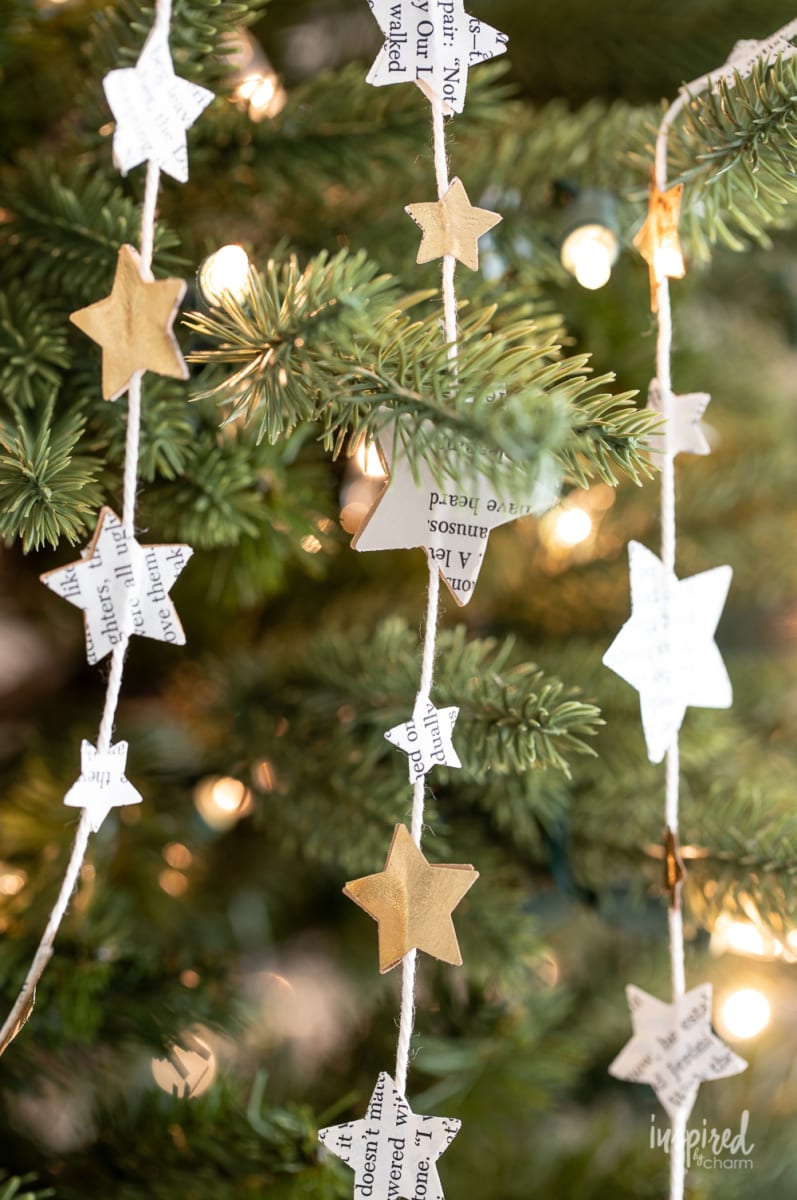
I decided to make a garland because I find them to be so useful for holiday decorating. It can take a basic evergreen garland from boring to extra special. You can even put it on your Christmas tree for added interest.
If you’re feeling extra generous, you could also use this as part of your holiday wrapping! Add a piece to the top of a package for a special, personal touch.
I love paying attention to little details like this in my decorating. A unique garland like this can produce the perfect finishing touch.
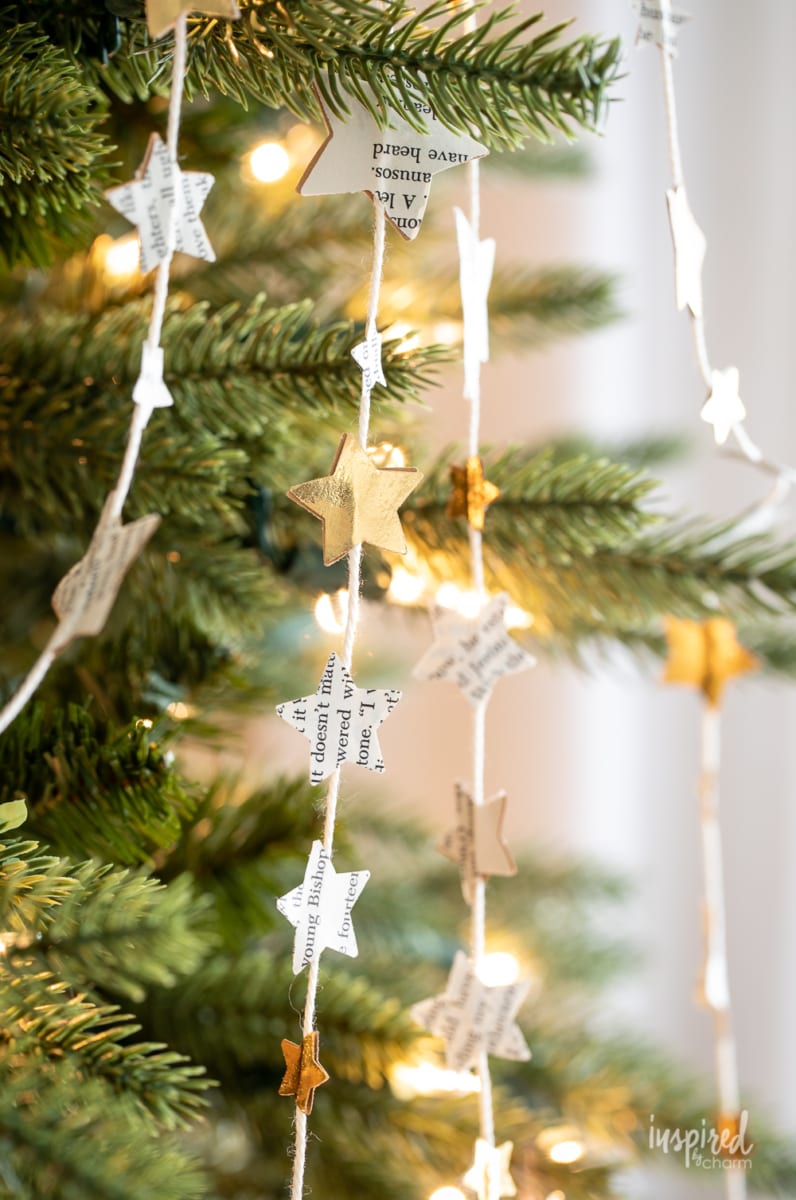
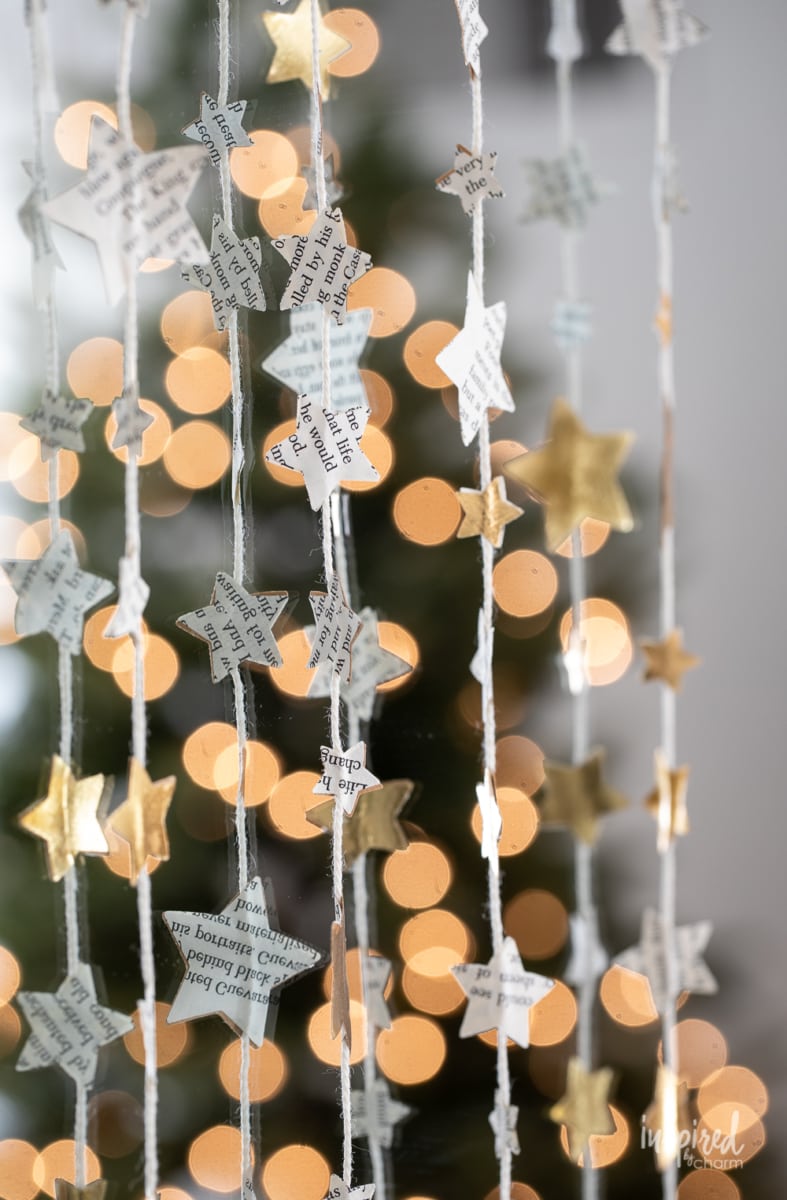
For my garland, I opted to use vintage book pages and shiny gold paper. It has a real vintage Christmas flair! I find this color scheme to work well with any decor. However, if you have a specific color scheme in mind, feel free to switch it up and do what works for you. (I’ve provided some other paper ideas in the supplies section below.)
Looking for more festive DIY garlands? You’ll love this paper chain made from leftover wallpaper, wood bead garland, and this nostalgic popcorn garland.

Why You’ll Love This Project
- Who said stunning decor has to break the bank? With just a few materials, you’ll have a piece that looks like it’s straight out of a high-end store.
- Whether you’re jazzing up your Christmas tree, adding flair to your gifts, or giving your wreaths a starry touch, this DIY garland fits in seamlessly.
- Whether you’re a stick-to-the-plan or a fly-by-the-seat-of-your-pants kind of person, this project is perfect. Make it your own by playing with different paper types, colors, or even textures. Metallic gold, vintage book pages, or even some glittery paper – the sky’s the limit.
- Trust me, you don’t need to be Martha Stewart to nail this one. If you can punch paper and apply a dab of glue, you’re golden. Literally, especially if you’re using that sparkly gold paper!
Love making your own festive decor? Me too! Check out this collection of my favorite handmade Christmas decor ideas.
Okay, are you ready to craft? Let’s start off by gathering some supplies.
Materials Needed
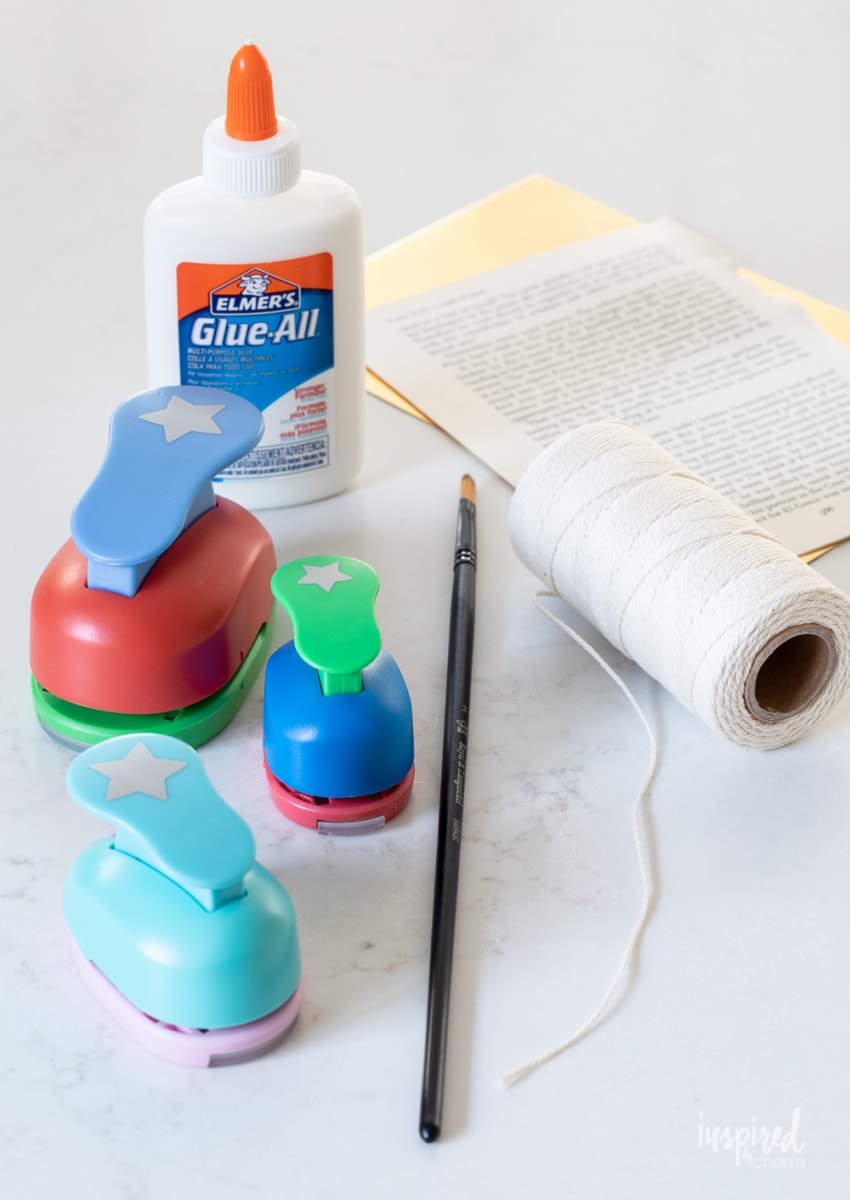
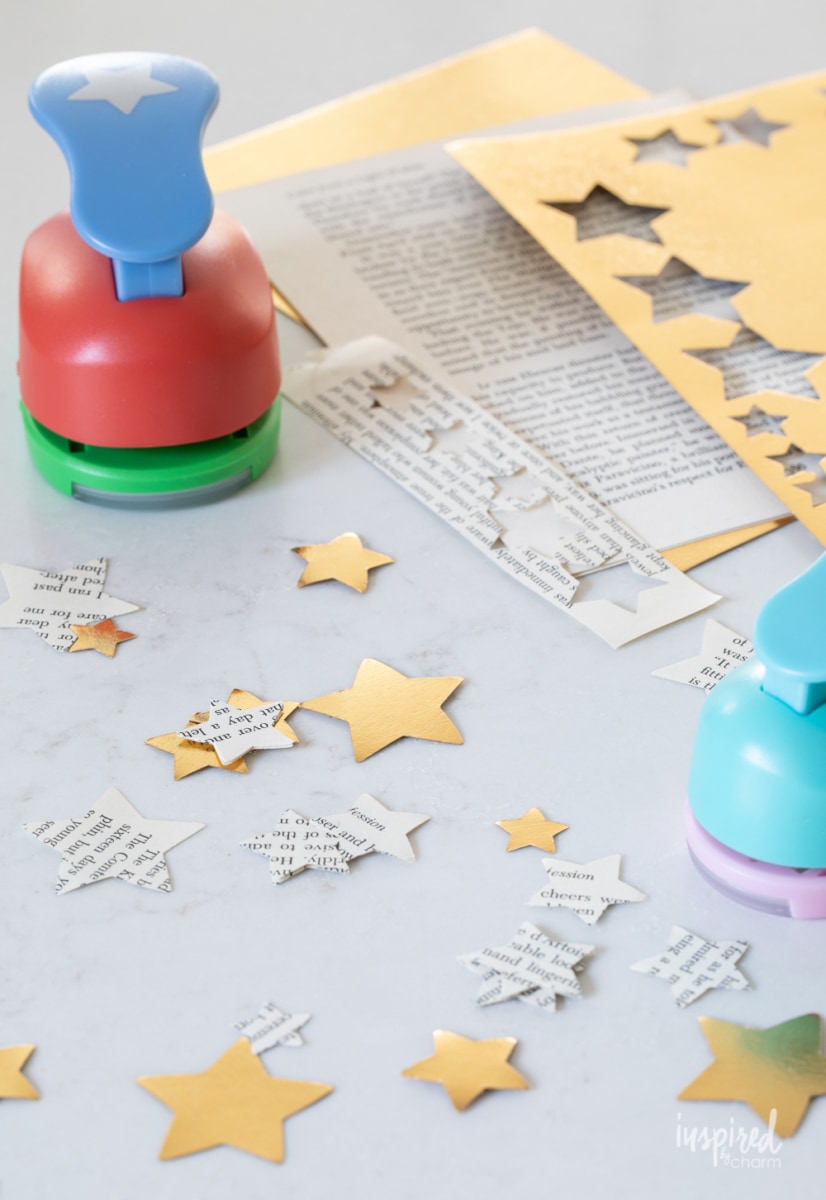
– Paper: I used old book pages and gold paper, but you can use anything you like or have. Feel free to buy colored paper to match your decor, use old magazine pages, vintage sheet music, old photos, etc.
– Star Punches: I purchased this three-pack as I wanted different sizes of stars. However, you can just get one punch, you can use a paper cutting machine to cut out your stars, you can cut them out by hand, you can also choose a different shape, etc.
– Twine: I used this basic natural twine that I had on hand. You can use whatever you have. Even embroidery floss, yarn, jute, etc. will work. Feel free to use a colored twine if you’d like.
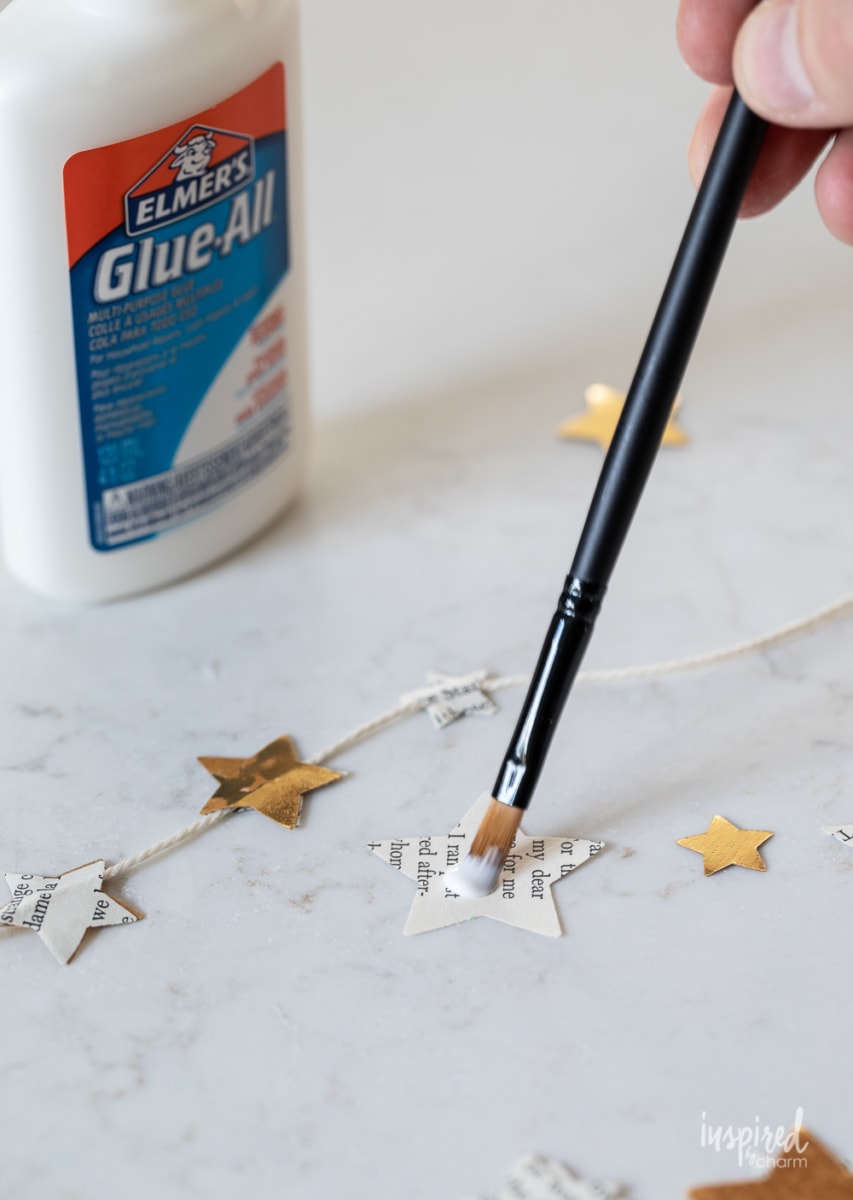
– Glue: Basic school glue will do the trick. I’m using this Glue-All which might be a bit tackier, but any basic white glue is perfect.
– Paintbrush: I found a paintbrush to be the easiest way to apply the glue. You could also use a popsicle stick or even apply it directly from the bottle if you’re extra careful.
Now that you know what you need, let’s make this Paper Star Garland!
💌 SAVE THIS POST / RECIPE!
How to Make
With all your supplies on hand, you’re ready to make this paper star garland. I’ll walk you through the easy steps below. I’ve also provided a full supply list and detailed instructions in the printable project card below.
- Begin by using the punches to cut stars out of your paper.
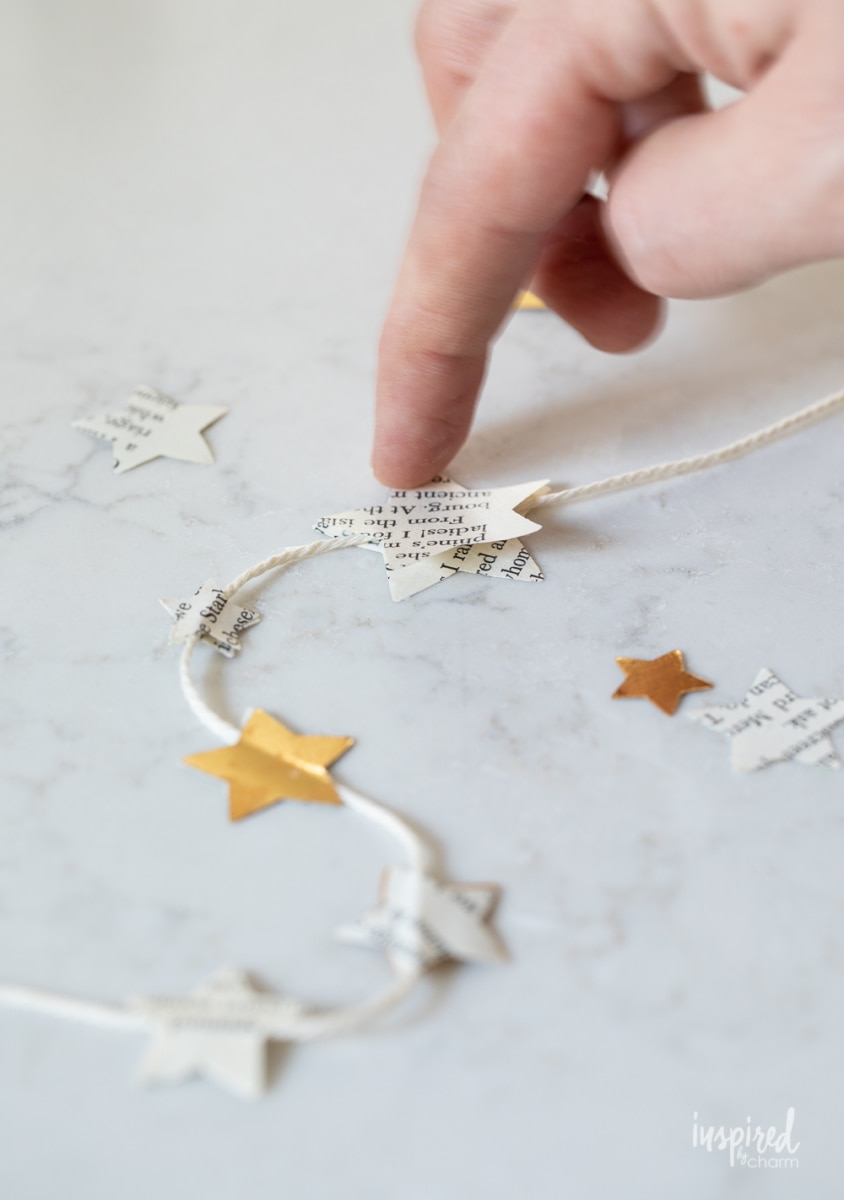
- Once you have a good amount of stars cut, lay out a piece of twine on your working surface.
- If you’re using a variety of papers or star sizes, take a moment to decide whether or not you are going to create a pattern.

- Use the paintbrush to add a small amount of glue to the back of a paper star.
- Set your twine on top of the glued surface. Add glue to the back of another star, then sandwich the twine between the two glued sides while matching up the star shapes.
- Repeat this process until you have a garland of your desired length.
That’s it!
Generally speaking, I’d say you could craft 6 feet of garland in about 1 – 1.5 hours. It honestly comes together pretty quickly and I just love the end results. I hope you do too!
As always, if you give this craft a try, let me know. Share a picture on Instagram and tag me @inspiredbycharm. I’d love to see your creations!
Project Variations
Alright, crafty pals, one of the most fantastic things about this DIY Paper Star Garland is just how versatile it can be. While the classic gold and book-page combo is undeniably charming (just look at that picture! 😍), there are endless ways to put your personal stamp on this project. Here are some ideas to get those creative juices flowing:
- Color Pop: Swap out the metallic gold for vibrant shades like deep reds, icy blues, or evergreen. Match it to your holiday decor or go wild with a rainbow of stars!
- Texture Play: Think outside the (craft) box and use different textured papers – maybe some velvety paper, or even lace-patterned ones. It’s all about adding depth and interest to your garland.
- Message in the Stars: Using a fine-tip marker, write holiday wishes or even names on the stars. A personalized touch that’ll make each strand feel super special.
- Add Some Shine: Before gluing your stars, sprinkle a little glitter or use metallic pens for added sparkle. Because who doesn’t love a little extra shimmer during the holidays?
- Not Just for Christmas: Swap out the traditional holiday colors for pastels in spring, or use autumnal shades for a harvest festival. This garland can be a year-round decoration!
- Bigger & Bolder: Go big with larger star punches. A few oversized stars amidst the smaller ones can create a stunning visual contrast.
- Accessorize: Intersperse some tiny bells, beads, or even dried orange slices between the stars for an extra layer of festivity. Or pair it with a classic popcorn garland.
Remember, the most important ingredient in any DIY project is YOU. So, however you decide to switch things up, make sure it’s a reflection of your unique style and personality.
More Christmas Crafts You’ll Love
- Scandinavian Gingerbread Wreath
- DIY Bottle Brush Drink Stirrers
- Vintage-Inspired Christmas Gift Bags
- DIY Christmas Cookie Bags
- Cookie Cutter Wreath
- Colorful Wood Christmas Trees
- Wood Bead Garland
If you make this festive DIY Paper Star Garland, please stop back and leave a comment and a 5-star rating below.
Want more from Inspired by Charm? Join the IBC Mailing List for inspiration in your inbox! Follow along on Instagram and TikTok for daily updates and behind-the-scenes looks at my processes. There’s even more inspiration on Facebook and Pinterest!

DIY Paper Star Garland
Ingredients
- paper
- star punches
- twine
- glue
- paintbrush
Instructions
- Begin by using the punches to cut stars out of your paper.
- Once you have a good amount of stars cut, lay out a piece of twine on your working surface.
- If you’re using a variety of papers or star sizes, take a moment to decide whether or not you are going to create a pattern.
- Use the paintbrush to add a small amount of glue to the back of a paper star.
- Set your twine on top of the glued surface. Add glue to the back of another star, then sandwich the twine between the two glued sides while matching up the star shapes.
- Repeat this process until you have a garland of your desired length.
Love this for Christmas and throughout the year for various celebrations.
How early is too early to decorate for Christmas?! These ideas are so beautiful! I will totally be using this post as inspo. We are having our kitchen cabinets painted this month so I think we will have to wait for that project to be finished before we get our Christmas decorations out but this is making me so excited to get our tree up!
You can start as early as you’d like! Happy decorating!
xo Michael
I love the nostalgic feeling of this garland. I’ve been stuck in a crafting/decorating rut but this makes me feel super motivated and excited for the holidays!