DIY Christmas Cookie Bags
This Post May Contain Affiliate Links. Please Read Our Disclosure Policy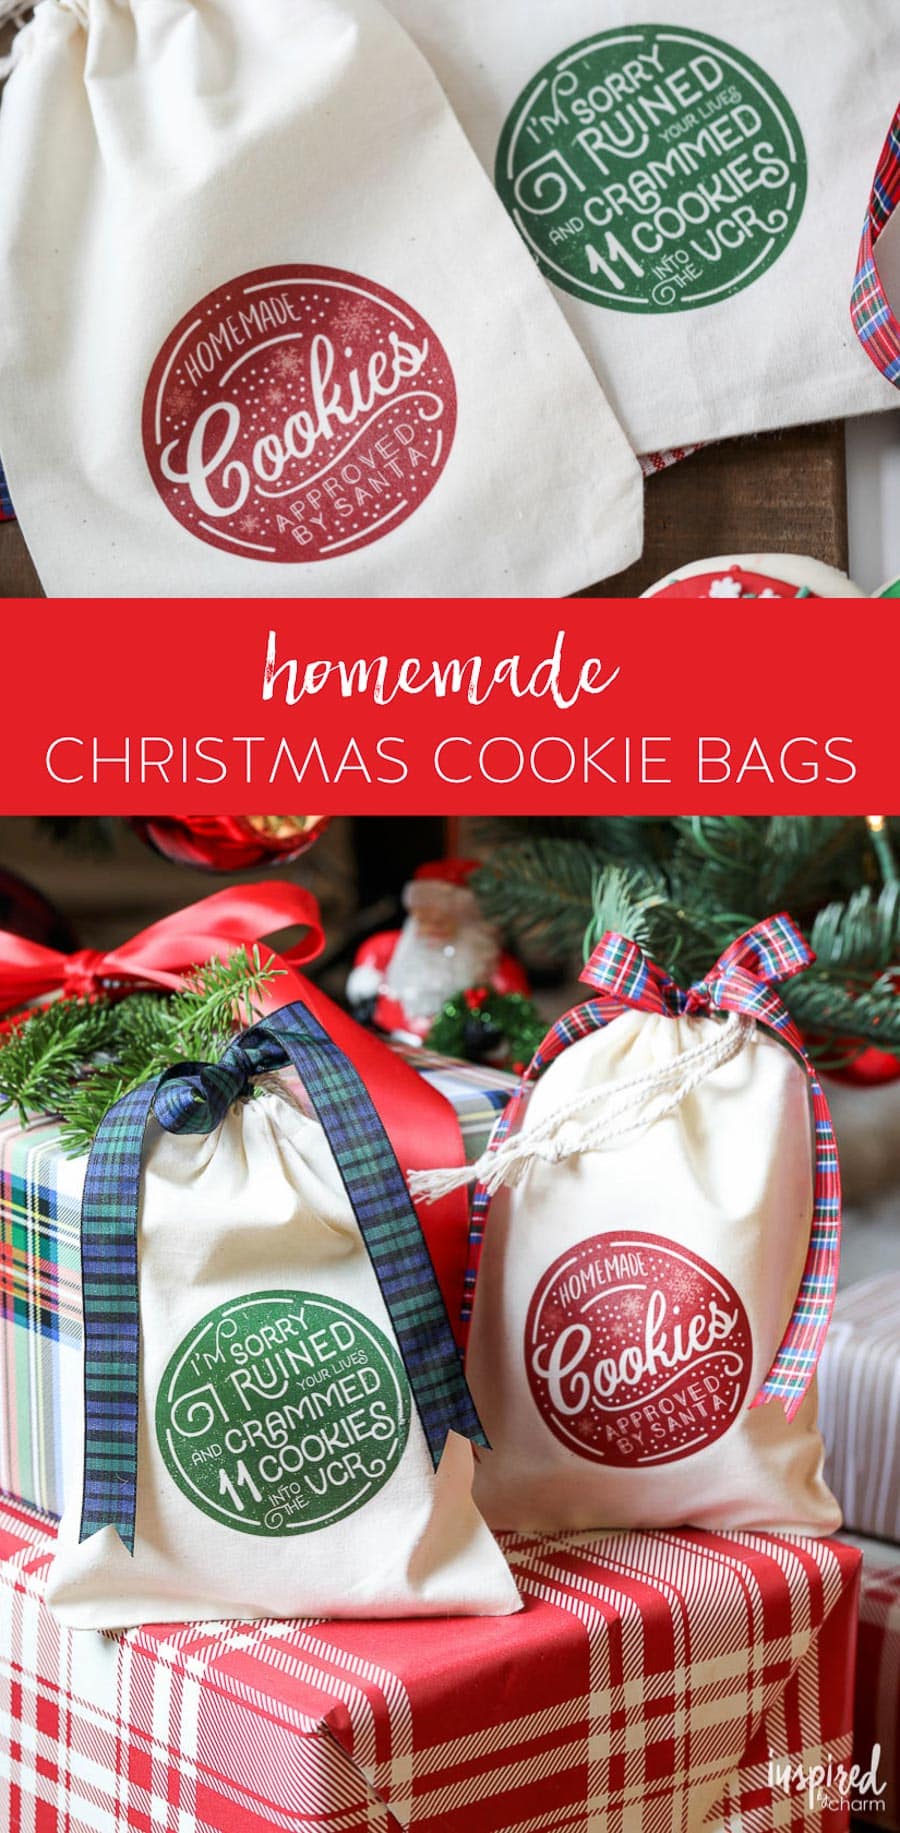
Add a personal touch to your festive presents with these customizable Christmas Cookie Bags. They’re simple, stylish, and oh-so-versatile. Get the full tutorial along with a free printable. With two unique and festive designs, these DIY Christmas Cookie Bags are a great way to gift your holiday baking in style.
You’re in for a treat today, and it’s in the shape of these DIY Christmas Cookie Bags!
You know, there’s something incredibly special about giving and receiving handmade gifts during the holidays. It adds a touch of warmth, thoughtfulness, and an undeniable charm that store-bought gifts just can’t quite match. That’s exactly what these DIY Christmas Cookie Bags bring to the table (or under the tree, if you will). And best of all, you can make the bags in just a few simple steps.
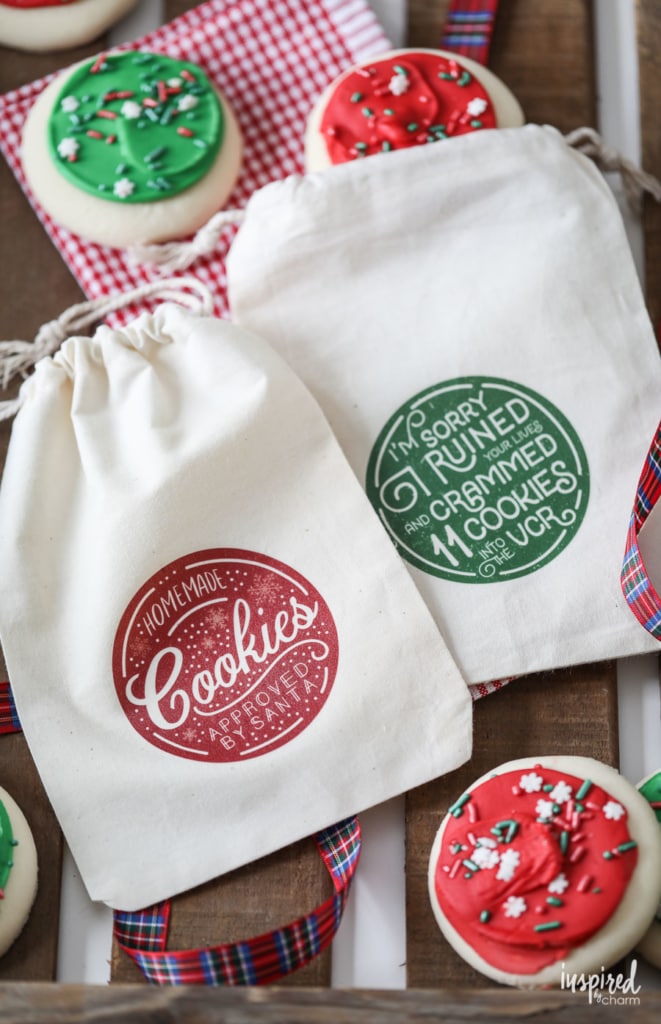
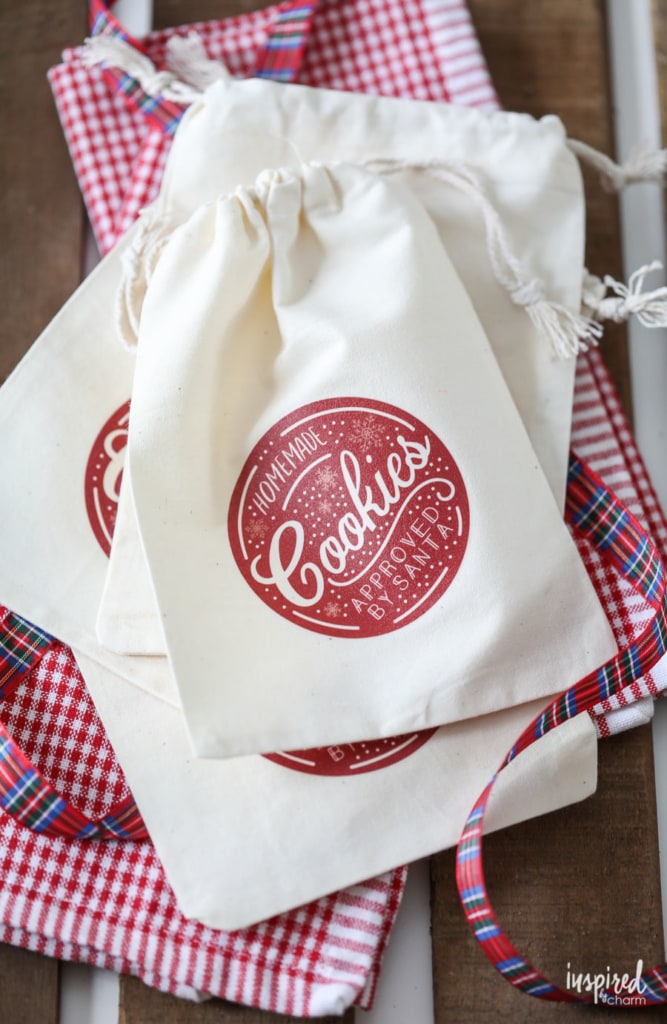
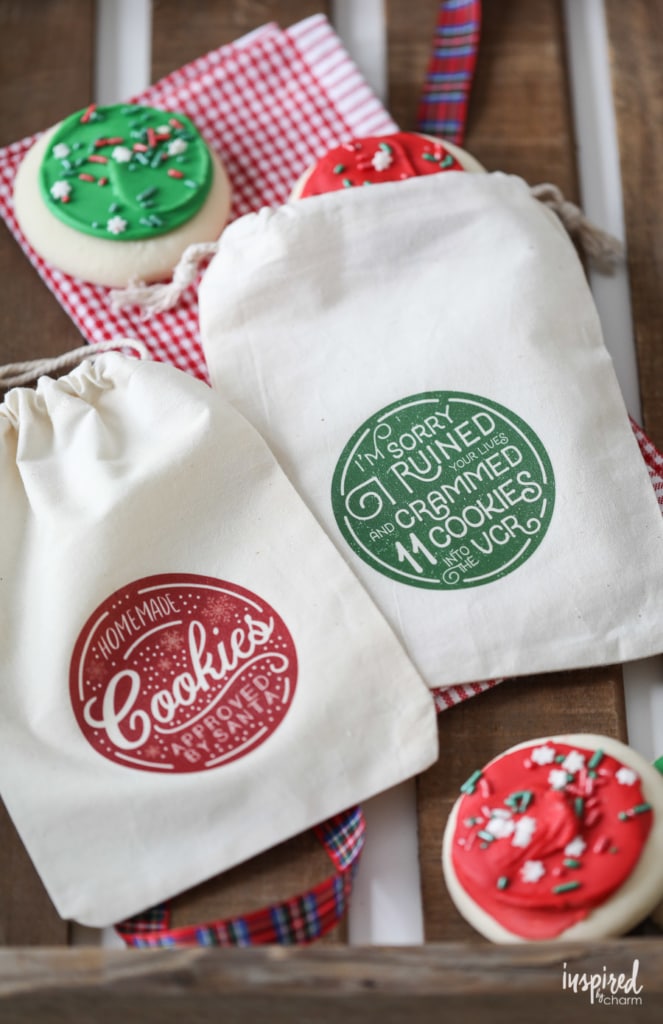
A couple of weeks ago when I was out shopping, I spotted some sweet cotton cookie bags. They were a bit pricey so I immediately thought about how I might DIY them. Here’s what I came up with:
Aren’t they adorable? I’m kind of obsessed.
Need some cookies to fill your bags? Check out this collection of my best Christmas Cookie recipes.
Cookie Bag Designs
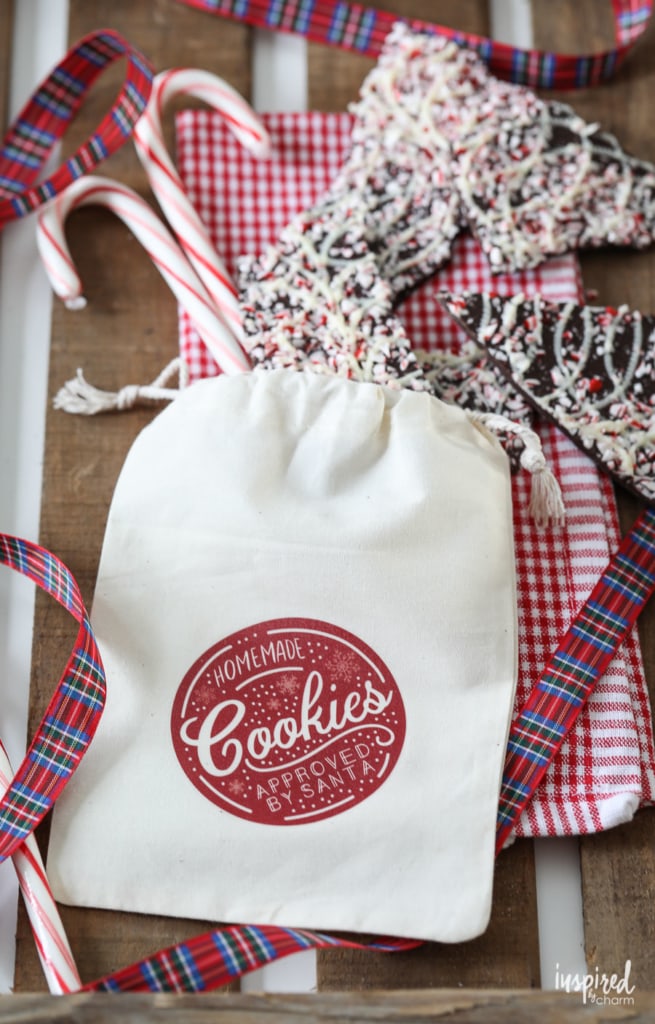
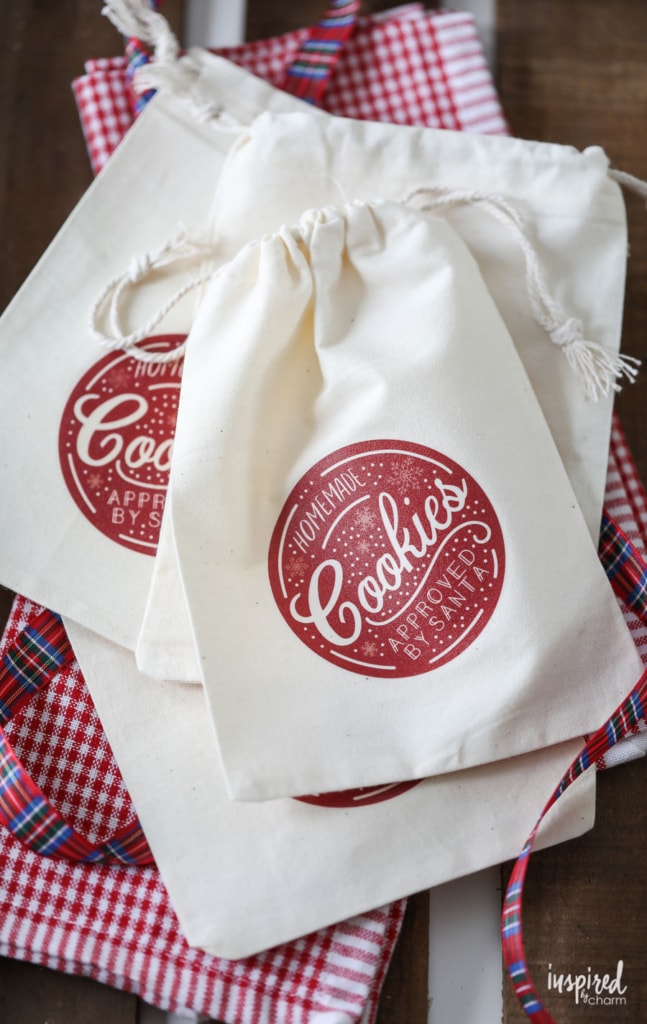
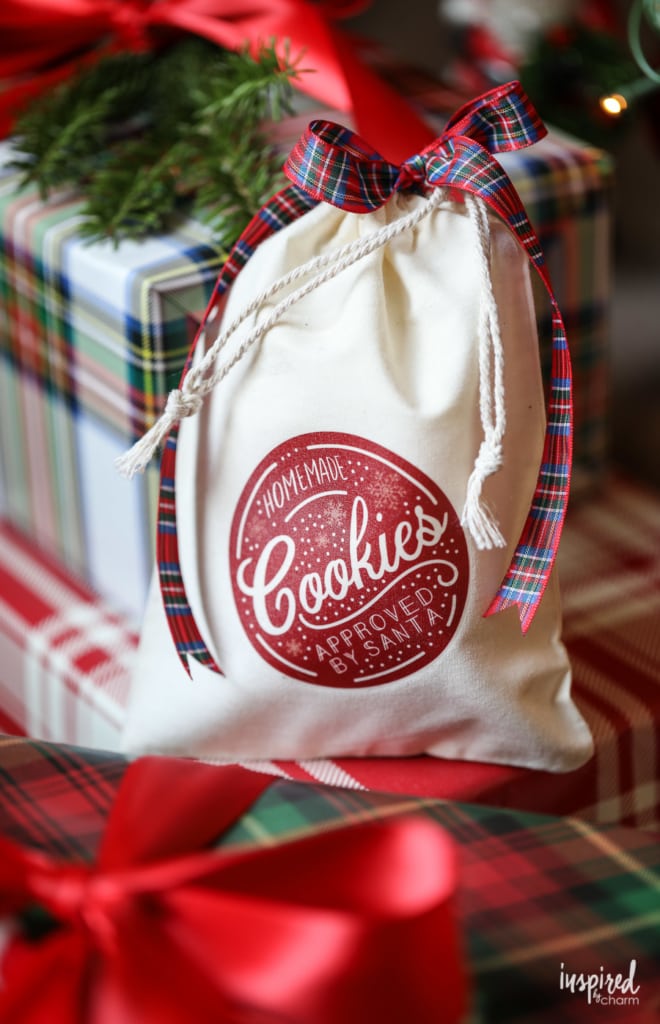
I took the hard work out of the process by having two fun graphics created. One is a bit more classic. It was inspired by the design I saw on the bags in the shop: “Homemade Cookies. Santa Approved.”
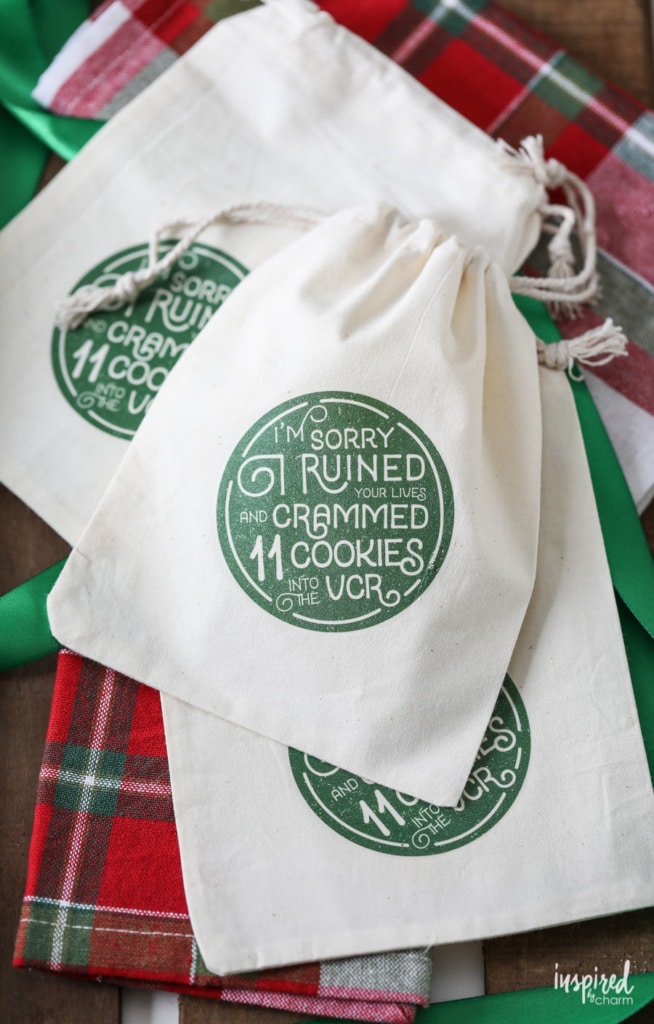
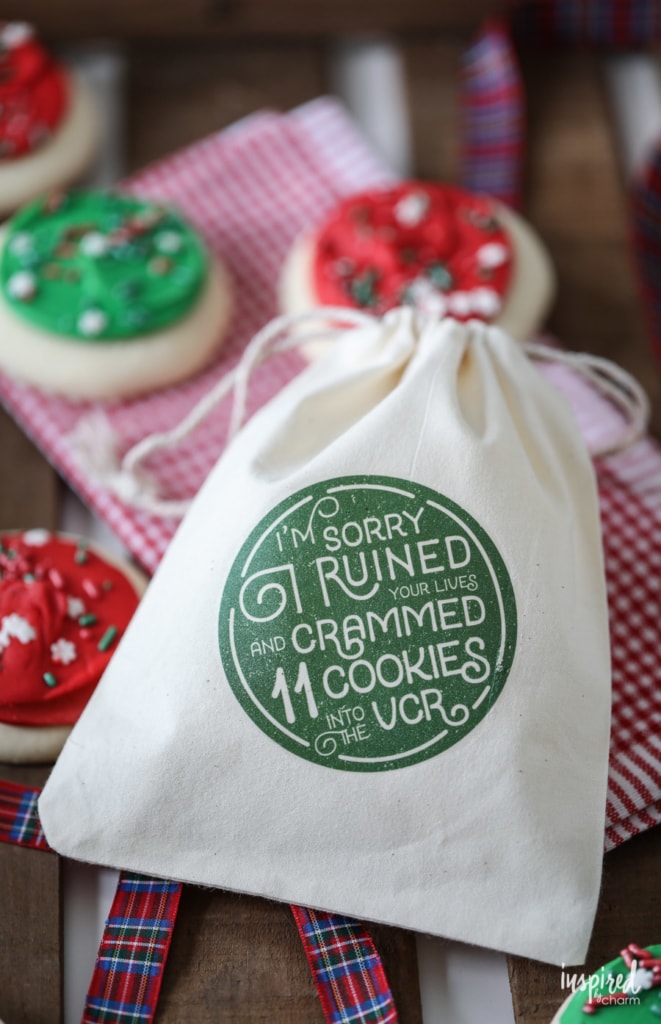
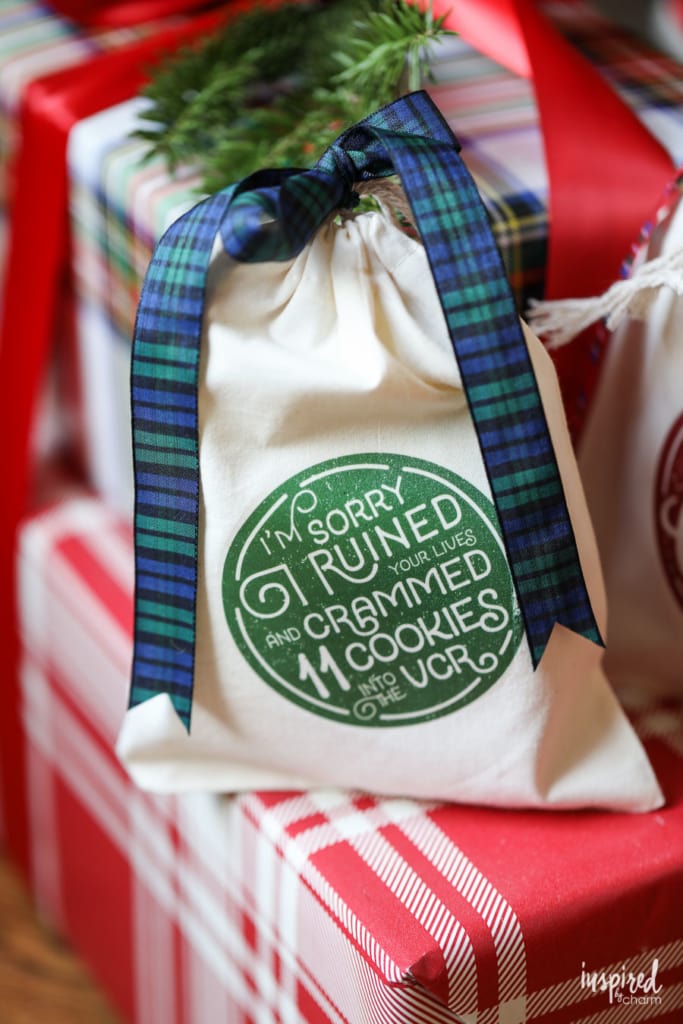
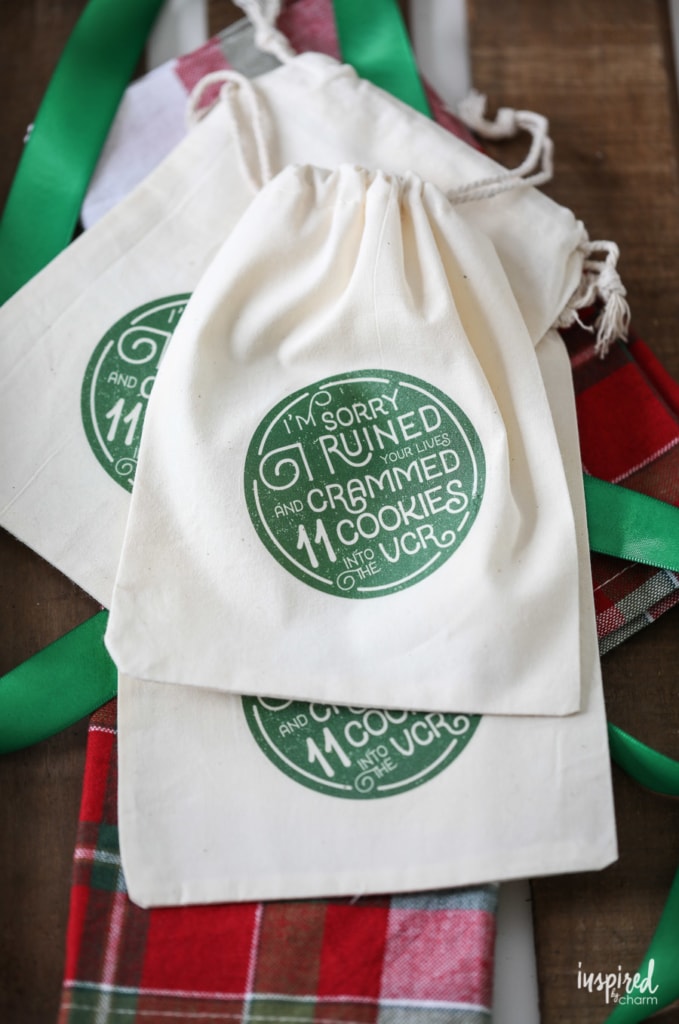
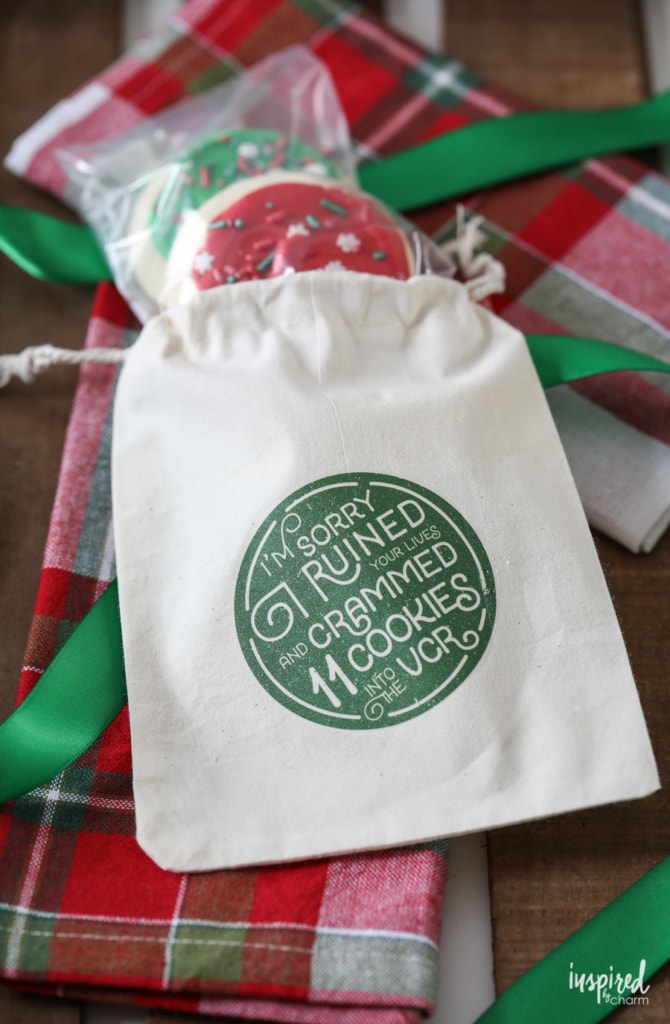
The second is something I dreamed up. It’s a line from my favorite Christmas movie, Elf: “I’m sorry I ruined your lives and crammed 11 cookies into the VCR.”
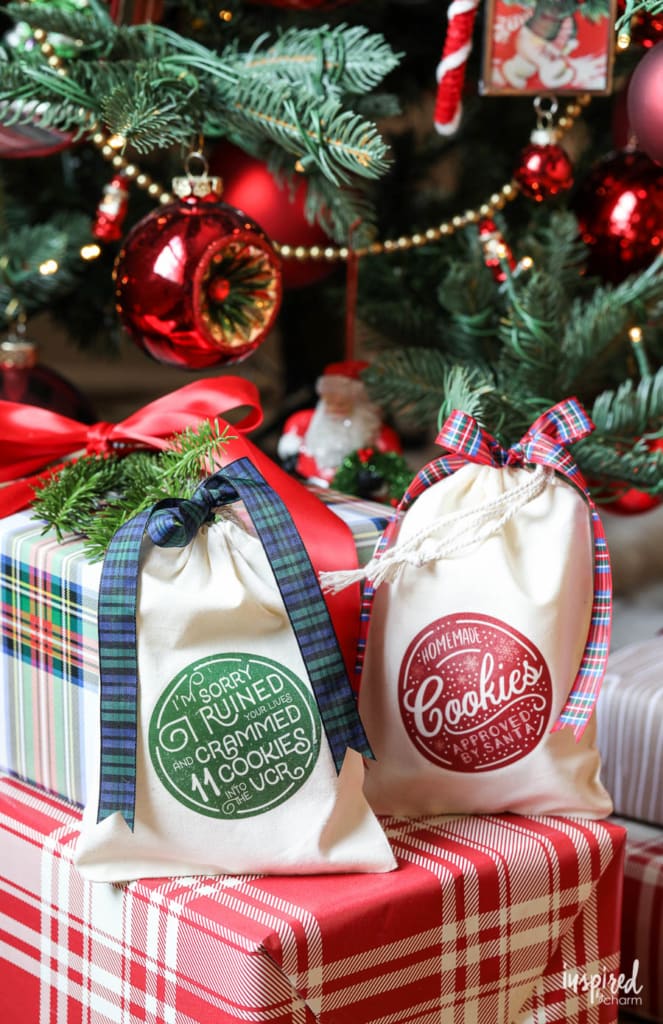
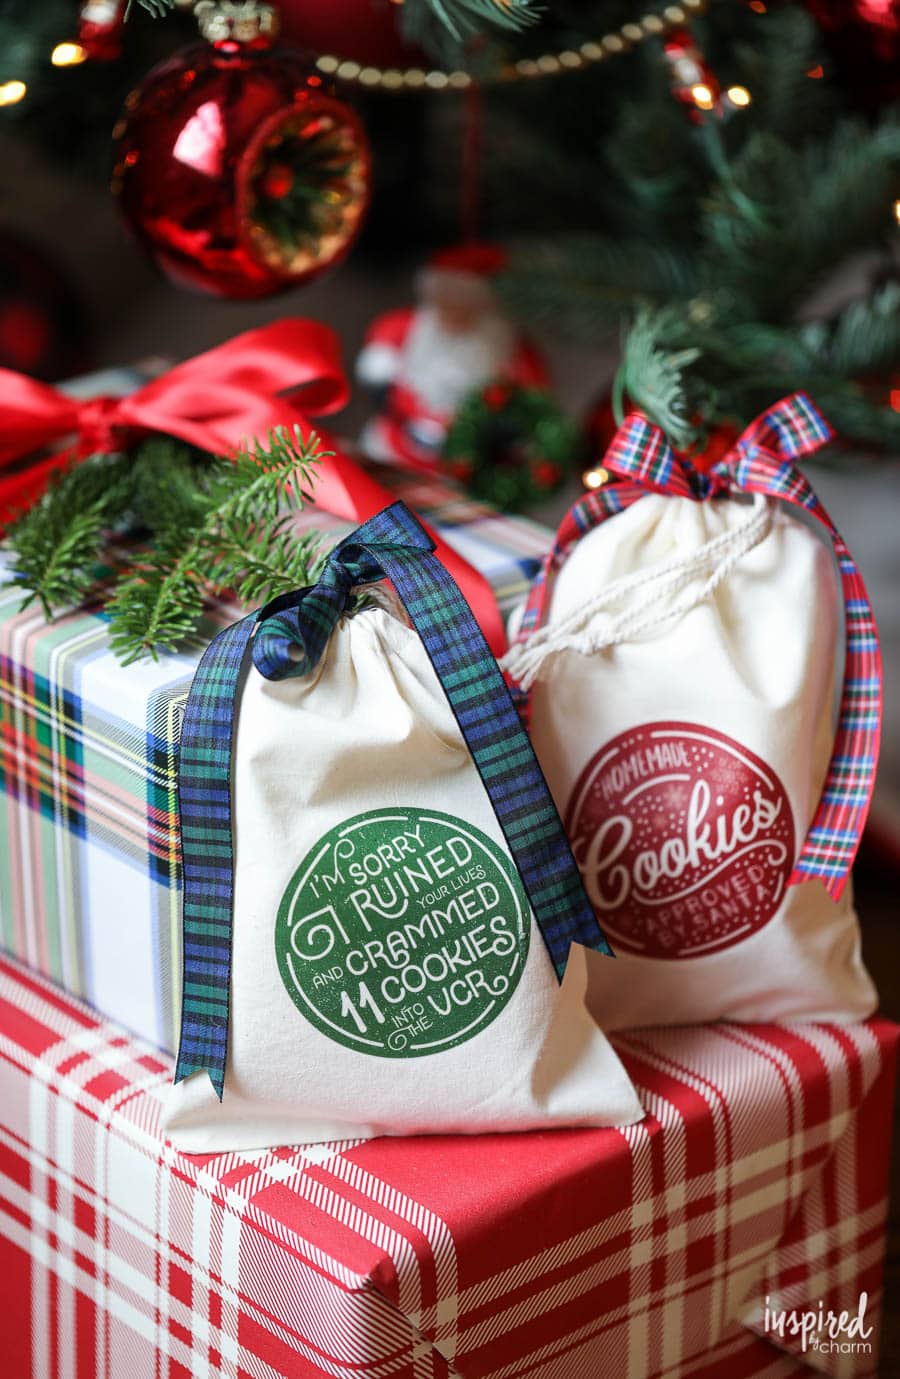
Whether you prefer classic or Buddy, either one of these would be a great design option. Whether you’re gifting Christmas cookies, trinkets, or tokens of love, these bags are sure to add that extra sprinkle of holiday magic.
Why You’ll Love This Project
- There’s an undeniable charm in giving and receiving DIY gifts. It speaks volumes about thoughtfulness and effort, making your holiday presents all the more special.
- No more generic gift wrappings! With these custom-designed bags, your gifts will undoubtedly stand out amidst the sea of store-bought presents.
- Versatility is key! These bags might have “cookie” in the name, but they’re perfect for candies, crafts, jewelry, gift cards, and so much more.
- I get it; the festive season is hectic. But rest assured, these bags are a breeze to make. A few simple steps, our downloadable graphics, and you’re good to go.
Materials
You need five things to put these DIY Christmas Cookie Bags together:
- Free downloadable graphics file – You can download them here.
- 5 x 7 cotton fabric bags – I also located the cotton bags on Amazon. They are available elsewhere online and in craft stores in a wide range of shapes, sizes, and prices.
- iron-on transfer sheets – I purchased these transfer sheets from Amazon. The instructions I’m going to provide are based on these particular sheets. (I assume the process is similar for other brands. To be on the safe side, be sure to read and follow the instructions that come with your sheets.)
- inkjet printer
- iron
- scissors
Yes, that’s all it takes! Now let me show you how to make them!
How to Make
With all your supplies on hand, you’re ready to make these DIY Christmas Cookie Bags I’ll walk you through the easy steps below. I’ve also provided a full supply list and detailed instructions in the printable project card below.
💌 SAVE THIS POST / RECIPE!
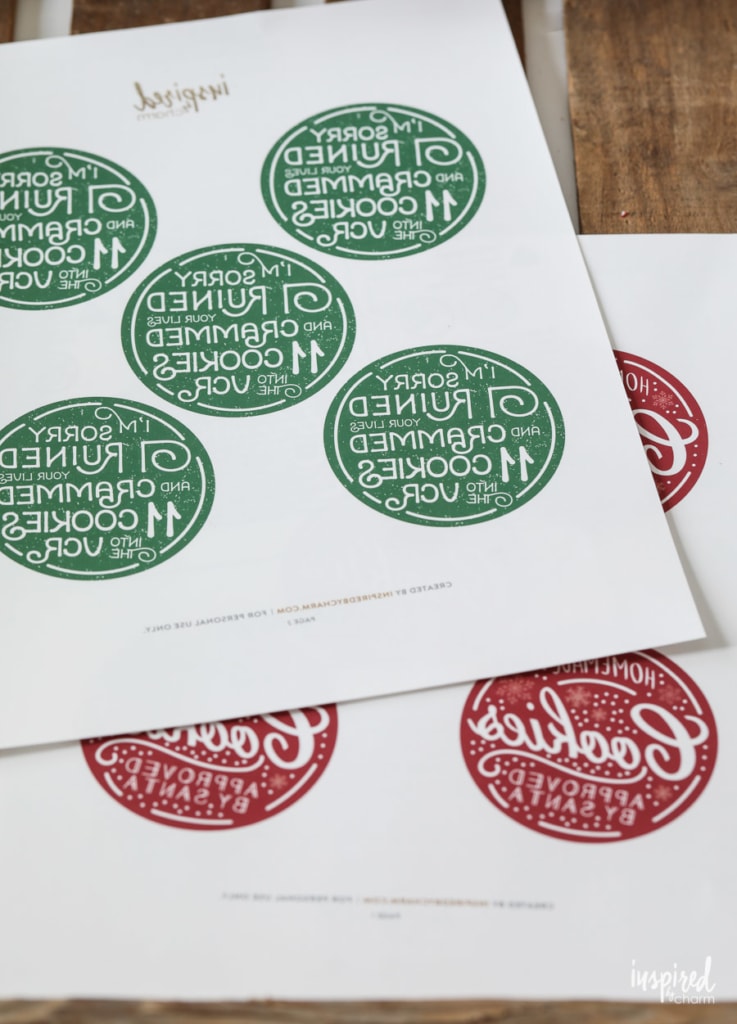
- Start by downloading the graphics file. You can download them here. The download is two pages. The first page has the red graphic I designed and the second page has the green one. You can print one of them or both.
- With the file download, you’re read to print. The transfer paper I bought is compatible with inkjet printers.
- Before printing, adjust your settings to the highest quality. You’ll also want to select the option that allows you to print the “mirrored version” or to “flip horizontally.” Since you’ll be ironing these transfers with the printed side down, you want the image of the graphic mirrored so it will read correctly when the paper backing is removed. Here’s what they should look like after printing.
- Cut out each graphic as neatly as possible, leaving a narrow white border around the graphic.
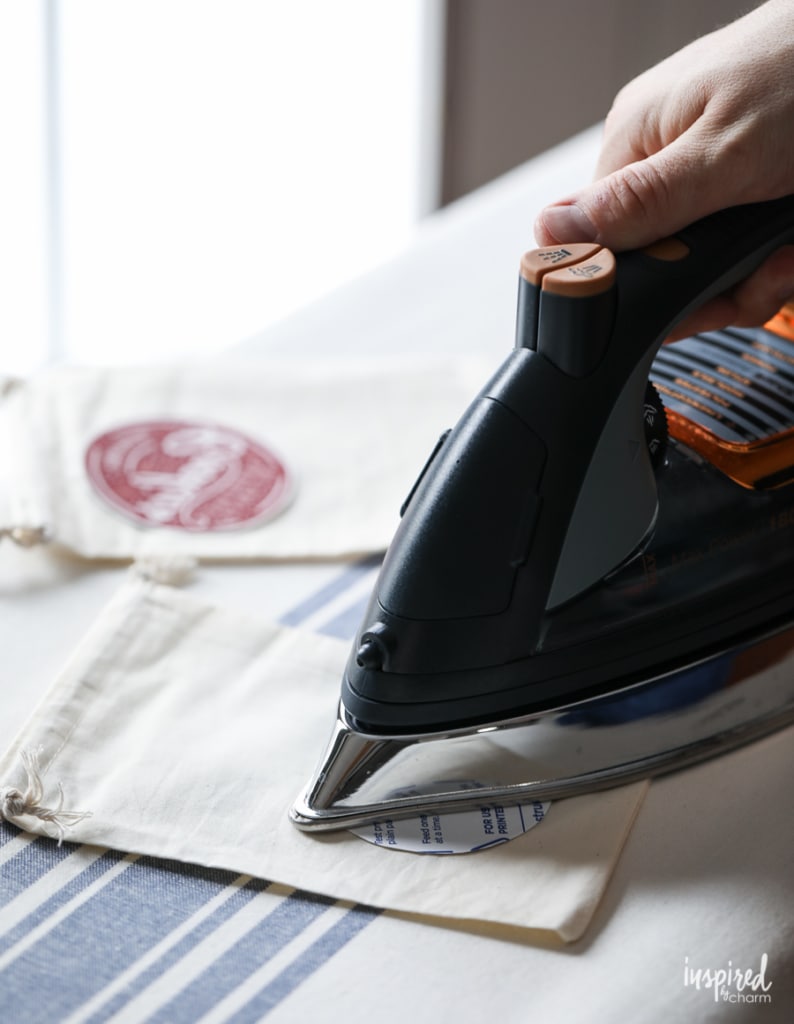
- Next, set your iron on medium-high heat (polyester setting). Make sure the steam setting is turned off and that the water reservoir has been completely emptied.
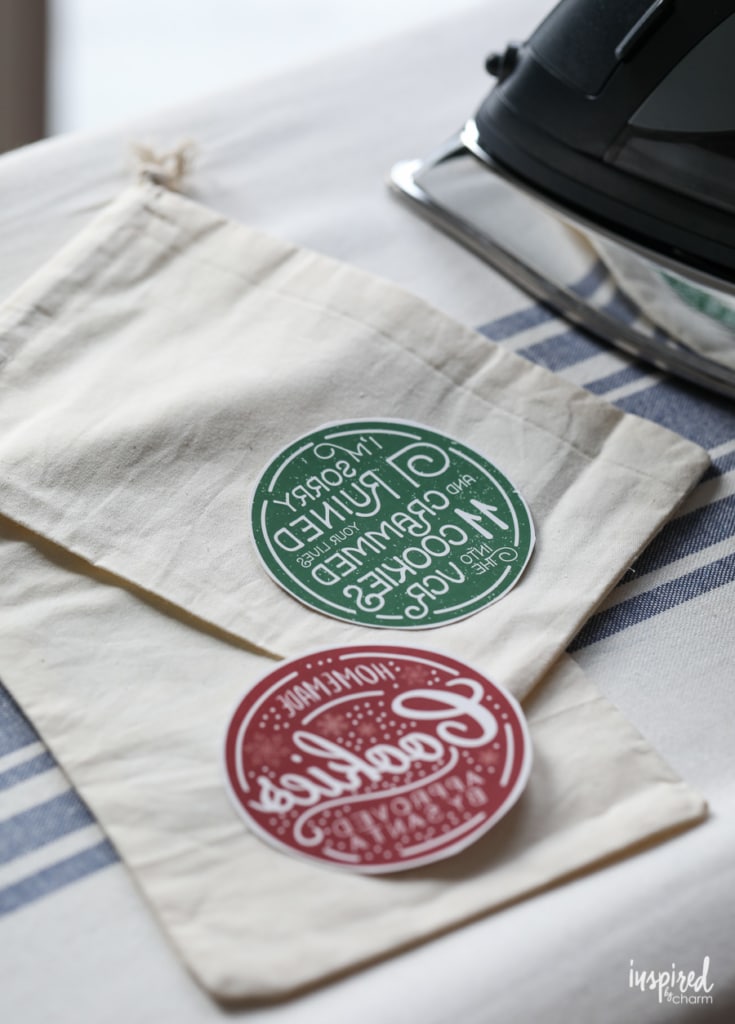
- Quickly iron the bag to remove any wrinkles. Then place the graphic on the bag so that the printed side of the graphic faces down. I positioned the graphic a bit closer to the bottom of the bag rather than in the center of it.
- Using the iron, apply heat to the transfer for about 45 seconds. Press down fairly hard and be sure to move the iron around to avoid scorching the bag.
- Let each bag sit for about 2 minutes or until cool before peeling off the paper backing.
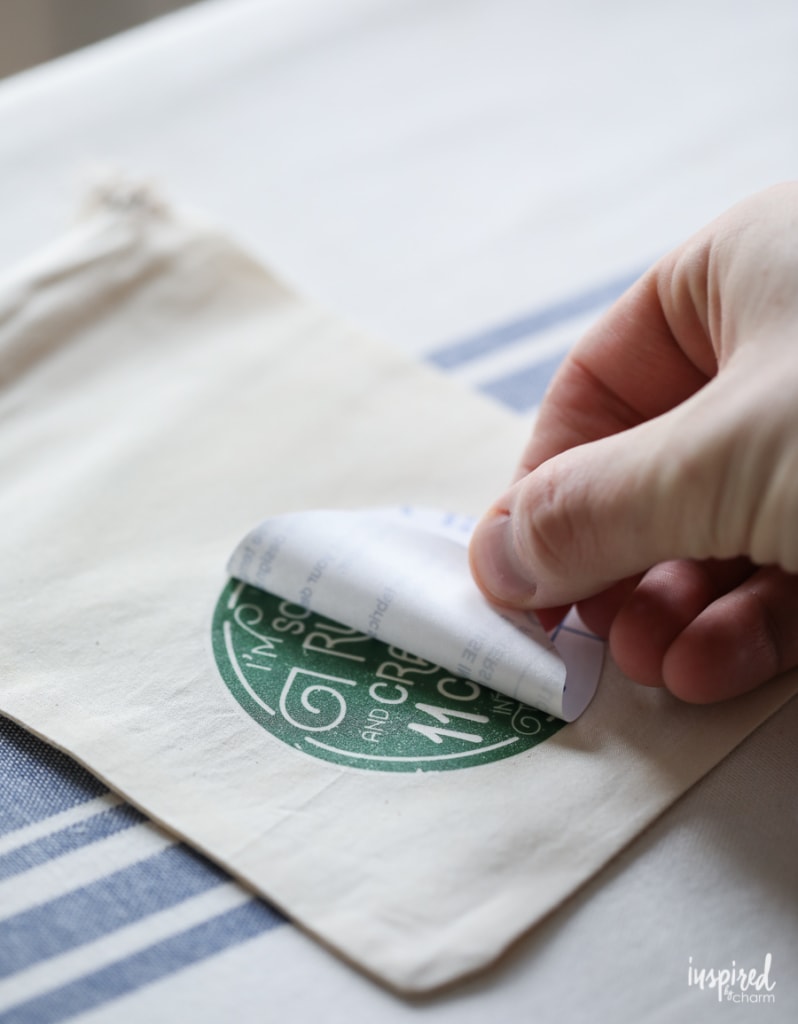
And with that, your DIY Christmas Cookie Bags are complete and ready to be filled with delicious treats!

How To Use / Gift
As I mentioned above you can use these bags for more than just cookies. Here are a few ideas to get your creative brain working.
- Baked Delights: Perfect for a handful of your favorite holiday cookies, brownie squares, or even a couple of large decorated sugar cookies.
- Jewelry Treasures: A delicate necklace, a pair of earrings, or a bracelet would fit snugly and look elegant inside.
- Crafted Keepsakes: Handmade ornaments, painted rocks, or small crafted items would find a cozy home in these bags.
- Gift Cards: Slide in a gift card to a favorite store, restaurant, or online platform. The bag adds a personal touch to an otherwise simple gift.
- Candies and Chocolates: Fill it with holiday-themed chocolates, artisanal candies, or homemade truffles.
- Beauty Minis: A couple of mini lipsticks, travel-sized perfumes, or nail polishes would be a delightful surprise.
- Art Supplies: Great for budding artists! Think small sketchbooks, a set of pencils, or high-quality erasers.
- Tea or Coffee Sampler: Include a few sachets of exotic teas or gourmet coffee blends for the beverage aficionado in your life.
- Plant Seeds or Bulbs: For the green thumbs, a selection of seeds or small plant bulbs to kick-start their spring garden.
- Personal Notes: Write a series of encouraging notes, quotes, or memories for the recipient to read each day or when they need a pick-me-up.
- Kids’ Goodies: Small toys, puzzle sets, or fun stickers would be a hit with the little ones.
- Travel Kits: Earplugs, an eye mask, or mini travel essentials can be packed up for a friend on the move.
Remember, it’s not just about what’s inside; the bag itself, with its personalized touch, adds a special sentiment to whatever gift you choose!
Note: I recommend placing the cookies (or other edible treats) in a small plastic food storage bag before putting them in your fancy new custom bag. This will keep the cookies fresher longer and prevent any staining of the fabric bag.
I recommend placing the cookies in a small plastic food storage bag before putting them in your fancy new custom bag. This will keep the cookies fresher longer and prevent any staining of the fabric bag.
Bonus Idea: If you don’t want to mess around with the iron-on transfer, just print the graphic on cardstock. Then, cut the graphic out, punch a hole in the top of it, and tie it to a bag for a quick and easy gift tag!
More Festive DIY Projects You’ll Love
- DIY Vintage Ornament Wreath
- Colorful Wood Christmas Trees
- Homemade Hot Cocoa Mix
- DIY Wood Stockings
- Cookie Cutter Wreath
No matter how you make or gift them, I hope you enjoy these delightful little bags as much as I do. If you make them, please stop back and leave a comment and a 5-star rating below.
Want more from Inspired by Charm? Join the IBC Mailing List for inspiration in your inbox! Follow along on Instagram and TikTok for daily updates and behind-the-scenes looks at my processes. There’s even more inspiration on Facebook and Pinterest!
DIY Christmas Cookie Bags
Ingredients
- Free downloadable graphics file
- 5 x 7 cotton fabric bags
- iron-on transfer sheets
- inkjet printer
- iron
- scissors
Instructions
- Start by downloading the graphics file. You can download them here. The download is two pages. The first page has the red graphic I designed and the second page has the green one. You can print one of them or both.
- With the file download, you’re read to print. The transfer paper I bought is compatible with inkjet printers.
- Before printing, adjust your settings to the highest quality. You’ll also want to select the option that allows you to print the “mirrored version” or to “flip horizontally.” Since you’ll be ironing these transfers with the printed side down, you want the image of the graphic mirrored so it will read correctly when the paper backing is removed. Here’s what they should look like after printing.
- Cut out each graphic as neatly as possible, leaving a narrow white border around the graphic.
- Next, set your iron on medium-high heat (polyester setting). Make sure the steam setting is turned off and that the water reservoir has been completely emptied.
- Quickly iron the bag to remove any wrinkles. Then place the graphic on the bag so that the printed side of the graphic faces down. I positioned the graphic a bit closer to the bottom of the bag rather than in the center of it.
- Using the iron, apply heat to the transfer for about 45 seconds. Press down fairly hard and be sure to move the iron around to avoid scorching the bag.
- Let each bag sit for about 2 minutes or until cool before peeling off the paper backing.
- And with that, your DIY Christmas Cookie Bags are complete and ready to be filled with delicious treats!
Love the idea of the cookie bags. Unfortunately the link to download the graphic no longer works.
Yvonne.
I’m not sure which link you clicked on, but it works for me.
You can find them HERE.
The internet is weird, sometimes links get broken through no fault of my own. I’m happy to share and all you have do to is ask.
xo Michael
Hi Michael! Do I need a password to download the graphics for the cookie bags?
Thanks!
You shouldn’t you can find the link to the download in the materials section of the blog post. Hope that helps!
xo Michael
I often use the traditional way of wrapping gifts! And when I read your blog I add a new style to my gift wrap the next Christmas season! Thank you for that!
Thank you for these!
Michael,
Your blog is stunning. Thank you for sharing your talent!
You are so generous with your delightful orintables! You make me look like a creative genius. Thanks you Michael for the Magic you bring to your posts and newsletter. I truly look forward to each one anticipating words writte by a man with a gentle nature and welcoming spirit. Kudos
Those little bags are so great! Who wouldn’t love to get one stuffed with cookies? I also wanted to say the way you do the ribbon on your trees looks so much better than any ones, even store displays. Thanks for making the video of placing the ribbon on the tree.
Great idea and easy to make. Love the easy in projects. Thank you for sharing. Happy Holidays!
These are super cute, Michael. Always impressed with the ideas you come up with to make the holidays even brighter. Have a very Merry Christmas! Looking forward to more of your inspirations in 2019!
Love your printables! Thank you! I LOVE plaid!!!!
Perfect homemade gift!
Thank you!! <3
xo Michael
These are adorable, thanks Michael!
You’re so welcome, Kathy!
xo Michael