Peppermint Kiss Cookies
This Post May Contain Affiliate Links. Please Read Our Disclosure Policy
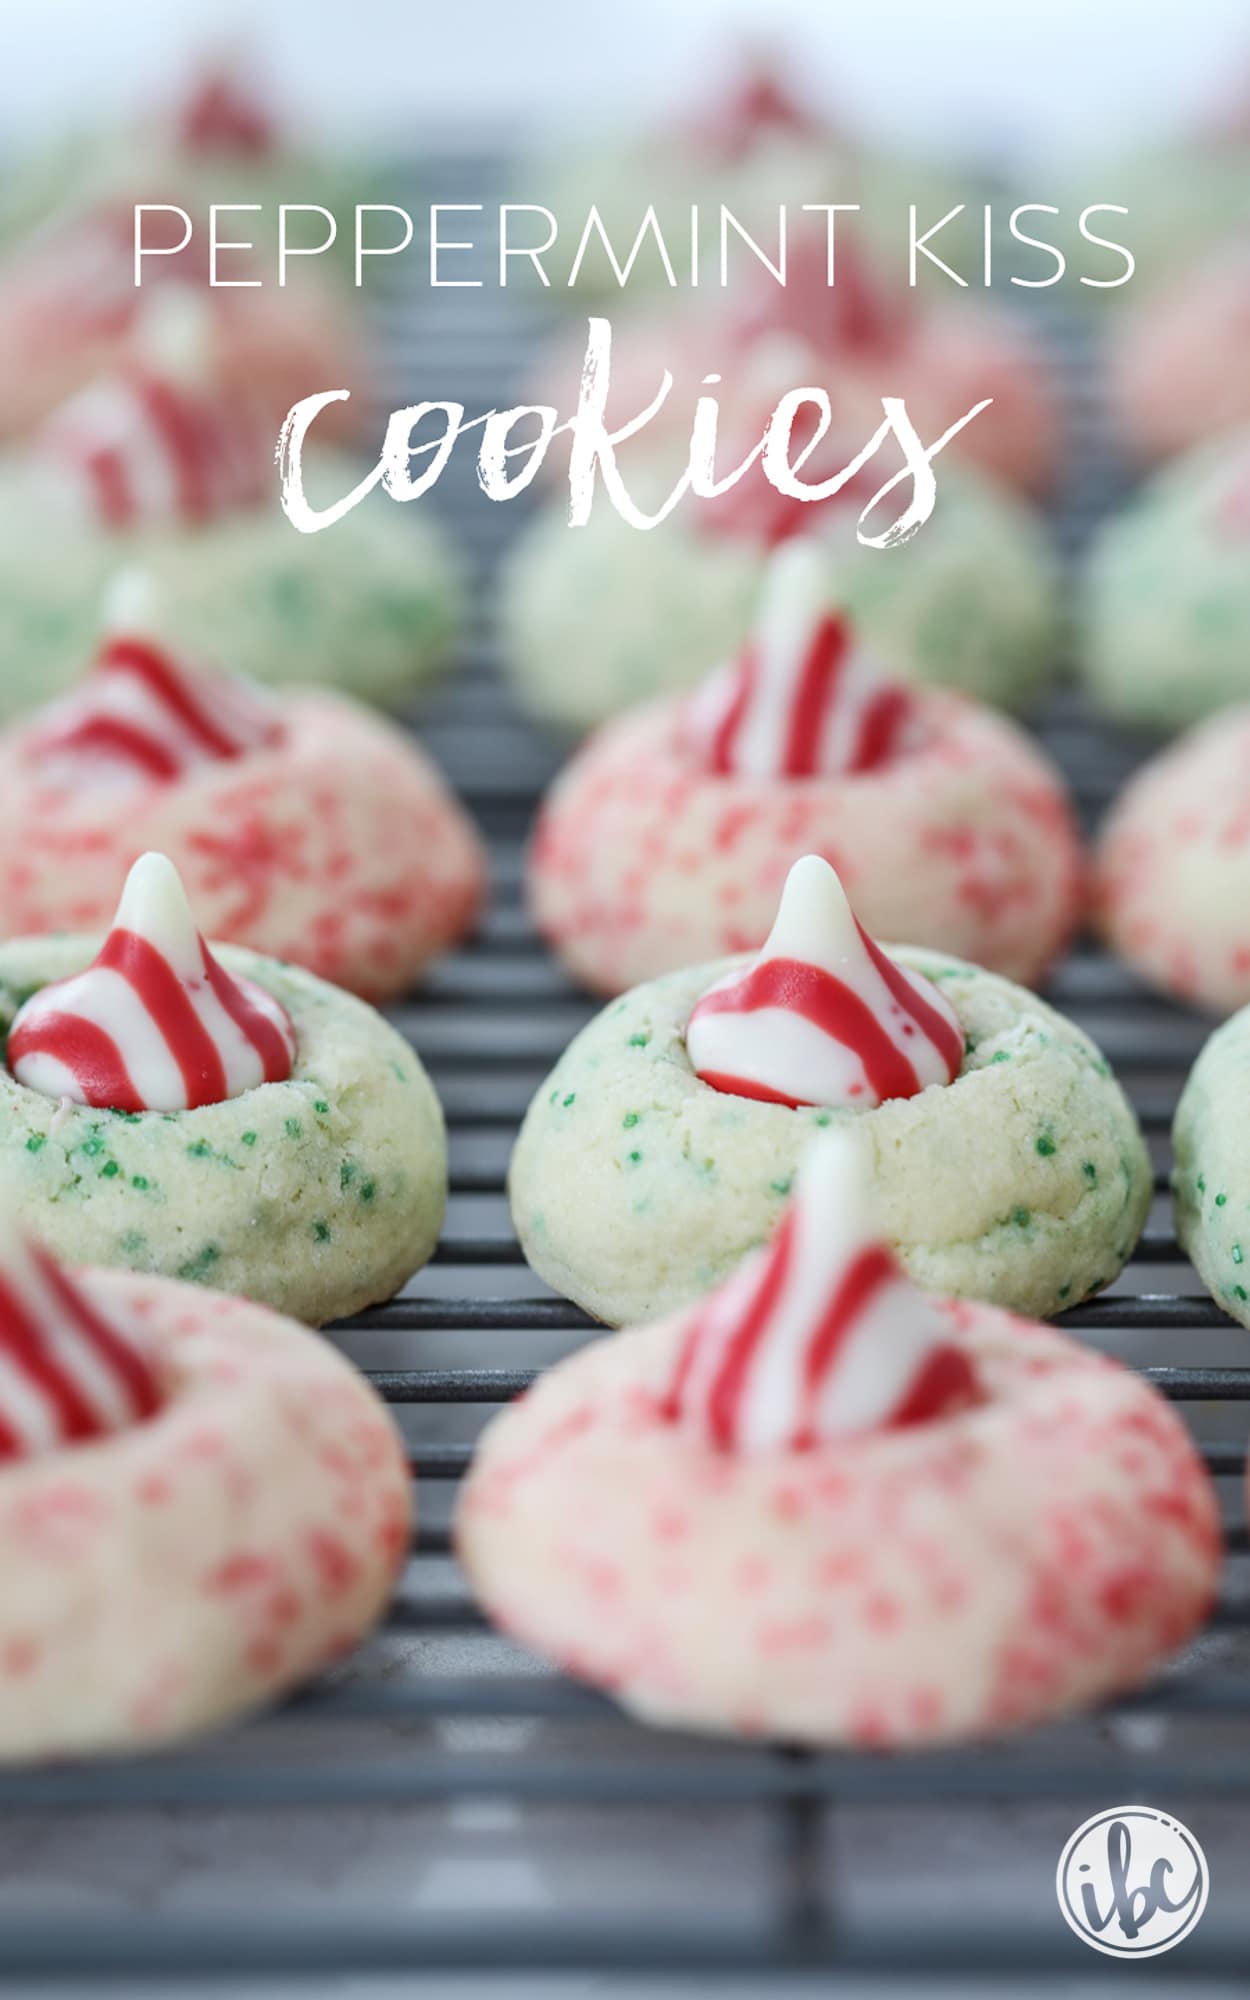
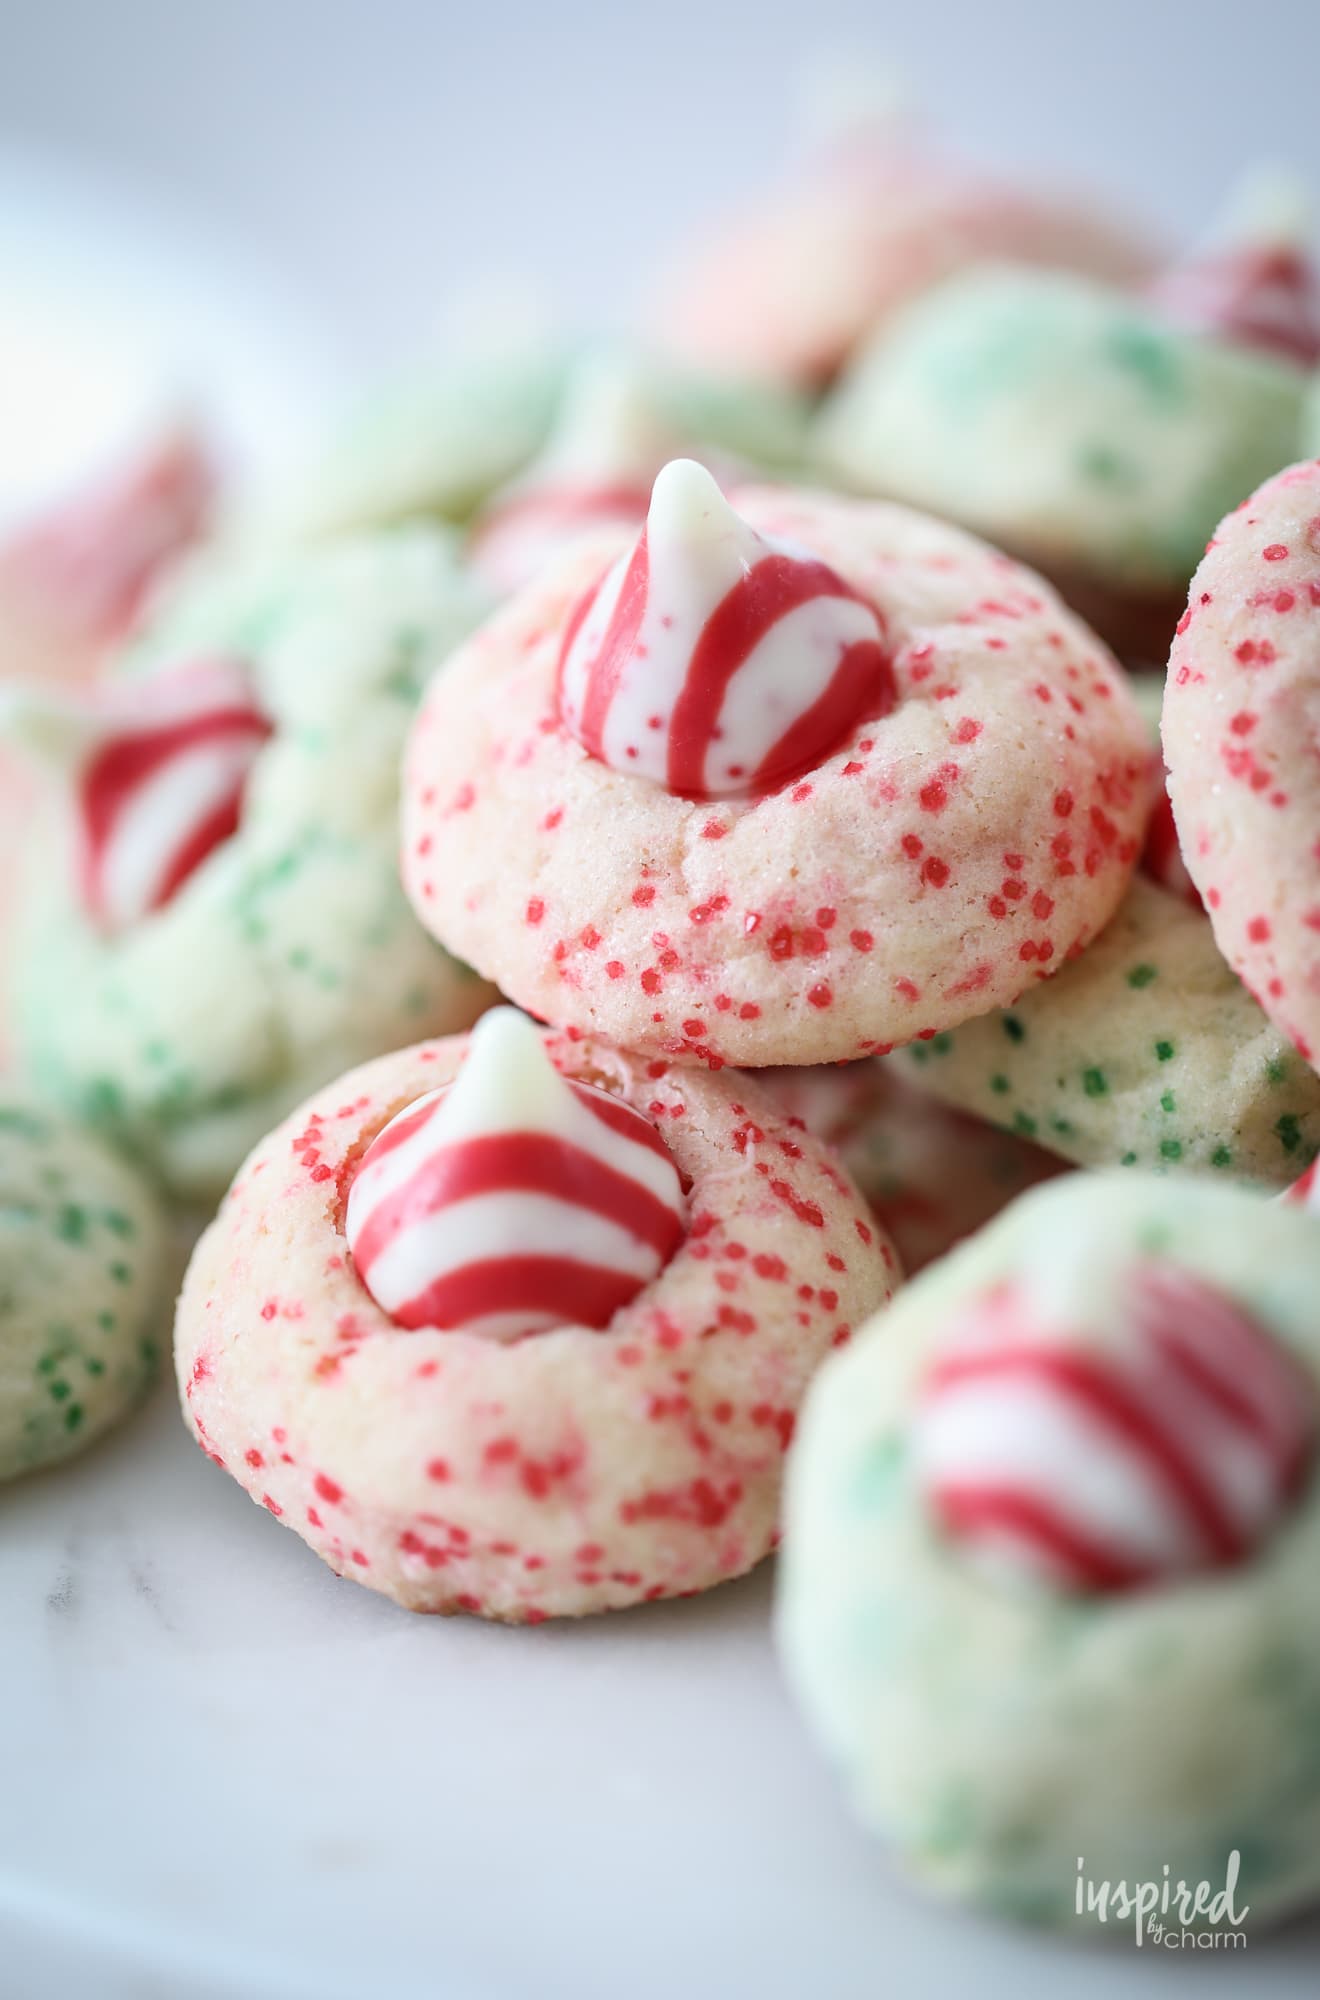
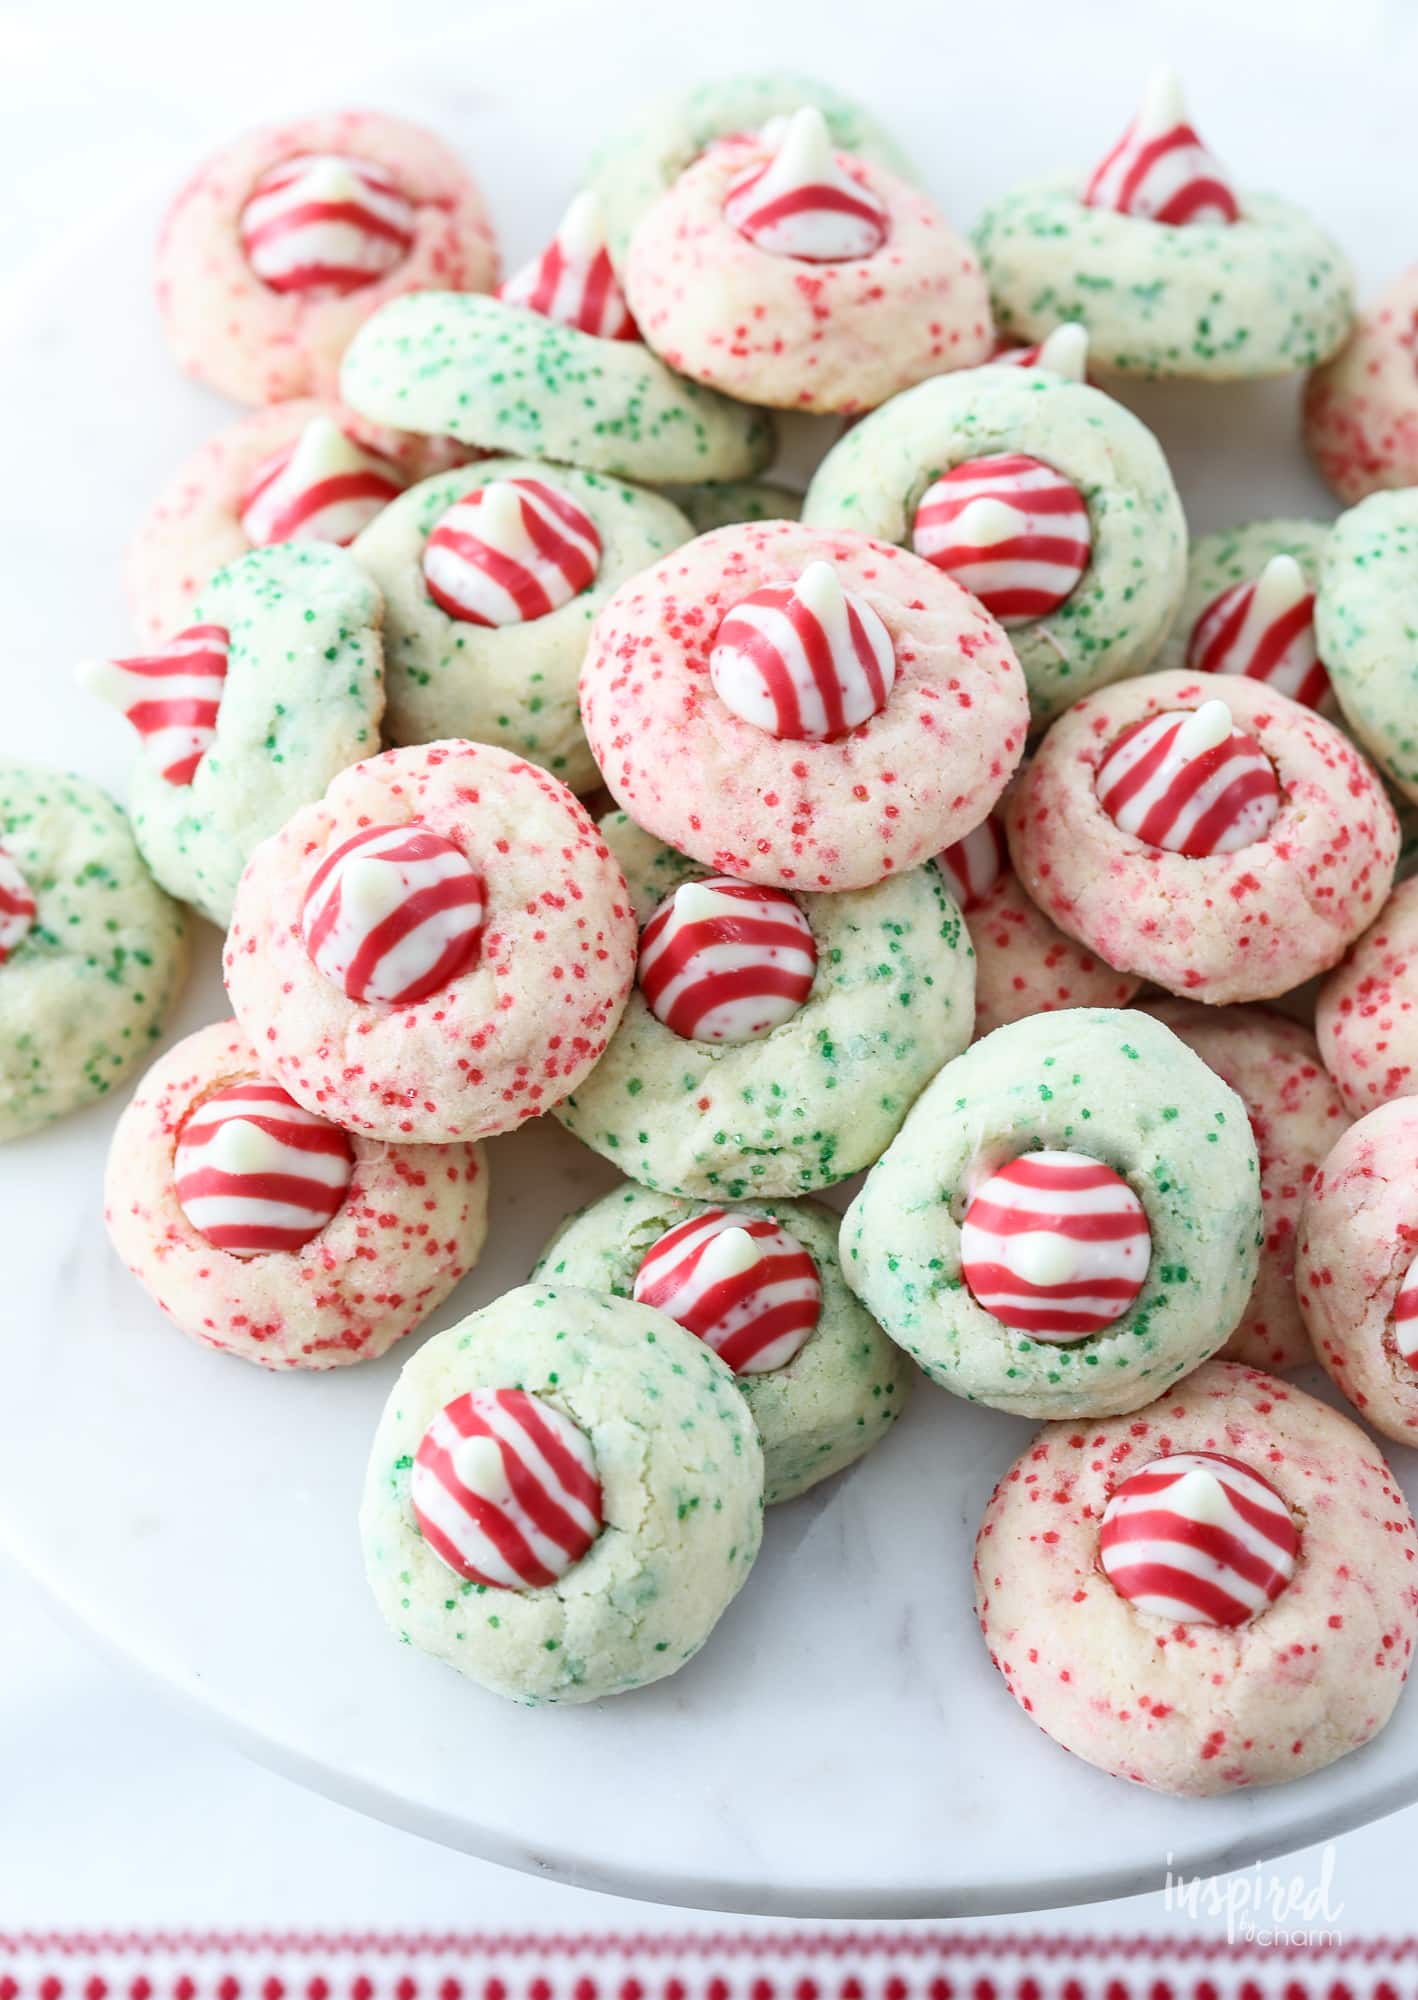
Sugar cookies get a festive upgrade with these Peppermint Kiss Cookies. Adorned with vibrant red and green sugar and a surprise peppermint kiss in the center, they’re a must for your Christmas cookie tray. Dive into the recipe and make your holidays extra sweet!
These Peppermint Kiss Cookies are a new must-make for my Christmas Cookie tray. They have a sugar cookie base that’s topped with a peppermint kiss. In essence, they’re a peppermint-twist on peanut butter blossoms.
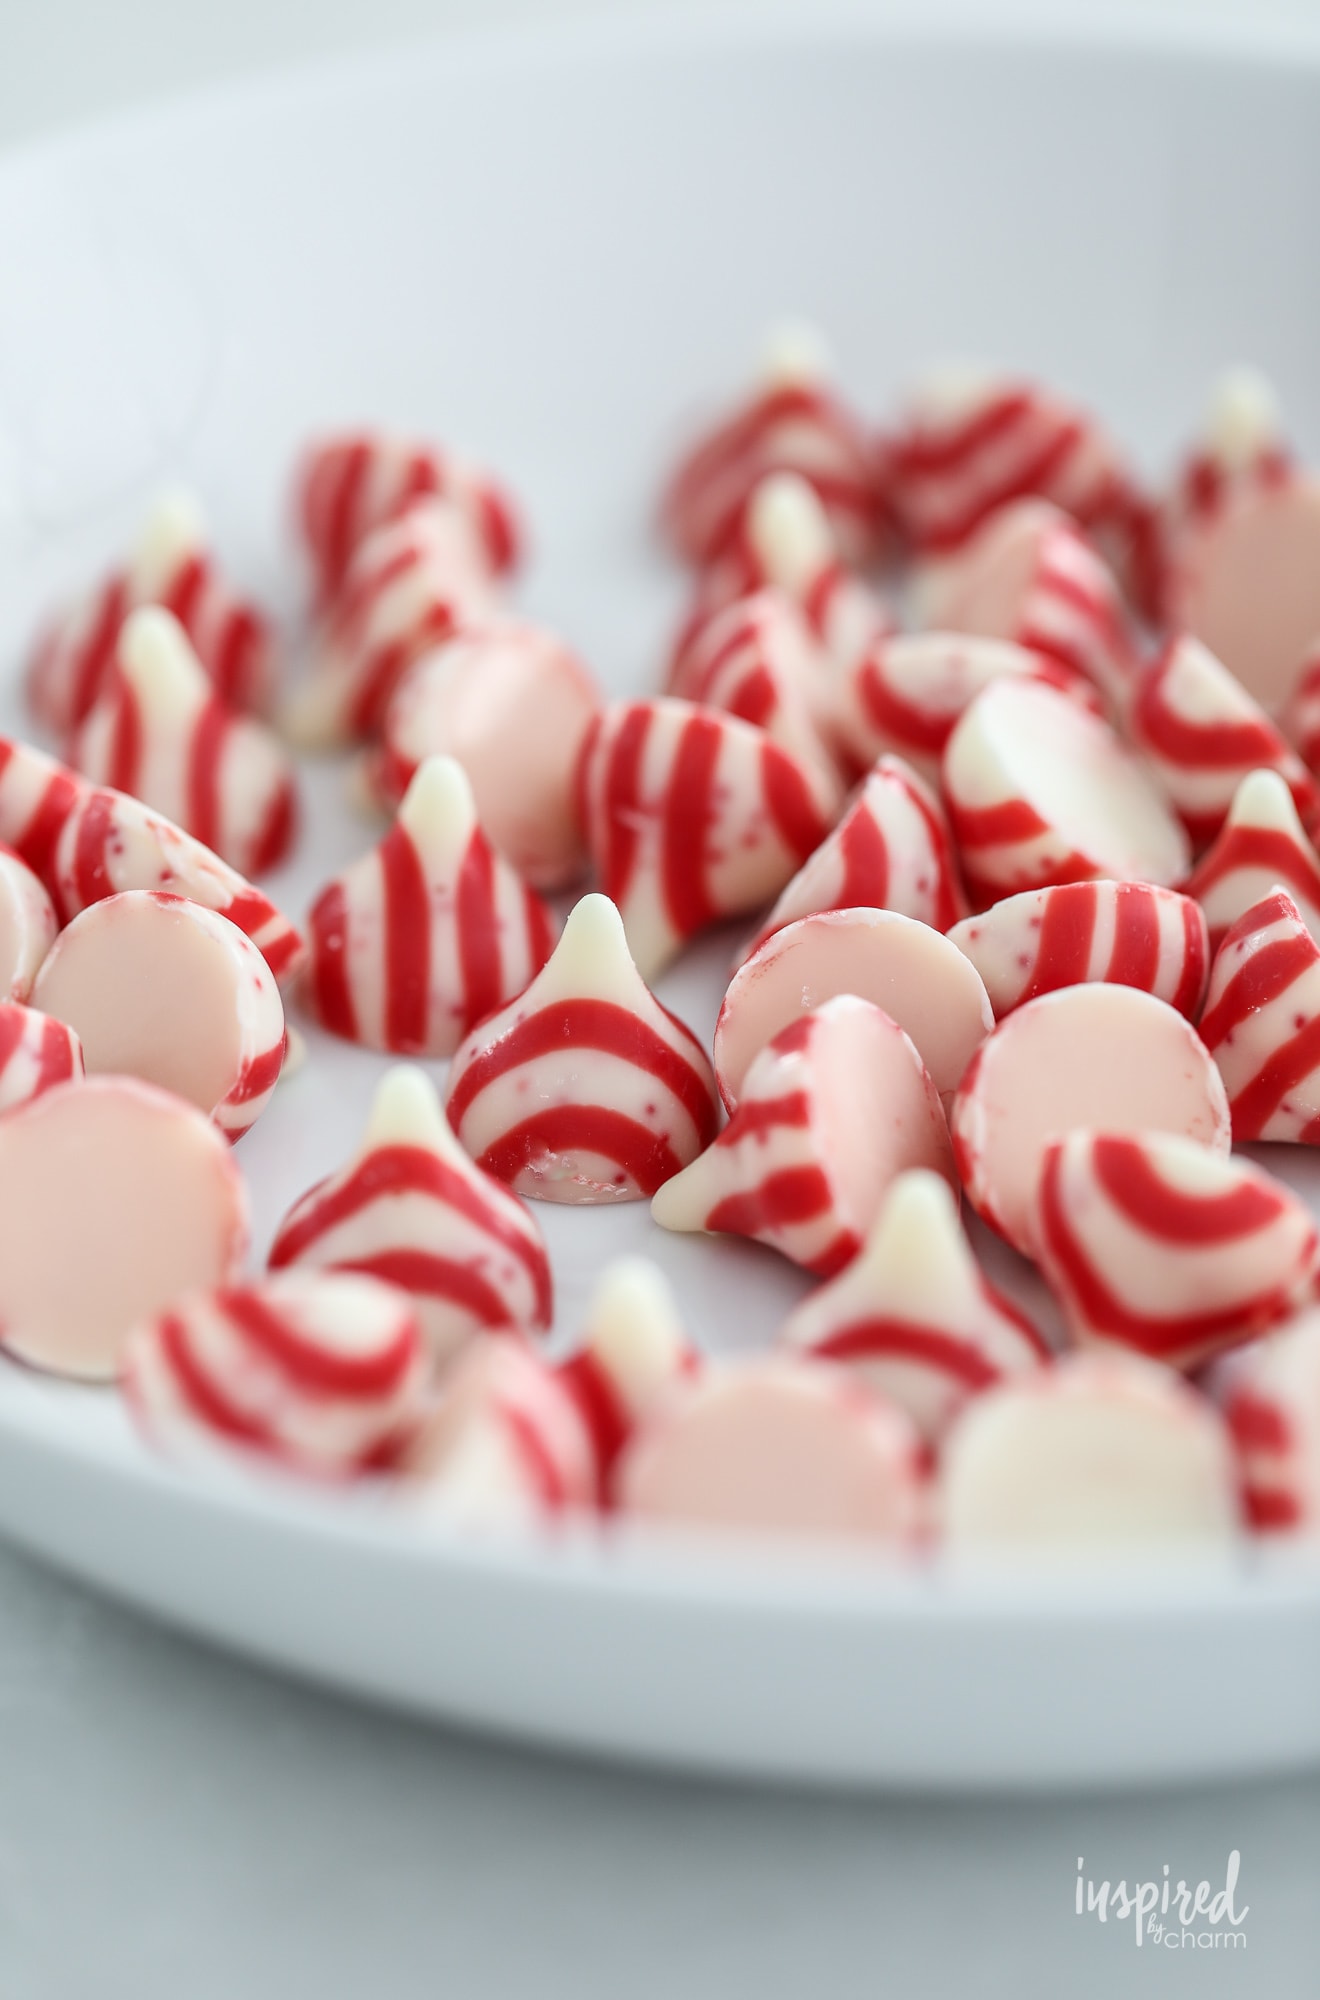
I decided to make these Peppermint Kiss Cookies because of my current love affair with peppermint kisses. (I think their real name is Candy Cane Kisses.) My mom mentioned them to me a few years ago. I haven’t always been a peppermint fan, so I turned my nose up back then. However, my tastes seem to have changed, and now I can get enough of these creamy, peppermint and white chocolate kisses. Yum! (You may have noticed there’s a bowl of them on the coffee table in my family room.)
Naturally, yours truly HAD to turn them into a cookie!
Please know that I’m not the creator of this smart cookie idea. I’ve seen this cookie floating around on the internet for the past couple of years. I thought you might appreciate my take on it, or you might even be seeing this cookie for the first time.
Wouldn’t these look adorable packed up in these handmade Christmas Cookie bags? Love that!
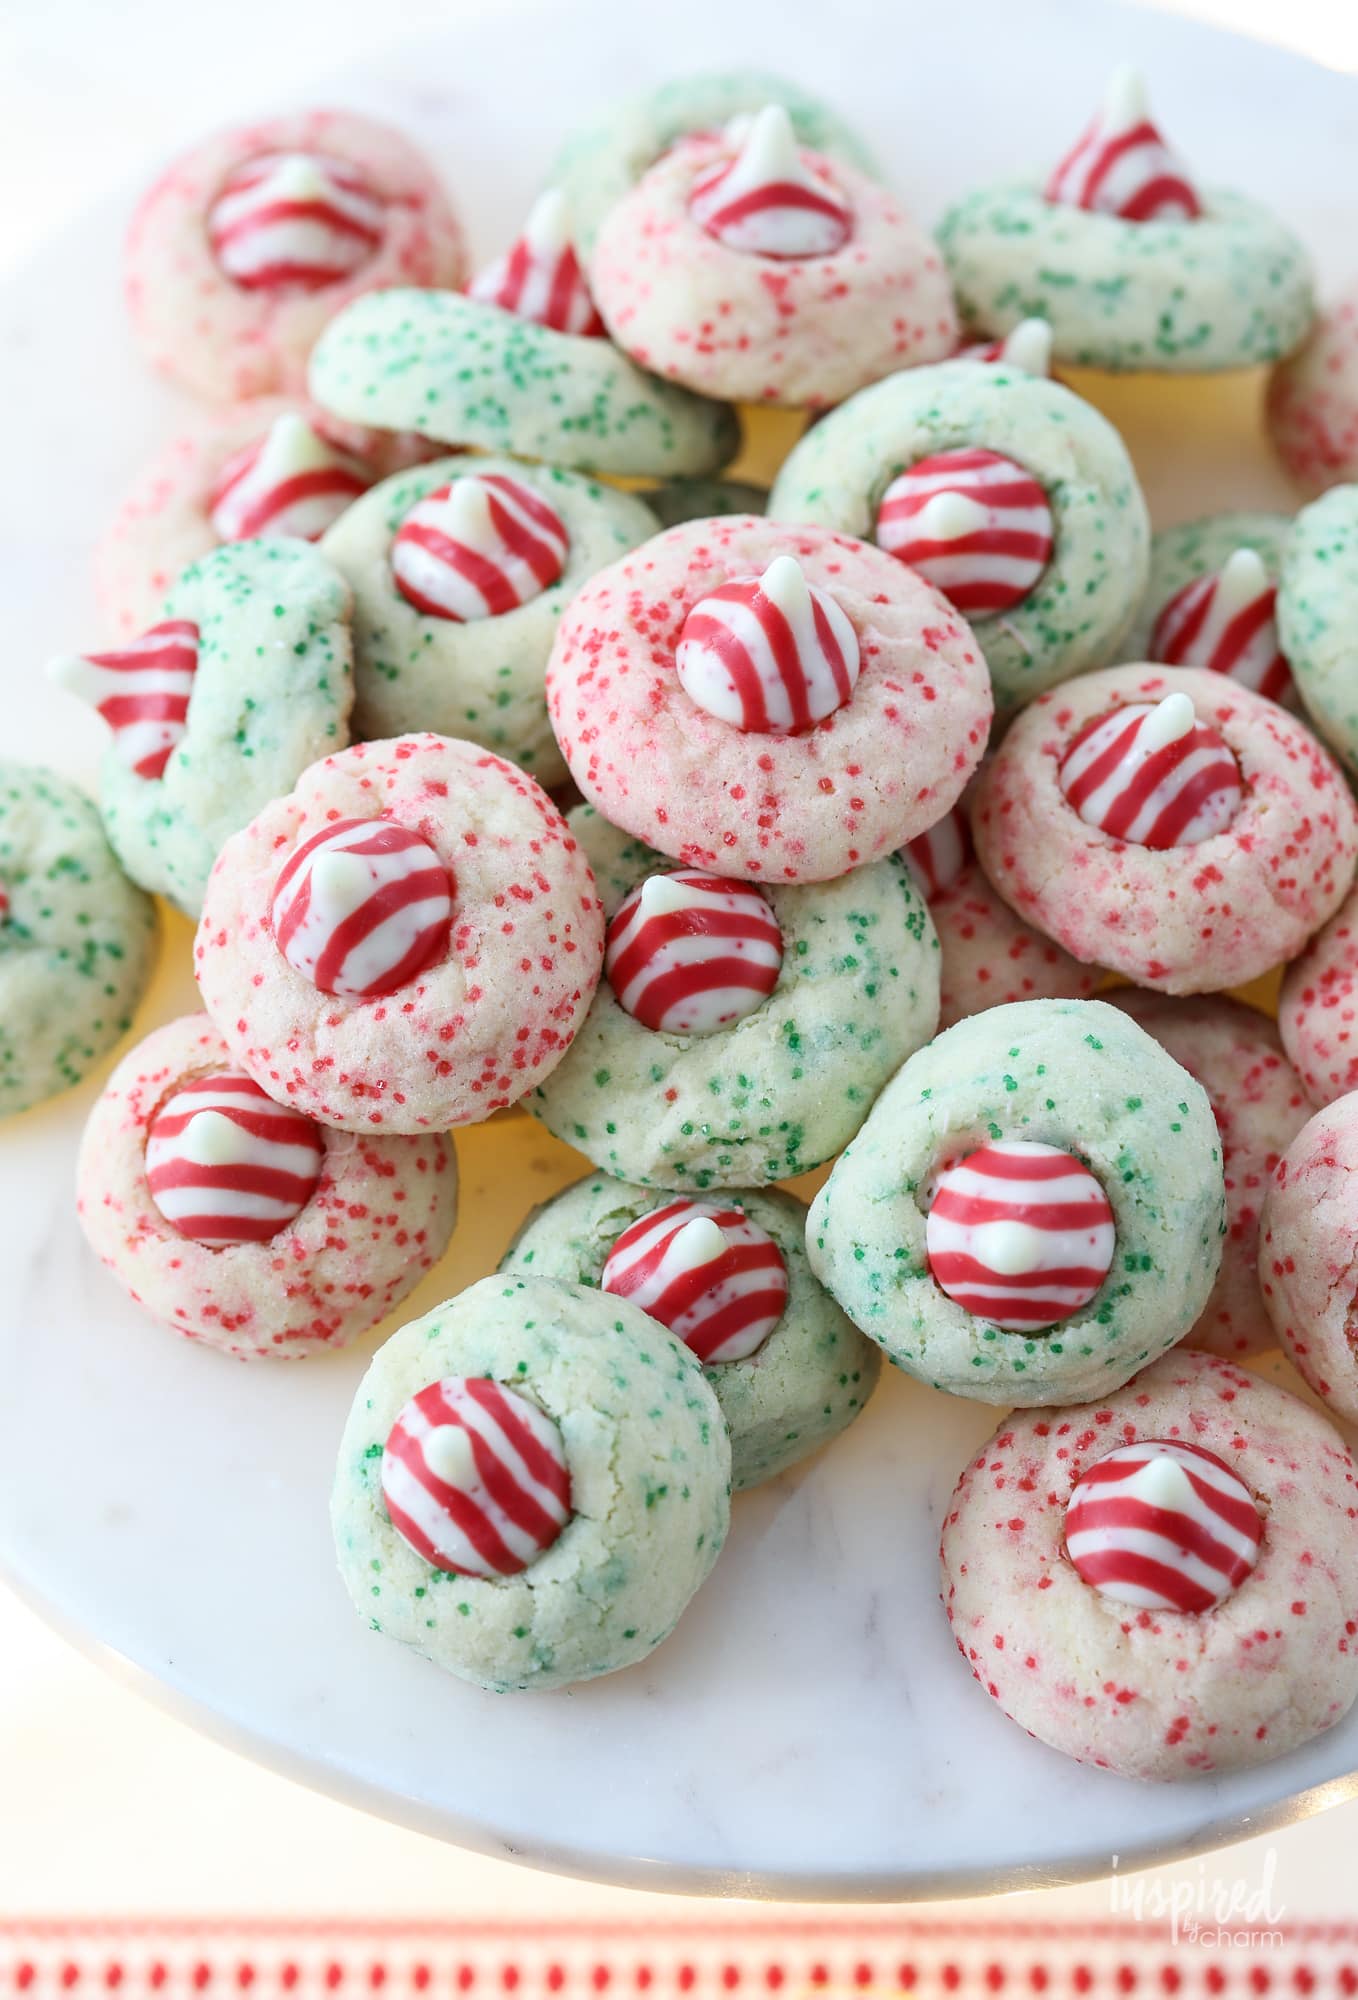
These are a must-add to your Christmas cookie baking list! Let me show you how to make these Peppermint Kiss Cookies. This is an exceptionally delicious and colorful cookie recipe. With pops of red, green, and the candy cane stripe on the kiss, these cookies are perfectly festive!
Why You’ll Love This Recipe
- These Peppermint Kiss Cookies are not just another addition to your Christmas cookie lineup, they’re THE addition! Bringing the classic appeal of peanut butter blossoms, but with a merry peppermint flavor, these treats are bound to be the talk of your holiday parties.
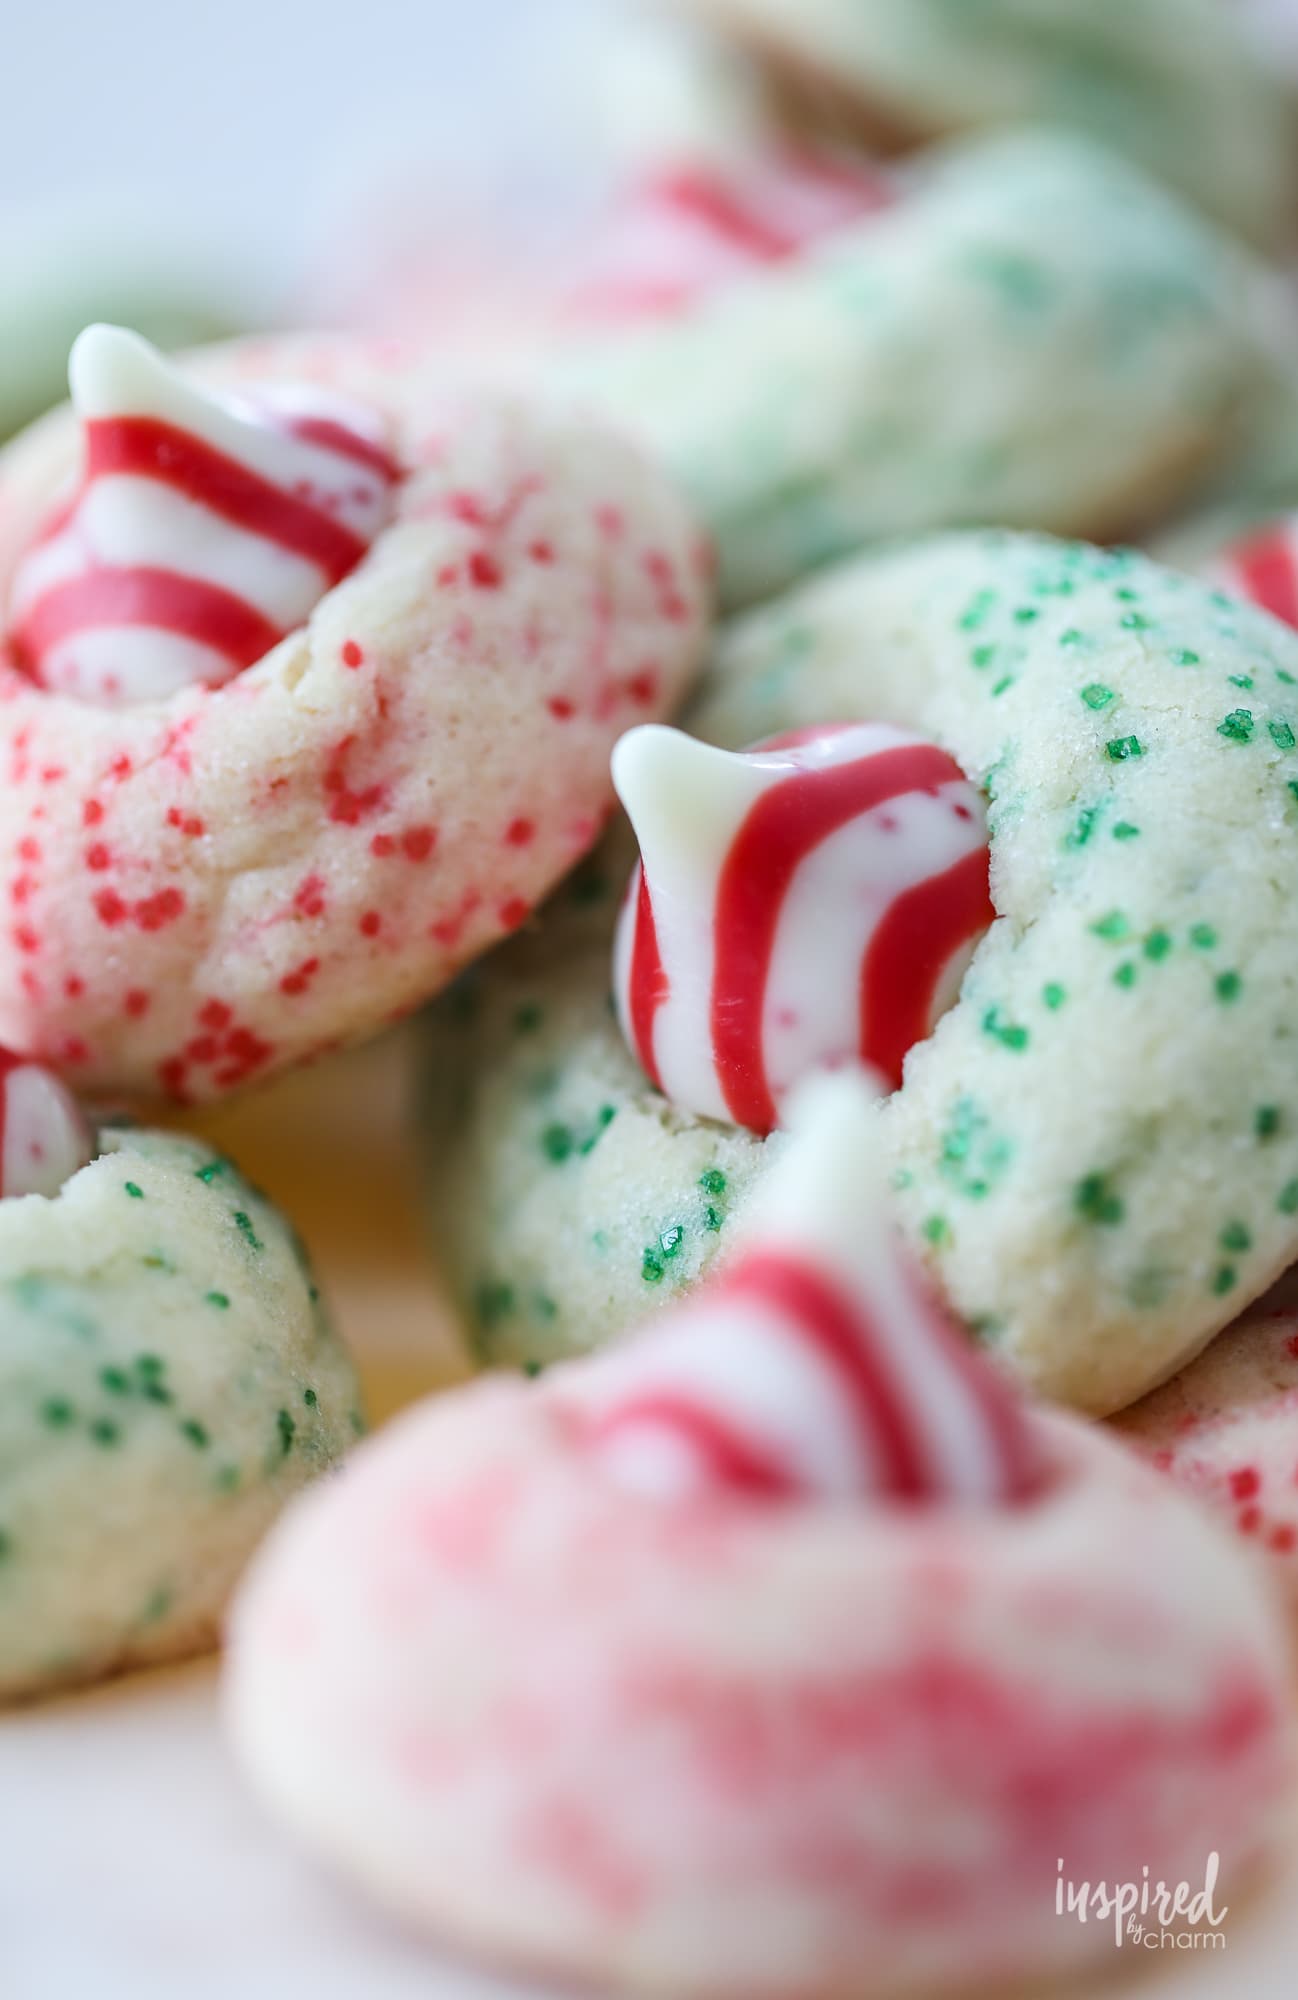
- With a dual color sugar sprinkle, half in merry red and half in festive green, these cookies don’t just taste delightful – they look the part too. They’re sure to add that extra pop of color to your Christmas cookie tray.
- The simplicity of these cookies is part of their charm. If you’ve made a kiss-style cookie in the past, you’ll breeze through this recipe. And if you haven’t? Well, let’s just say these cookies are a great starting point for any baking enthusiast.
- The peppermint kiss atop each cookie is the star of the show, offering a cool and refreshing contrast to the soft sugar cookie base. Every bite is a delightful blend of textures and flavors that perfectly encapsulate the holiday spirit.
If you’re looking for more of my Christmas cookie recipes, you’re in luck because I have a round-up post of my favorite Christmas cookie recipes.

Ingredients
Okay, I don’t know about you, but I’m ready to do some festive Christmas Cookie baking. Before we preheat the oven, let’s gather up the ingredients we’ll need to make these Peppermint Kiss Cookies.
- All-purpose flour: The foundation of our cookie, giving it structure and texture.
- Baking powder: Helps our cookies rise and become fluffy.
- Salt: Balances out the sweetness and enhances overall flavor.
- Unsalted butter: Adds richness and moisture to our dough.
- Sugar: Sweetens the cookies and gives them a delightful crunch on the outside.
- Eggs: Binds the ingredients together and adds moisture.
- Vanilla extract: Infuses our cookies with a warm, aromatic flavor.
- Coarse green sugar: Adds a festive green sparkle to some of our cookies.
- Coarse red sugar: Brings a merry red shimmer to the other half.
- Peppermint Kisses: The star of the show, adding a minty white chocolate twist to each bite.
With these ingredients in hand, you’re all set to whip up some holiday magic in the kitchen! Let’s get started.
How to Make
Once you’ve gathered all of your ingredients, you’re ready to make and bake these Peppermint Kiss Cookies. I’ll walk you through the easy steps below. I’ve also provided a full ingredient list and detailed instructions in the printable recipe card below.
- Start by preparing a classic sugar cookie dough with butter, sugar, flour, eggs, and vanilla. (I’ve shared the full ingredient list and instructions in the printable recipe card below.)
- Once the dough is ready, the fun can begin. I got creative and split my dough into two. I knew I wanted red cookies and green ones. You can make as many colors as you like or just one color or leave the dough plain. The choice is yours.
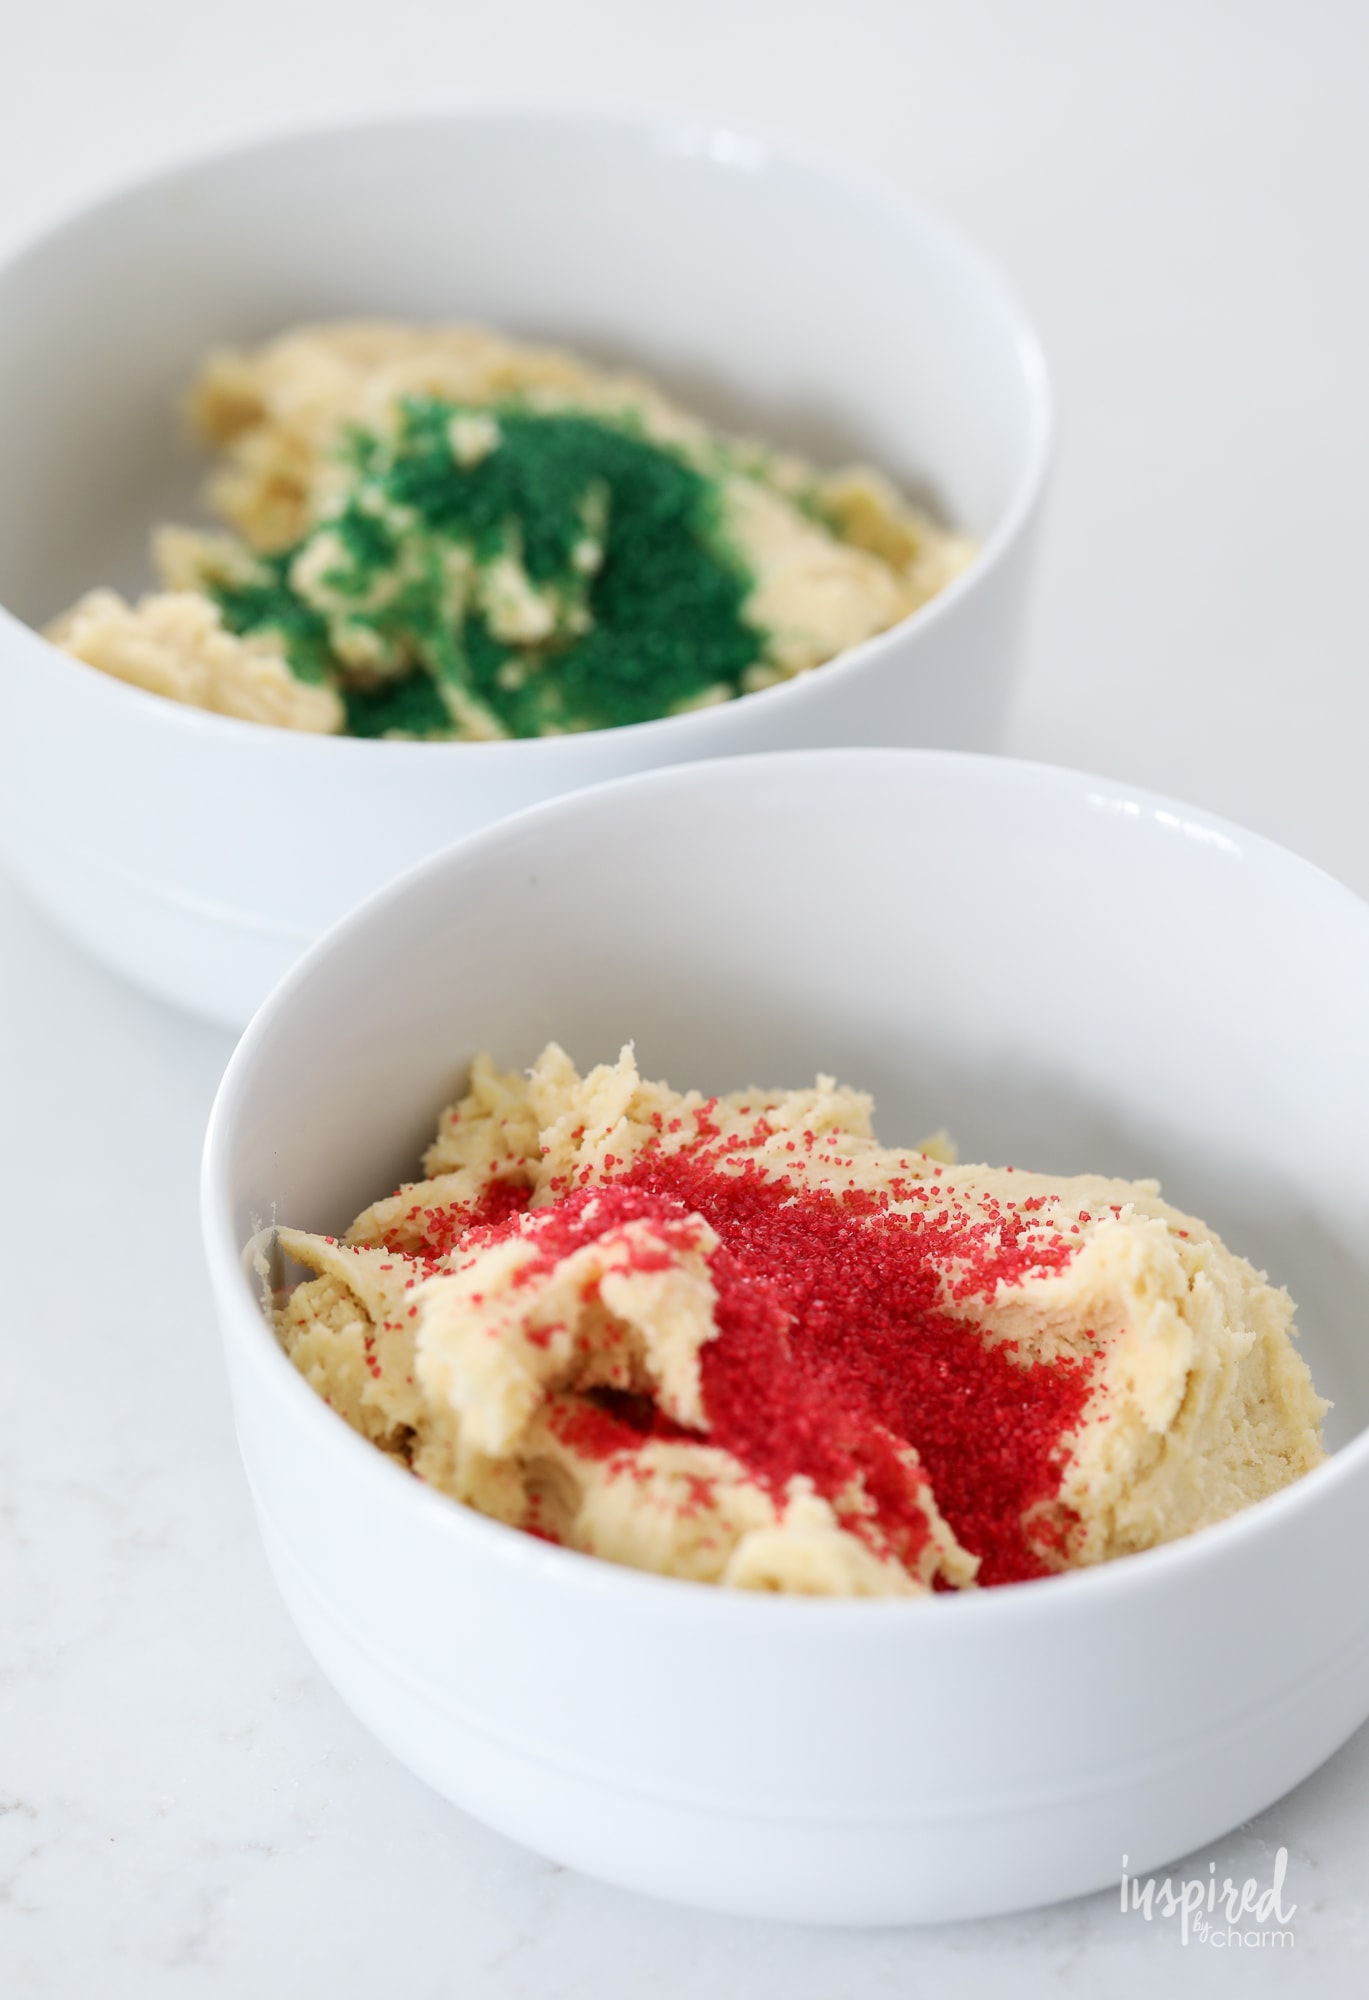
- To “dye” my dough, I added coarse green sugar to one half and coarse red sugar to the other half. It’s that easy.
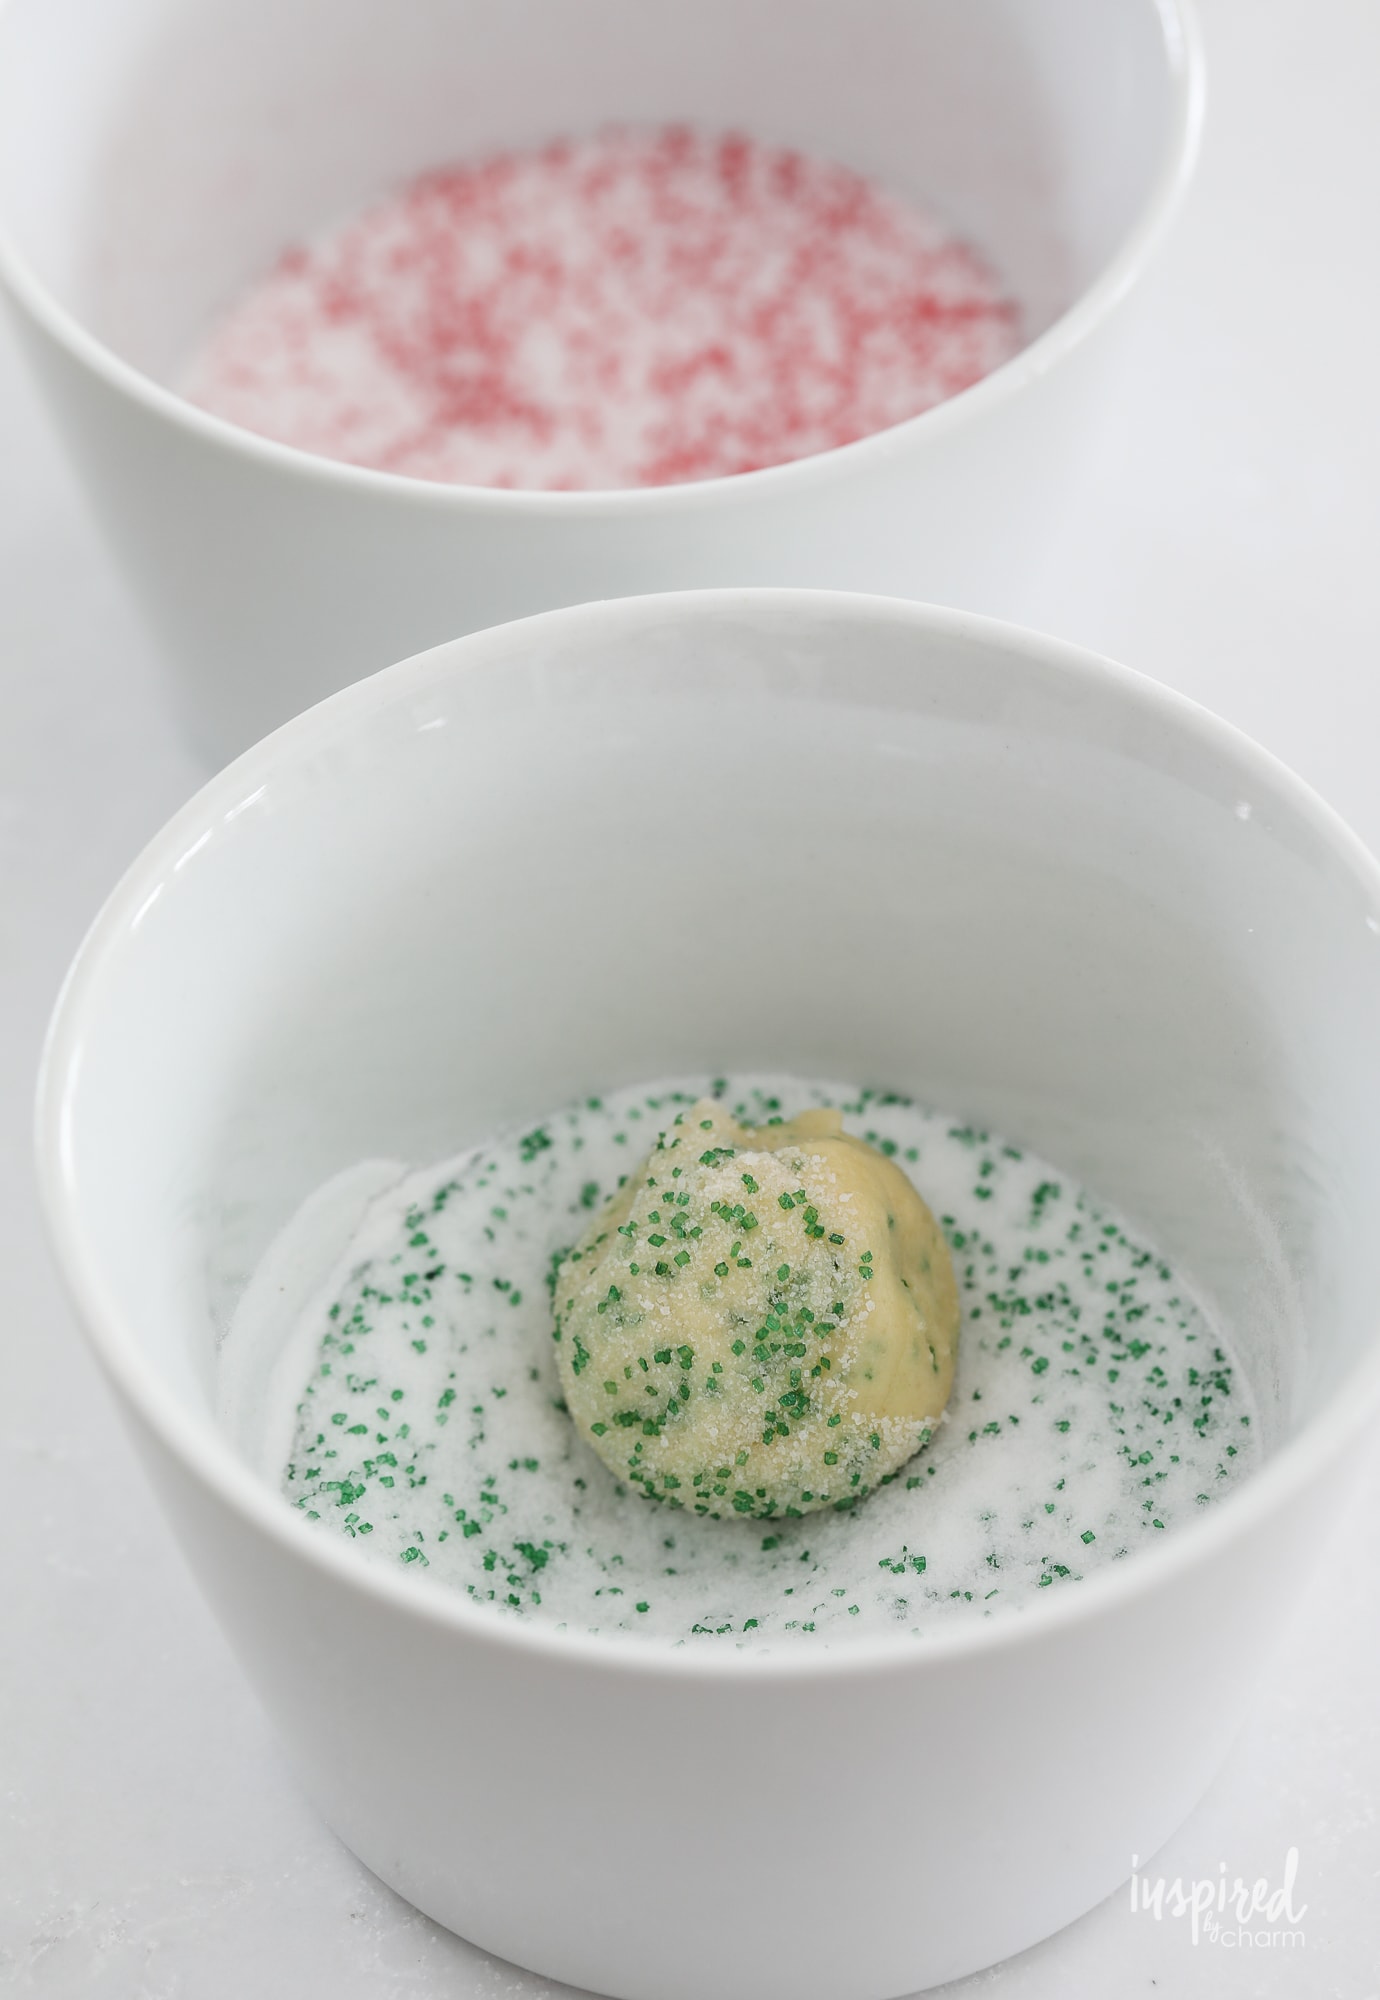
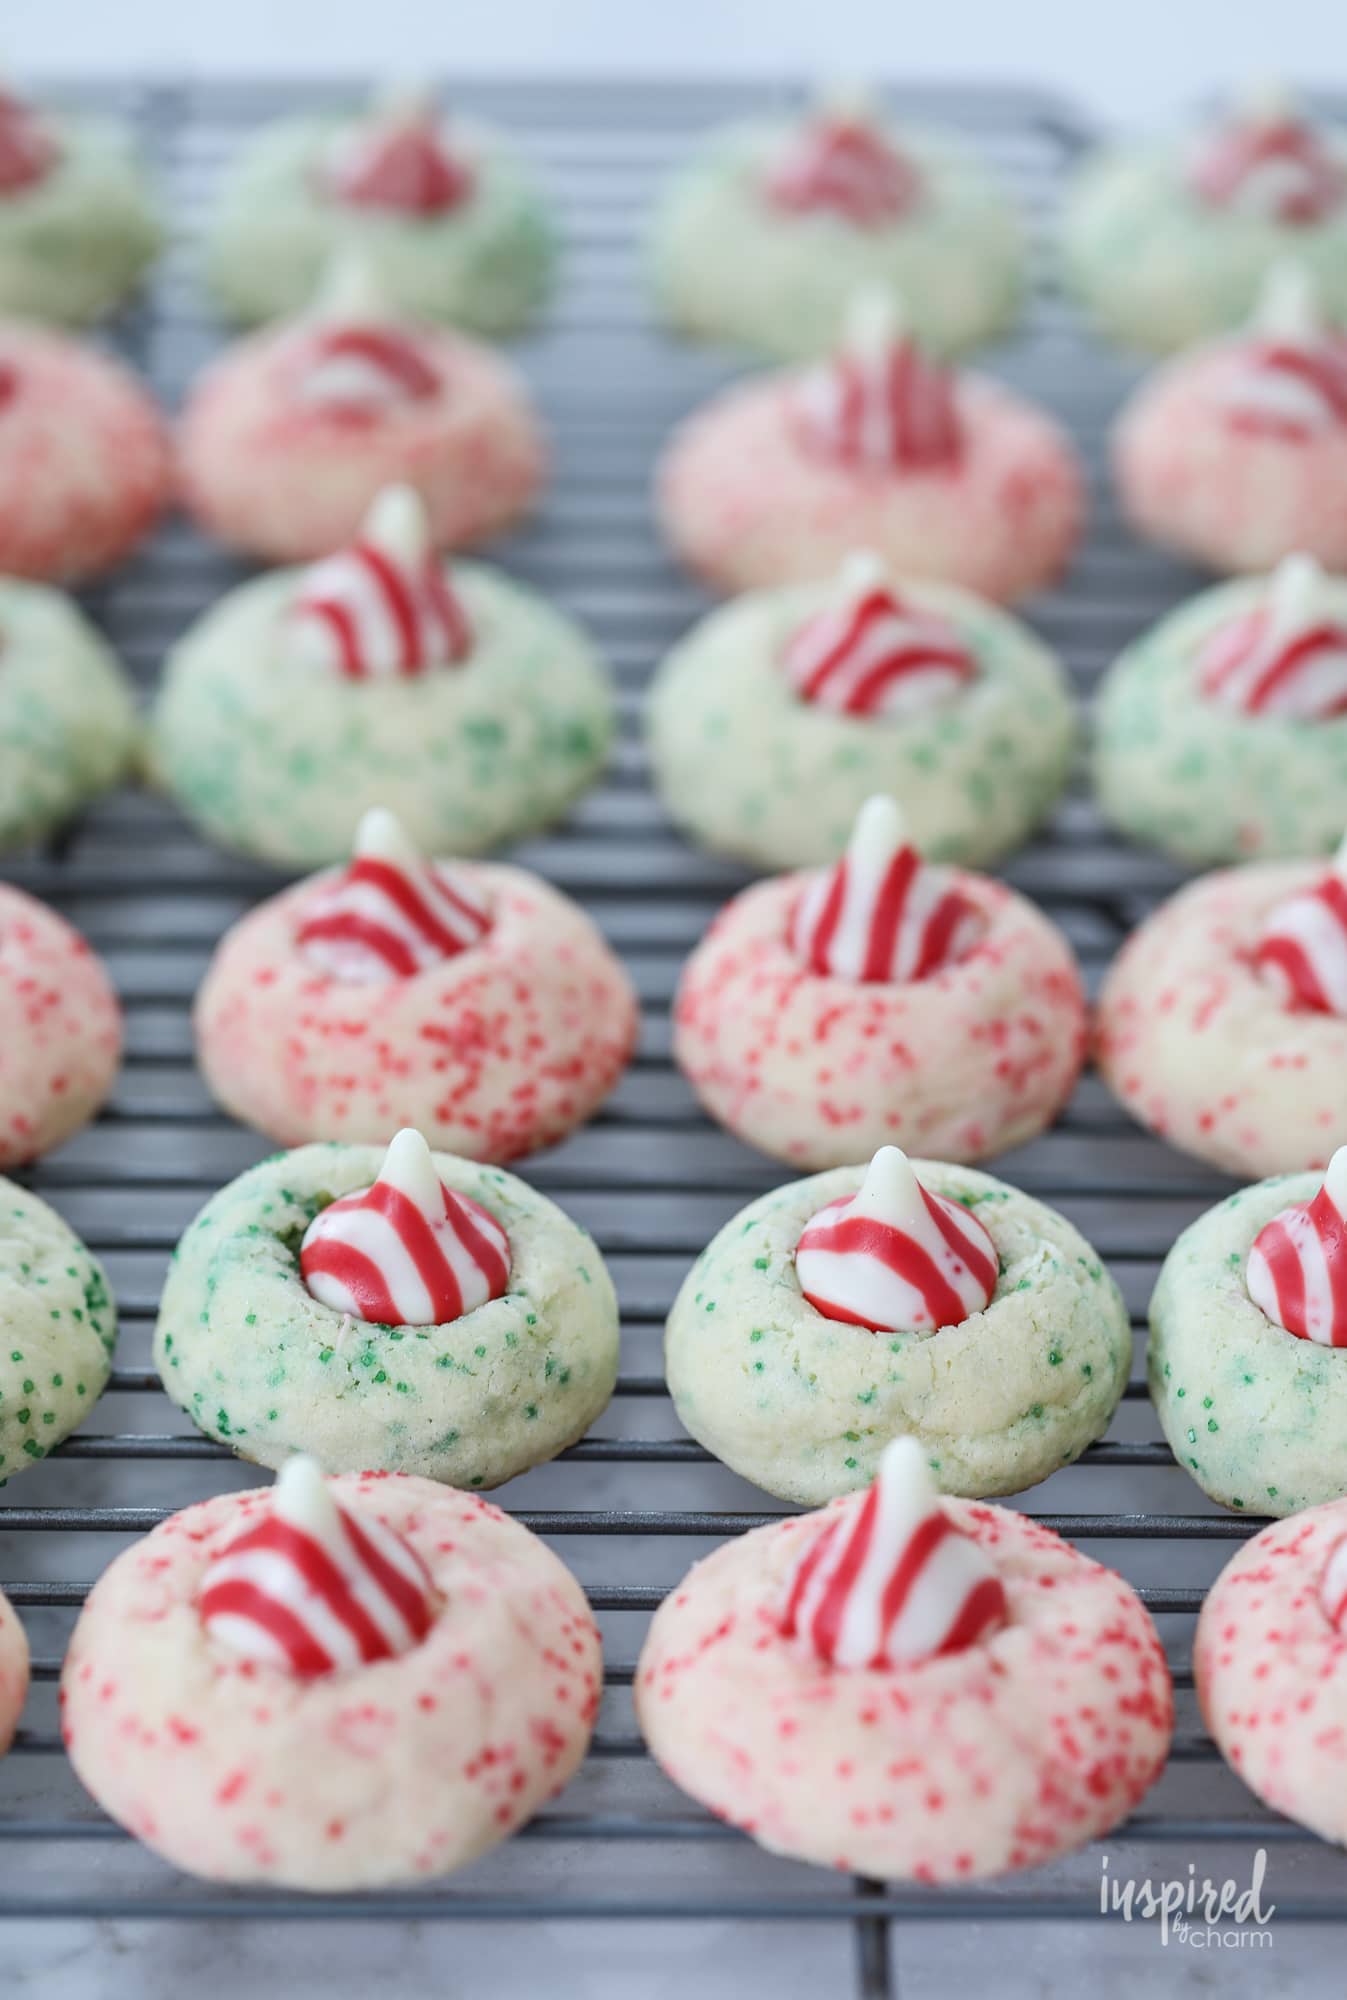
- The dough is then rolled into 1-inch balls. Before baking, the balls are rolled in more sugar. To make the color pop and give the cookies a little sparkle, I added some of the coordinating green and red sugars. While this step isn’t essential, it does brighten the cookies.
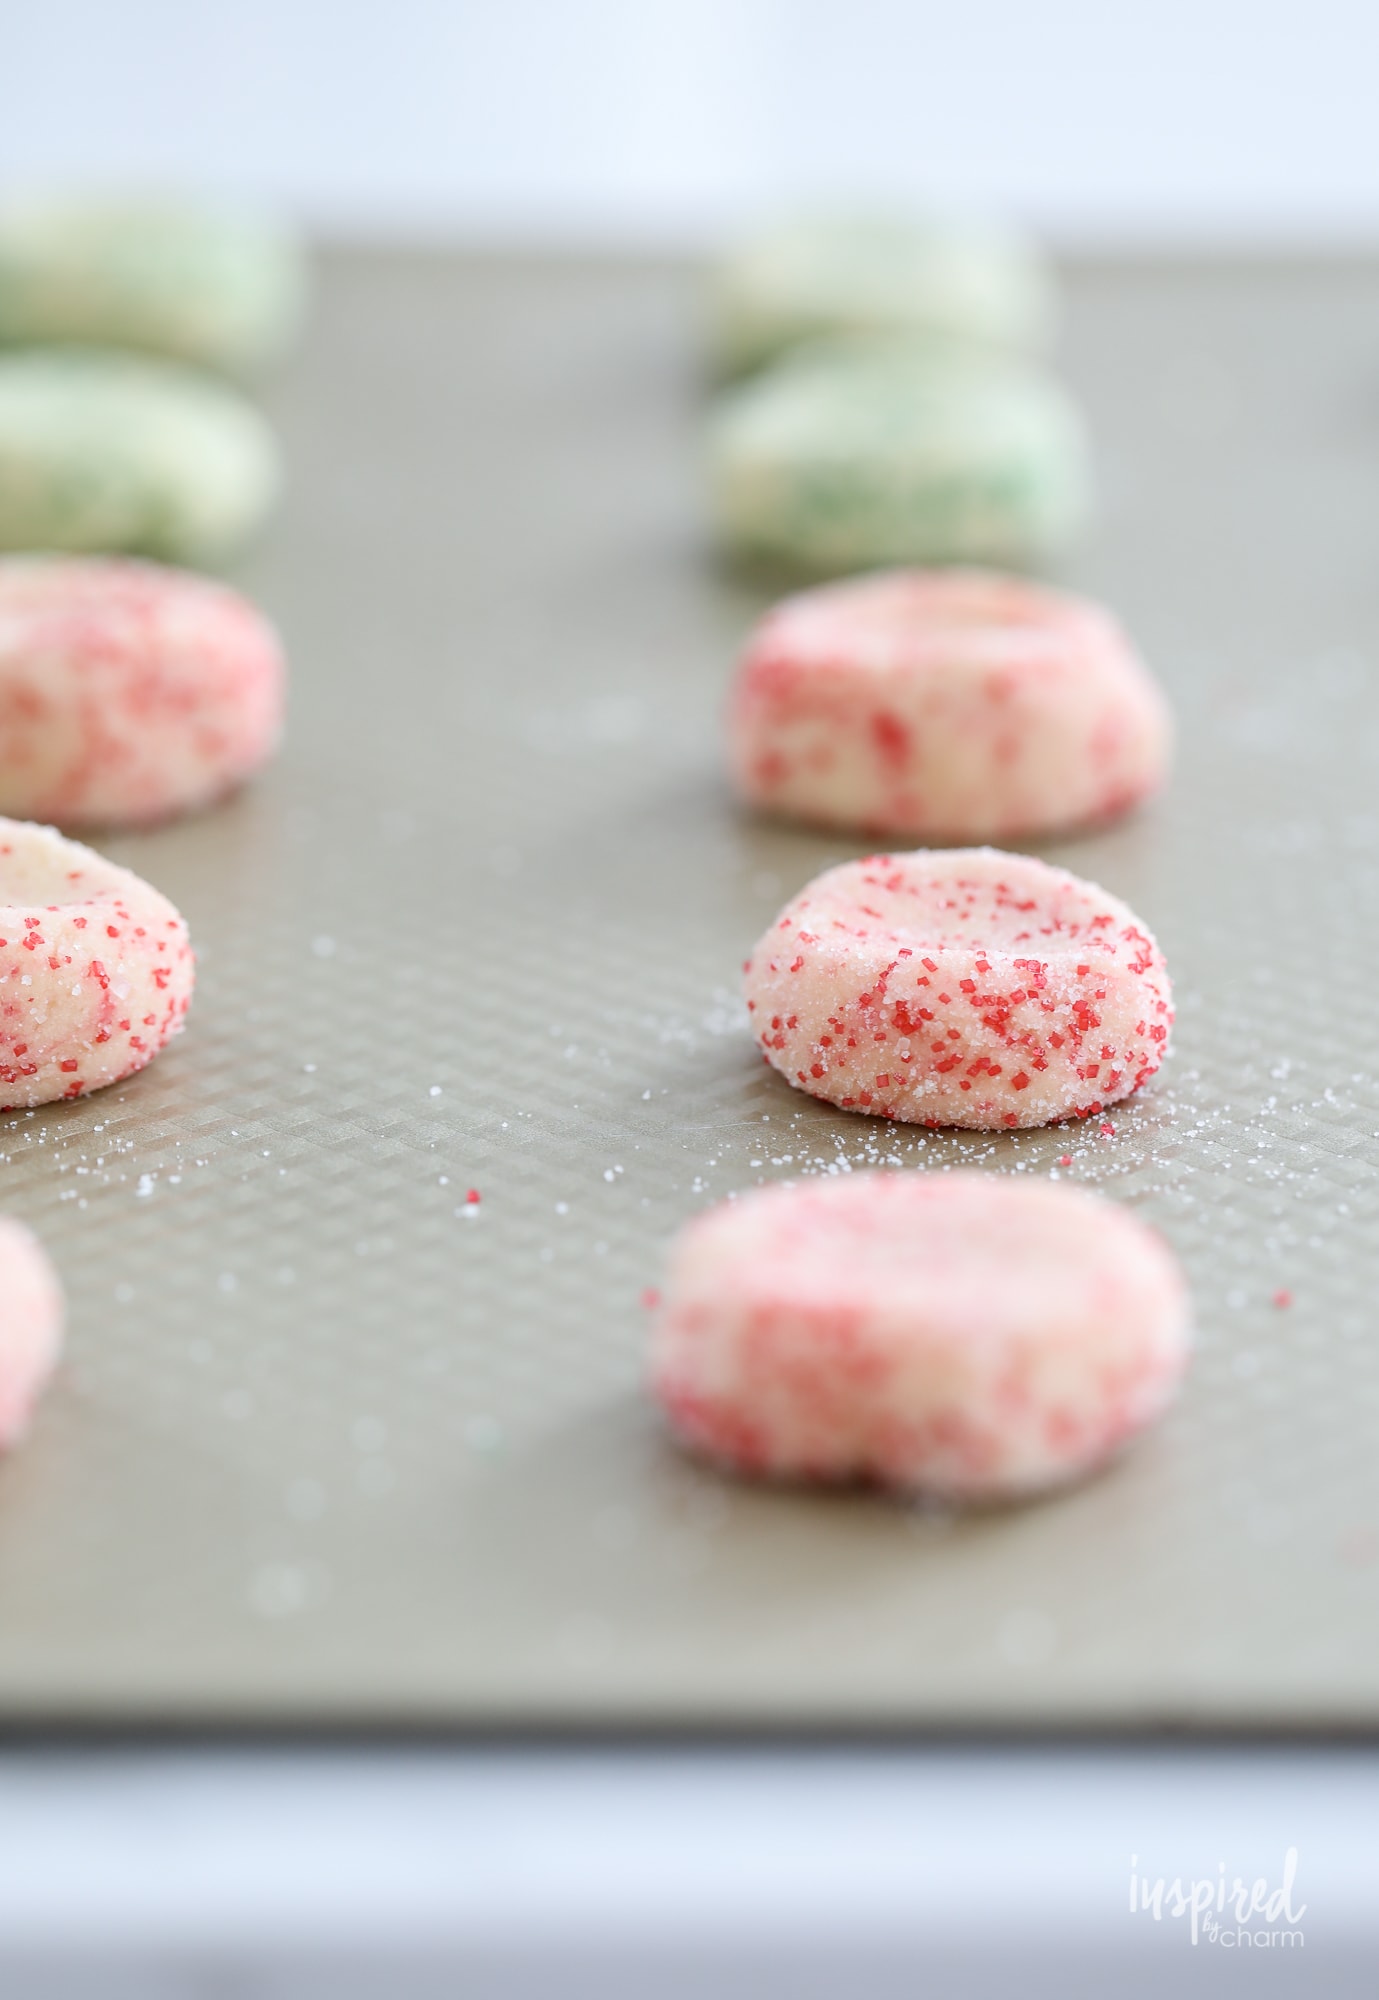
- Before baking, slightly flatten each ball of dough using your finger. This is an important step. You probably can tell that some of my cookies don’t look as flat as the others. That’s because I forgot to flatten that batch. (Oops!) While they still look and taste delicious, I prefer the flatter ones. – I make the mistakes so you don’t have to. You’re welcome.
- Now, you’re ready to bake!
- Once the cookies are baked, remove them from the oven and transfer them to a cooling rack. Because the peppermint kisses will melt more readily than standard chocolate kisses, you’ll want to allow your cookies to cool for 2-3 minutes before adding the kisses. Once you’ve put on the kisses, don’t touch or move the cookies. If you do, you run the risk of losing that classic kiss shape.

- When the Peppermint Kiss Cookies are completely cooled, you can pack and store them in an airtight container.
💌 SAVE THIS POST / RECIPE!
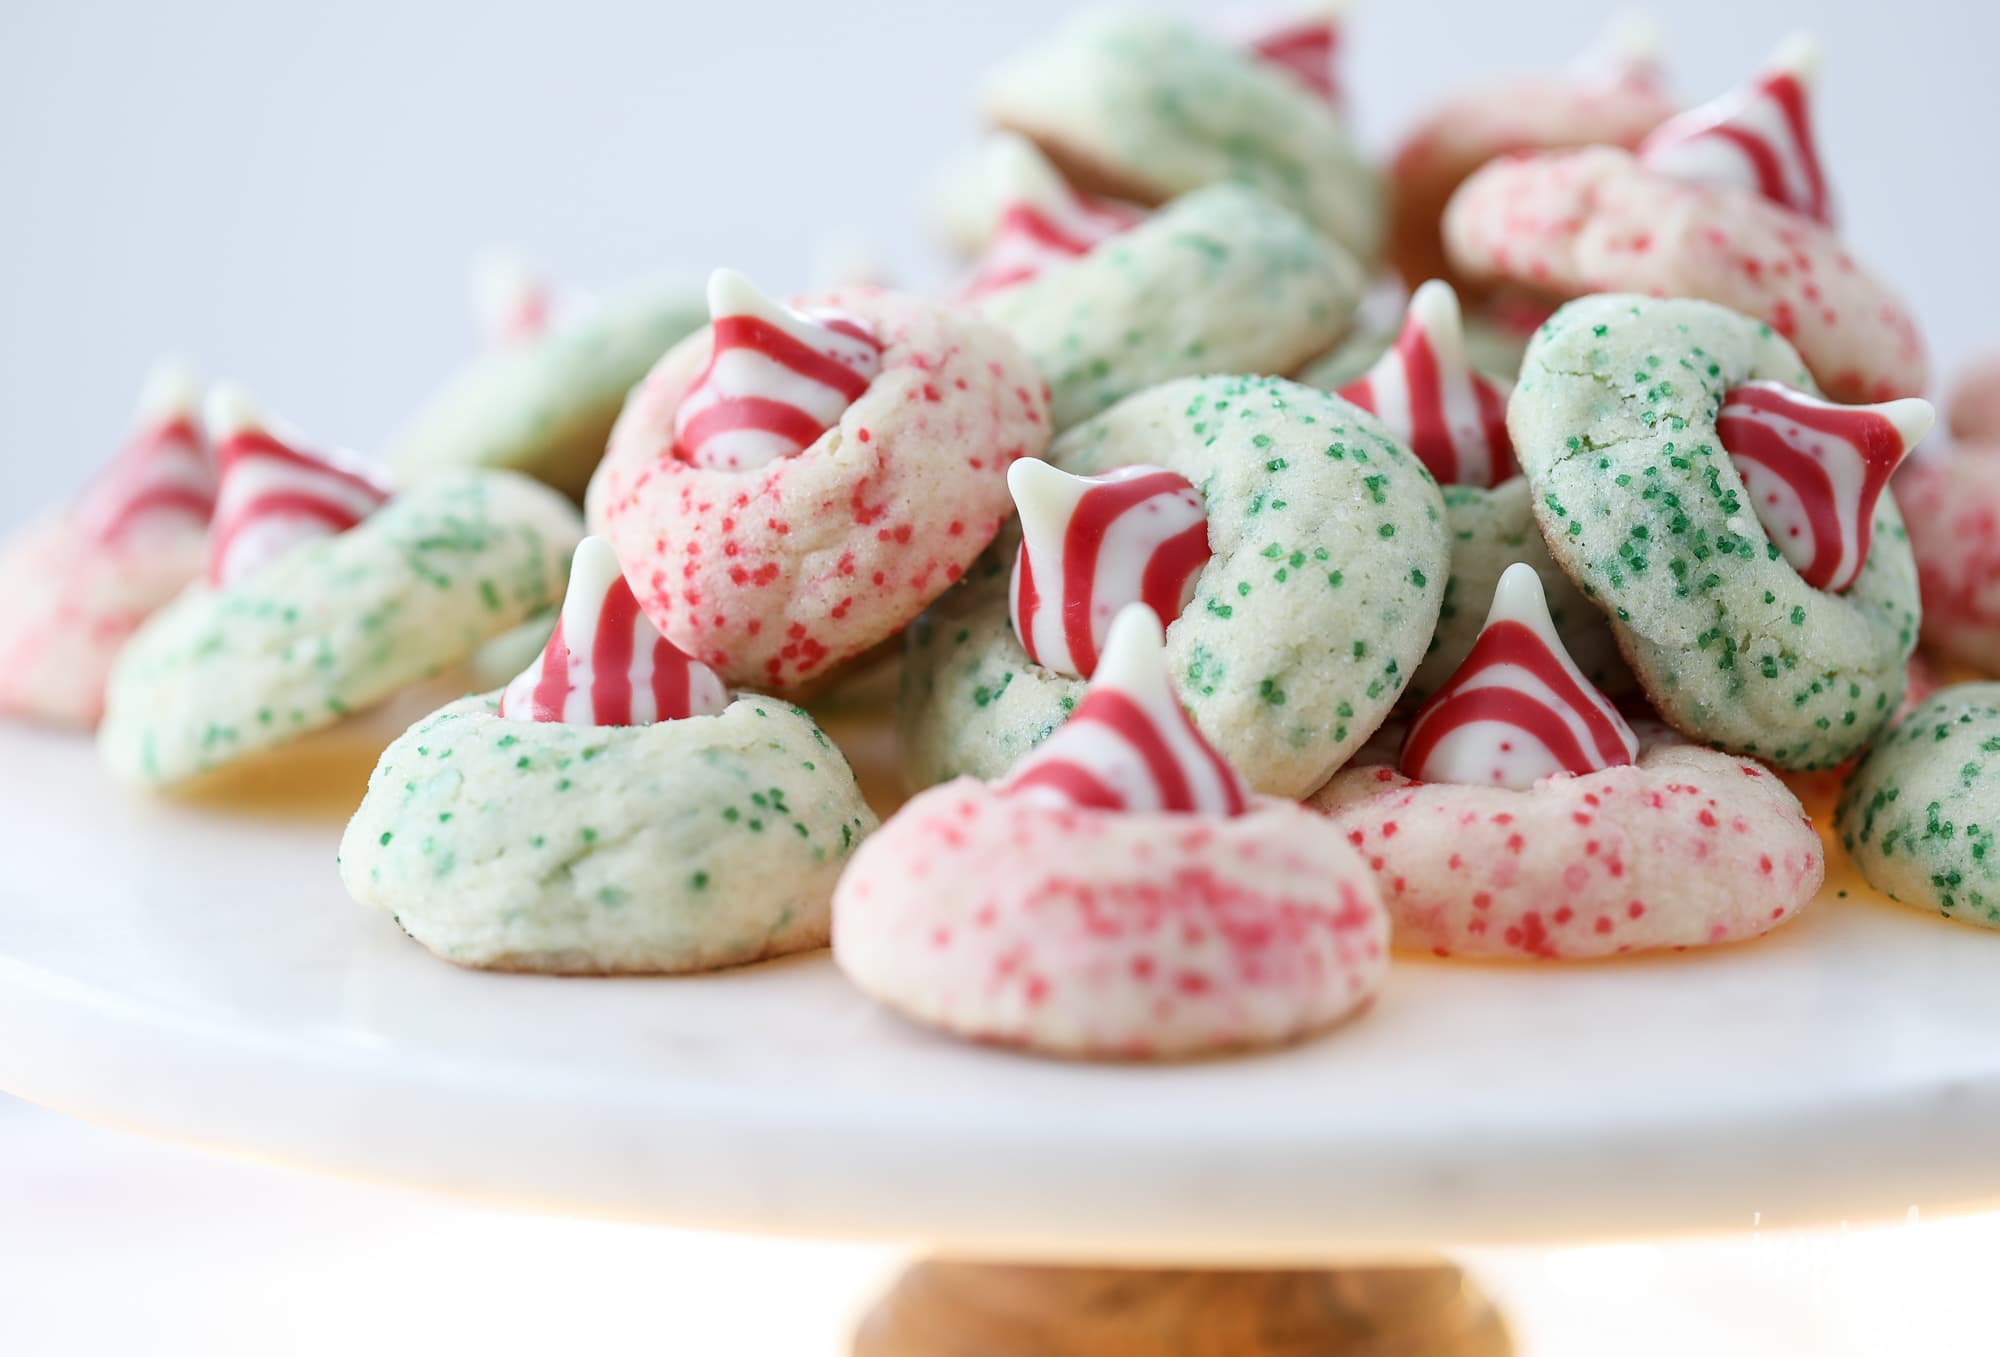
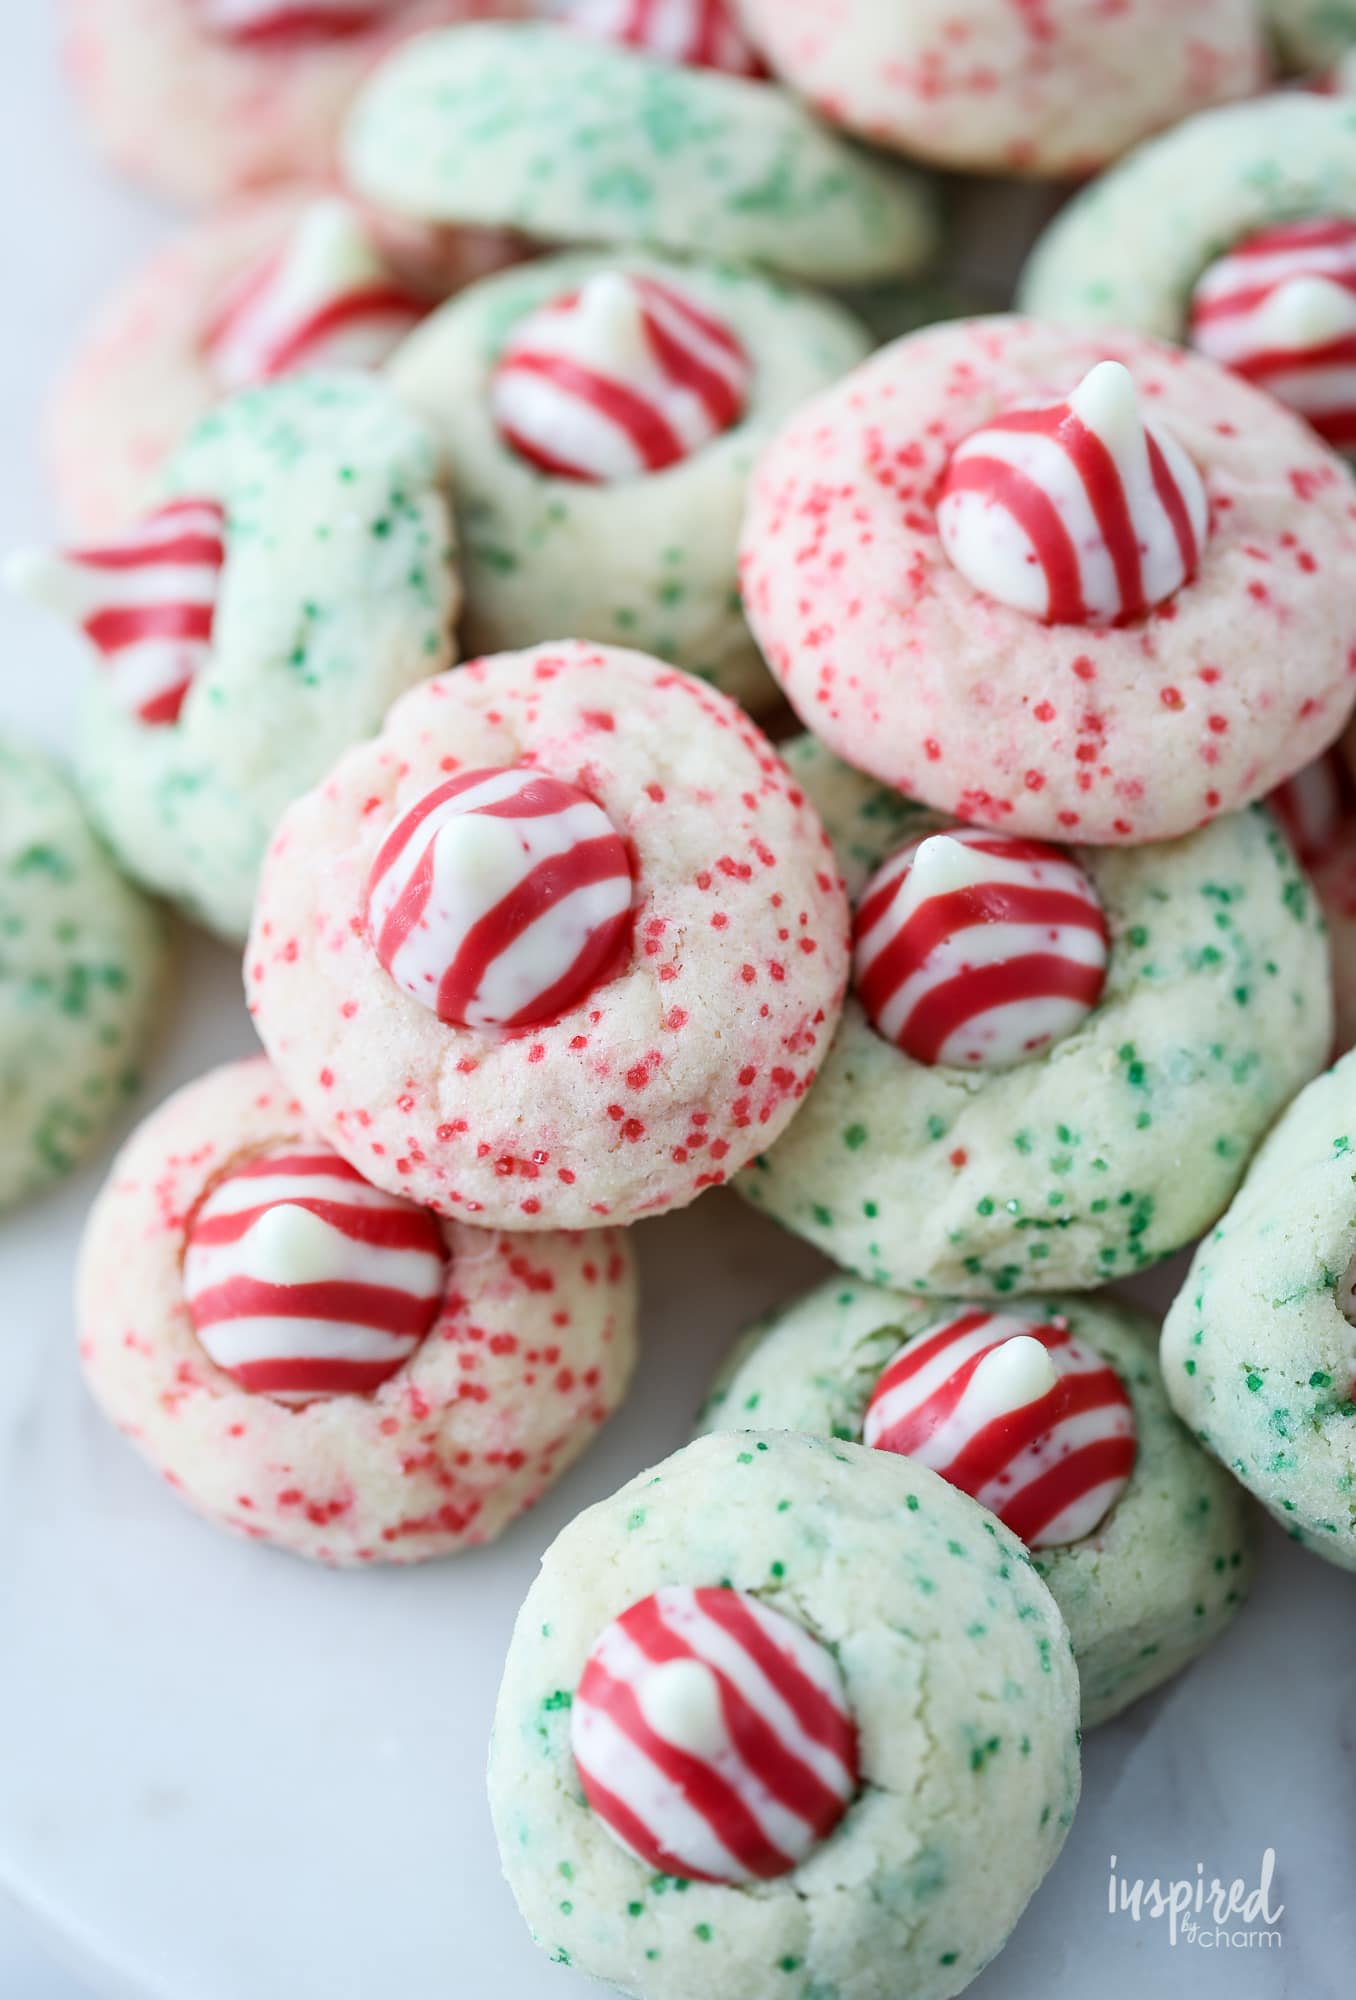
And just like that, your Peppermint Kiss Cookies are complete and ready for your cookie tray! (Or insert one or more directly into your mouth. I won’t tell. Besides, this is a judgment-free zone.)
This is an exceptionally delicious and colorful cookie recipe. With pops of red, green, and the candy cane stripe on the kiss, these cookies are perfectly festive!
If you’re looking for more of my Christmas cookie recipes, you’re in luck because I have a round-up post of my favorites. You can find all of my go-to Christmas cookie recipes here.
Frequently Asked Questions
Do I have to use unsalted butter?
While unsalted butter is recommended for this recipe as it gives you more control over the salt content, if you only have salted butter on hand, you can use it. Just reduce the added salt slightly.
How do I store these cookies?
Store them in an airtight container at room temperature. They’ll stay fresh for up to two weeks.
Can I freeze the dough for later?
Absolutely! Just roll the dough into balls, place them on a baking sheet, and freeze. Once frozen, transfer them to a zip-lock bag and store in the freezer. When you’re ready to bake, just add a couple of minutes to the baking time.
I can’t find Peppermint Kisses. Can I use another type of chocolate?
Yes, you can! While Peppermint Kisses offer a distinct holiday flavor, other chocolate kisses or even chocolate chunks can be used as a substitute.
My dough seems too sticky. What should I do?
If your dough feels too sticky to handle, you can refrigerate it for about 30 minutes. This will make it easier to roll and shape. A little flour on your hands will help too.
More Christmas Cookies You’ll Love
- Chocolate Dipped Neapolitan Cookies
- Peppermint Sugar Cookies
- Christmas Tree Gingerbread Cookies
- Christmas Pinwheel Cookies
- Whipped Shortbread Cookies
And there you have it: a delicious, colorful, and easy-to-make Christmas Cookie recipe. I think you’re going to love these Peppermint Kiss Cookies. If you do, please leave a comment and a 5-star rating below.
Want more from Inspired by Charm? Join the IBC Mailing List for inspiration in your inbox! Follow along on Instagram and TikTok for daily updates and behind-the-scenes looks at my processes. There’s even more inspiration on Facebook and Pinterest!
Peppermint Kiss Cookies
Ingredients
- 2 cups all-purpose flour
- 2 teaspoons baking powder
- 1/2 teaspoon salt
- 1/2 cup unsalted butter softened
- 3/4 cup sugar, plus 1/2 cup for garnish
- 2 eggs
- 1 teaspoon vanilla extract
- 1 tablespoon plus 1 teaspoon coarse green sugar*
- 1 tablespoon plus 1 teaspoon coarse red sugar*
- 36 Peppermint Kisses unwrapped
Instructions
- Begin by preheating your oven to 350 degrees F.
- In a bowl, whisk together the four, baking powder, and salt. Set aside.
- With an electric mixer, cream together the butter and sugar until light and fluffy. This will take 2-3 minutes. Then, mix in the eggs, one at a time. Stir in the vanilla extract.
- Add the prepared dry ingredients to the wet mix until just combined. Divide the dough in half and put each half in a separate bowl.* Add one tablespoon of green sugar to one bowl of dough and mix with a spoon to combine the dough and sugar. Then add one tablespoon of red sugar to the other bowl of dough and mix to combine.
- Divide the remaining 1/2 cup sugar into two shallow bowls. To one bowl, add 1 teaspoon green sugar; to the other bowl, add 1 teaspoon red sugar.
- Use a spoon, cookie scoop, or your fingers to spoon out 1-inch dough balls. Roll the dough in the palm of your hand to form a ball. Then roll the dough ball in the coordinating colored sugar. (That is, green dough in green and red in red.) Place the sugared dough ball on the cookie sheet. Repeat with remaining dough.
- Before baking, use your finger to gently press each dough ball to slightly flatten it. Bake for 8-10 minutes.
- Remove the cookies from the oven and transfer to a cooling rack. Wait 2-3 minutes; then place a peppermint kiss on each cookie, slightly pressing it into the cookie. The peppermint kisses melt easily, so do not touch or move the cookies until they are completely cool. Pack and store the cookies in an air-tight container.
- *You can use as many colored sugars as you’d like. Divide the dough accordingly.
What is step 2? Mix the 4?
“2. In a bowl, whisk together the four, baking powder, and salt. Set aside.”
xo Michael
Can you make the dough ahead? Should I make the balls and just refrigerate?
This was great! Made the recipe yesterday for a cookie party, they were a hit!
I have made these for several years but I only use red colored sugar and mix in some crushed candy canes to roll the dough in. Gives them a little more peppermint punch.
Would definitely make again
I love this recipe
Making these today. The dough came out SUPER sticky. It was like trying to roll cookies out of slime. Should the dough be refrigerated first?
Hmmm. No the dough doesn’t need refrigerated. I’m not sure what could have happened. I’ve seen several others make these with success and have not mentioned a sticky dough. Perhaps a measurement was off? Sorry I can’t be of more help.
xo Michael
Mine was really sticky too! I sprayed my hands with cooking oil spray before making the balls. Worked great and came out great!
I have to go to a cookie exchange very soon – these will be perfect! So festive. I love your recipes, especially desserts and appetizers – never fail!
Do you grease the cookie sheets?
Good morning Michael
I found you after seeing the article in Better Homes and Gardens. Love your beautiful home and can’t wait to dig into your blog. Just the few posts I’ve read I’m hooked. You are so creative.
I will definitely be making these cookies to add to my baking on Monday.
God bless you with a wonderful Christmas and a peaceful and happy new year.
After a lot of years of not baking any Christmas cookies I decided to make a nice big tray of all homemade goodies for a little family house party today. I made 5 kinds of cookies and arranged them all on my mother in law’s silver tray. Very pretty. Anyway, when I went to buy the peppermint kisses my local grocery store had every flavor but the peppermint. Undaunted, I decided to purchase the white chocolate kisses and use them. Well, when I went to make them I discovered I did not have any red or green sugar. What to do? I separated the recipe in 1/2 – one half I tinted the dough green and flavored it with peppermint. The other half I tinted pink and flavored them with cherry extract. They turned out beautifully and are delicious. I have so many cookies that I made up a separate tray for my brother and his family and my next door neighbor. Thanks for the inspiration. Merry Christmas!
Love this story! Thank you so much for sharing!! Your cookies sound beautiful!
xo Michael
wonderful cookies, love to serve these, very creative
It is so cute and pretty, the recipe is to easy and the cookie look delicious and yummy. I will definitely try this at home. Thanks for sharing.
So sweet! I love this idea and that you said “I make the mistakes so you don’t have to!” I will fearlessly make these cookies next weekend right after I buy a bag of those kisses! Thanks for sharing!
Pretty and pepperminty! Love it!!
Such a holiday classic! These look so sweet! Pinned! 🙂
I love the idea of mixing the sanding sugar with the dough! What a great cookie.
I am definitely making some of these this weekend. I bought a big bag of the candy cane kisses yesterday! Thanks for this!!!
They’re so very merry! Love it!
These are making all my peppermint dreams come true! YUM!!!