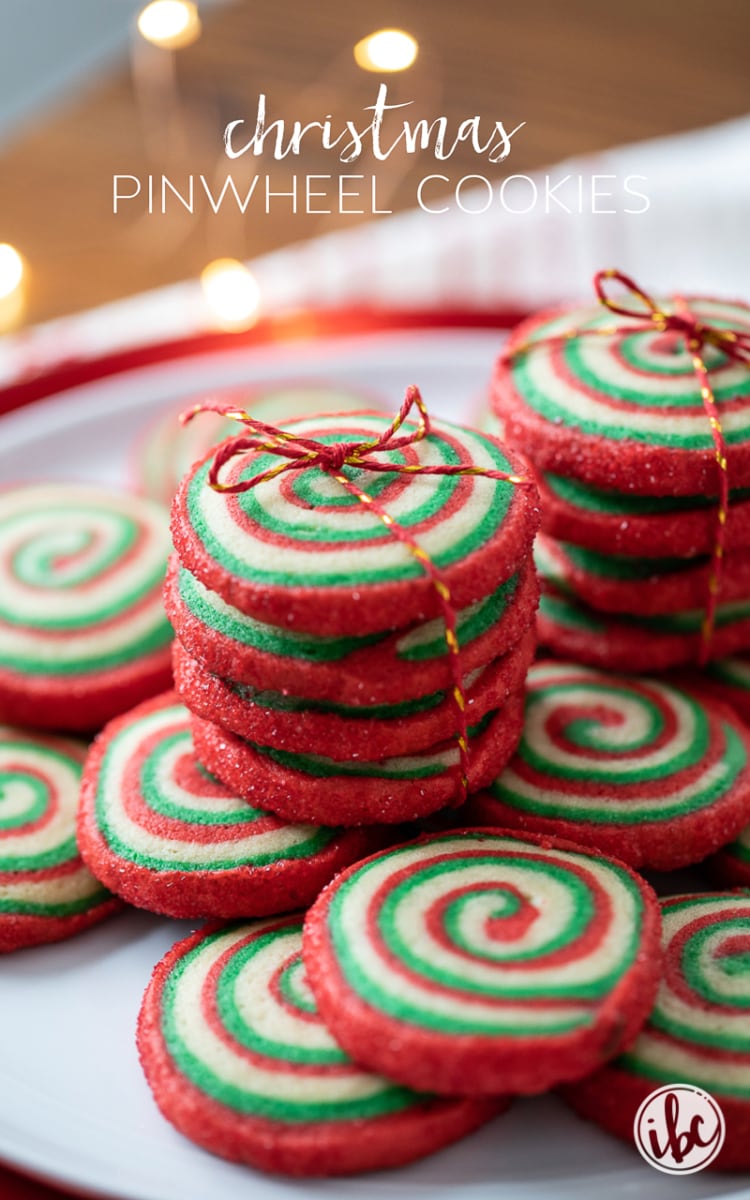
Christmas Pinwheel Cookies
This Post May Contain Affiliate Links. Please Read Our Disclosure Policy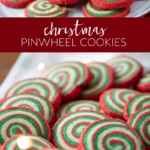
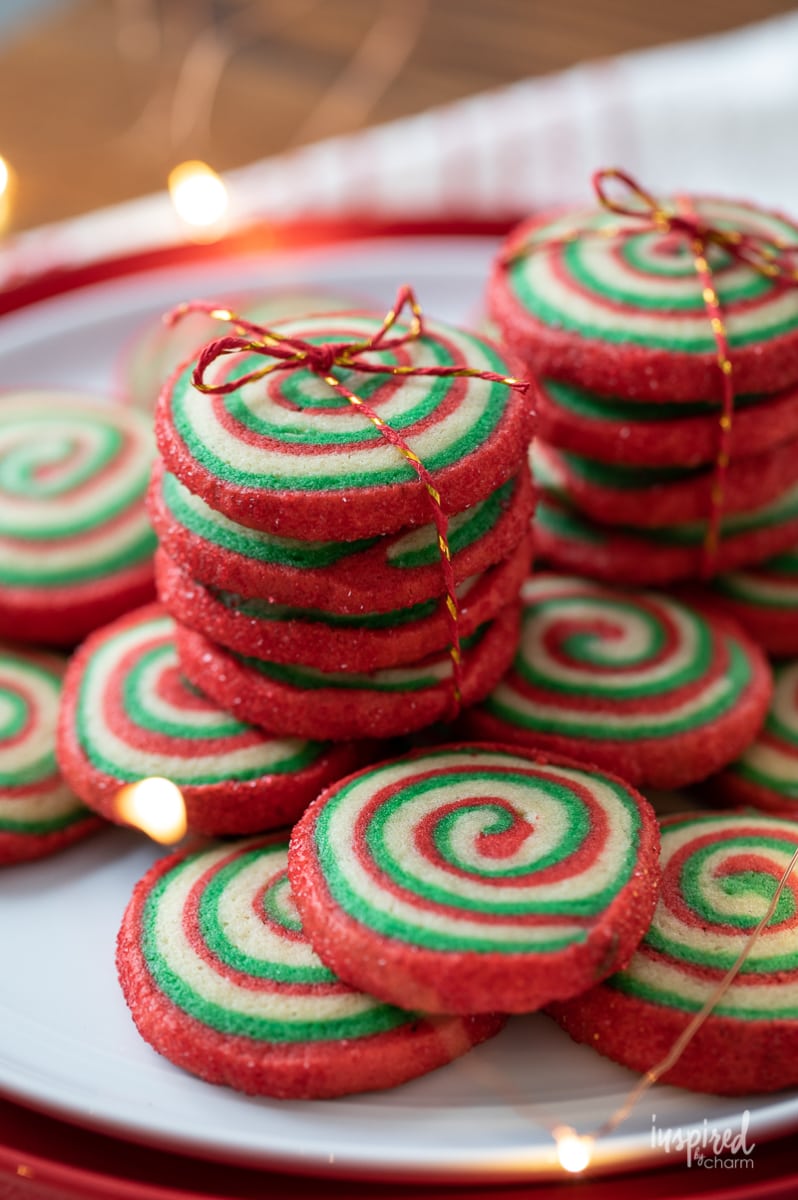
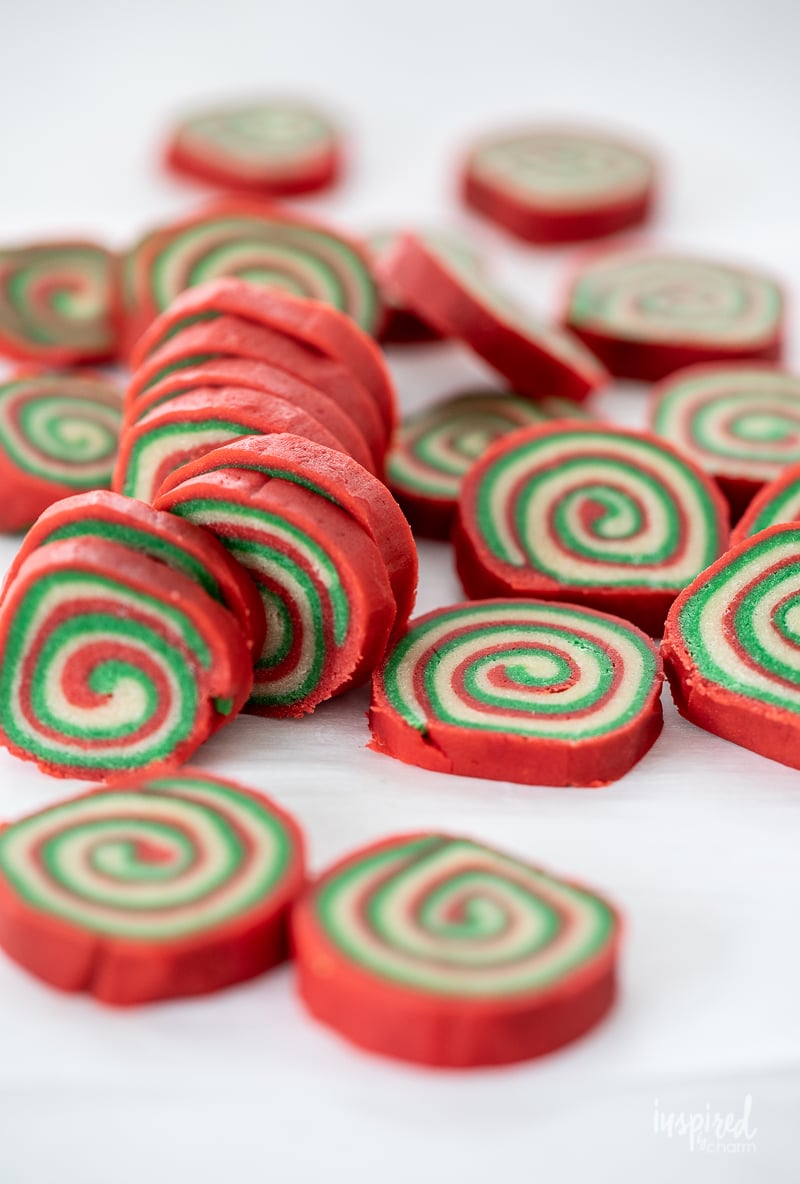
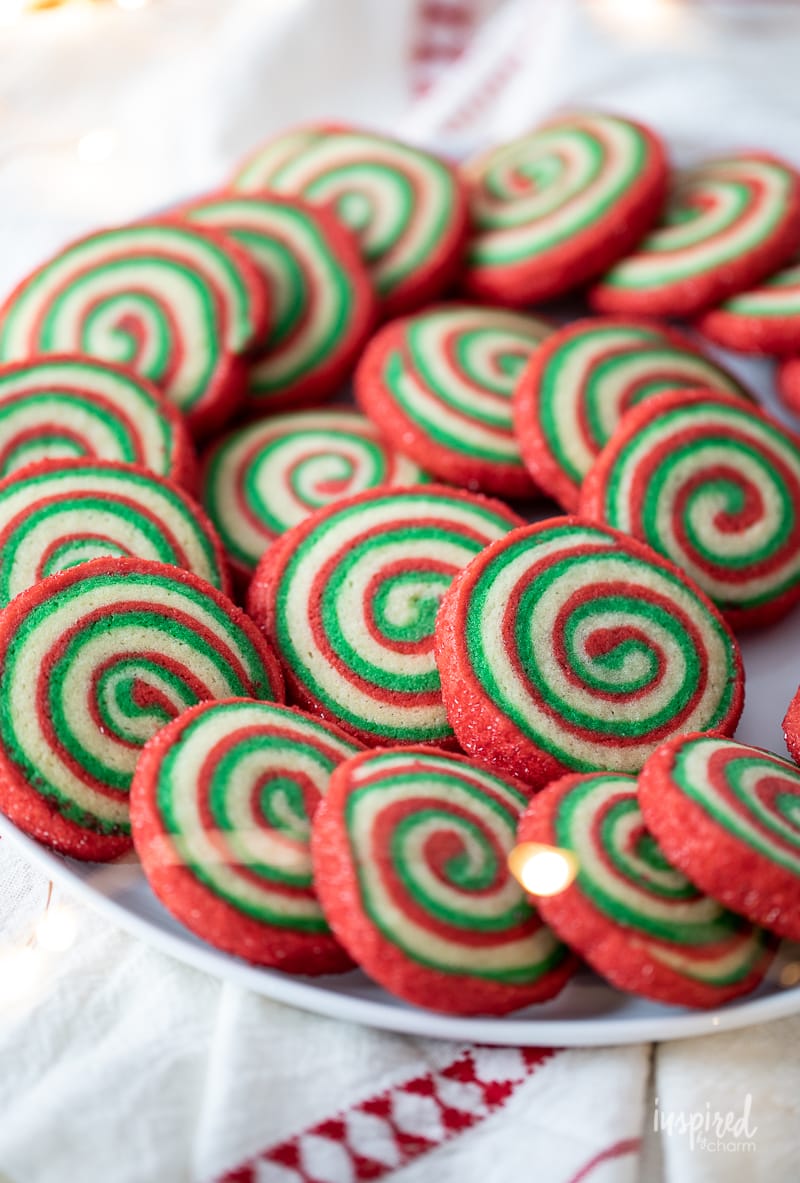
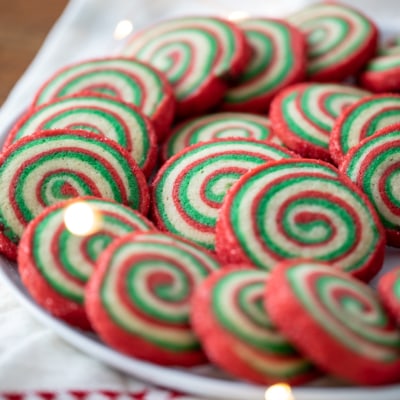
Brighten up your Christmas cookie platter with these vibrant Pinwheel Cookies. Their intricate swirl pattern is surprisingly easy to make. The result is a delicious, show-stopping, and festive holiday cookie recipe.
I have been wanting to make these Christmas Pinwheel Cookies for the past few years. Well, this year I finally decided to make them a priority and I’m so glad I did. They turned out better than I ever expected and are as delicious as they look.
This is one of those recipes that I believe has been floating around for many years (with many variations) in cookbooks, magazines, and online. And it makes perfect sense as they are eye-catching and relativity easy to make. They are essentially a slice-and-bake cookie, but do require a little bit of prep work to create that perfect swirl.
If you’re unfamiliar with the term slice-and-bake, it’s essentially just a log of cookie dough that you slice into round discs and bake in the oven. In fact, once you make this dough, you can freeze the log until you’re ready to bake. If you do all of the prep work in advance, then you can have these fun and festive pinwheel cookies whenever the mood strikes.
If you’re looking for more of my BEST Christmas cookie recipes, I have an entire post dedicated to them. It’s a fantastic collection of classic cookies and new favorites.
While the process to make these cookies is generally pretty easy, it does take a few steps and there is some chilling time between each of the steps. So while it’s not hard, it will take some down time to get them completed.
Why You’ll Love This Recipe
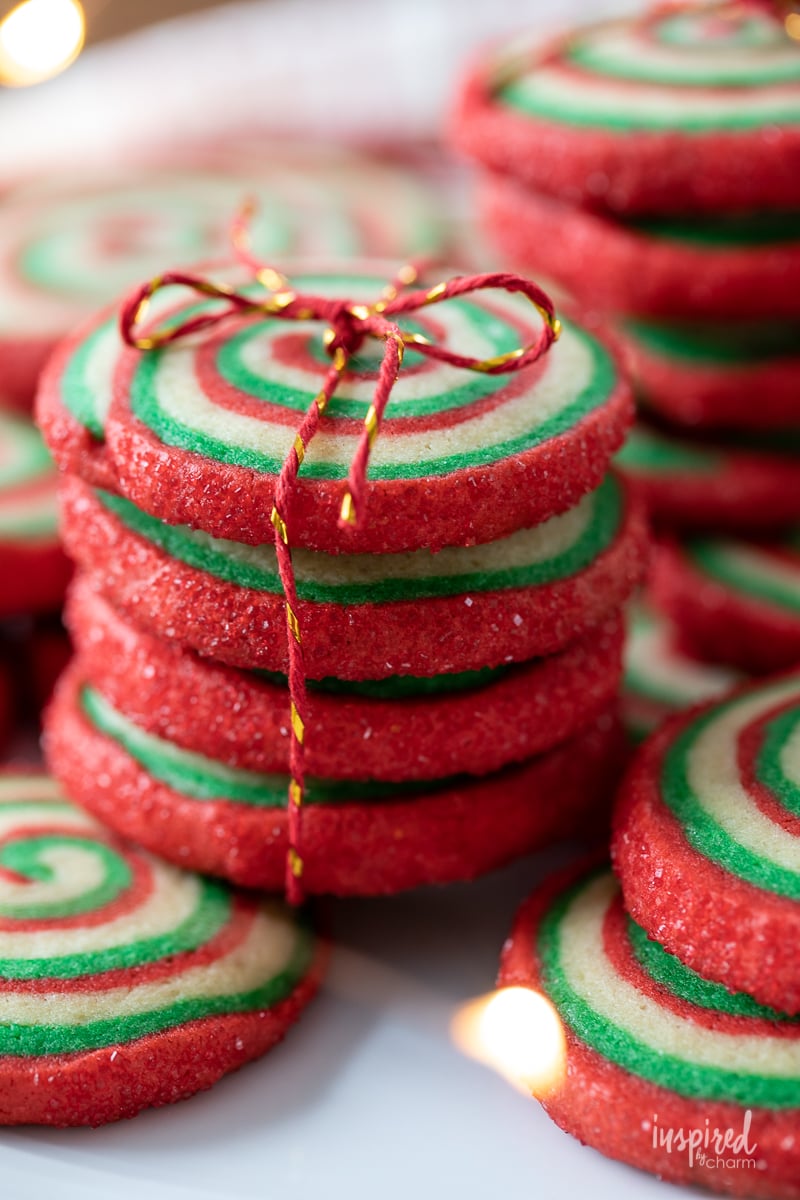
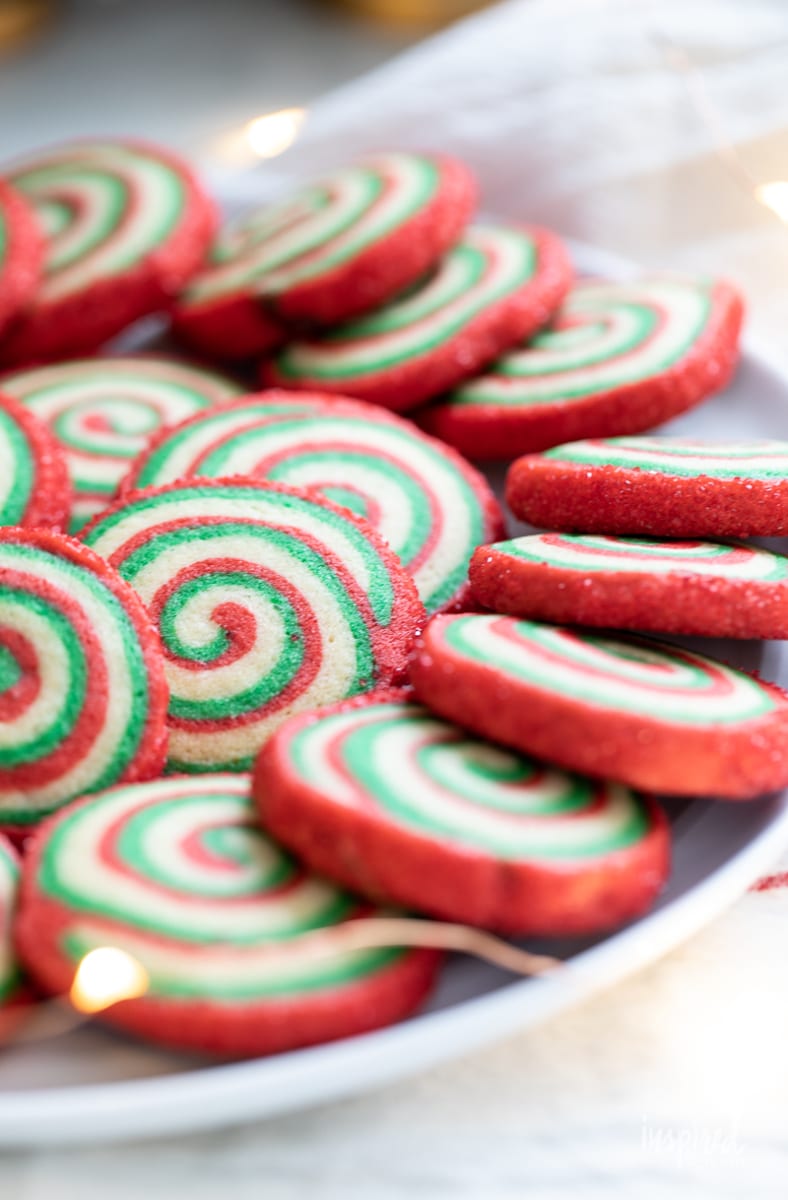
- Stunningly Festive: The vibrant red and green swirls, coupled with the classic cookie dough hue, scream holiday cheer. Every plate you set out will have that “wow” factor.
- Simple Magic: These might look intricate, but trust me, it’s all about stacking and rolling. If you’ve ever made regular slice-and-bake cookies, you’re already a pro at this!
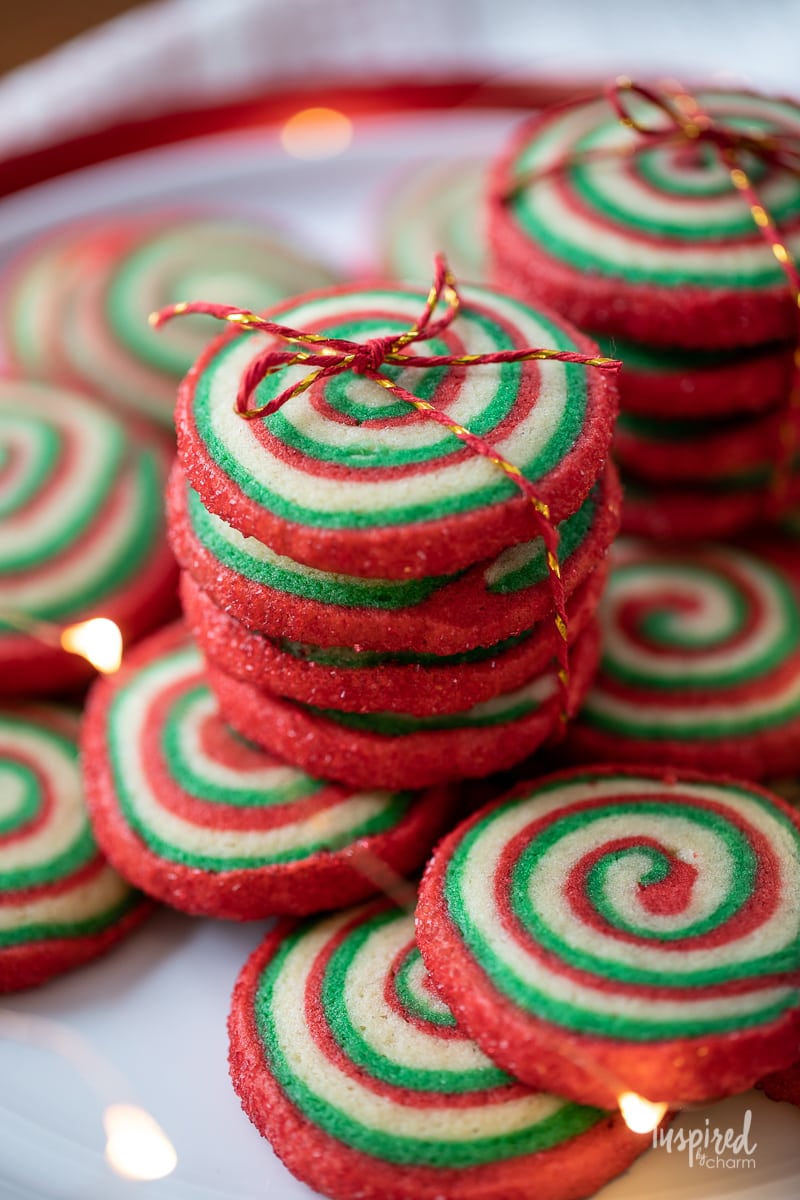
- Shareable Delight: These cookies are the ideal gift. Package them up for neighbors, teachers, or just bring a batch to your next holiday get-together. They’re as delightful to gift as they are to receive.
- Memory Makers: These cookies aren’t just treats; they’re an experience. Making them can become a cherished holiday tradition that you’ll look forward to year after year.
Looking for more holiday treats? Check out this collection of my best Christmas cocktail recipes or these gingerbread inspired recipes.
Ingredients
Isn’t it wonderful when a delightful recipe calls for ingredients you most likely already have? Take a peek into your pantry and fridge, and you’ll probably find you’re all set to whip up these dazzling cookies.
- Unsalted Butter: The foundation for our cookies, it ensures they’re rich and melt-in-your-mouth delightful.
- Sugar: It’s not just for sweetness! Sugar gives our cookies their delightful texture and golden hue.
- Egg: The binder of our dough, ensuring our cookies have a lovely consistency with just the right amount of moisture.
- Vanilla Extract: A little splash brings a world of flavor. This aromatic extract elevates the cookie to a gourmet level.
- All-Purpose Flour: The backbone of our cookies. It provides the structure, ensuring they hold their pinwheel shape perfectly.
- Kosher Salt: A pinch of this balances out the sweetness, making the flavors pop even more.
- Baking Soda: Our secret lift agent! It makes sure the cookies have a slight puff, giving them a dreamy texture.
- Red and Green Gel Food Coloring: The show-stoppers. These hues turn our simple cookie dough into festive spirals of holiday joy. These are my favorite.
- Red Sanding Sugar: This sparkling gem isn’t just for looks! It adds a delightful crunch and a touch of extra sweetness to the exterior of the cookie.
With these ingredients on hand, you’re all set to bring some holiday magic into your kitchen!
How to Make
Now that you have all the ingredients ready, we’re ready to get swirling. Literally. I’ll walk you through the recipe steps for these pinwheel cookies below. I’ve also provided a full ingredient list and detailed instructions in the printable recipe card at the end of this post.
- Add the butter and sugar to the bowl of a stand mixer. With the paddle attachment, beat at medium speed until creamy: about 3 to 4 minutes. Add the egg and vanilla and beat well. Scrape down the sides of the bowl as necessary.
- In a medium bowl, add the flour, salt, and baking soda. Whisk to combine. With the mixer on low speed, gradually add the flour mixture and beat to combine. Remove the dough from the bowl and divide it into thirds.
- Return one portion of the dough to the mixing bowl, add in the red food coloring, and beat until evenly colored. Remove the dough, wipe the bowl clean, and repeat with another third of dough and the green food coloring. The final third of the dough requires no food coloring. Shape each portion of the dough into a ball, wrap in plastic, and refrigerate for 1 hour.
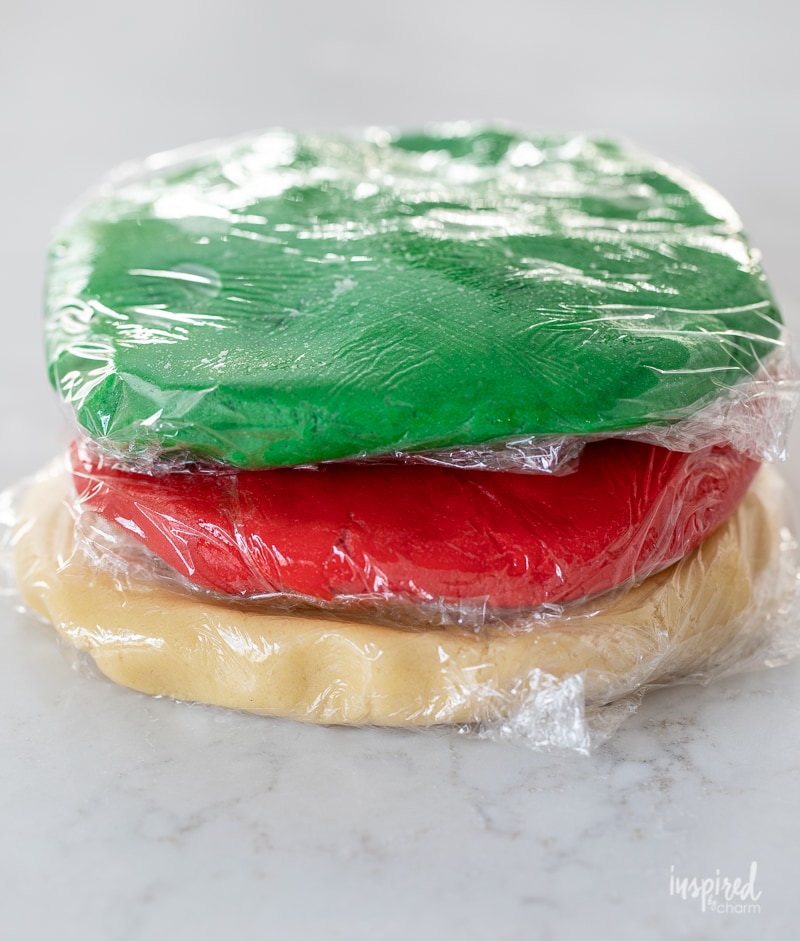
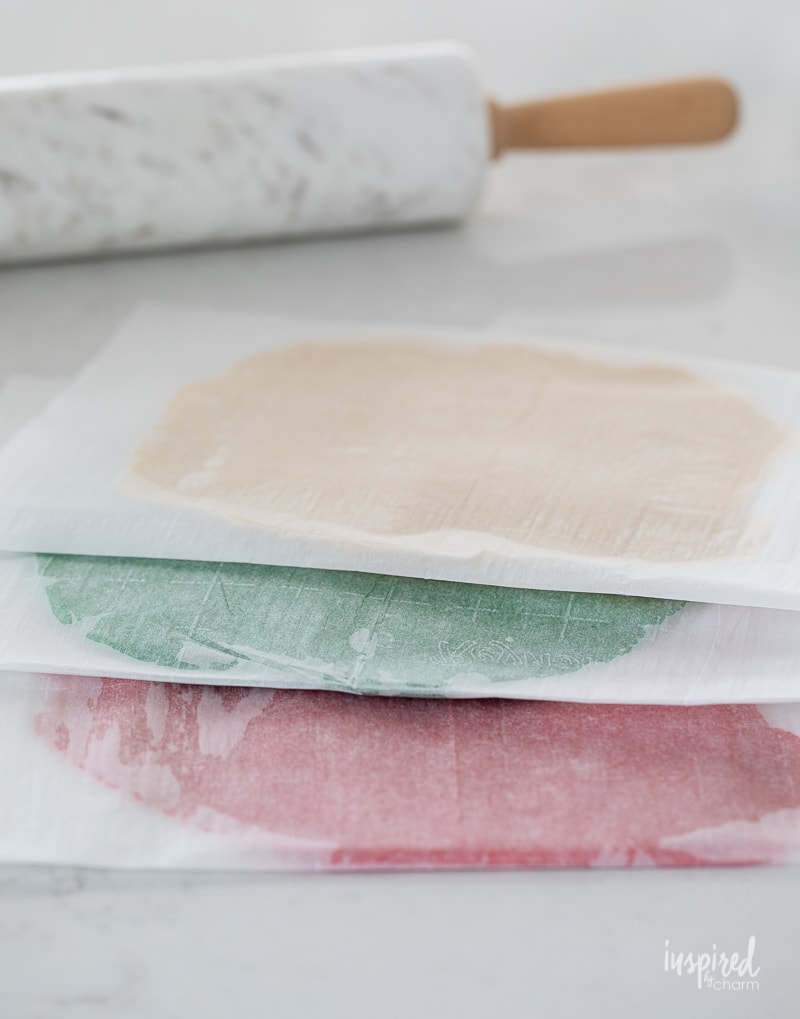
- Remove from the refrigerator and roll each ball between two sheets of parchment paper into a 7-inch square. Refrigerate the dough again, keeping it between the parchment paper.
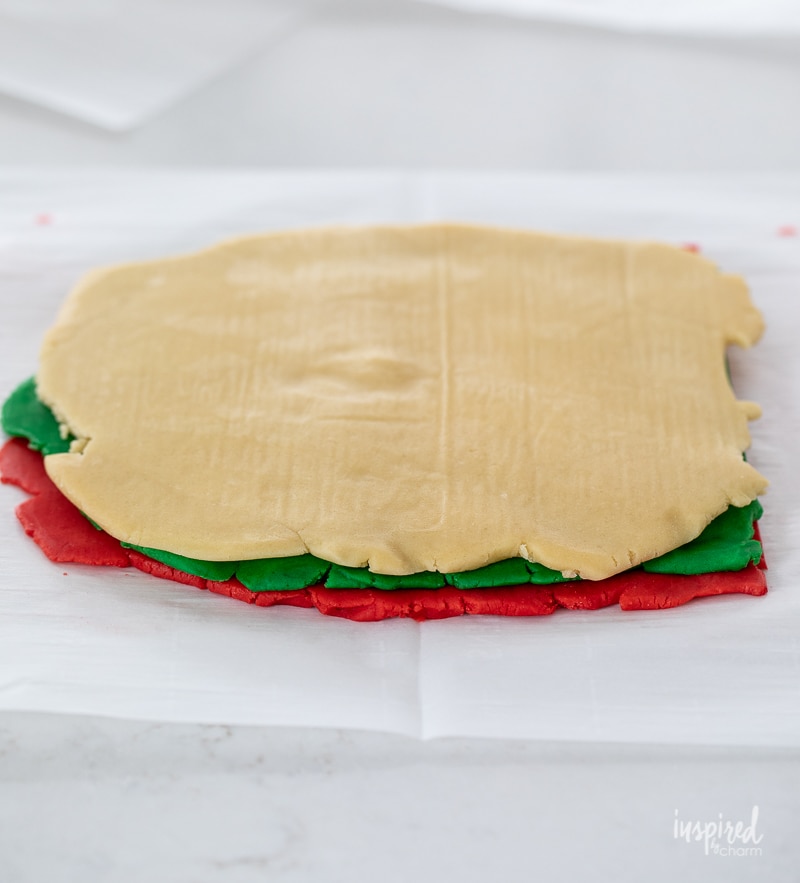
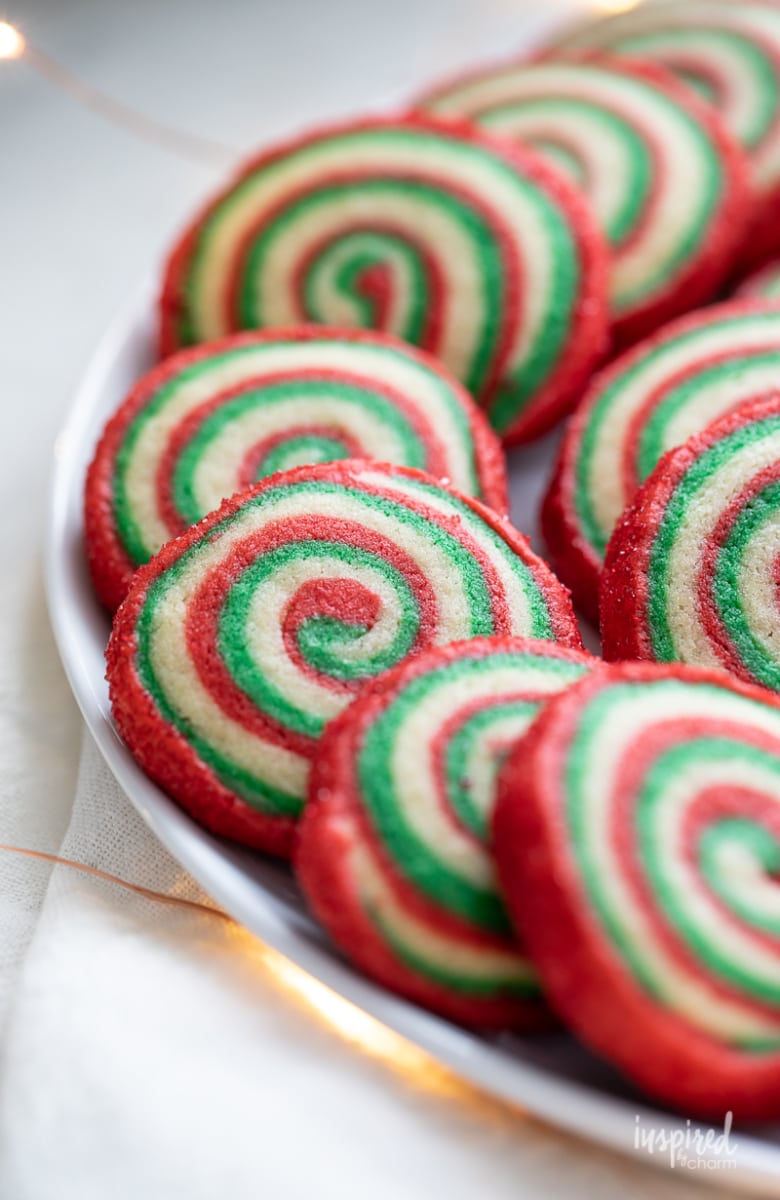
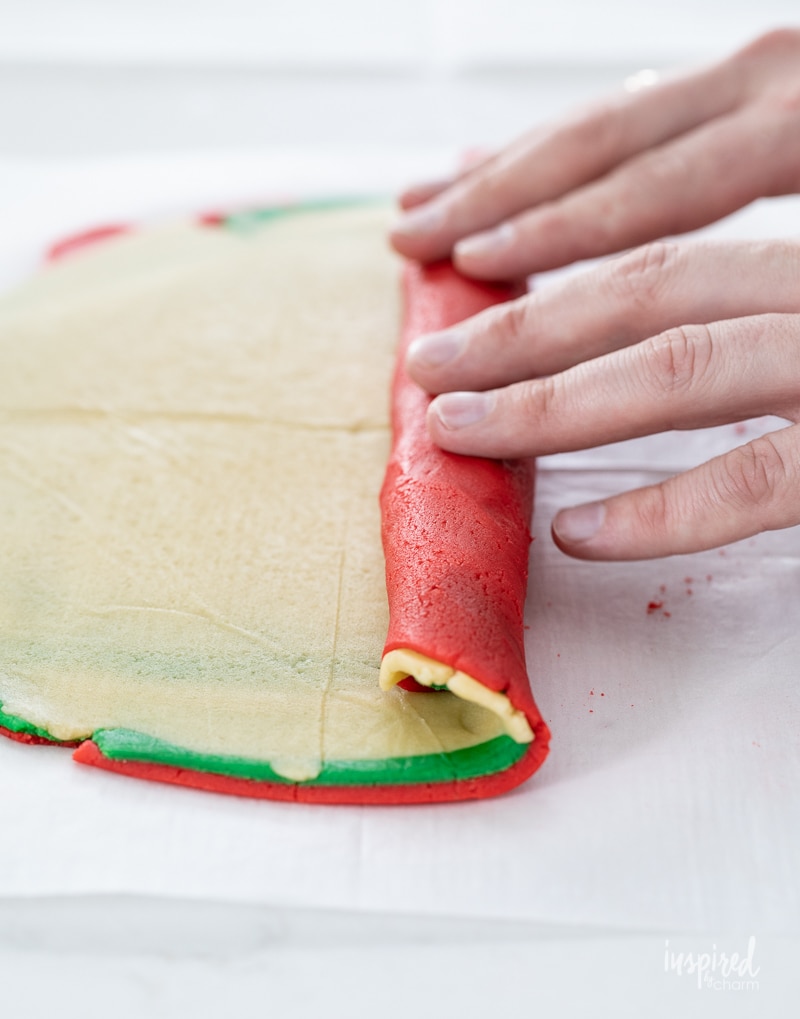
- Stack the dough onto a piece of parchment paper starting with the red, followed by the green, and ending with the plain. Add a piece of parchment paper to the top and roll out the dough into a 12×8-inch rectangle. Remove the top sheet of parchment paper. Then, starting on one of the long sides, tightly roll up the dough into a log. The tighter your roll, the more rings you’ll have inside your cookie. Wrap the log in the parchment paper and freeze for one hour.
- Now it’s time to bake them! Start by preheating your oven to 350 degrees F. Line two baking sheets with parchment paper and set aside.
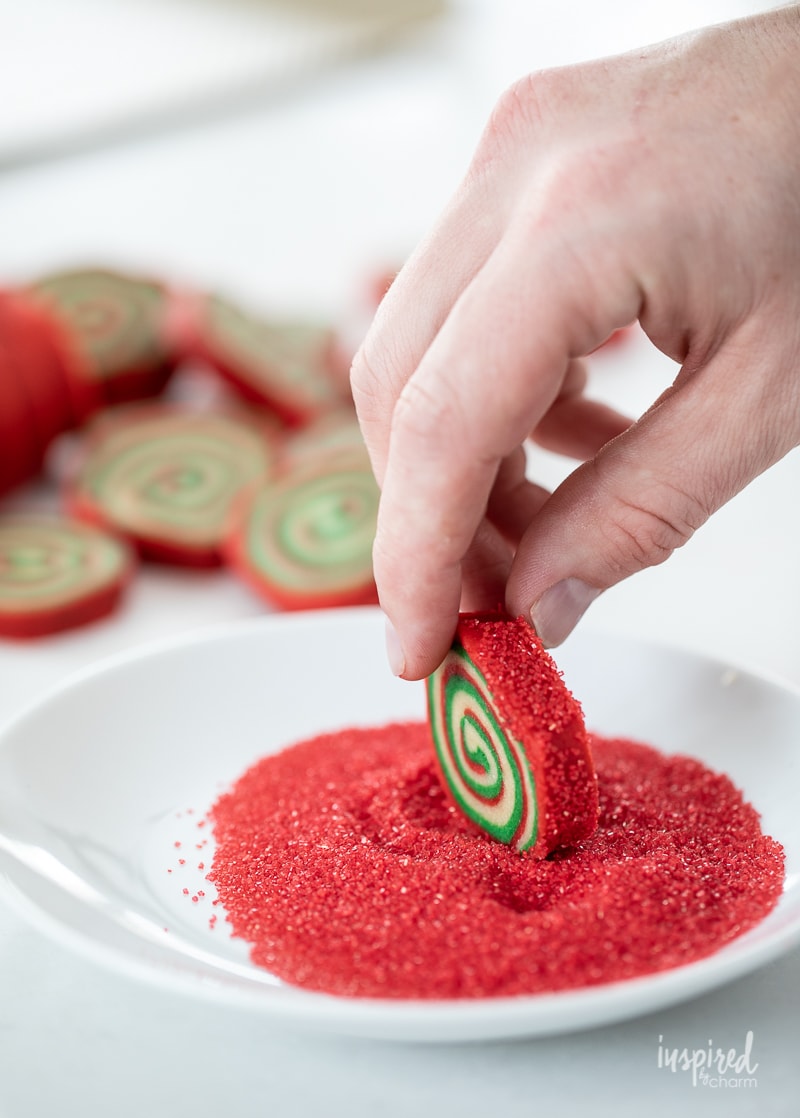
- Use a serrated knife to cut the dough log into 1/3-inch thick slices. Roll the edge of each slice in the red sanding sugar. Place the slices 1 inch apart on the prepared baking sheets.
- Bake for about 8 to 10 minutes or until set. Let the cookies cool on the baking sheet for 1 minute before removing to cool completely on a wire rack. Once completely cooled, pack and store in an airtight container.
💌 SAVE THIS POST / RECIPE!
And that’s it!
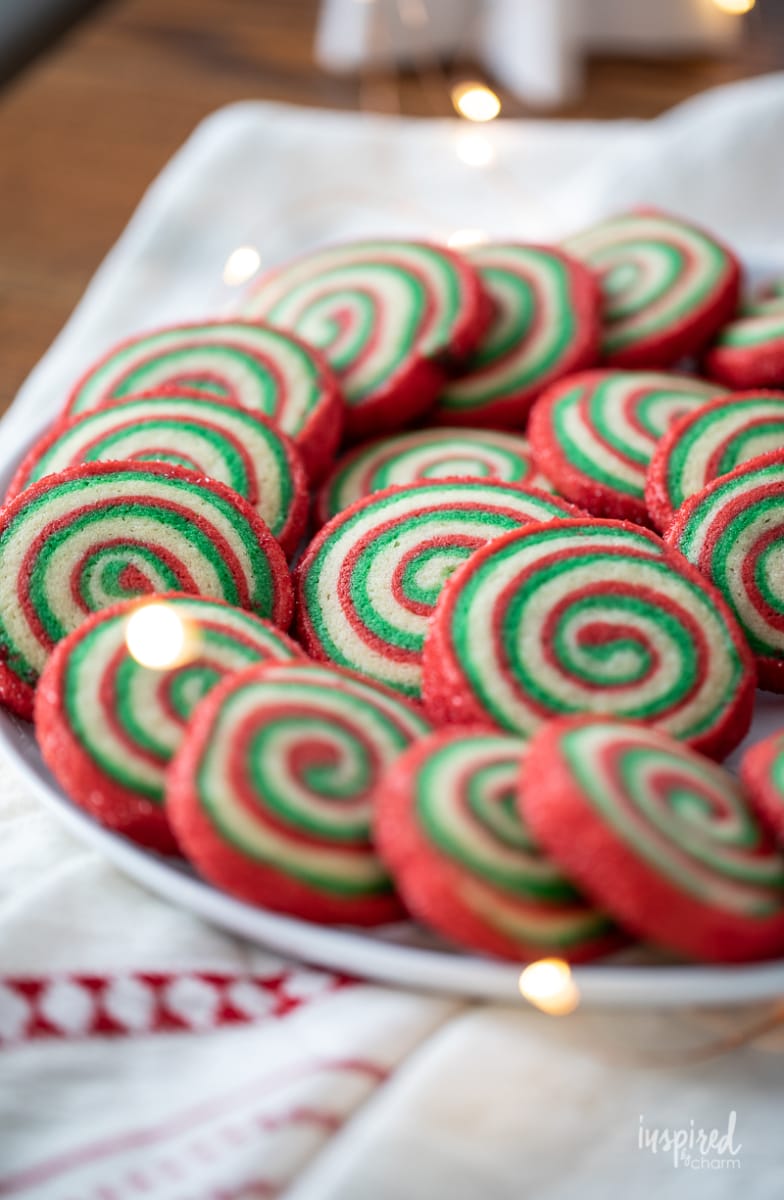
Whether you’re gifting these to a loved one, sharing them at a festive gathering, or simply indulging yourself by the fireside, these Christmas Pinwheel Cookies are the epitome of holiday joy.
Recipe Notes
- I just love how these pinwheel cookies turned out. I wanted mine to be really vibrant and colorful so I went heavy on the food coloring to get a really deep, rich color. I’m so glad I did.
- And speaking of food coloring, I’m a huge fan of the gel-based food coloring and definitely recommend it for this recipe. You can find the set I used HERE. It’s a great set and gives you basically every color option.
- Naturally, you can make these cookies whatever colors you like. They don’t even need to be a Christmas cookie. You can have the colors match any holiday, event, or even something to support your favorite sports team. The options are almost endless.
- The same thing goes for the sanding sugar. You can use any color sugar or sprinkle you like to give these cookies an extra layer of interest and fun.
No matter how you bake and share them, I hope you love and enjoy this Christmas Pinwheel Cookie recipe as much as I do.
Frequently Asked Questions
Can I use regular food coloring instead of gel food coloring?
Yes, you can! However, gel food coloring is more concentrated and vibrant. If you’re using liquid food coloring, you might need to add a bit more to achieve the desired color, but be careful not to make the dough too wet.
How long can I store these cookies?
Store them in an airtight container at room temperature for up to a week. For longer storage, consider freezing them.
Can I freeze the cookie dough?
Absolutely! Wrap the dough log tightly in plastic wrap and then in aluminum foil. Store in the freezer for up to 3 months. When you’re ready to bake, just slice and bake. No need to thaw!
My dough is a bit sticky. What should I do?
If the dough feels too sticky, you can refrigerate it for about 30 minutes to firm it up making it easier to handle
Can I use other colors for different occasions?
Definitely! These cookies are versatile. Try pastel colors for Easter, or black and orange for Halloween. The sky’s the limit
The red sanding sugar didn’t stick well to my cookie edges. Any tips?
Before rolling the dough in the red sanding sugar, you can lightly brush the edges with a bit of water or egg wash. This will act as an adhesive, helping the sugar to stick better.
Bonus: Cookie Bags
I also wanted to remind you that I have an DIY project (and FREE download) for these adorable Christmas Cookie Bags! I thought these Christmas Pinwheel Cookies paired perfectly with them so I snapped a few photos.
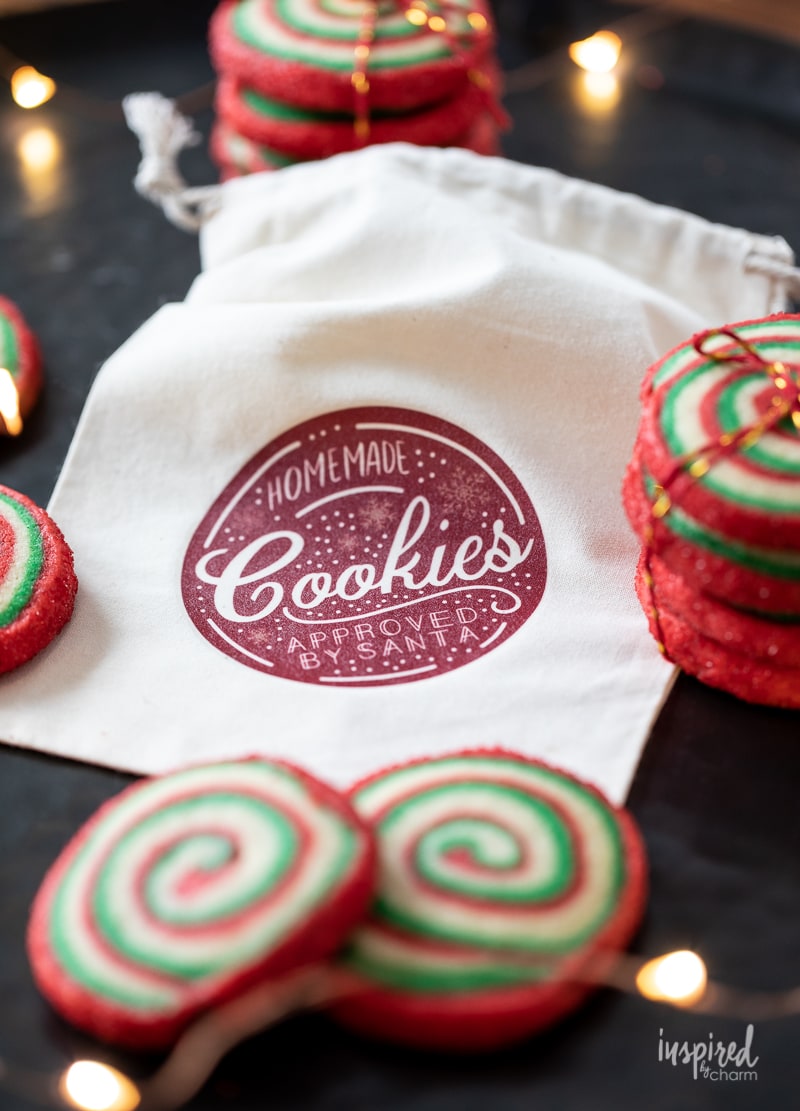
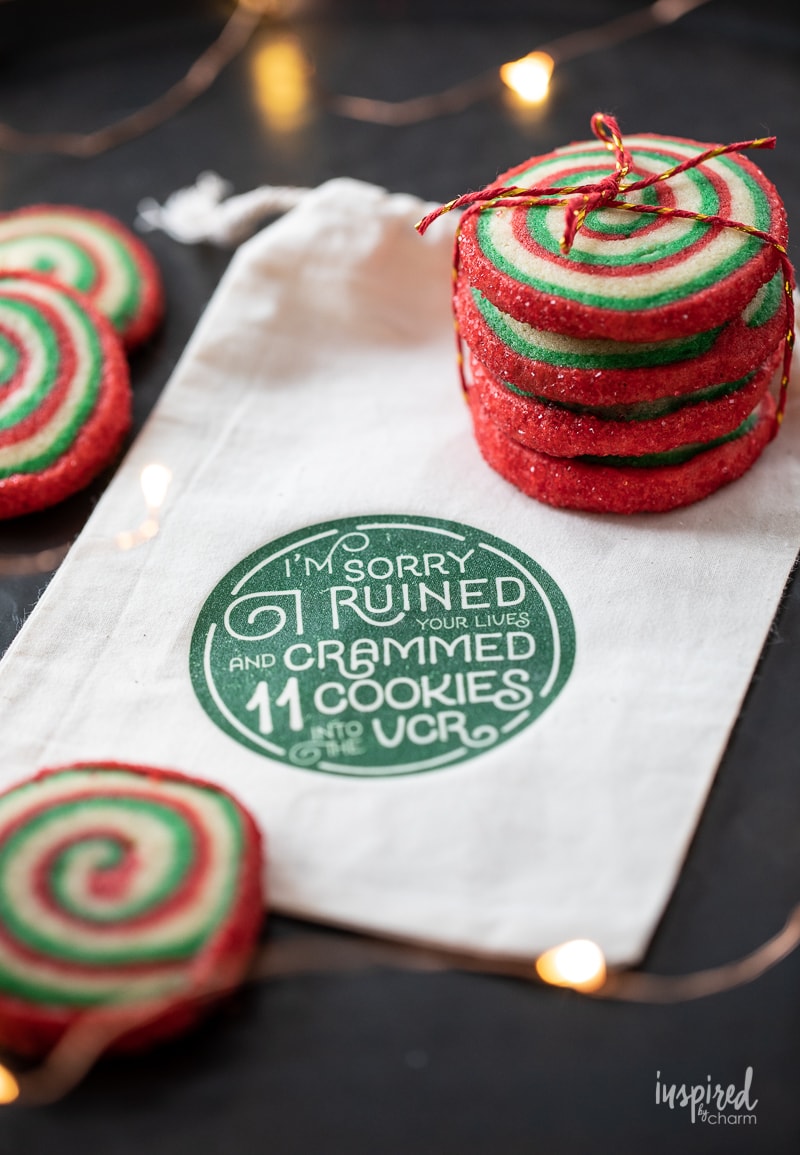
You can find the full tutorial on how to make these Christmas Cookie Bags HERE. They are so simple to make especially with the free download I provided.
Happy baking!
More Christmas Cookies You’ll Love
- Whipped Shortbread Cookies
- Christmas Sprinkle Cookie Cups
- Cream Horn Cookies
- Peppermint Kiss Cookies
- Classic Gingerbread Cookies
If you love these Christmas Pinwheel Cookies as much as I do, please stop back and leave a comment and a 5-star rating below.
Want more from Inspired by Charm? Join the IBC Mailing List for inspiration in your inbox! Follow along on Instagram and TikTok for daily updates and behind-the-scenes looks at my processes. There’s even more inspiration on Facebook and Pinterest!
Christmas Pinwheel Cookies
Ingredients
- 2/3 cup unsalted butter softened
- 2/3 cup sugar
- 1 egg
- 1 teaspoon vanilla extract
- 1 3/4 cups all-purpose flour
- 1/2 teaspoon kosher salt
- 1/4 teaspoon baking soda
- red gel food coloring
- green gel food coloring
- red sanding sugar to garnish
Instructions
- Add the butter and sugar to the bowl of a stand mixer. With the paddle attachment, beat at medium speed until creamy: about 3 to 4 minutes. Add the egg and vanilla and beat well. Scrape down the sides of the bowl as necessary.
- In a medium bowl, add the flour, salt, and baking soda. Whisk to combine. With the mixer on low speed, gradually add the flour mixture and beat to combine. Remove the dough from the bowl and divide it into thirds.
- Return one portion of the dough to the mixing bowl, add in the red food coloring, and beat until evenly colored. Remove the dough, wipe the bowl clean, and repeat with another third of dough and the green food coloring. The final third of the dough requires no food coloring. Shape each portion of the dough into a ball, wrap in plastic, and refrigerate for 1 hour.
- Remove from the refrigerator and roll each ball between two sheets of parchment paper into a 7-inch square. Refrigerate the dough again, for 15 minutes, keeping it between the parchment paper.
- Stack the dough onto a piece of parchment paper starting with the red, followed by the green, and ending with the plain. Add a piece of parchment paper to the top and roll out the dough into a 12×8-inch rectangle. Remove the top sheet of parchment paper. Then, starting on one of the long sides, tightly roll up the dough into a log. Wrap the log in the parchment paper and freeze for one hour.
- Preheat your oven to 350 degrees F. Line two baking sheets with parchment paper and set aside.
- Use a serrated knife to cut the dough log into 1/3-inch thick slices. Roll the edge of each slice in the red sanding sugar. Place the slices 1 inch apart on the prepared baking sheets.
- Bake for about 8 to 10 minutes or until set. Let the cookies cool on the baking sheet for 1 minute before removing to cool completely on a wire rack. Once completely cooled, pack and store in an airtight container.
Thanks so much for sharing! These turned out perfect!!
They were fun to make and also tasted so good
Thanks so much!
xo Michael
Make this recipe every year I change it up from the red and green sugar crystals. To give it that extra blast of flavor, I sprinkle a little bit of candy cane powder.
I hate to make “Putzy” cookies, but had to step my game up for a bake sale. So glad I found this recipe! Cookies turned out super cute! And it wasn’t soooooo putzy that I wouldn’t make again (I am a lazy cookie baker!) Thank you!
I’m not sure what ‘putzy’ means, but I’m glad you enjoyed the recipe!
xo Michael
I can’t wait to make these. Can I Freeze these also. If so for how long. Thank you. Susie ❤️
I followed this recipe exactly how it was written. The cookies looked super cute but the taste was just okay. They tasted bland and something was missing in flavor.
So sorry you didn’t enjoy them Kathleen. They are a pretty straightforward cookie in terms of flavor. I like to have a mix of flavors on my cookie tray and some that are a bit more subtle are preferred by some people. If you wanted to amp them up you could certainly add more / different extract.
xo Michael
Going to definitely make these for this year’s cookie exchange. How many does one recipe make?
Don’t waste your time and money on this cookie recipe. Turns out nothing like the picture posted. Threw the batch I made in the trash.
Grace, sorry you had trouble with this recipe. I actually had many people share their their cookies with me on Instagram and they looked stunning. Just like the ones I made.
xo Michael
I have Celiac so I subbed the flour with Cup 4 Cup flour and they turned out beautifully! I will be making these every Christmas from now. So much fun to make!
It is a Shame that you had to Put a Nasty Remark for all to SEE. But it’s just Not Worth the Time. And all it Did was Make an Ass out of yourself. Just Saying. Why Bother. You must Be A Really Lonely Person. Michael Your Doing a Fantasy Job in everything. Keep up the Great Work.
Love them….they were all gone before I started my cookie boxes….making again they are so colorful
Hello, I dunno if it’s just me, but I keep trying to find the gel food coloring you’re trying to link, but in this recipe it just goes to Vibeke’s Instagram page and in the mushroom cookie recipe it links to the mushroom cutters you used. So I was just wondering what gel food coloring you use, please!
Sorry about that. You can find it HERE. I’ve also fixed the links in the post.
xo Michael
Thank you so much!
Do these freeze well after they’re baked? We like to make ahead and share! Thanks!
I made them for my cookie exchange, they are impressive and were a hit! Mine spread way more than yours, is there a trick to keep their shape?
I had the same issue. In the first step, I did microwave the butter to soften it. I figured that’s where I went wrong. Same thing happens with choc chip cookies when I don’t start with room-temperature butter.
Hi! Quick question! At the end of step 4, it says to refrigerate the dough again after rolling out each colored ball of dough. For how long should this second refrigeration last? It doesn’t specify. Thanks!!
Just 15 minutes this time. I updated the recipe. Thanks for asking!
xo Michael
I can’t wait to make these! I have been waiting for this post since you showed a sneak peak on Instagram!
These look so good! I’ll be making these this year! I am so glad I found your wonderful blog!! I love every idea you have here!!