DIY Clay Bat Garland
This Post May Contain Affiliate Links. Please Read Our Disclosure Policy
Discover a charming DIY clay bat garland perfect for Halloween. This easy-to-follow tutorial will guide you step-by-step to create a spooky yet stylish decoration. From mantels to doorways, let these flying beauties adorn your space this season.
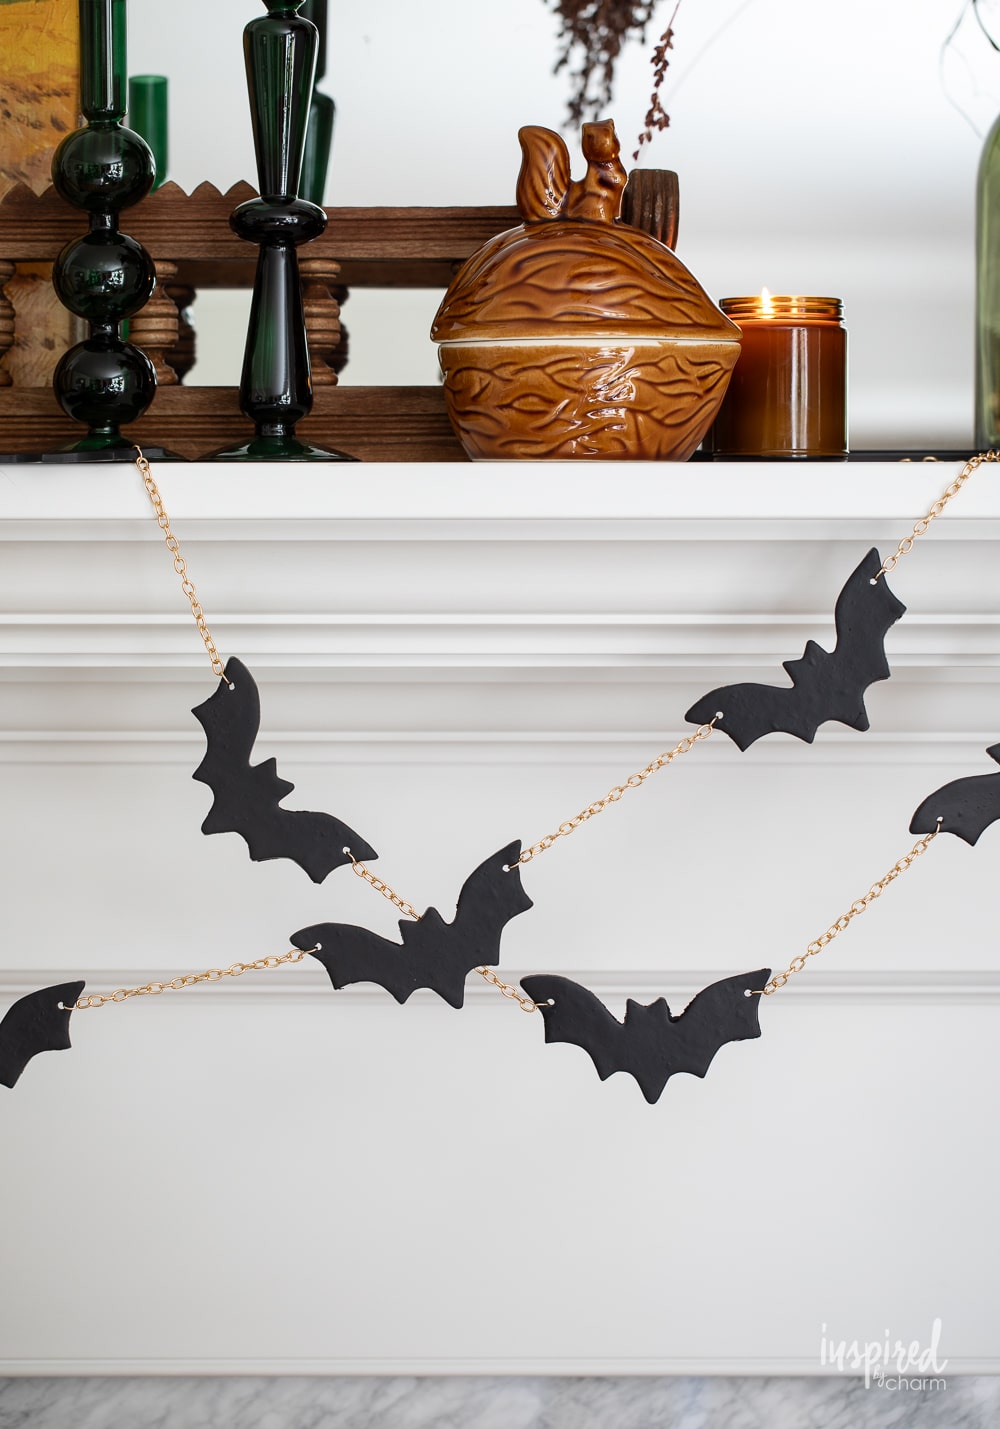
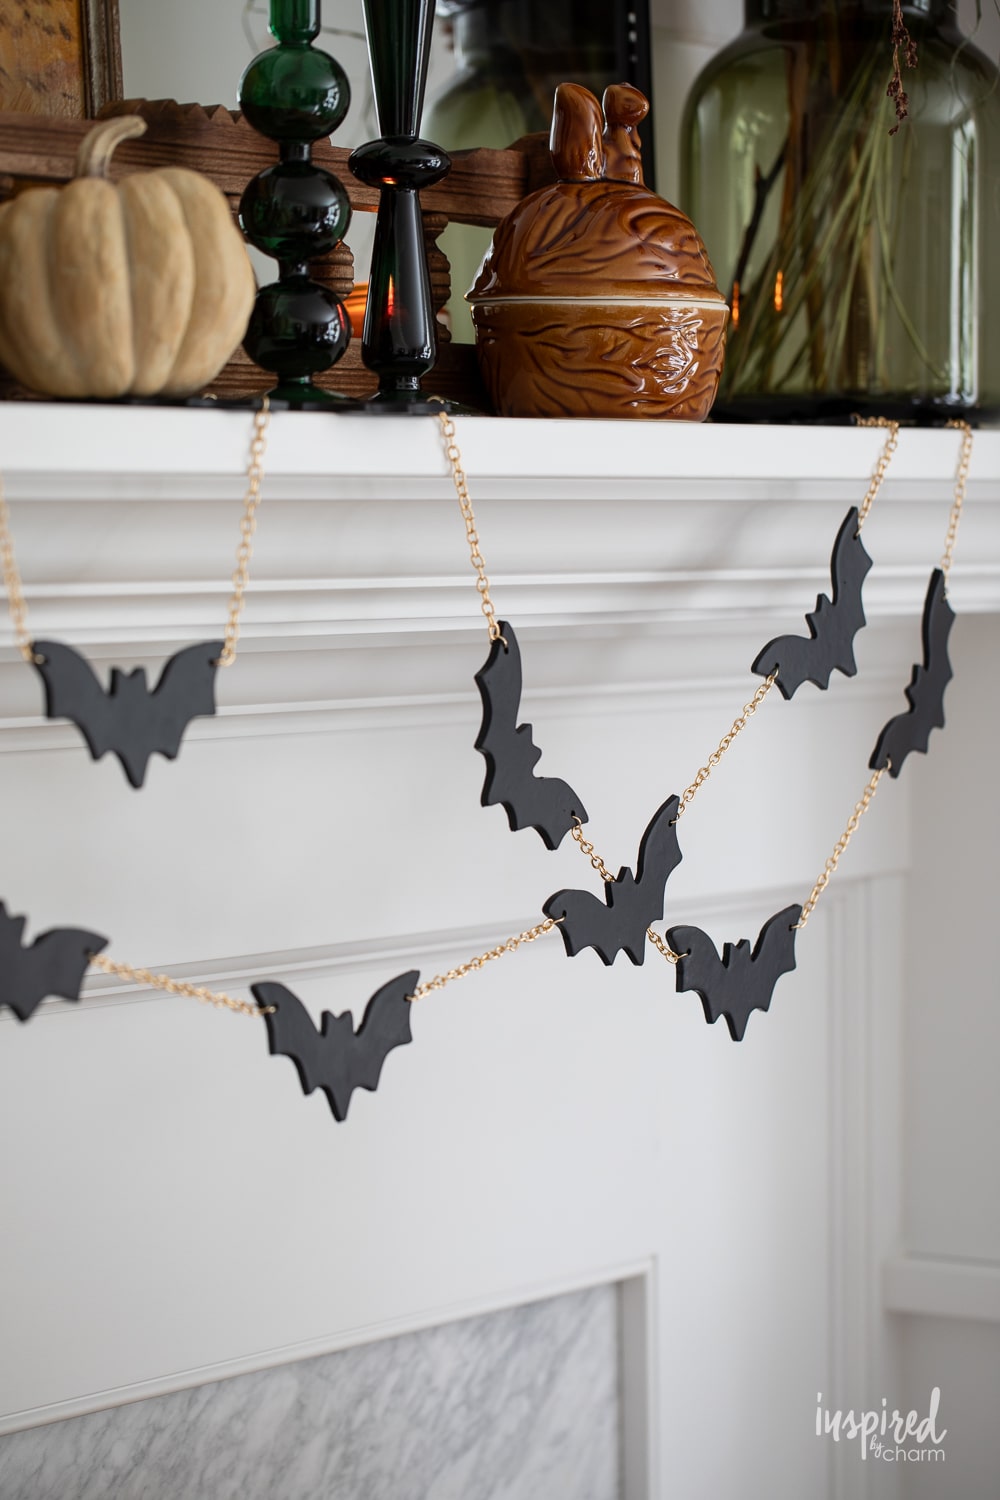
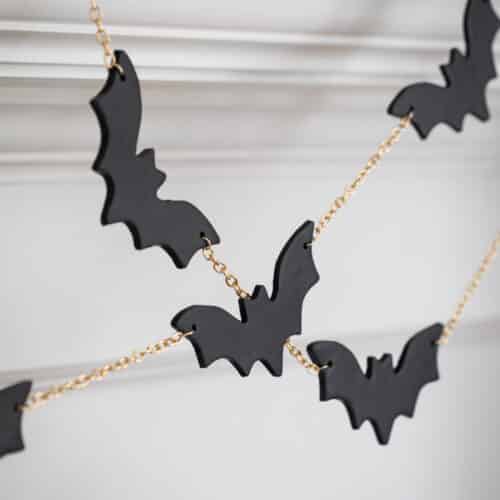
Dive into the Halloween spirit with a touch of elegance! This DIY Bat Garland, intricately strung with a gold link chain, isn’t just another spooky decoration; it’s a statement piece. This project seamlessly melds the eeriness of Halloween with the chicness of gold accents.
Remember that whimsical DIY Clay Ghost Garland we crafted together? Riding on that ghostly wave of inspiration, I felt the itch to bring another iconic Halloween figure to life – the bat.
Bats seem to be a popular and trendy design element for Halloween in recent years. I wanted to incorporate them into my own spooky decor but in a different way, and I thought this garland would be the perfect way to do it.
This is an easy and fun holiday craft I know you’re going to enjoy making. It’s completely customizable too. I’ve kept mine pretty simple, but you can have fun with different colors, chains, shapes, etc. Make it your own.
Now dive into the spooky season with me as we craft, decorate, and celebrate all the chills and thrills this holiday has to offer!
Why You’ll Love This Project
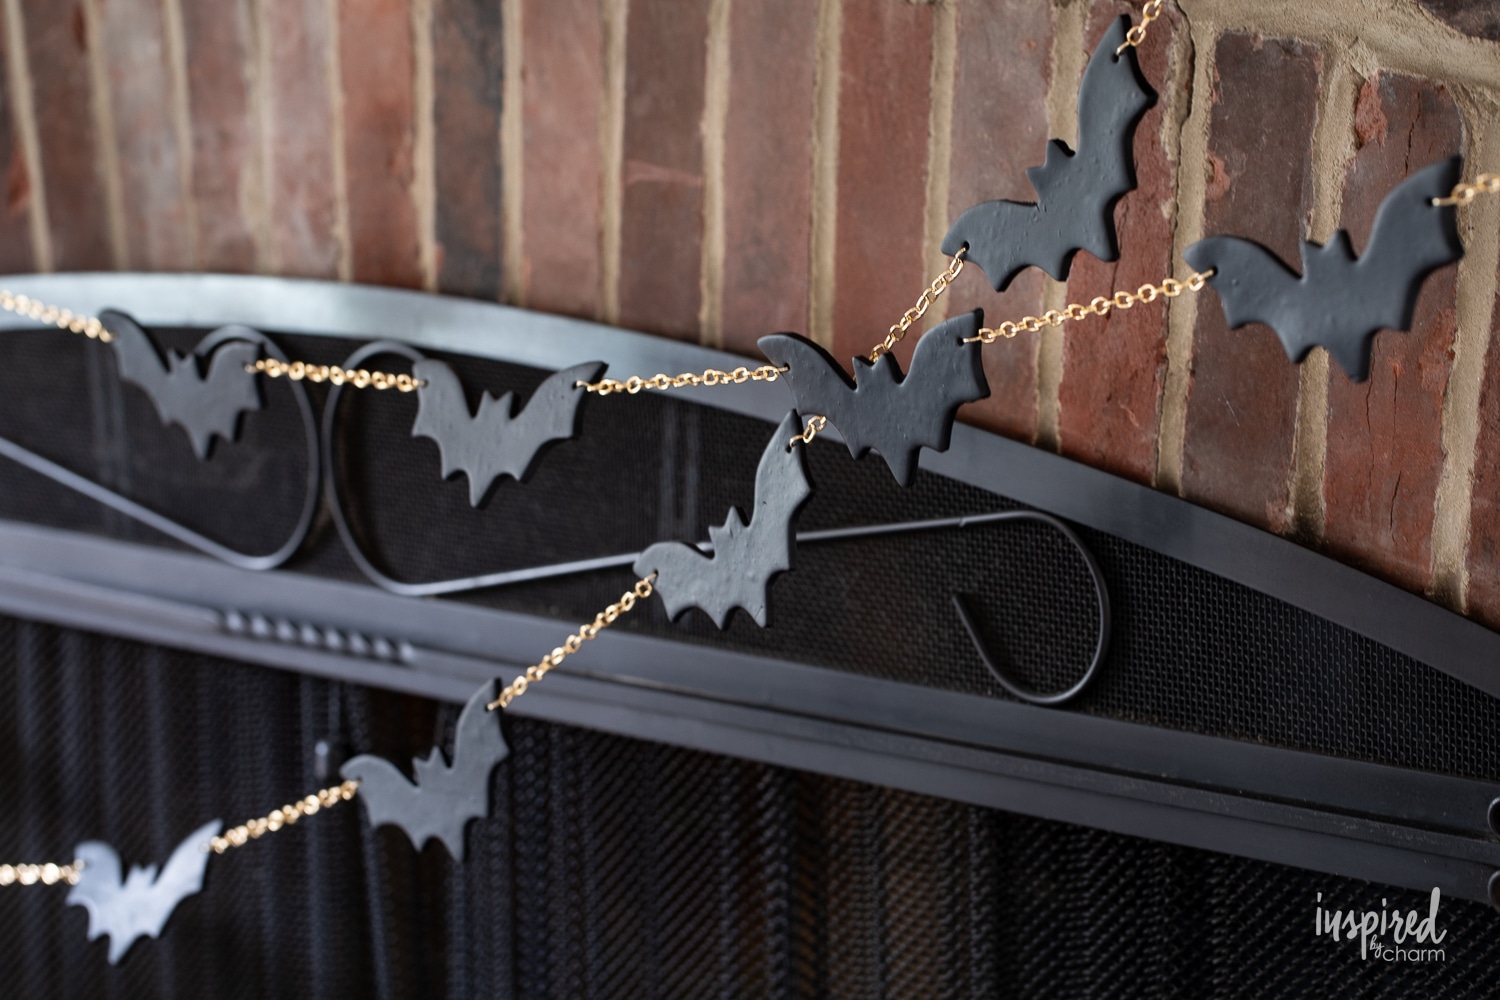
- By combining the sleek design of the bats with the glint of the gold link chain, this garland is the perfect blend of chic and eerie. It’s a Halloween decor that doesn’t scream but subtly whispers, “Boo!”
- Don’t be fooled by its stylish appearance; making this bat garland is a breeze! Whether you’re crafting solo or making it a family activity, you’ll enjoy every step.
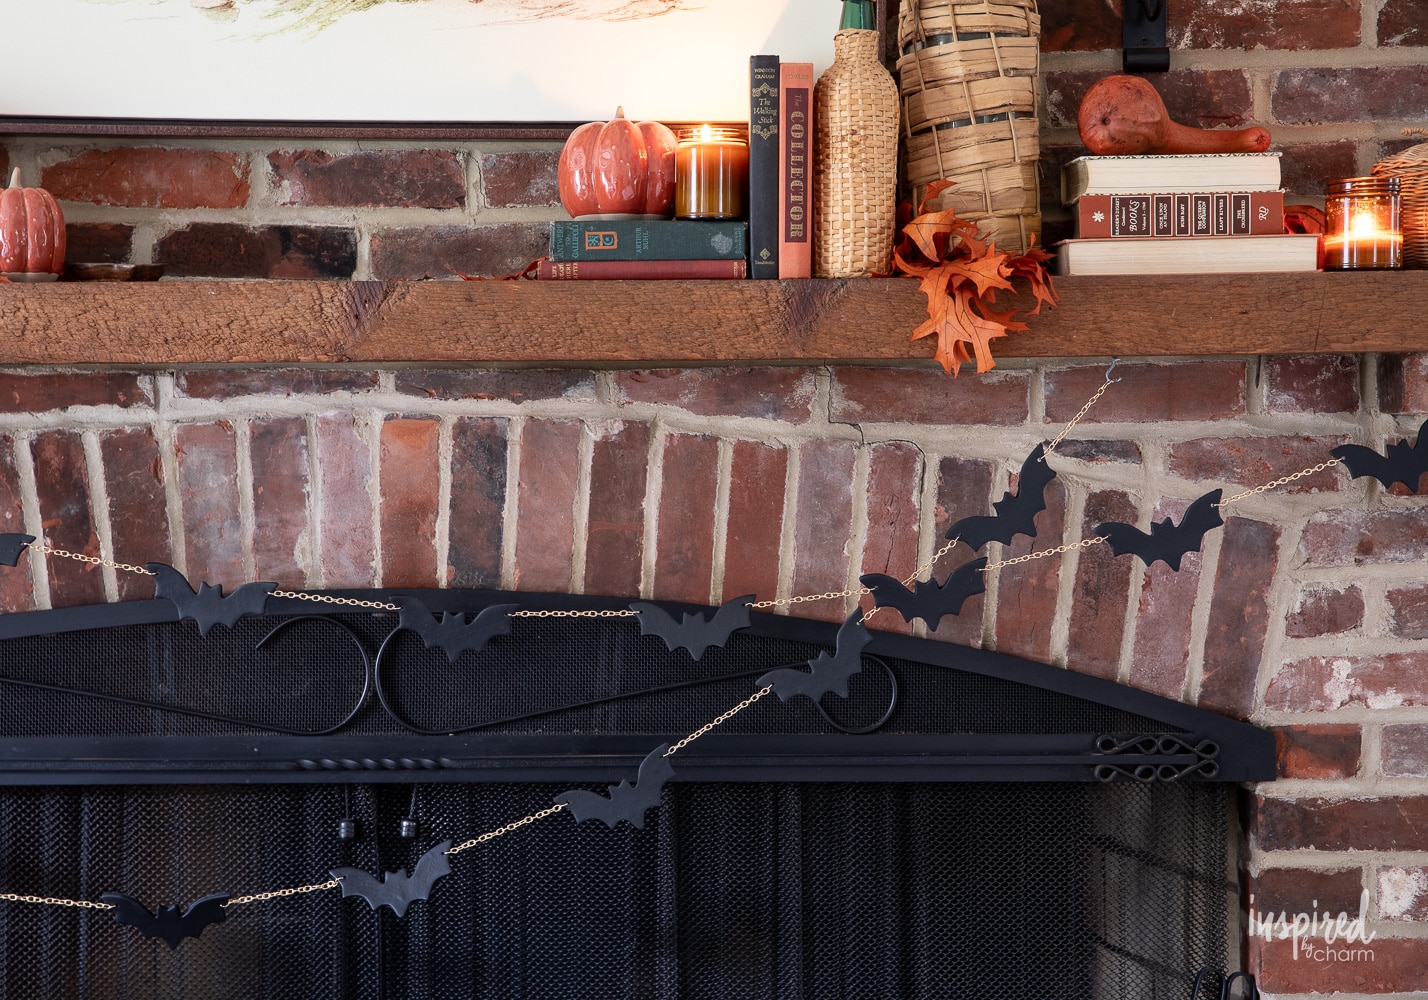
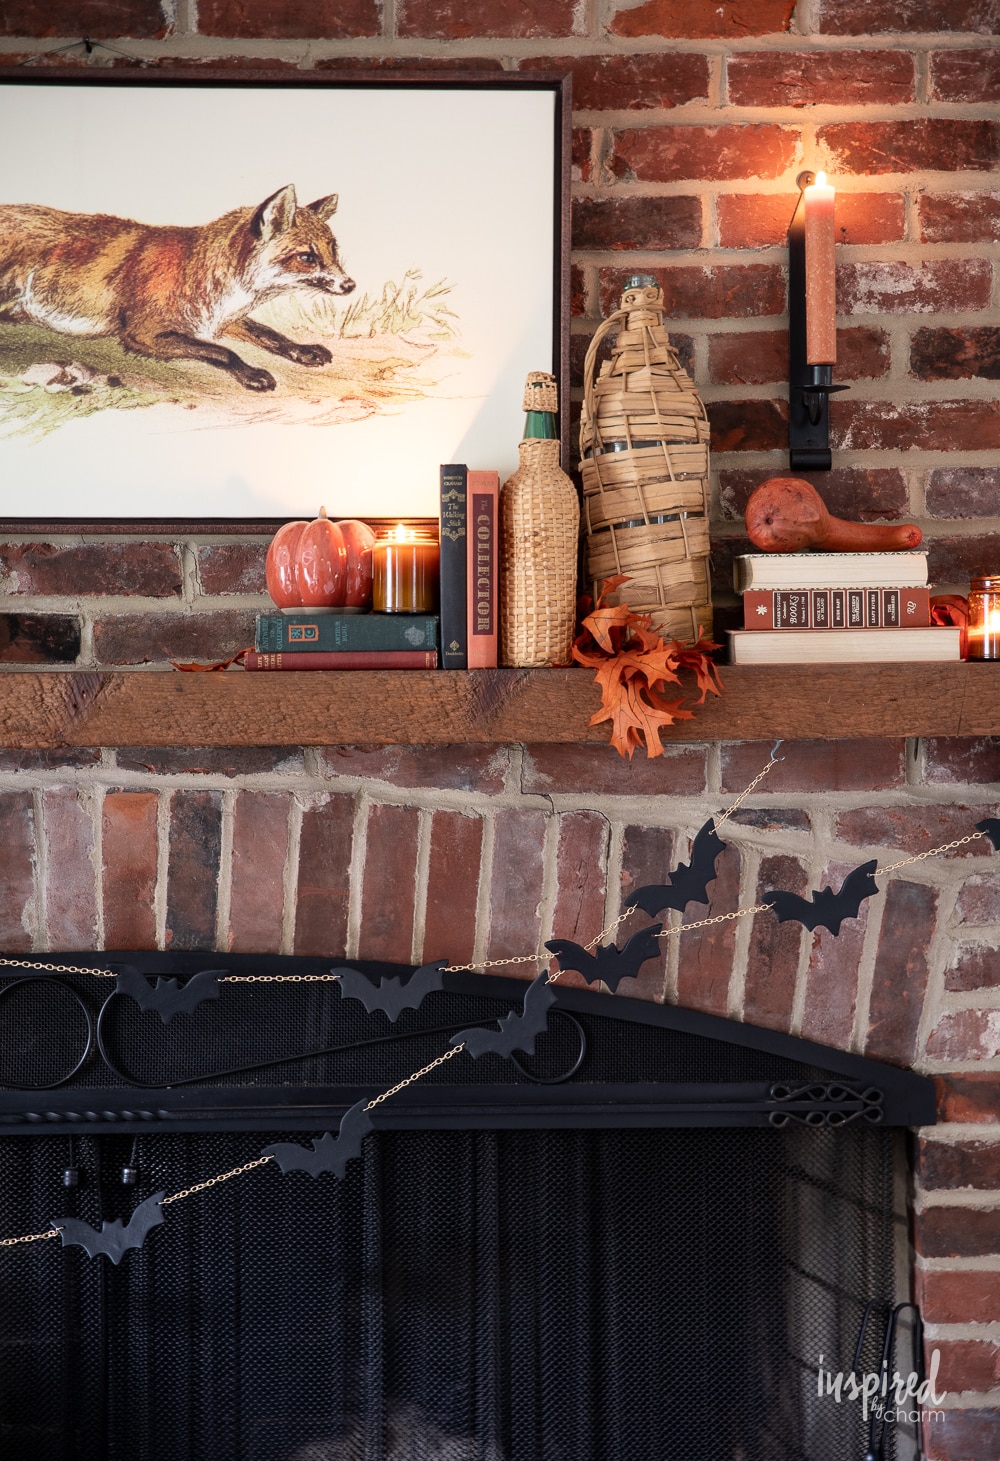
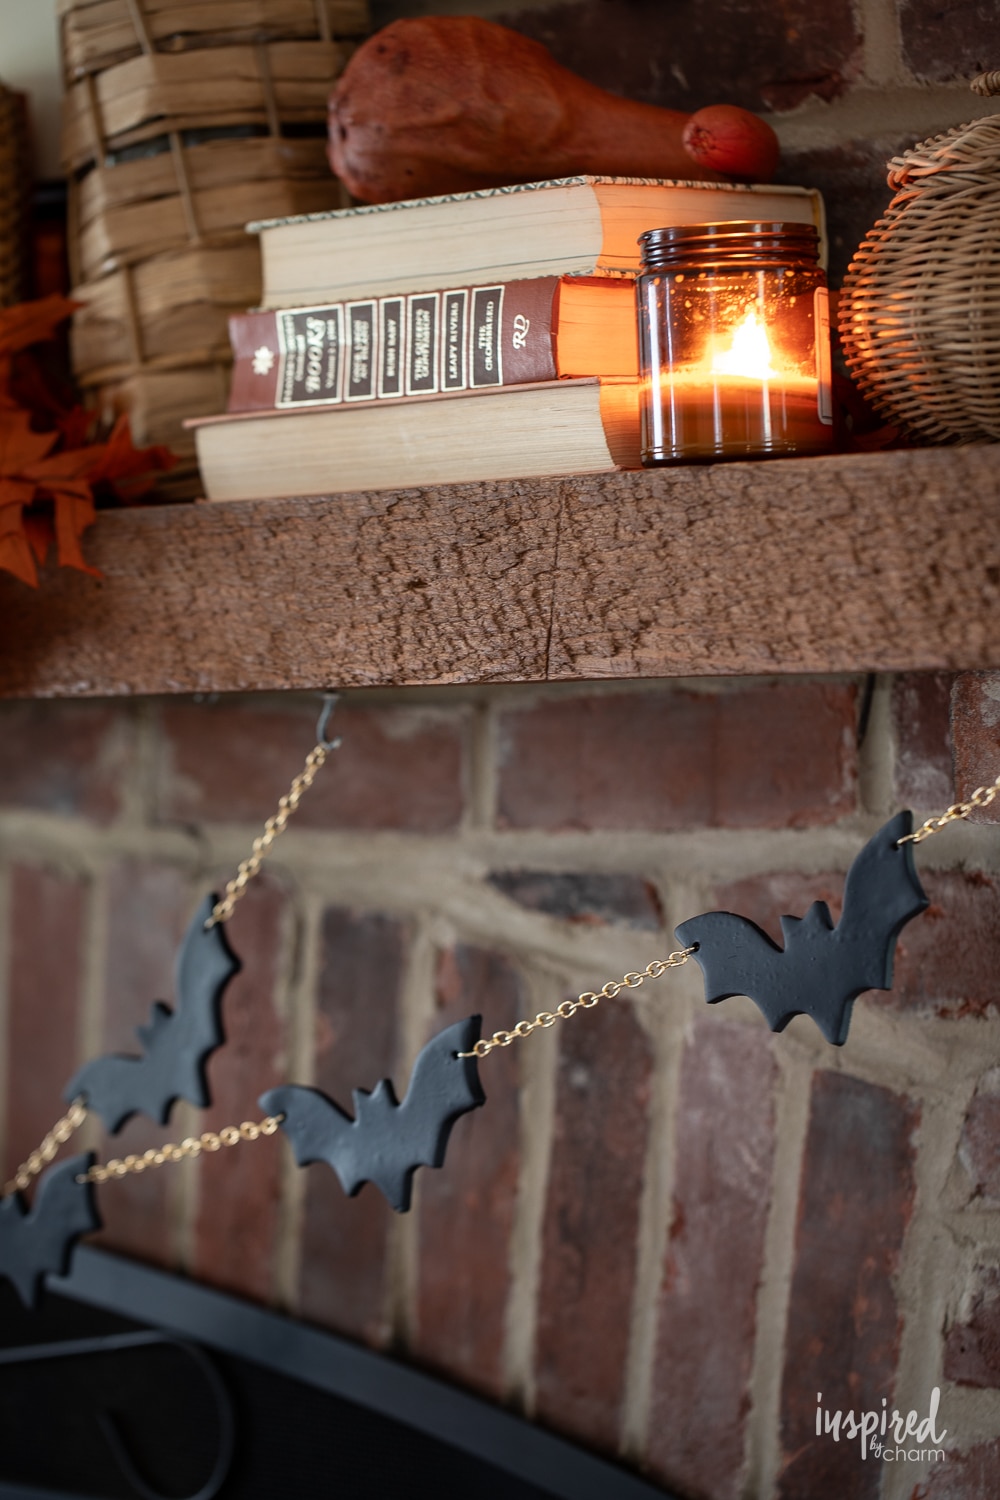
- Drape it over your mantel, hang it across your window, or even let it swoop down from a chandelier. This bat garland will fit beautifully wherever you place it, adding a touch of Halloween magic.
- Fancy a different color or a mix of bat sizes? Go for it! This project is adaptable to your creative whims, letting you put a personal spin on it.
Let’s get crafting and let these bats spread their wings in your home!
Materials Needed
Before we get started, let me walk you through the materials needed to make this clay bat garland. I will share links to the exact products I used to create this haunted garland.
- oven-bake clay – I like this black Sculpey brand clay. It has worked well for me in the past and I loved it here too.
- rolling pin – I purchased THIS rolling pin for the project. What I love about this rolling pin is that it can be customized to roll a perfectly consistent thickness. It was a game changer and made the process really simple.
- bat cookie cutters – I used THIS cookie cutter. You can use any bat cookie cutter you’d like. (You can also go rogue and use any shaped cookie cutter.)
- baking sheet – THESE baking sheets are a kitchen essential for me.
- parchment paper – You’ll want to add it to your baking sheet to protect it. I really like THESE precut sheets.
- toothpick – A toothpick or a wooden skewer will do the job. This is used to create your holes or to mark where they will be drilled.
- drill and drill bits (may be optional) – You may need a drill to increase the size of the holes used to hang the bats. However, you can do this without a drill.
- gold link chain– You can get this at most craft stores. I found mine HERE. I used the Gold 9x6x1.2mm.
- gold jump rings – You’ll also need to connect the chain to the bats with gold jump rings. I used THESE.
- needle nose pliers – These will help you open and close your chain links and jump rings.
Instructions
With all your supplies on hand, you’re ready to make this spooky bat garland. I’ll walk you through the easy steps below. I’ve also provided a full supply list and detailed instructions in the printable project card below.
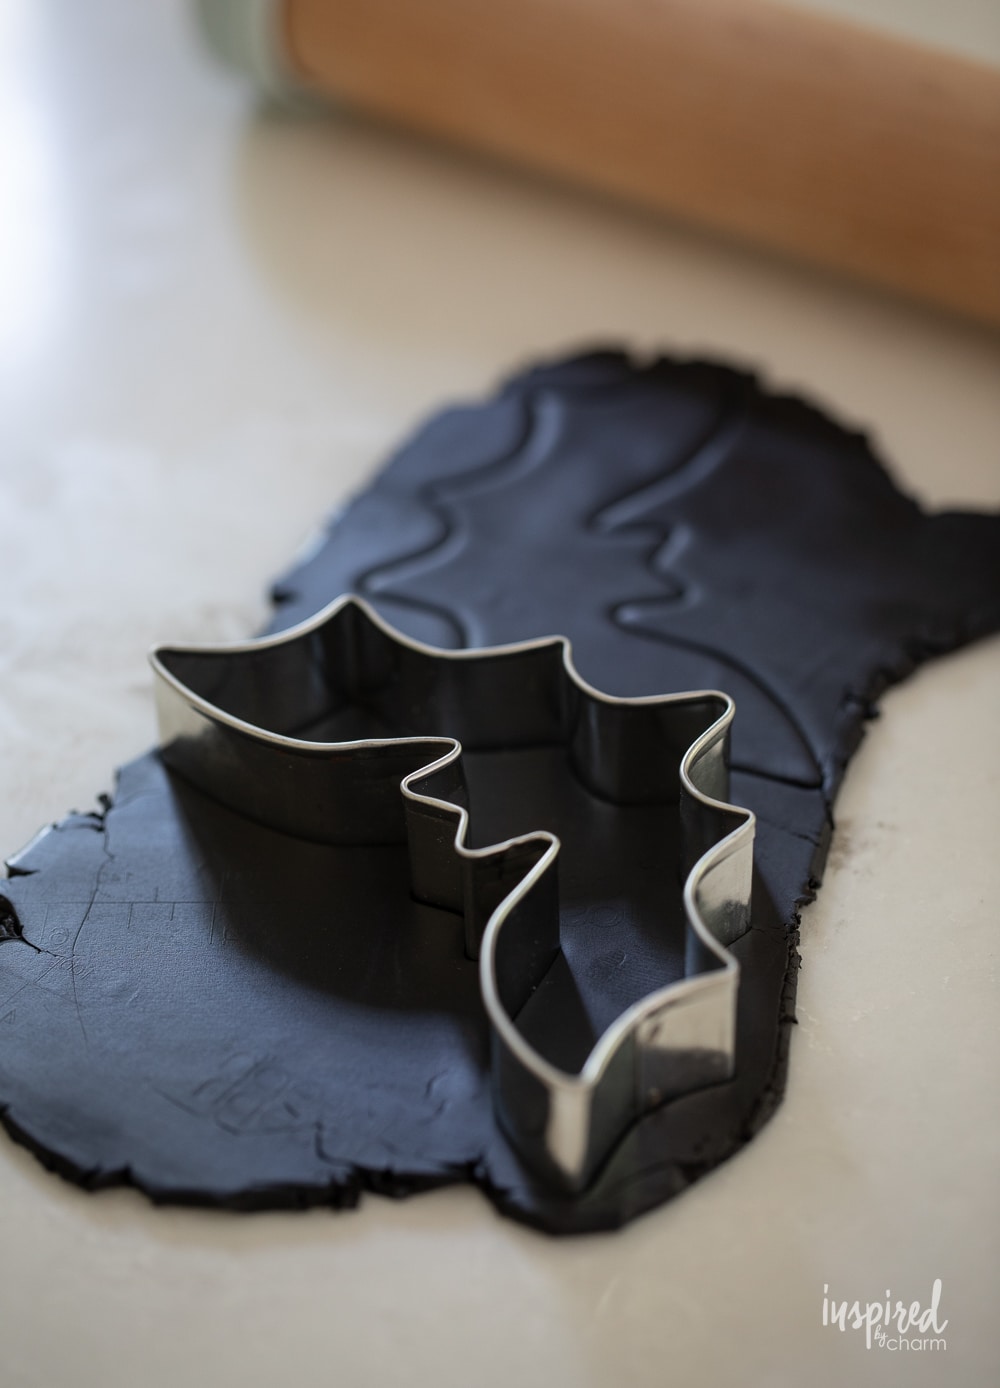
- Begin by rolling out your oven-bake clay to about ¼ of an inch.
- Use your cookie cutter to cut out bats. (If desired, use the cutter on both sides to achieve bats facing different directions.)
💌 SAVE THIS POST / RECIPE!
- Place the bats on a parchment-lined baking sheet.
- Repeat with remaining clay. The clay can be reformed into a ball and rerolled as much as needed.
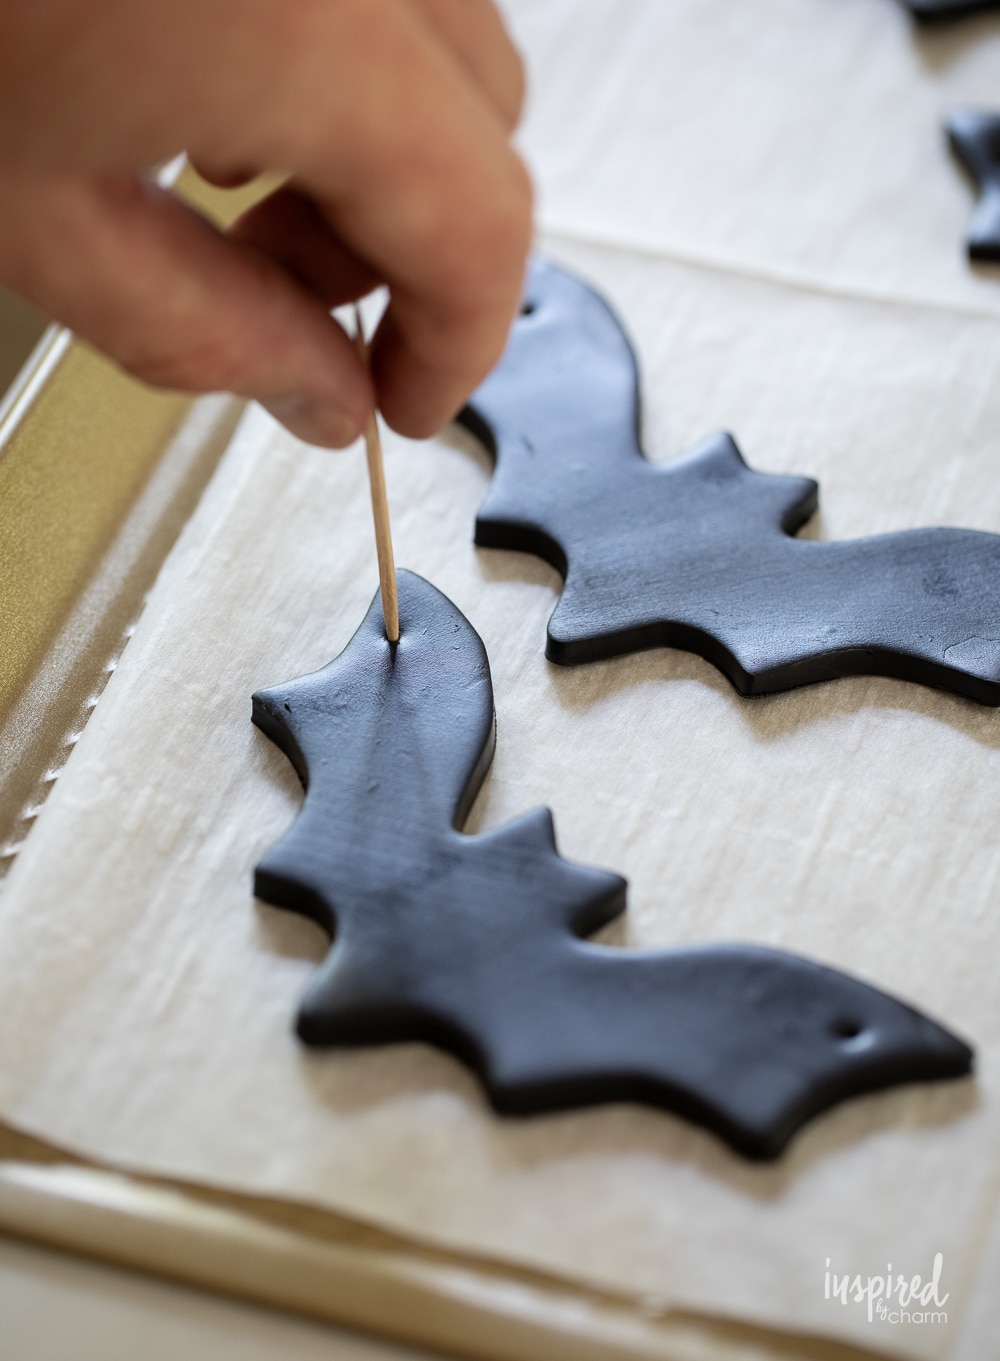
- Use a toothpick to create a hanging hole in the cutout on each side of the wing. You’ll want the hole to be about an ⅛ inch from the edge. (You can use the toothpick to create a hole that is large enough for your jump ring or just make a small hole with the toothpick and then use a hand drill to make the hole larger after the cutout is baked.)
- Bake at 275 degrees F for about 15 minutes. (This is the time suggested for 1/4-inch thick ornaments. If your thickness varies, adjust the baking time according to the package directions.) Pay attention to the clay as it bakes because it can burn.
- Remove from the oven and place on a baking rack to cool.
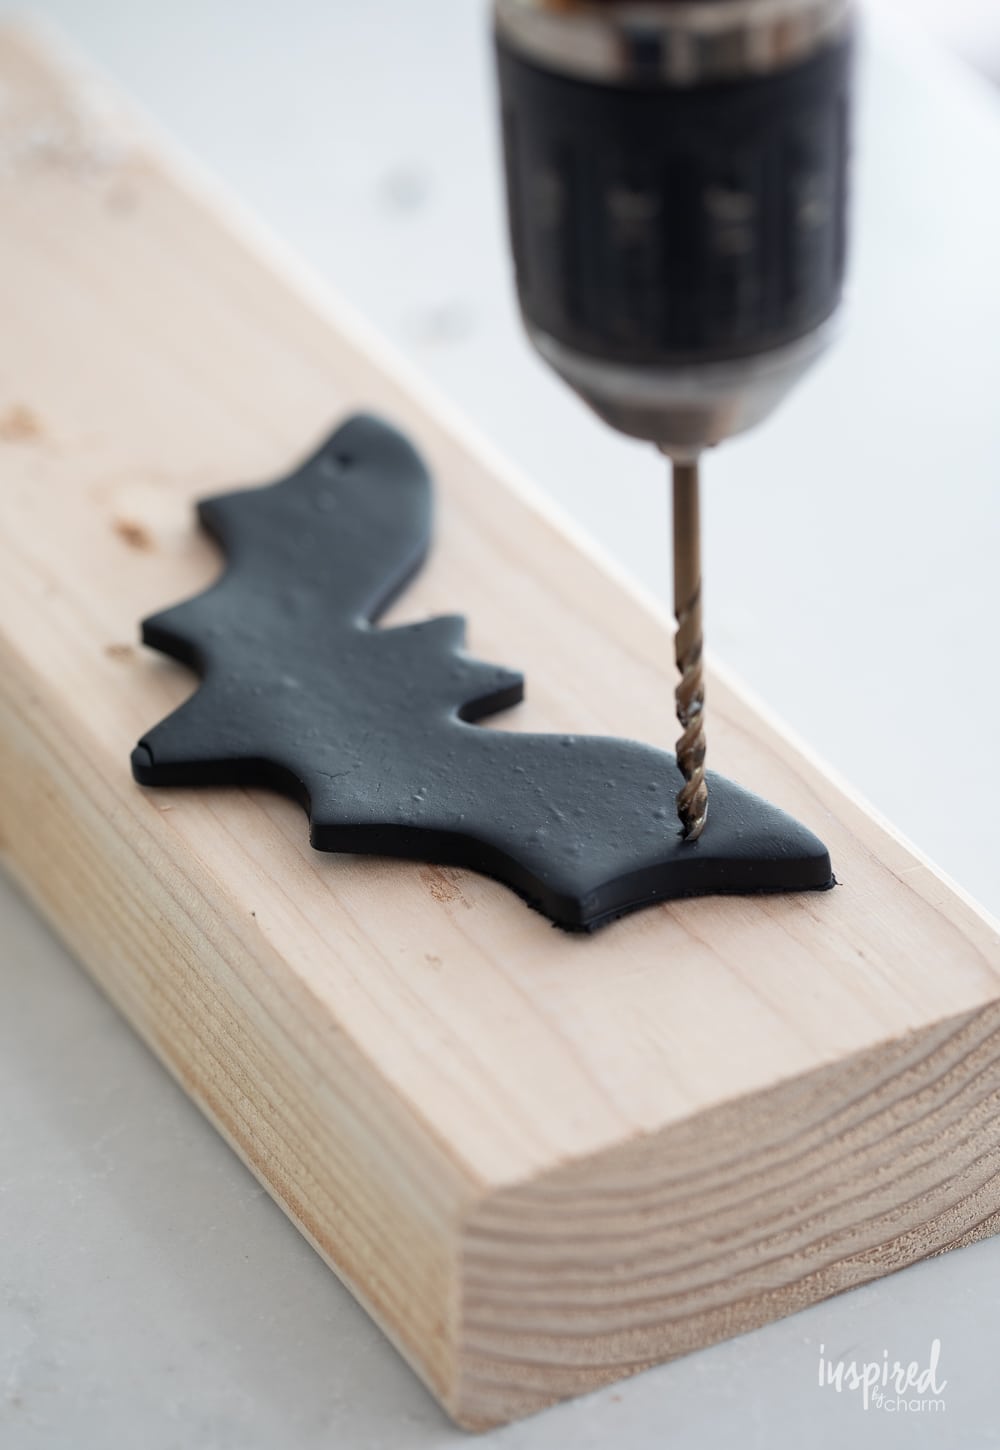
- Use your drill and a small drill bit to increase the size of the hanging holes.
- Next, create six-inch long pieces of your gold link chain. To do this, use your pliers to open a link, detach the desired section, and then close the link.
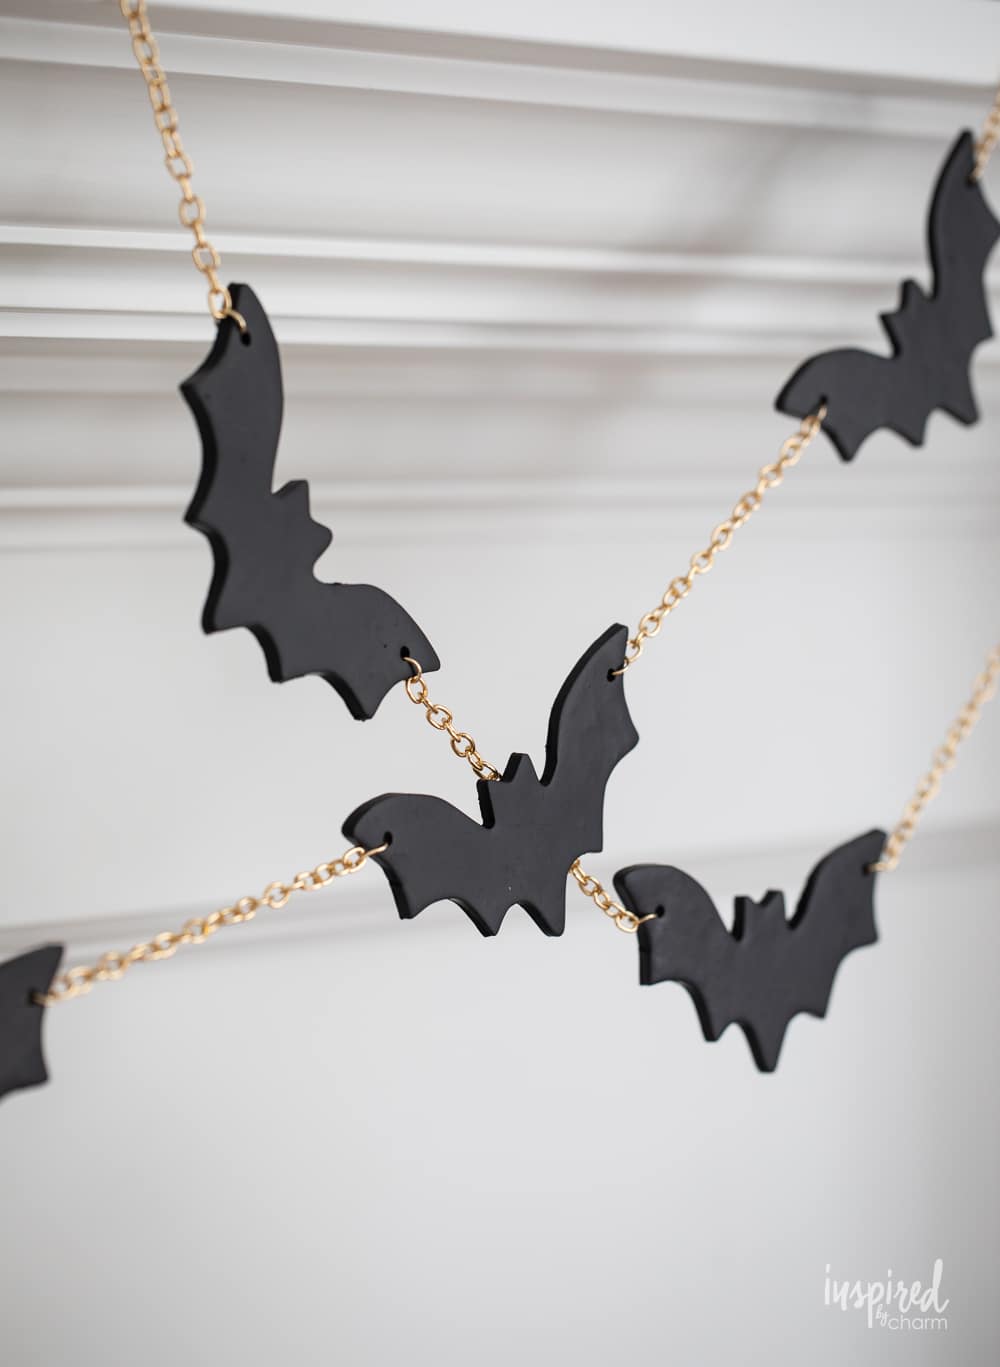
- To connect the bats together, start by opening a jump ring with your pliers. Slide the open jump ring through the hole on your bat, and then add the end of one of your 6-inch chain pieces to the same ring. Close the jump ring securely.
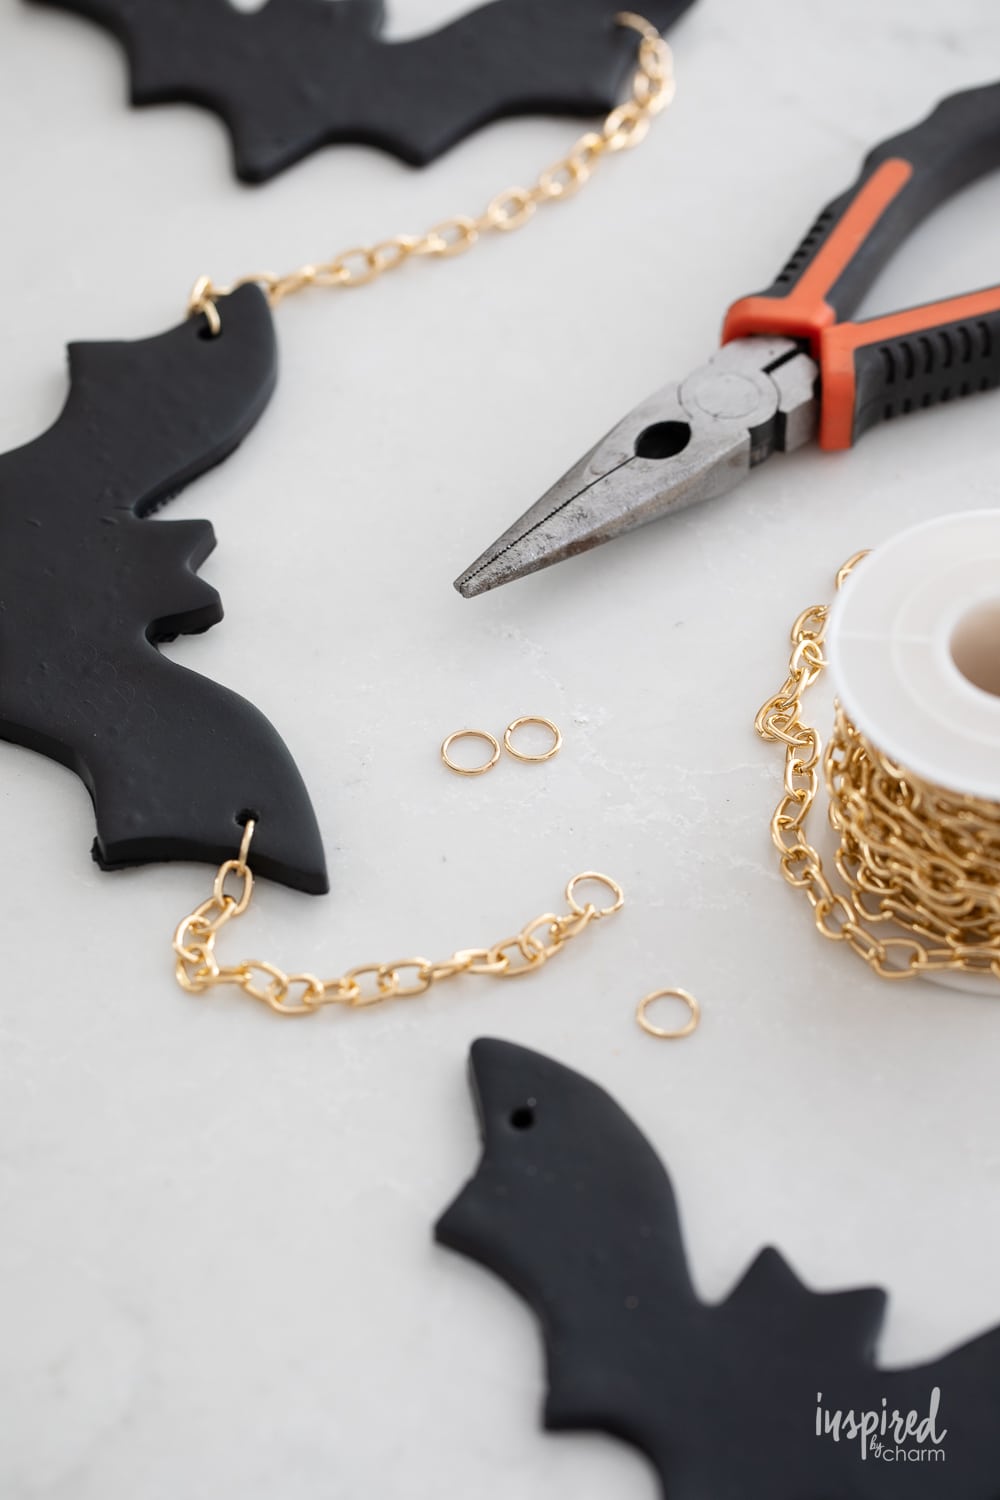
- At the opposite end of the chain, attach another open jump ring and slide it through a second bat’s hole. Close the ring.
- Continue this process until you’ve connected all the bats to create the complete garland.
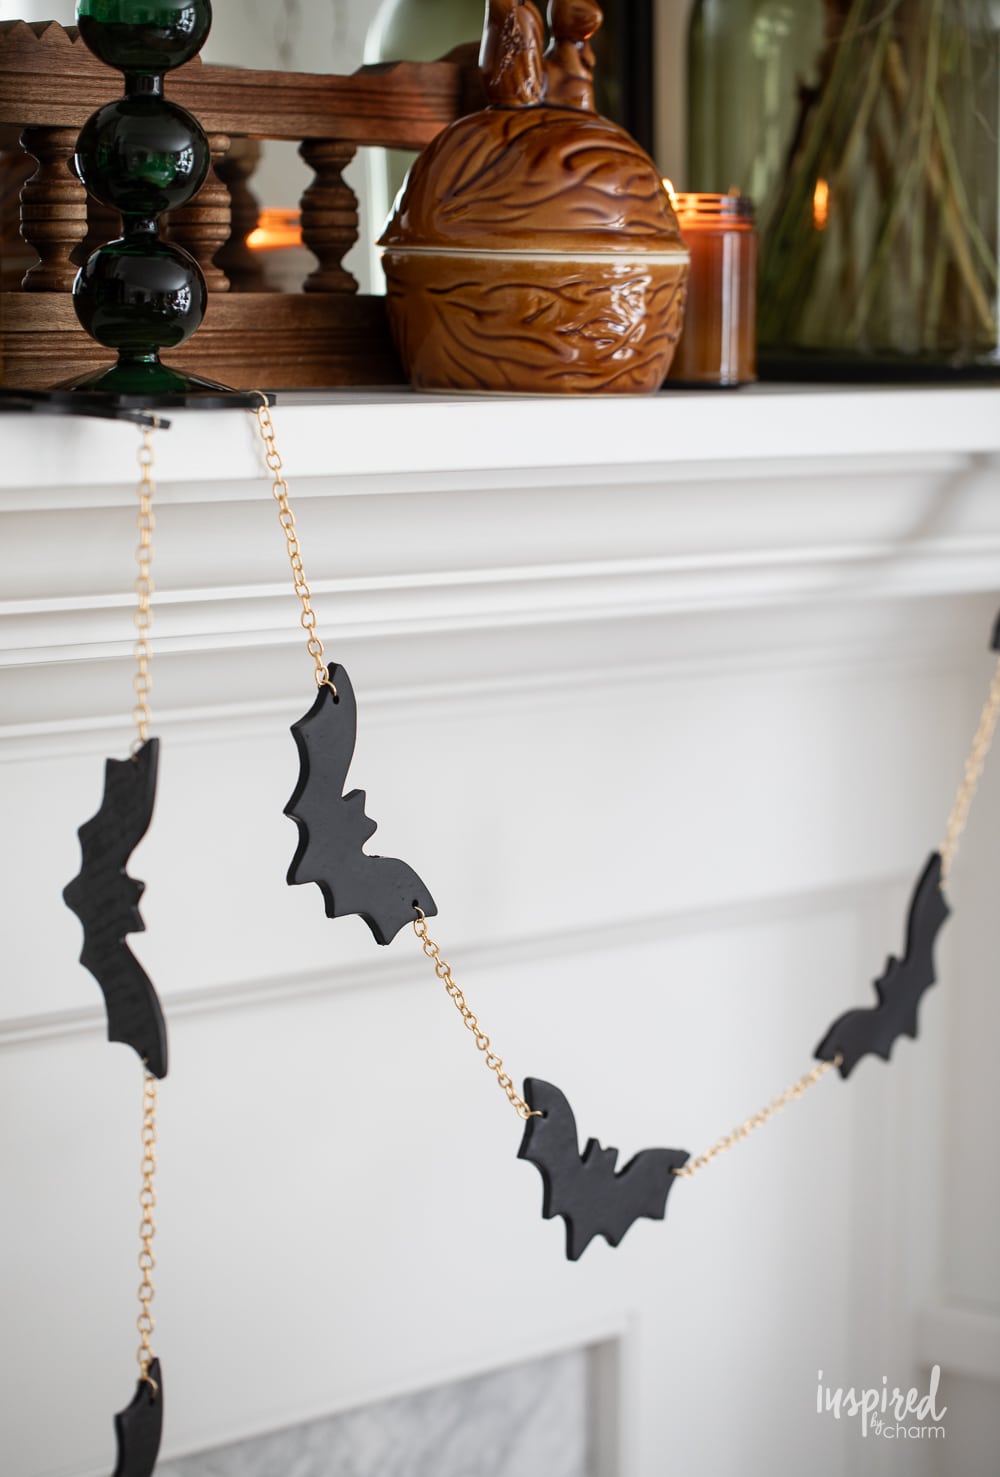
- Once all your bats are strung together, you’re ready to hang the garland wherever you’d like!
I couldn’t be more pleased with how this (and my ghost garland) turned out. I’ve been leaning into the idea of a handmade holiday and this project was exactly what I hoped it would be!
Project Variations
Speaking of garland variations. Here are a few ideas to mix up this DIY to give it more personality.
- Mixed Creatures Garland: Introduce other Halloween-themed clay cutouts such as spiders, pumpkins, or witches’ hats, and alternate them with the bats on your garland for a medley of spooky vibes.
- Beaded Interludes: Between each bat, you can add a few themed beads (such as tiny skulls, pumpkins, or even simple black and orange beads) to bring more texture and dimension to the garland.
- Glittered Bats: Before assembling, apply a thin layer of craft glue to the surface of your bats and sprinkle with black or silver glitter. Let dry completely. This will give your bats a shimmery touch that will twinkle in the light.
- Seasonal Colors: While the classic black bat is a staple, don’t be afraid to play with colors! Deep purples, greens, or even metallic shades can give your garland a unique touch. You could also paint patterns or designs on your bats, such as stripes or dots.
Remember, the beauty of DIY is making it your own. Don’t hesitate to mix and match these variations or come up with something entirely new. Happy crafting!
More Clay Projects You May Enjoy
- Clay Ghost Garland
- Clay Cactus Garden
- Clay Christmas Ornaments
- Mushroom Christmas Tree Ornaments
- Clay Herb Markers
Bat’s all folks! Thanks for joining in this crafty adventure, and here’s to a fang-tastic Halloween ahead! If you make this DIY Clay Bat Garland, please stop back and leave a comment and a 5-star rating below.
Want more from Inspired by Charm? Join the IBC Mailing List for inspiration in your inbox! Follow along on Instagram and TikTok for daily updates and behind-the-scenes looks at my processes. There’s even more inspiration on Facebook and Pinterest!
DIY Clay Bat Garland
Ingredients
- Oven-bake clay
- Bat cookie cutter
- Rolling pin
- Baking sheet
- Parchment paper
- Drill and drill bit
- Gold link chain
- Gold jump rings
- Needle nose pliers
Instructions
- Begin by rolling out your oven-bake clay to about ¼ of an inch.
- Use your cookie cutter to cut out bats. (If desired, use the cutter on both sides to achieve bats facing different directions.)
- Place the bats on a parchment-lined baking sheet.
- Repeat with remaining clay. The clay can be reformed into a ball and rerolled as much as needed.
- Use a toothpick to create a hanging hole in the cutout on each side of the wing. You’ll want the hole to be about an ⅛ inch from the edge. (You can use the toothpick to create a hole that is large enough for your jump ring or just make a small hole with the toothpick and then use a hand drill to make the hole larger once the cutout is baked.)
- Bake at 275 degrees F for about 15 minutes. (This is the time suggested for 1/4-inch thick ornaments. If your thickness varies, adjust the baking time according to the package directions.) Pay attention to the clay as it bakes because it can burn.
- Remove from the oven and place on a baking rack to cool.
- Use your drill and a small drill bit to increase the size of the hanging holes.
- Next, create 6-inch long pieces of your gold link chain. To do this, use your pliers to open a link, detach the desired section, and then close the link.
- To connect the bats together, start by opening a jump ring with your pliers. Slide the open jump ring through the hole on your bat, and then add the end of one of your 6-inch chain pieces to the same ring. Close the jump ring securely.
- At the opposite end of the chain, attach another open jump ring and slide it through a second bat’s hole. Close the ring.
- Continue this process until you’ve connected all the bats to create the complete garland.
- Once all your bats are strung together, you’re ready to hang the garland wherever you’d like!
Absolutely adorable! And spooky too. Thanks for sharing all the details on how to make them.
Thank you!
xo Michael
So cute!! I want to make this with my granddaughter asap! One question… what did you use to make the clay black?
It’s black clay. Sorry about that. I think I linked the wrong clay. I’ve fixed it.
xo Michael
Thank you! 🙂