
Vintage Thread Spool Mini Wreath
This Post May Contain Affiliate Links. Please Read Our Disclosure PolicyLooking for a unique handmade Christmas ornament idea? These Vintage Thread Spool Mini Wreaths are easy to make and full of old-fashioned holiday charm! Mix and match colorful thread spools, add festive ribbon and a little greenery, and you’ll have an adorable vintage-inspired Christmas decoration that’s perfect for decorating!
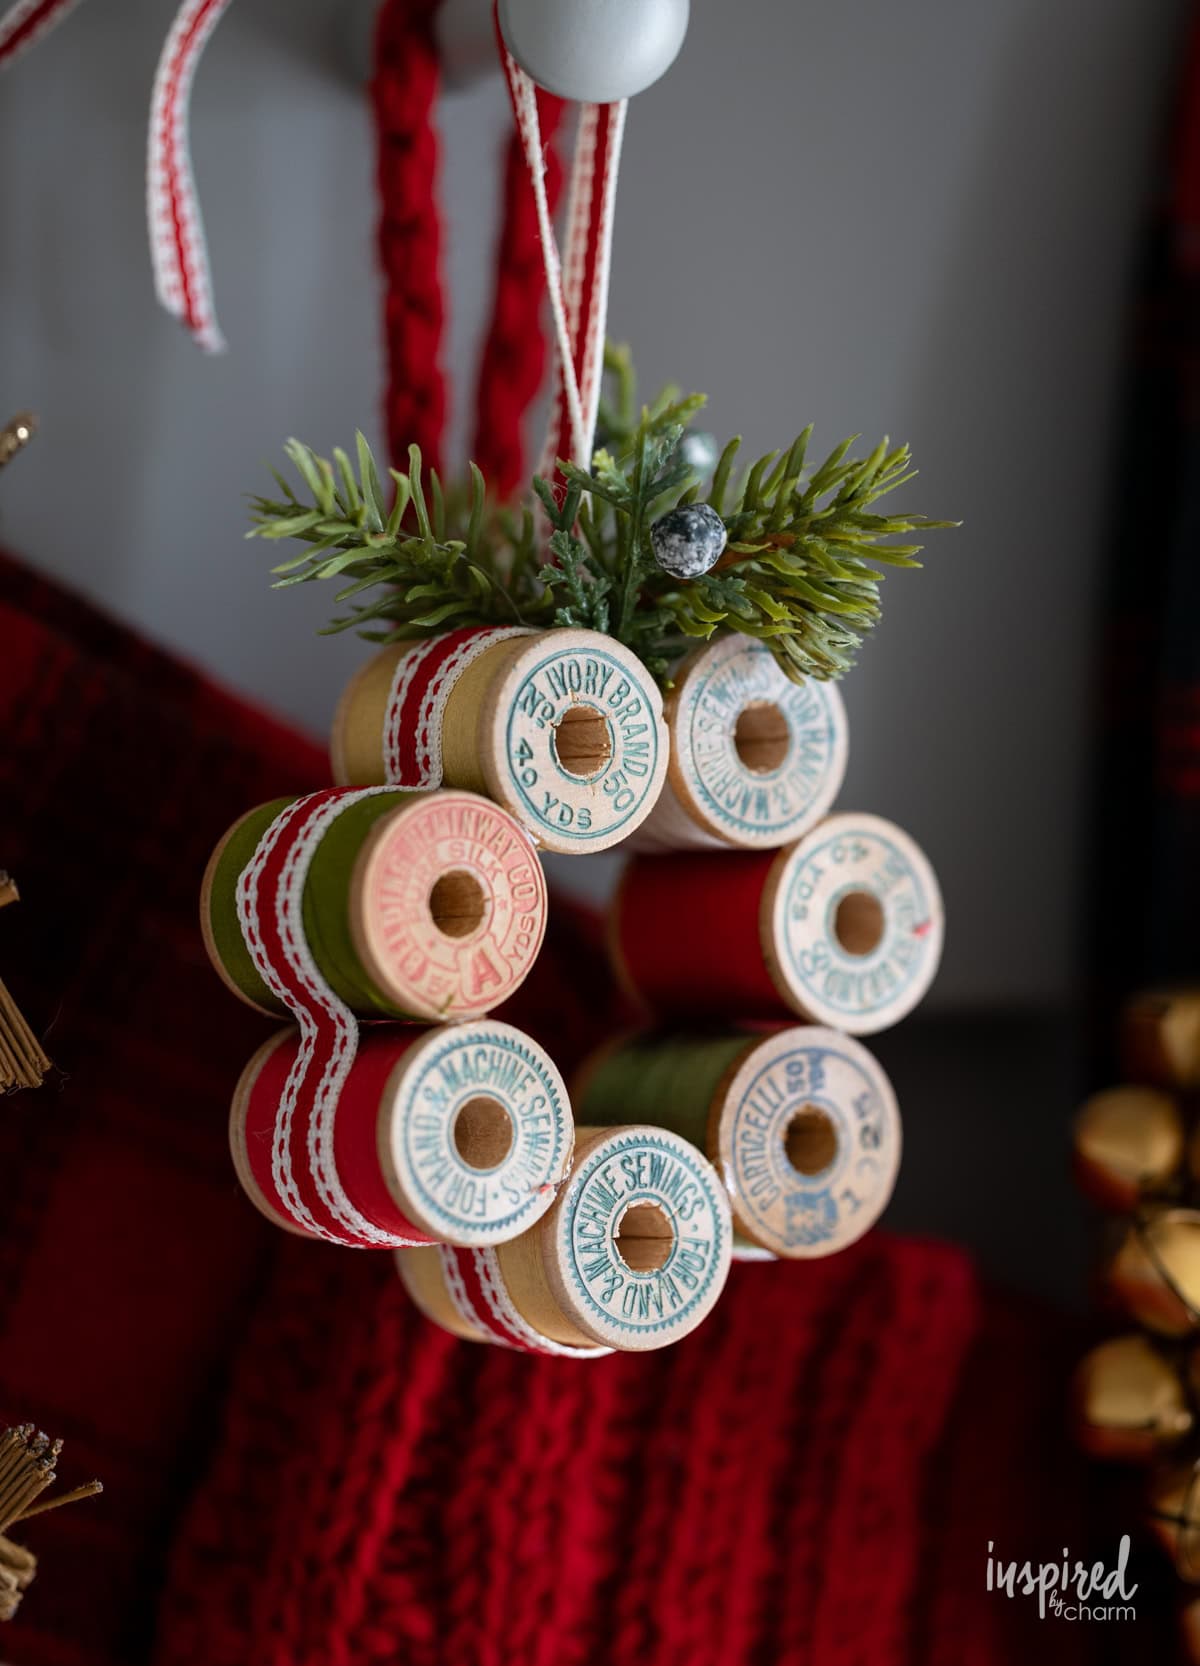
In recent years, making my own Christmas decorations has become one of my favorite ways to celebrate the holidays. It’s something I look forward to every year, and honestly, the handmade decorations always end up being the ones I love the most.
A couple of years ago, I made this vintage thread spool garland. I still had a bunch of leftover spools tucked away, so this year I decided to put them to good use and make a couple of adorable Vintage Thread Spool Mini Wreaths!
I couldn’t be happier with how they turned out, so I had to share the project with you. And the best part? They’re incredibly easy to make!

These little wreaths are perfect for adding a bit of festive charm around your home. You can hang them on your Christmas tree, use them as gift toppers, or tuck them into your holiday decor. Honestly, I think they could even be a gift all on their own. Pair one with a gift card, and you’re done!
They’re pretty much the definition of homespun holiday charm, don’t you think?

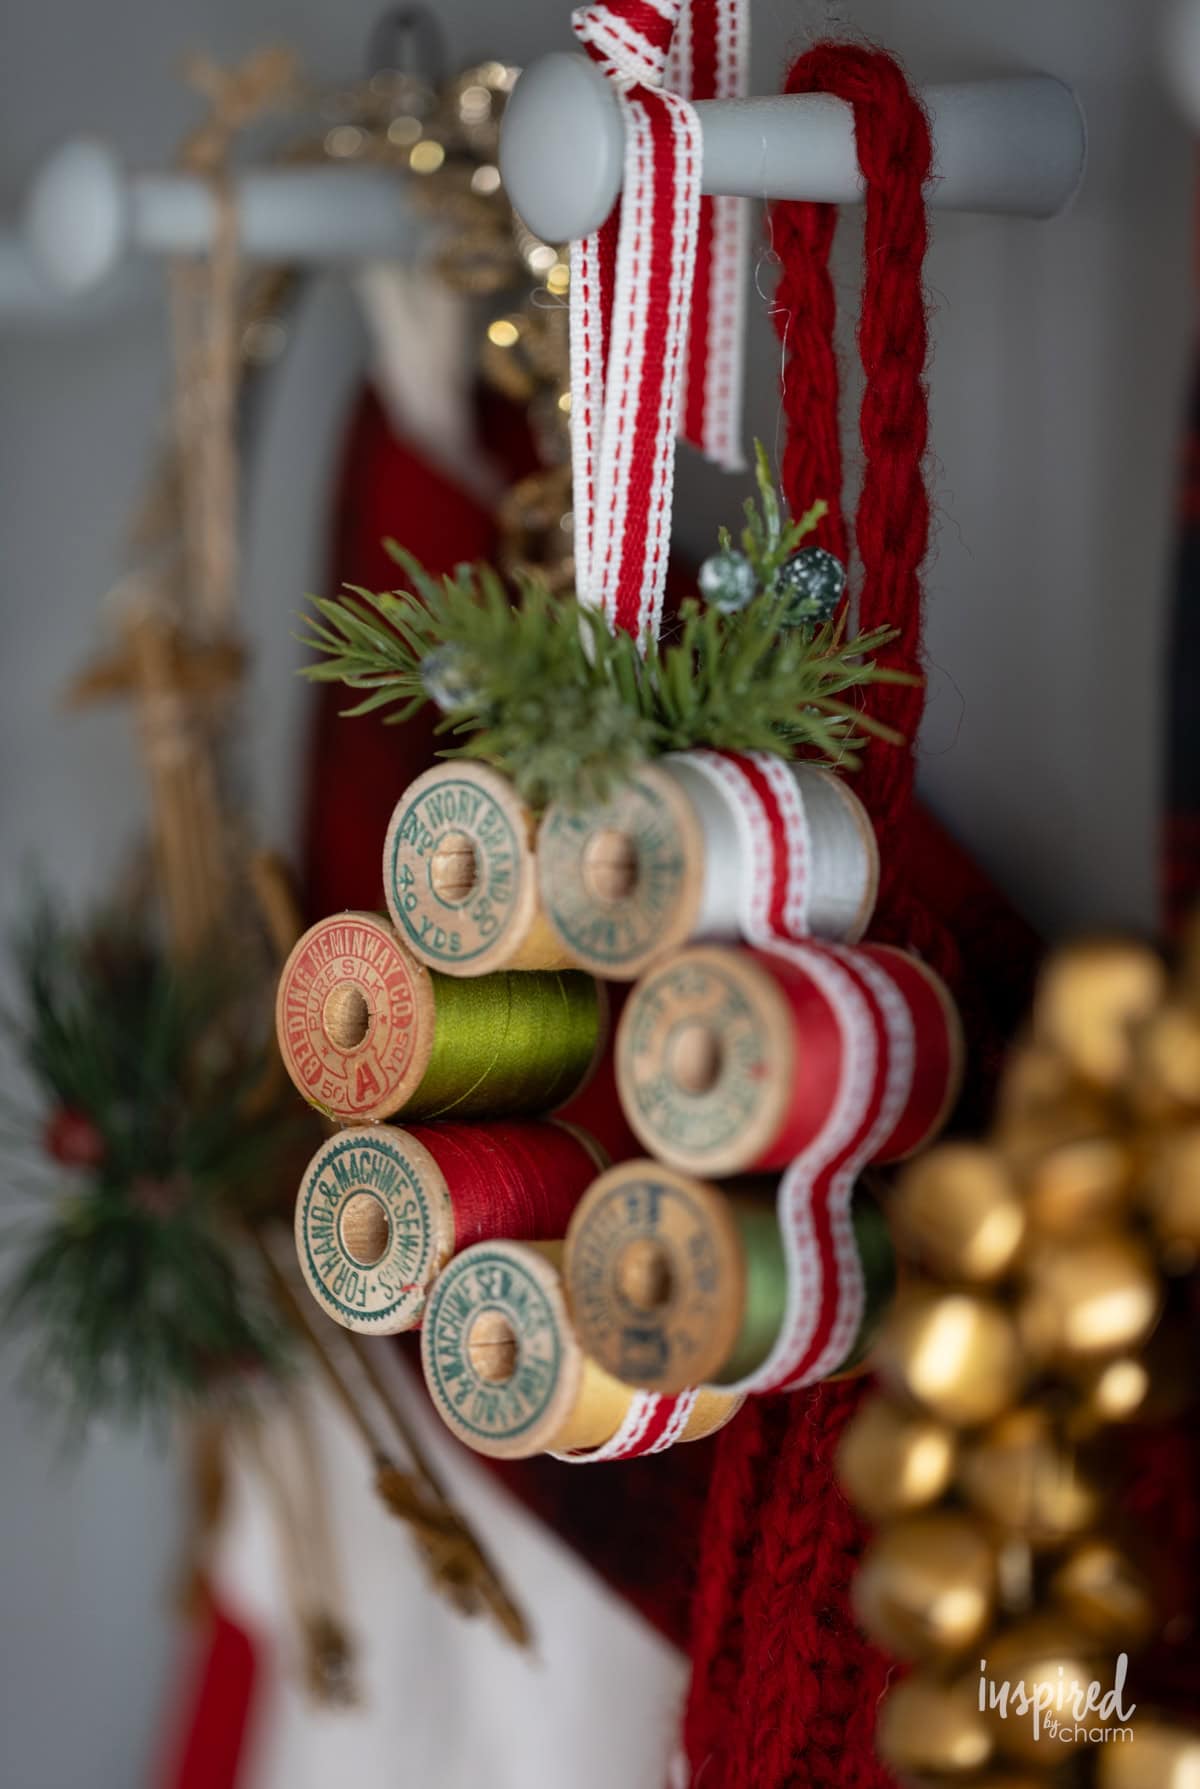
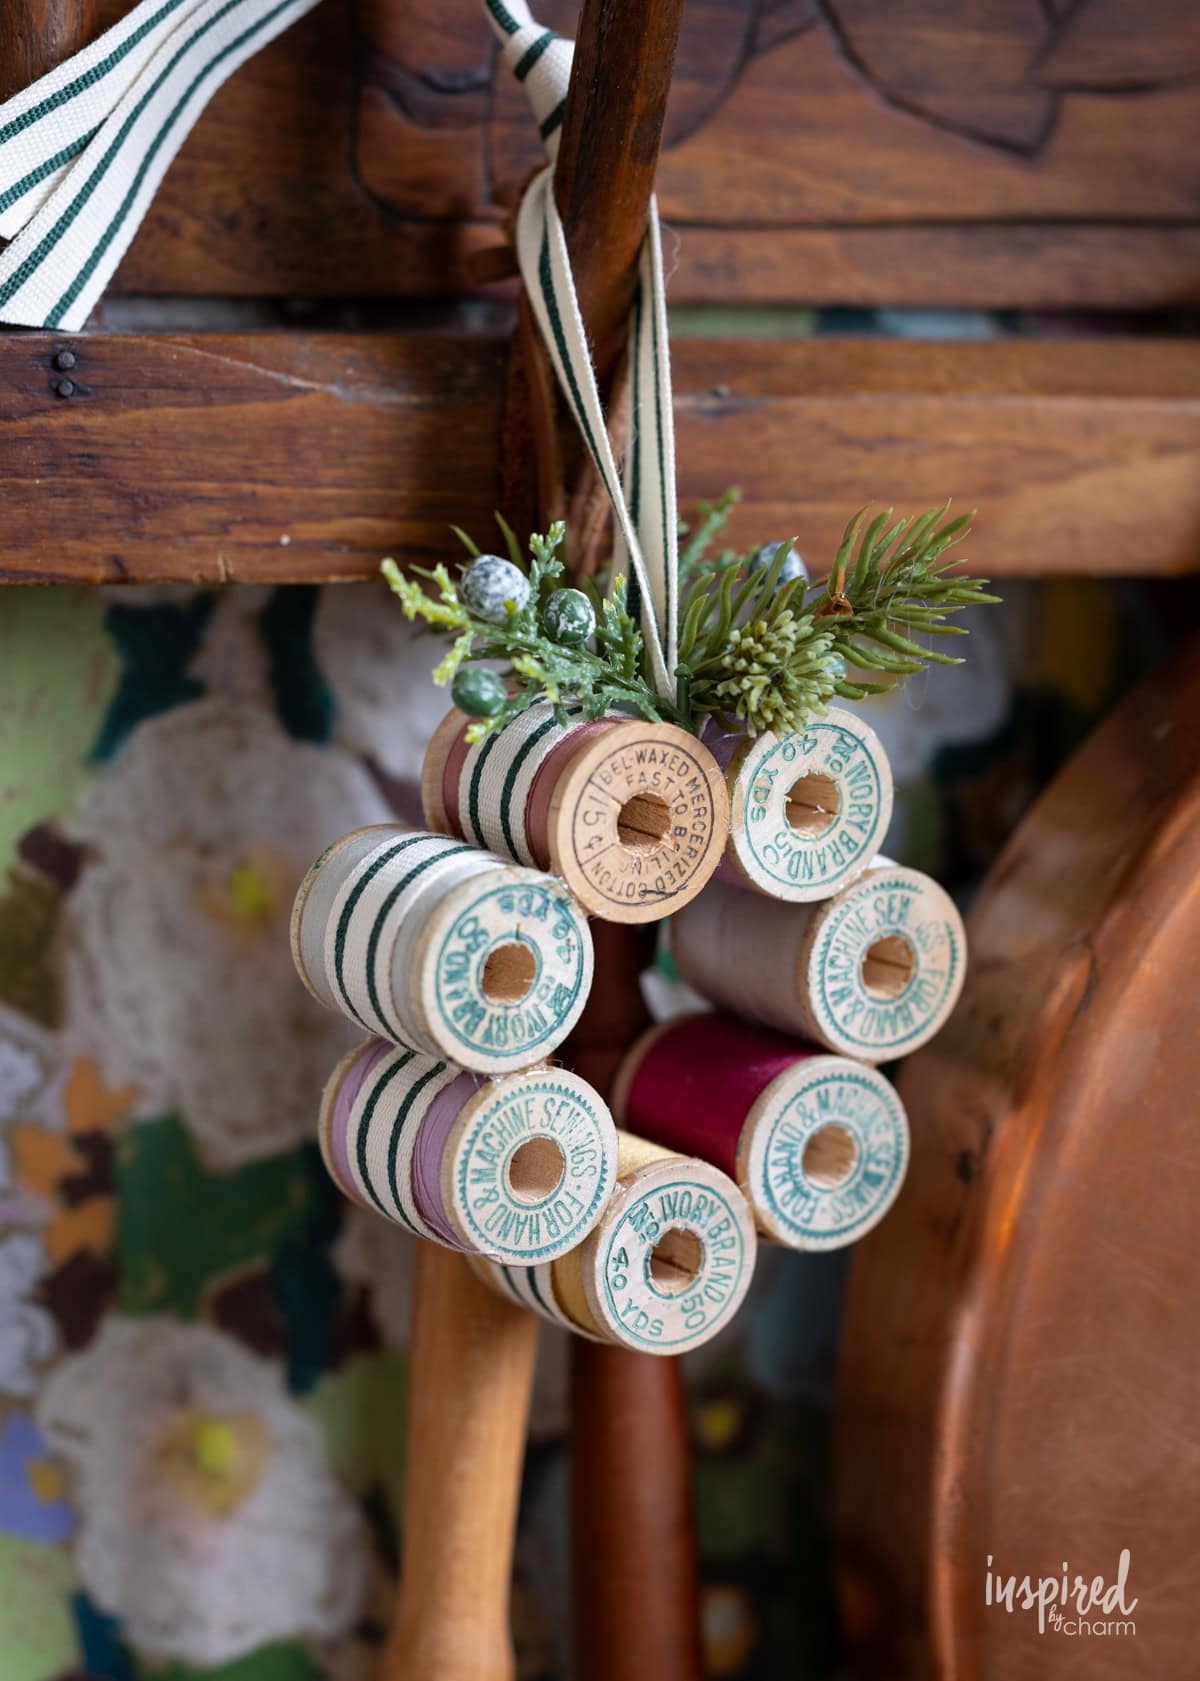
I ended up making two wreaths. One features traditional Christmas colors with lots of red and green, while the other has a less traditional color palette. I actually love the idea of keeping that one out all year long!
Either way, whether you stick with classic Christmas colors or mix things up a bit, I think you’re going to love making these sweet little wreaths. They’re simple, nostalgic, and full of personality. Just the kind of holiday project I love!
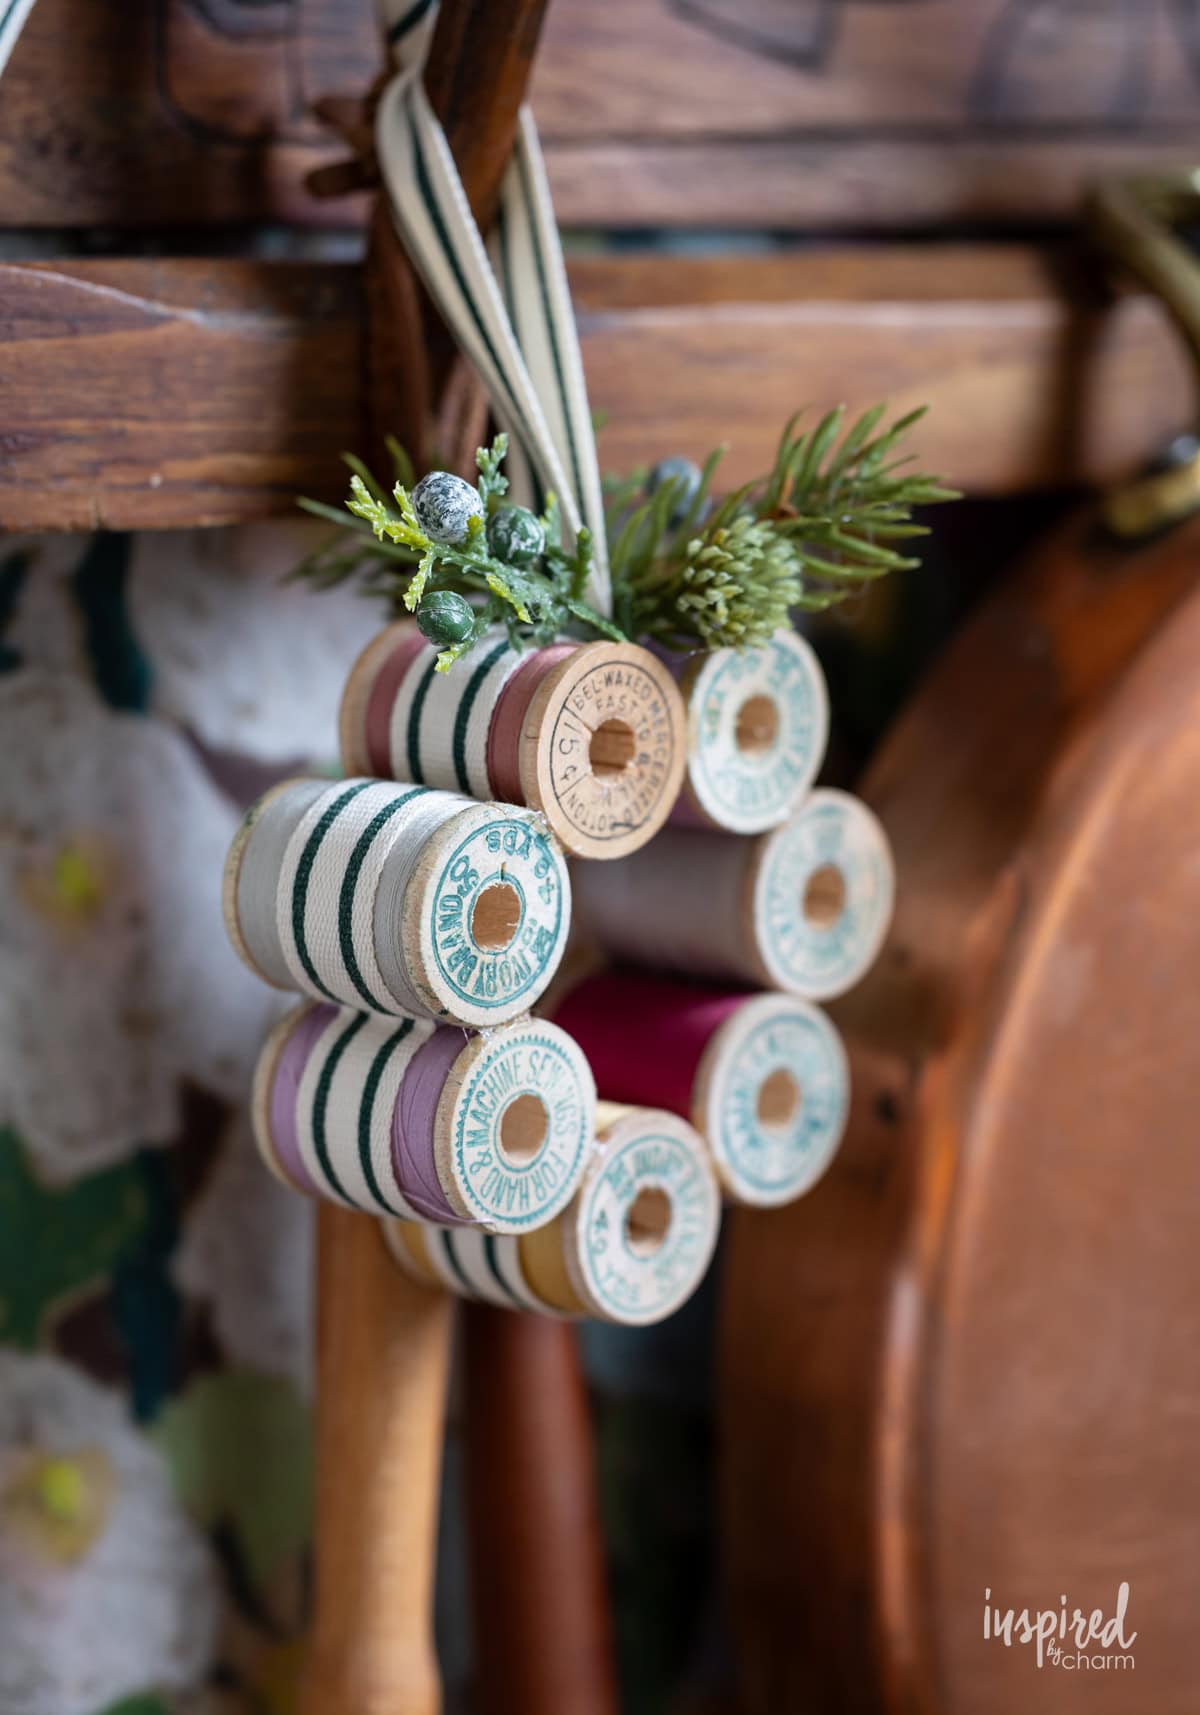
Why You’ll Love This Project
- Easy to Make: This is one of those projects that looks more complicated than it actually is. With just a little glue, ribbon, and a handful of thread spools, you’ll have an adorable mini wreath in no time.
- Full of Vintage Charm: There’s something so sweet and nostalgic about old wooden thread spools, especially with their colorful threads and vintage labels. They give each wreath so much character!
- A Great Way to Repurpose: If you have a collection of old thread spools sitting around, this is a fun way to give them new life. I love finding creative uses for things that might otherwise go unused.
Love handmade decor for the holiday? Me too! If you want to gather some more ideas, check out this post filled with all my best handmade Christmas decor.

Materials
Let’s get into the materials list for this uniquely charming project. Here’s what you’ll need:
- Wax Paper – Use this to protect your work surface and keep the glue from sticking to your table.
- Vintage Wooden Thread Spools – You’ll need seven spools to make one mini wreath. I love using spools with colorful thread and old-fashioned labels for that charming, nostalgic look. You can often find these at thrift stores, antique shops, or estate sales.
- E6000 Glue – This is my preferred glue for this project. It creates a strong bond without the bulkiness of hot glue, which is especially helpful when joining the wooden spools together.
- Toothpick – Perfect for applying small amounts of glue exactly where you need it. You can also use it to tuck the ribbon between the spools.
- 5/8-Inch-Wide Ribbon – Choose a festive ribbon to wrap around your wreath and create a hanger. I used a red-and-white striped ribbon for a classic Christmas look.
- Faux Pine Greenery – Just a few small sprigs are all you need to dress up your wreath. You can snip pieces from an inexpensive faux greenery pick or garland.
- Scissors – For cutting your ribbon and trimming the greenery to size.
How To Make
Okay, ready to put together this Vintage Thread Spool Mini Wreath? Let’s do it! I’ll take you through the steps below. I’ve also provided a full materials list and detailed instructions in the printable how-to card below.
💌 SAVE THIS POST / RECIPE!
- Start by laying out a sheet of wax paper to protect your work surface.
- Arrange seven spools of thread in a circle on the wax paper, making sure the wooden edges of the spools are touching.
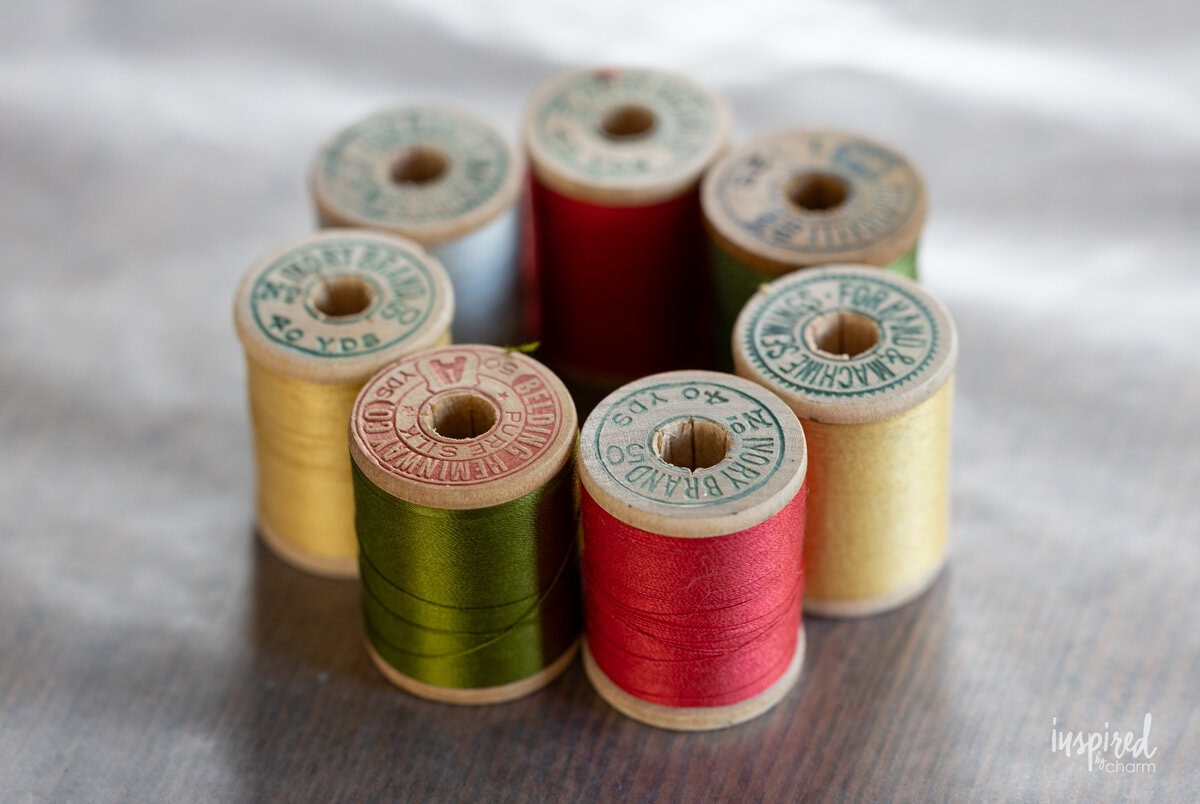
- Once you’re happy with the arrangement, use a toothpick to apply a small amount of glue where the wooden edges meet. Work your way around the circle, gluing each point of contact.
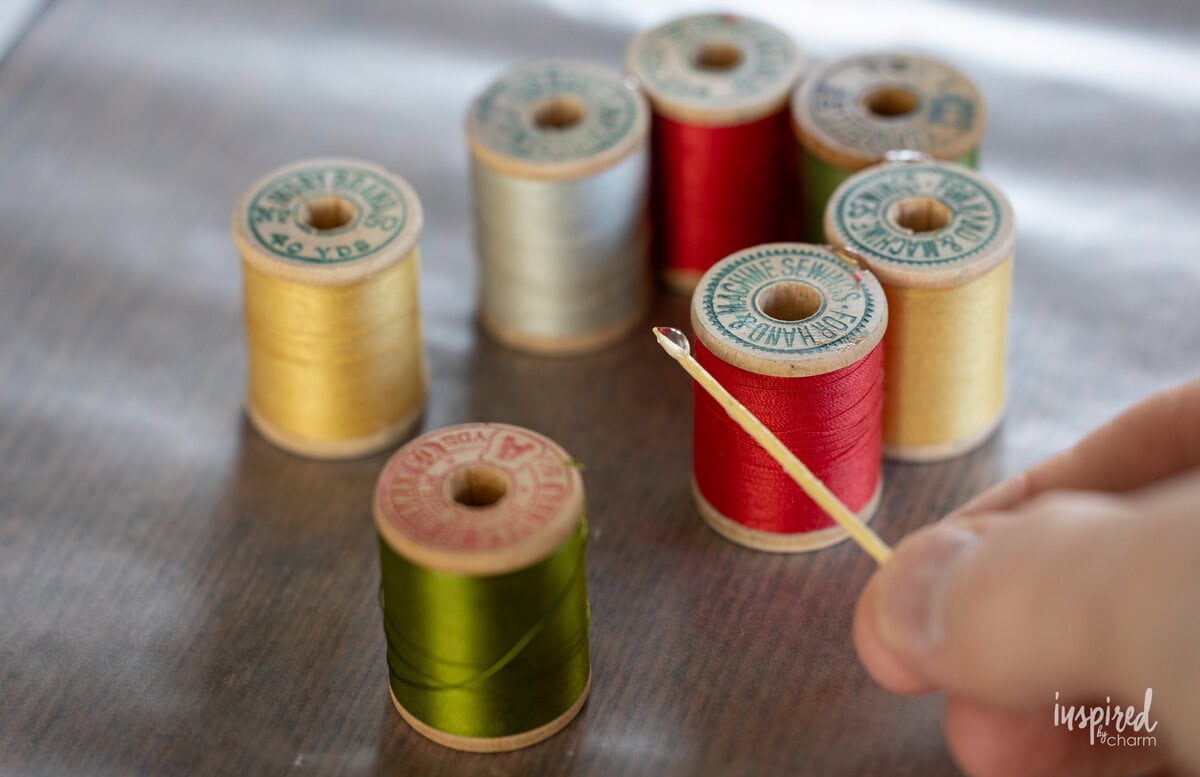
- Double-check the shape of your wreath, then allow the glue to dry completely.
- Next, add the ribbon around the outside of the wreath. Start by leaving a 5- to 6-inch tail, then apply glue to the ribbon in small sections as you work your way around the spools. If desired, use a toothpick to gently press the ribbon into the gaps between the spools. You can also simply wrap the ribbon around the outside without pressing it into the gaps.
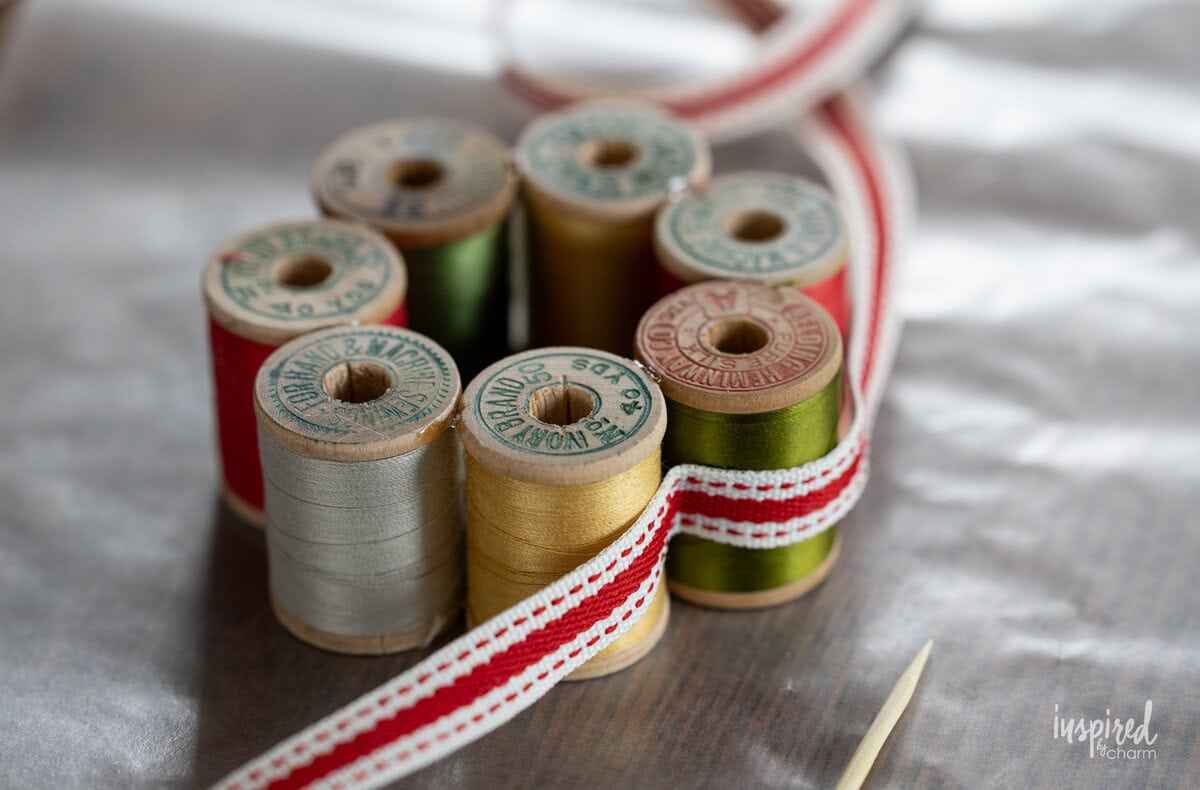
- Continue until you’ve made your way around the entire wreath. Cut the ribbon, leaving another 5- to 6-inch tail. Allow the glue to dry.
- Bring the two ribbon tails together and tie a knot near the top to create a hanger. If desired, glue a few small pieces of faux pine greenery to the top of the wreath for a festive finishing touch.
More Handmade Holiday Decor Ideas You’ll Love
- Pipe Cleaner Loop Garland
- Clothespin Snowflakes
- Vintage Bobbin Garland
- Vintage Christmas Ornament Wreath
- Articulated Paper Figures for Christmas
- DIY Christmas Cookie Bags
And there you have it! The sweetest Vintage Thread Spool Wreaths made from a handful of vintage thread spools. I just love how something so simple can turn into such a charming Christmas decoration. I hope this inspires you to dig through your craft supplies (or make a trip to the antique store!) and create a few wreaths of your own. Happy crafting!
I’d love to hear how yours turns out! Please stop back and leave a comment and a 5-star rating below.
Want more from Inspired by Charm? Join the IBC Mailing List for inspiration in your inbox! Follow along on Instagram and TikTok for daily updates and behind-the-scenes looks at my processes. There’s even more inspiration on Facebook and Pinterest!
Thread Spool Mini Wreath
Ingredients
- Wax paper
- 7 vintage wooden thread spools
- E6000 glue*
- Toothpick
- 5/8-inch wide ribbon
- Faux pine greenery
- Scissors
Instructions
- Start by laying out a sheet of wax paper to protect your work surface.
- Arrange seven spools of thread in a circle on the wax paper, making sure the wooden edges of the spools are touching.
- Once you’re happy with the arrangement, use a toothpick to apply a small amount of glue where the wooden edges meet. Work your way around the circle, gluing each point of contact.
- Double-check the shape of your wreath, then allow the glue to dry completely.
- Next, add the ribbon around the outside of the wreath. Start by leaving a 5- to 6-inch tail, then apply glue to the ribbon in small sections as you work your way around the spools. If desired, use a toothpick to gently press the ribbon into the gaps between the spools. You can also simply wrap the ribbon around the outside without pressing it into the gaps.
- Continue until you’ve made your way around the entire wreath. Cut the ribbon, leaving another 5- to 6-inch tail. Allow the glue to dry.
- Bring the two ribbon tails together and tie a knot near the top to create a hanger. If desired, glue a few small pieces of faux pine greenery to the top of the wreath for a festive finishing touch.