How to Arrange Ranunculus
This Post May Contain Affiliate Links. Please Read Our Disclosure Policy
Dive into the world of flower arranging with this easy-to-follow guide on creating stunning ranunculus arrangements. Perfect for beginners and flower lovers alike, this guide will walk you through selecting vibrant blooms, arranging them beautifully, and ensuring they thrive. Discover the joy of adding a touch of nature’s beauty to your home with ranunculus.
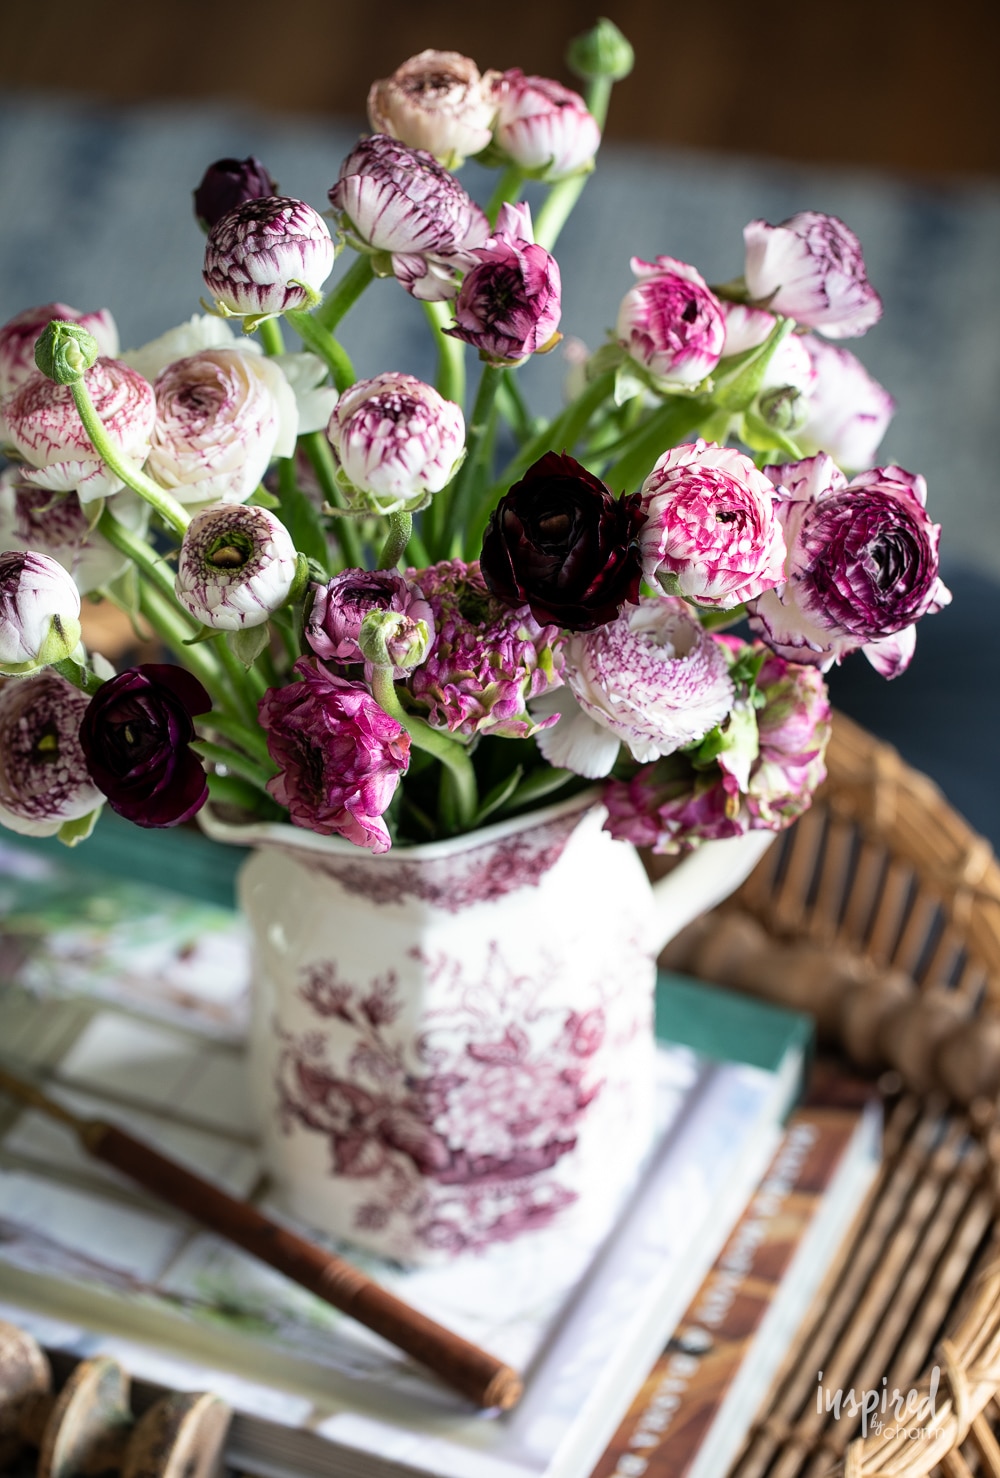
Welcome to the latest flower arranging guide here on IBC where today we’re focusing on the exquisite ranunculus. Known for their lush, paper-thin petals and array of vibrant colors, ranunculus flowers are one of my favorites. This is why I want to teach you how to create a stunning ranunculus arrangement.
As with many of my other flower arranging guides, I’ll share where to buy and how to arrange along with other tips and tricks that will keep your blooms looking beautiful! And… if you like this tutorial, be sure to check out my Ultimate Flower Arranging Guide which covers everything including tulips, peonies, fall flowers, and more!
Why You’ll Love This Guide
- This guide is designed with simplicity in mind, perfect for beginners and those who love fuss-free home projects.
- Clear, easy-to-follow steps take the guesswork out of flower arranging.
- Included are useful tips for buying, handling, and extending the life of your ranunculus, ensuring your arrangement stays fresh and beautiful longer.
- Learn how to create an arrangement that complements any room, adding a touch of elegance and warmth to your living space.
- Whether it’s brightening up your home or creating a special gift, this guide is versatile for any occasion.
Why Ranunculus?
So, why ranunculus flowers? Ranunculus flowers are stunning, and they have a wonderfully long vase life. With proper care, they can remain beautiful in your home for up to 10 days. I’ve even had some last longer. Their wide range of colors and lush, peony-like appearance make them a popular choice for DIY arrangements.
As you arrange these gorgeous blooms, remember that there’s no right or wrong way to do it. Let your creativity flow and enjoy the process. The joy of floral arranging lies in the unique touch you bring to each creation.
Where to Buy
First, you’re going to need some ranunculus. Here are my go-to sources:
- Grocery Store: If you just need a dozen or two, I recommend picking them up at the grocery store. I typically buy mine from Trader Joe’s or Whole Foods. Ranunculus tends to be seasonal. Look for them in late winter through the summer.
- Local Flower Shop: Your local flower shop is always a great source of beautiful blooms. You may tend to pay a bit more, but it’s always nice to support a local business. You could also ask if they have any leftover flowers or special deals on older blooms that you could take advantage of at a discounted rate.
- PetalDriven: The ranunculus that I’m using for this post are from PetalDriven. PetalDriven is a go-to for me when I need a lot of flowers. They offer direct (straight from the farm) wholesale flowers shipped directly to your door. You can save 10% on your order by using the code “INSPIRED10” at checkout. They were kind enough to provide the beautiful blooms for this post.
Materials
Let’s begin by gathering the materials you’ll need to start arranging.
- Fresh ranunculus flowers (choose a variety of colors for a vibrant look)
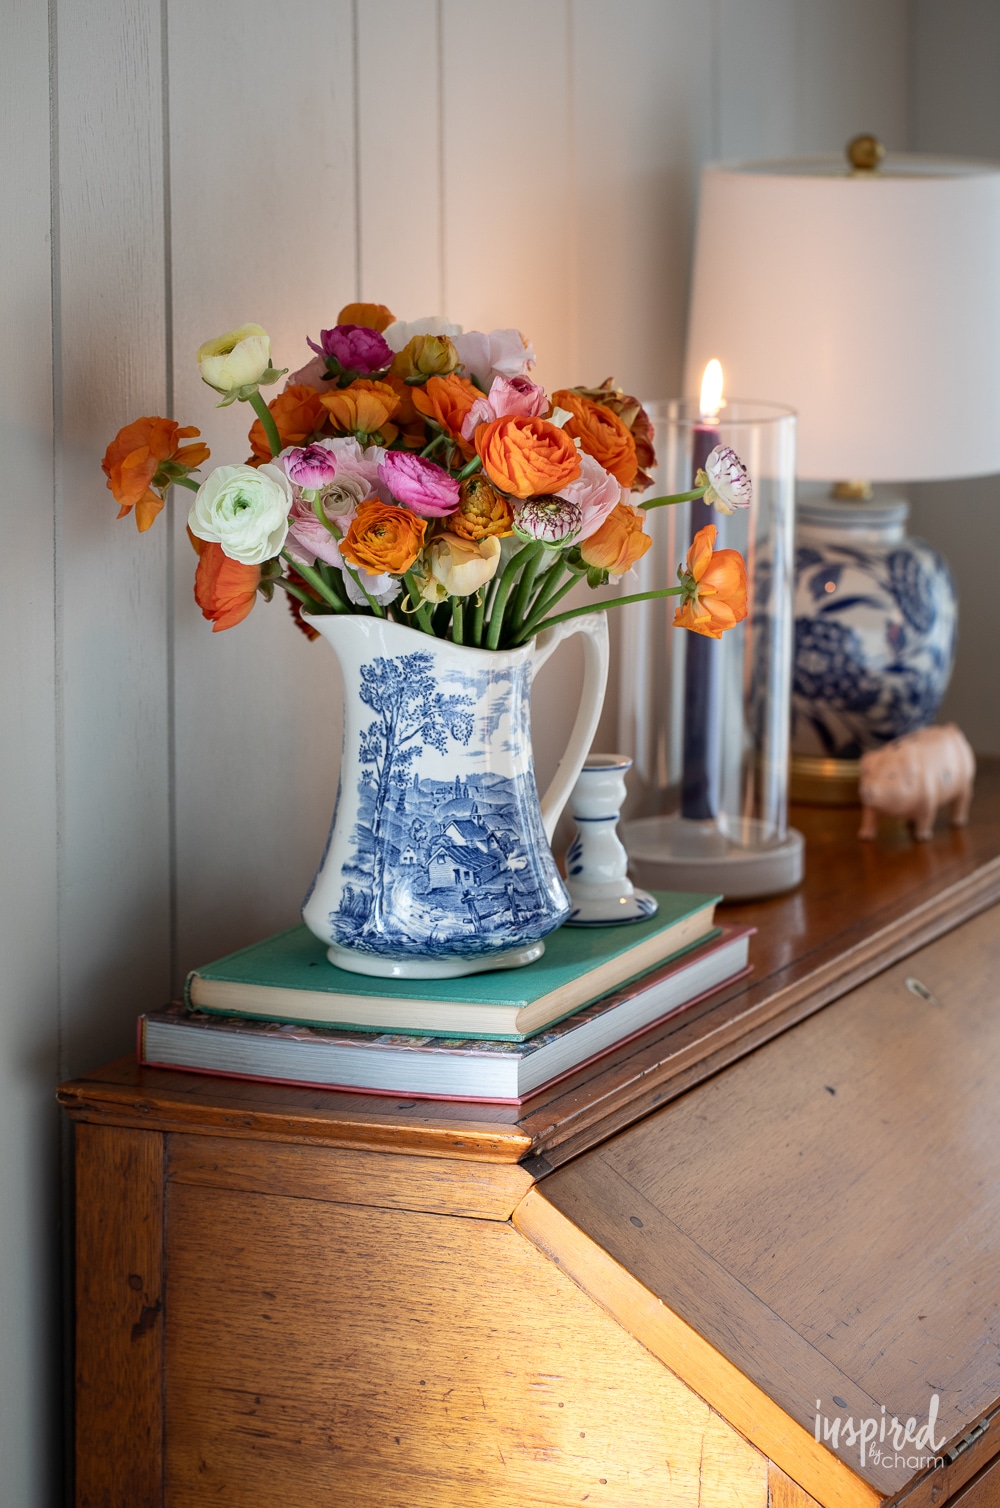
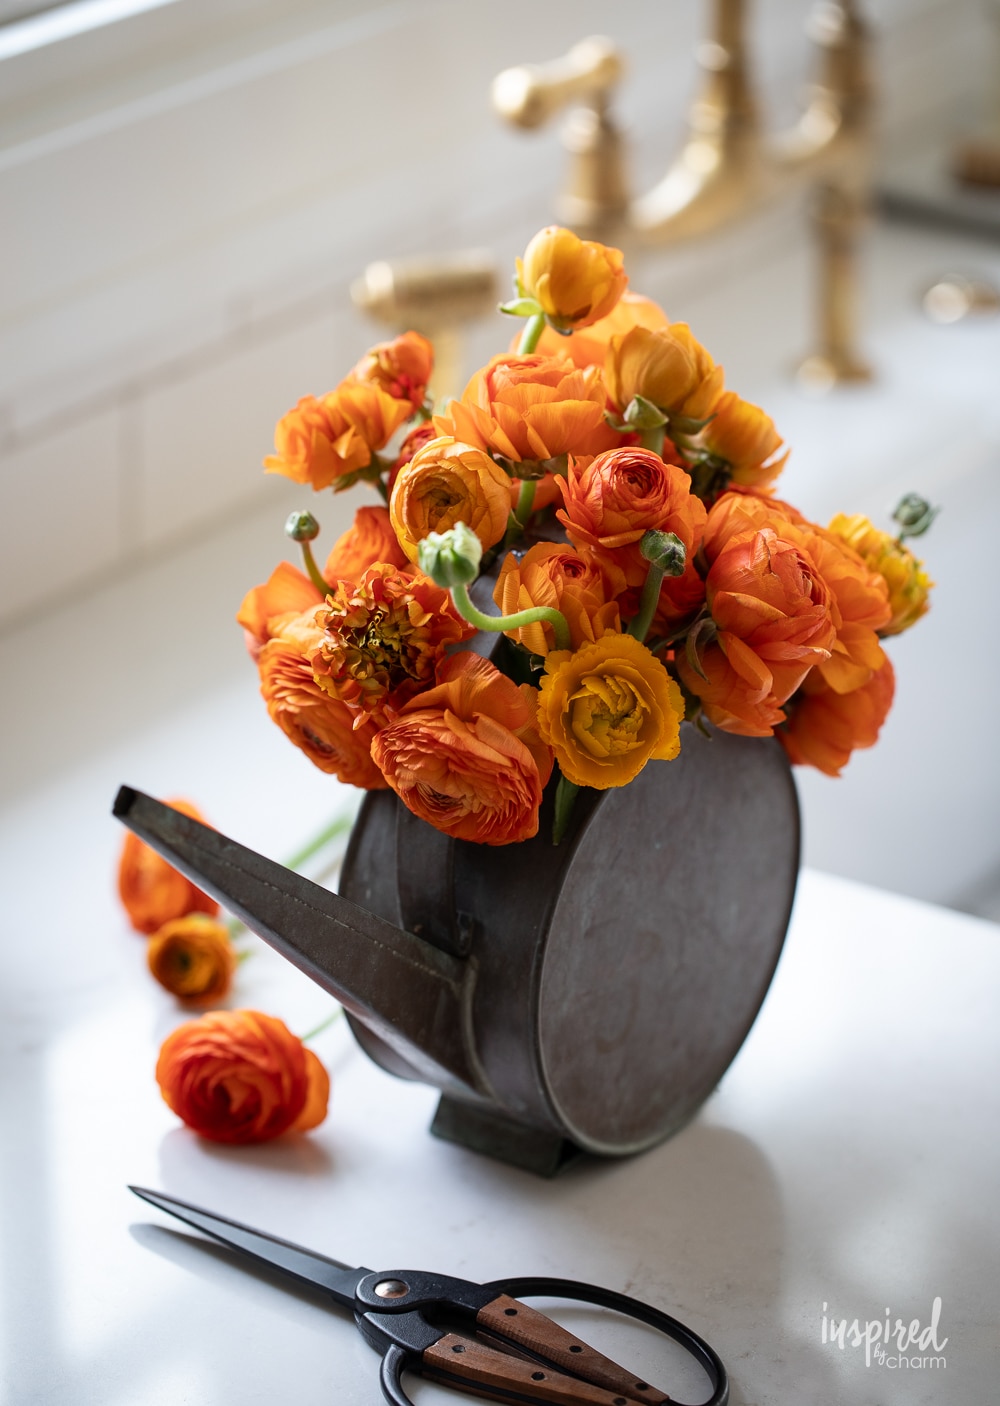
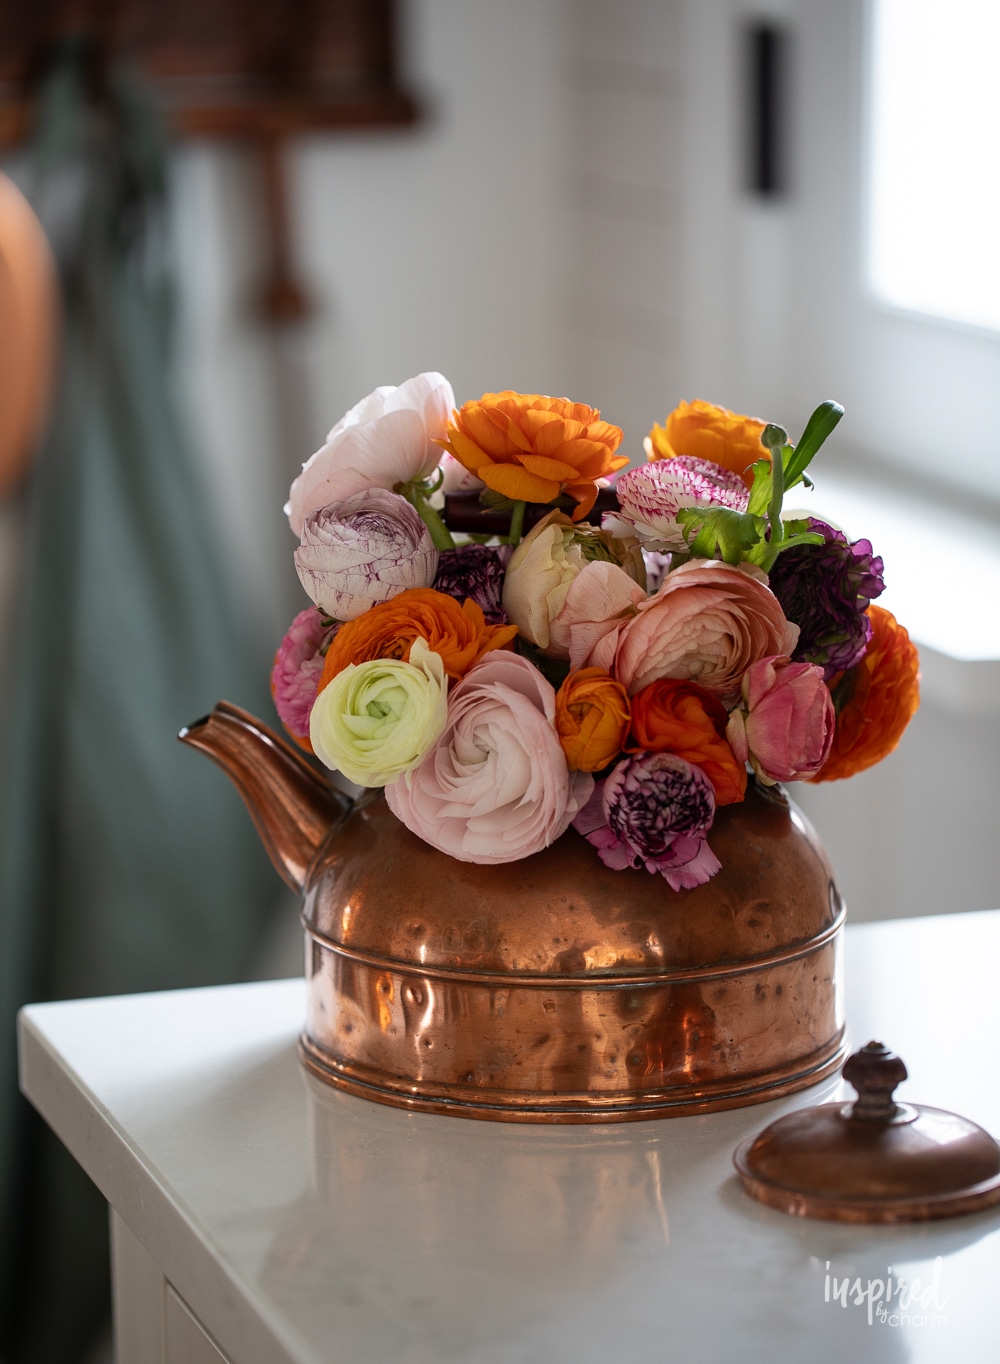
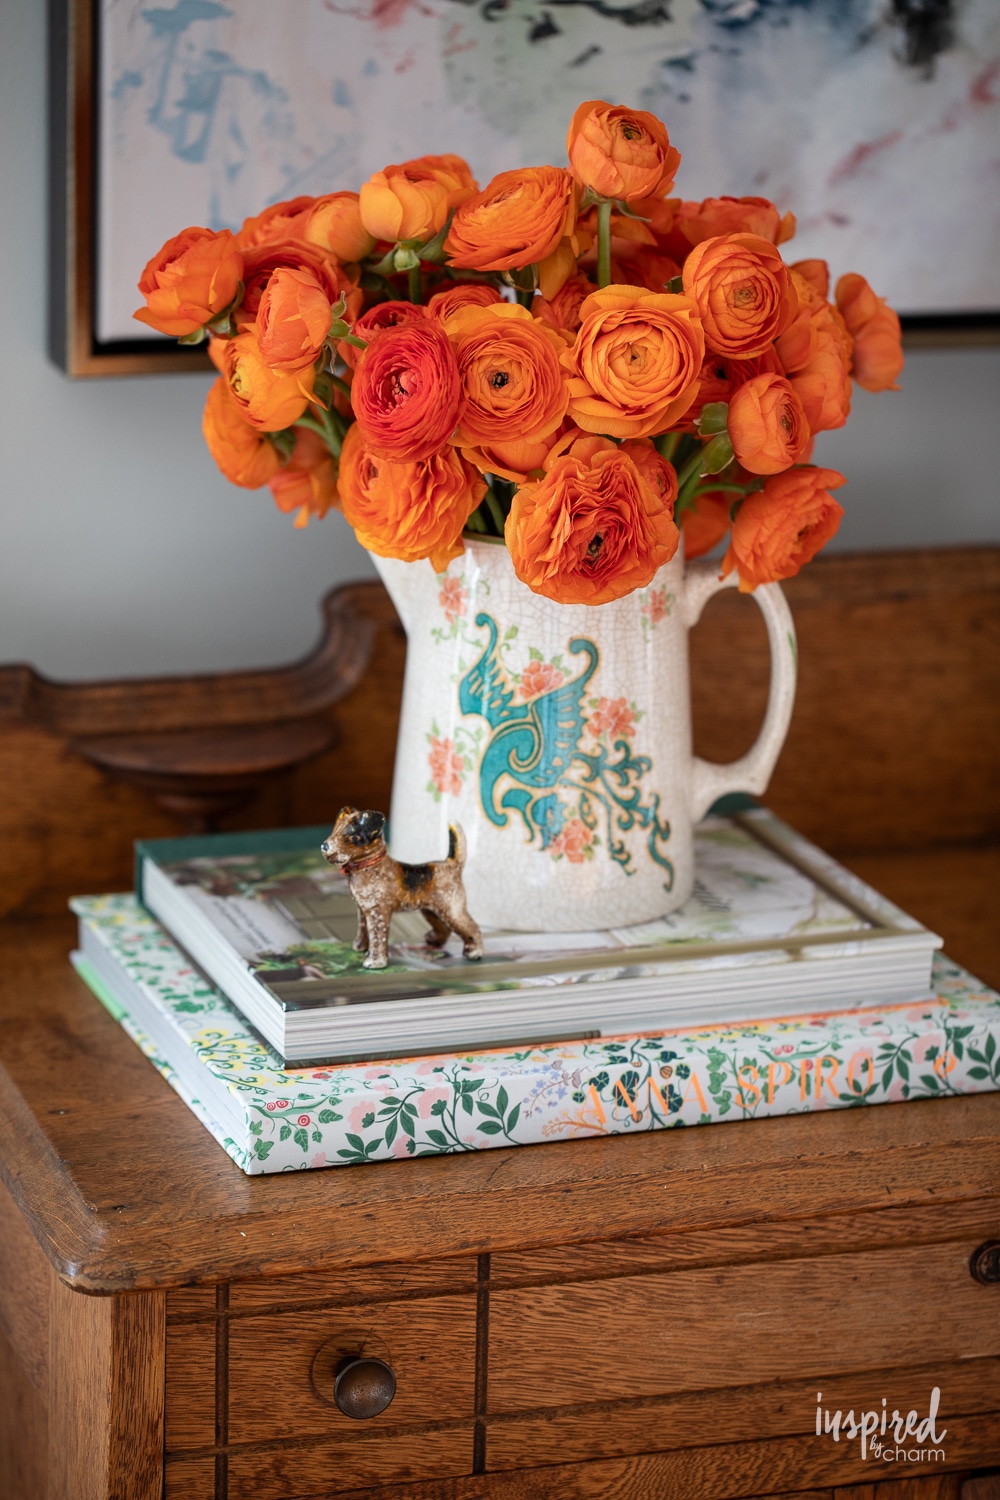
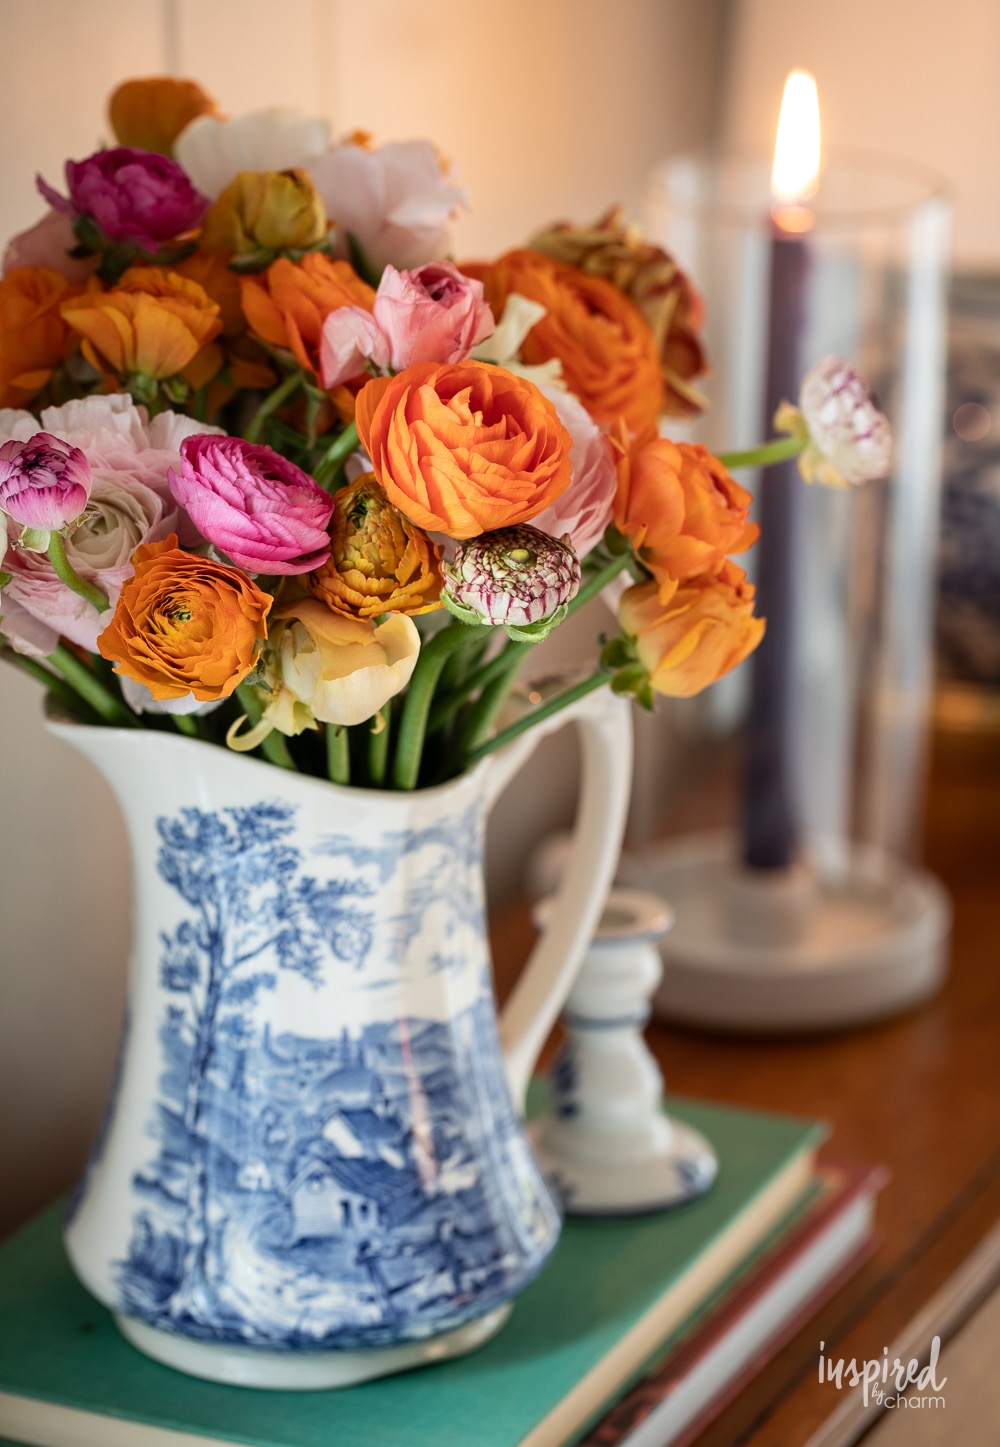
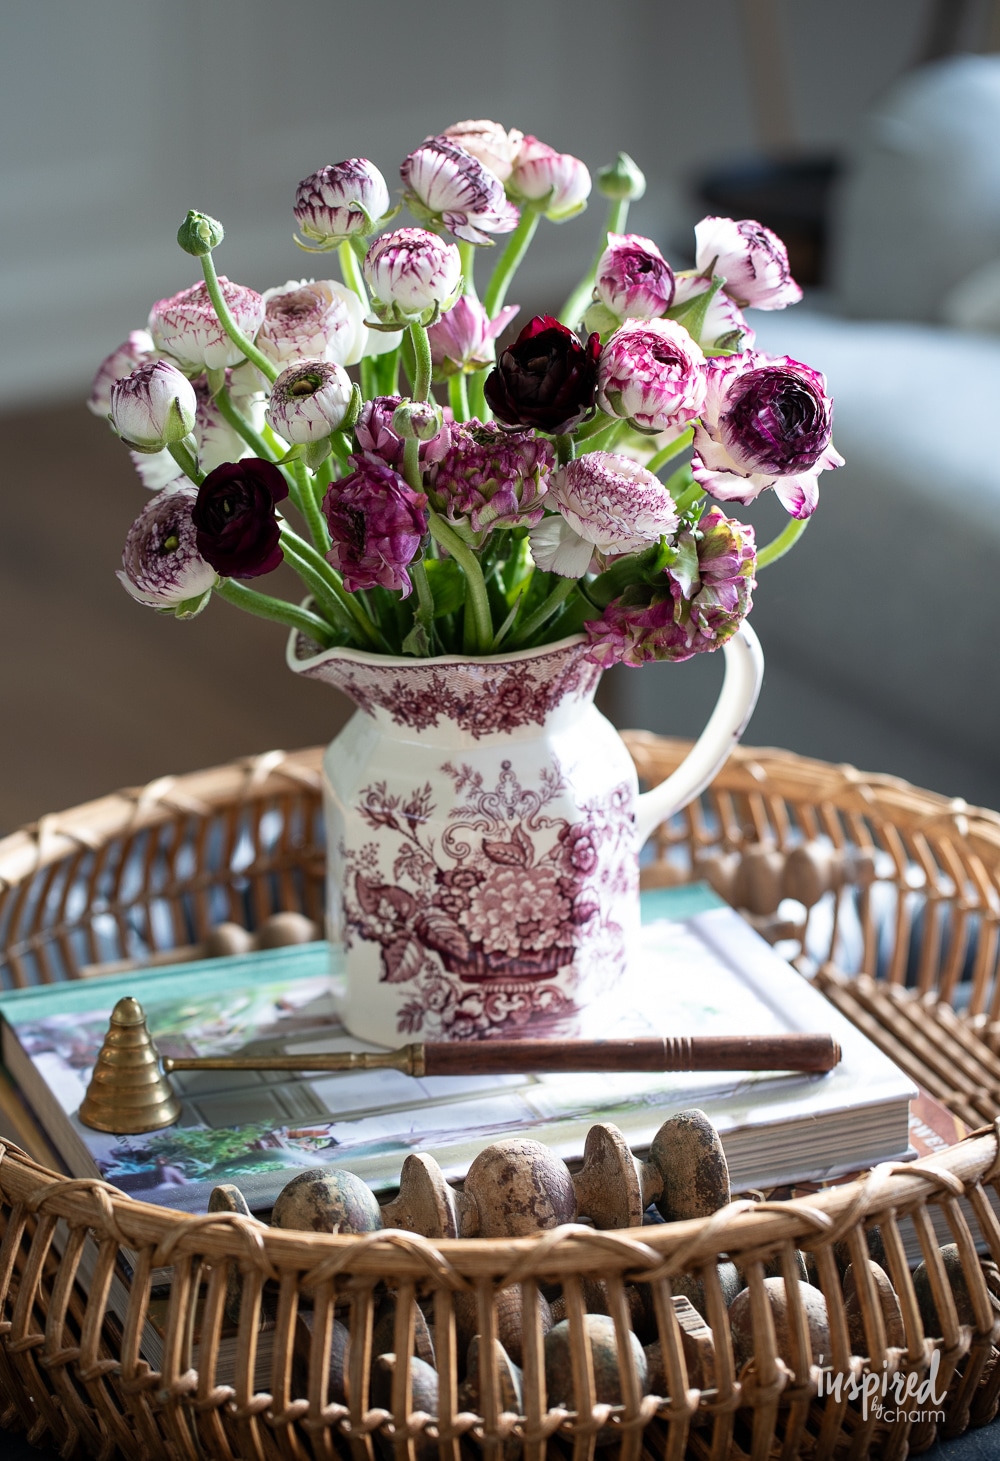
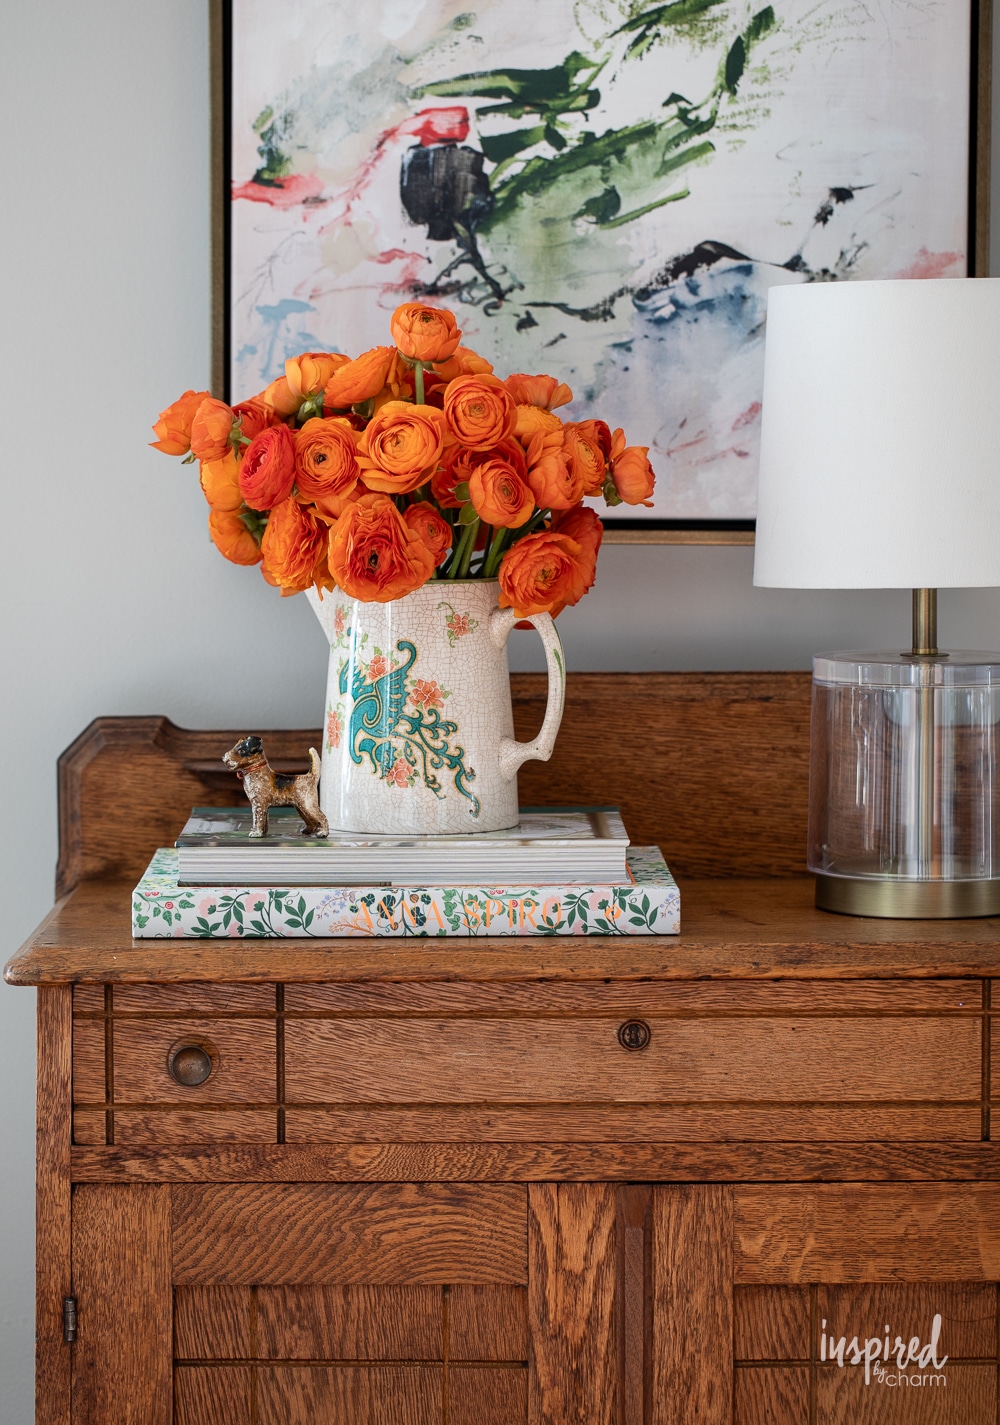
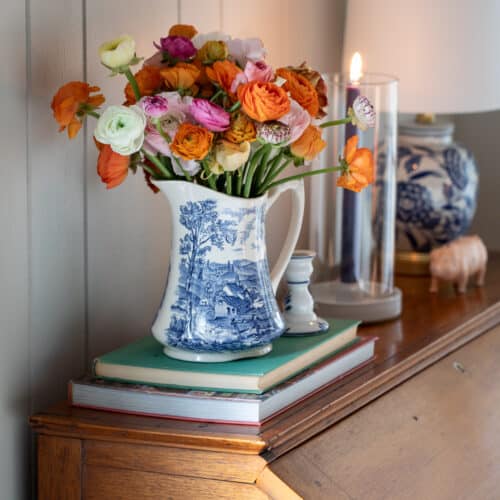
- A clean vase (be creative – such as using a teapot or pitcher for a unique look)
- Sharp scissors or floral shears
- Lukewarm water
- Optional: Flower food
How To Arrange
Okay, with all of that information in your toolkit, I think we are ready to start arranging.
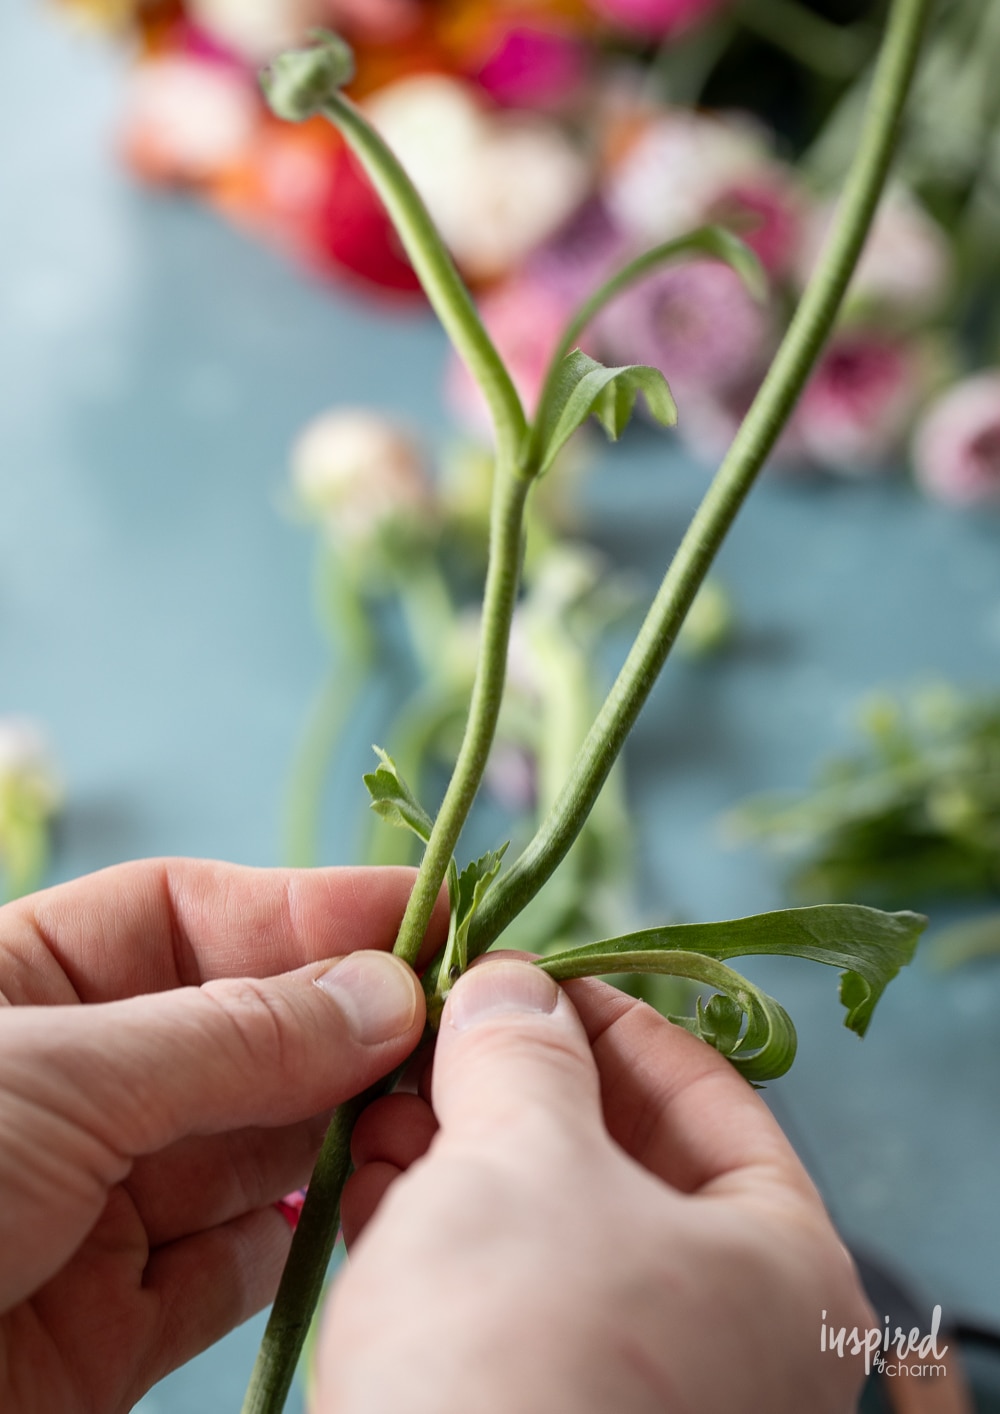
Preparing Your Ranunculus:
- Start by gently removing any leaves that will sit below the waterline. This helps prevent bacterial growth in the water.
- Give each stem a fresh cut at a 45-degree angle. This increases the surface area for water absorption.
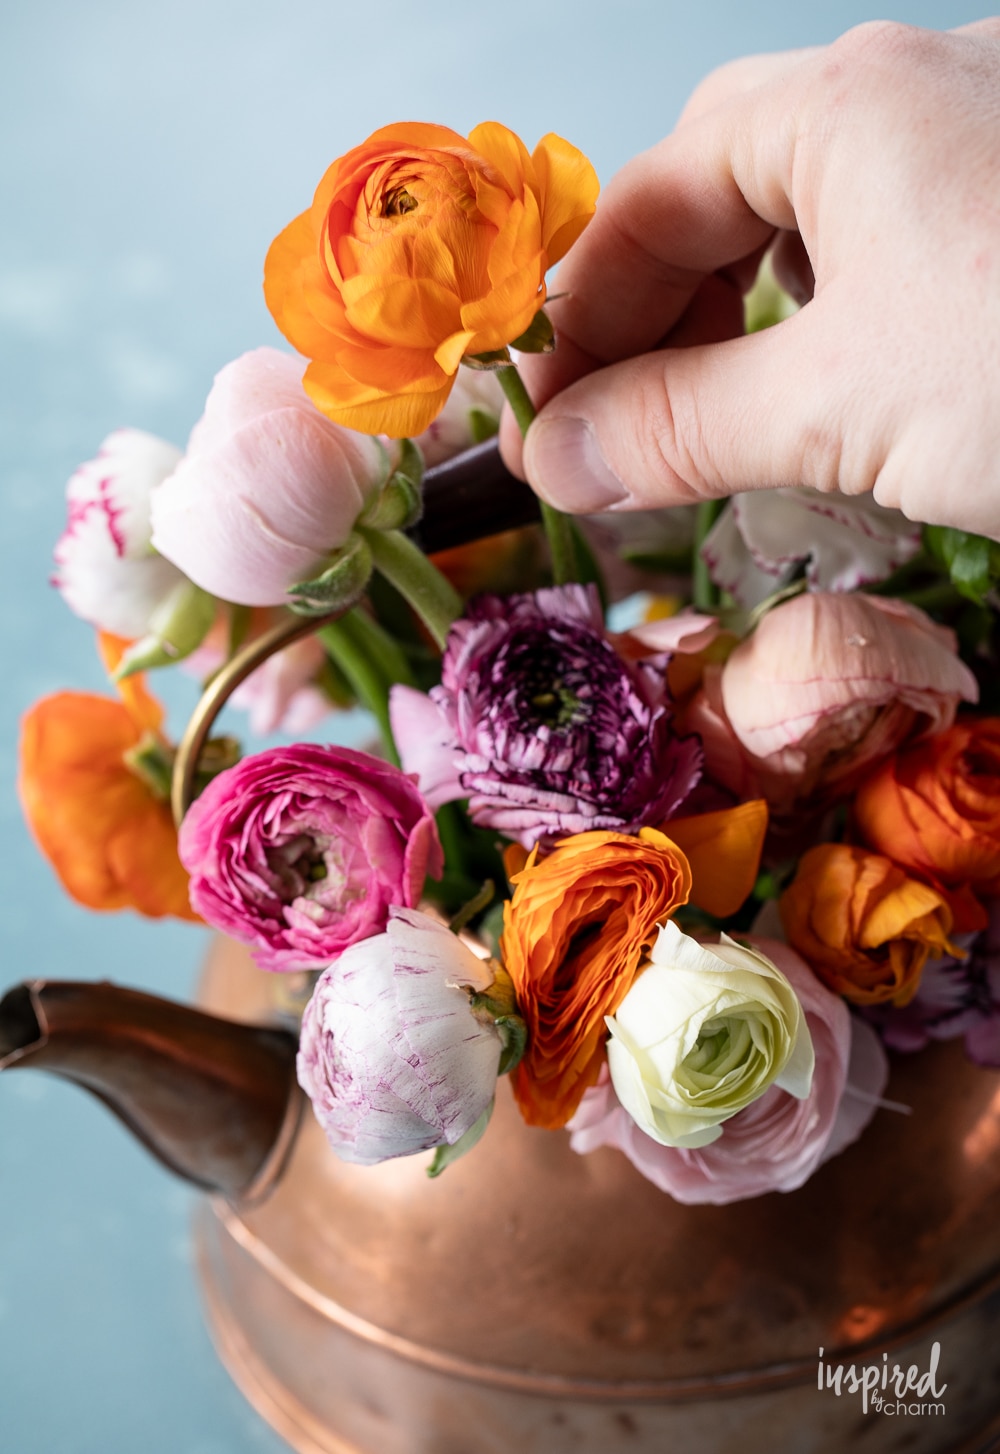
Arranging Your Flowers:
- Fill your vase with lukewarm water and add flower food if you have it.
- Begin by placing the taller stems in the center and work your way outwards with shorter ones. This creates a full, balanced look.
- Turn the vase as you work to ensure the arrangement looks great from all angles.
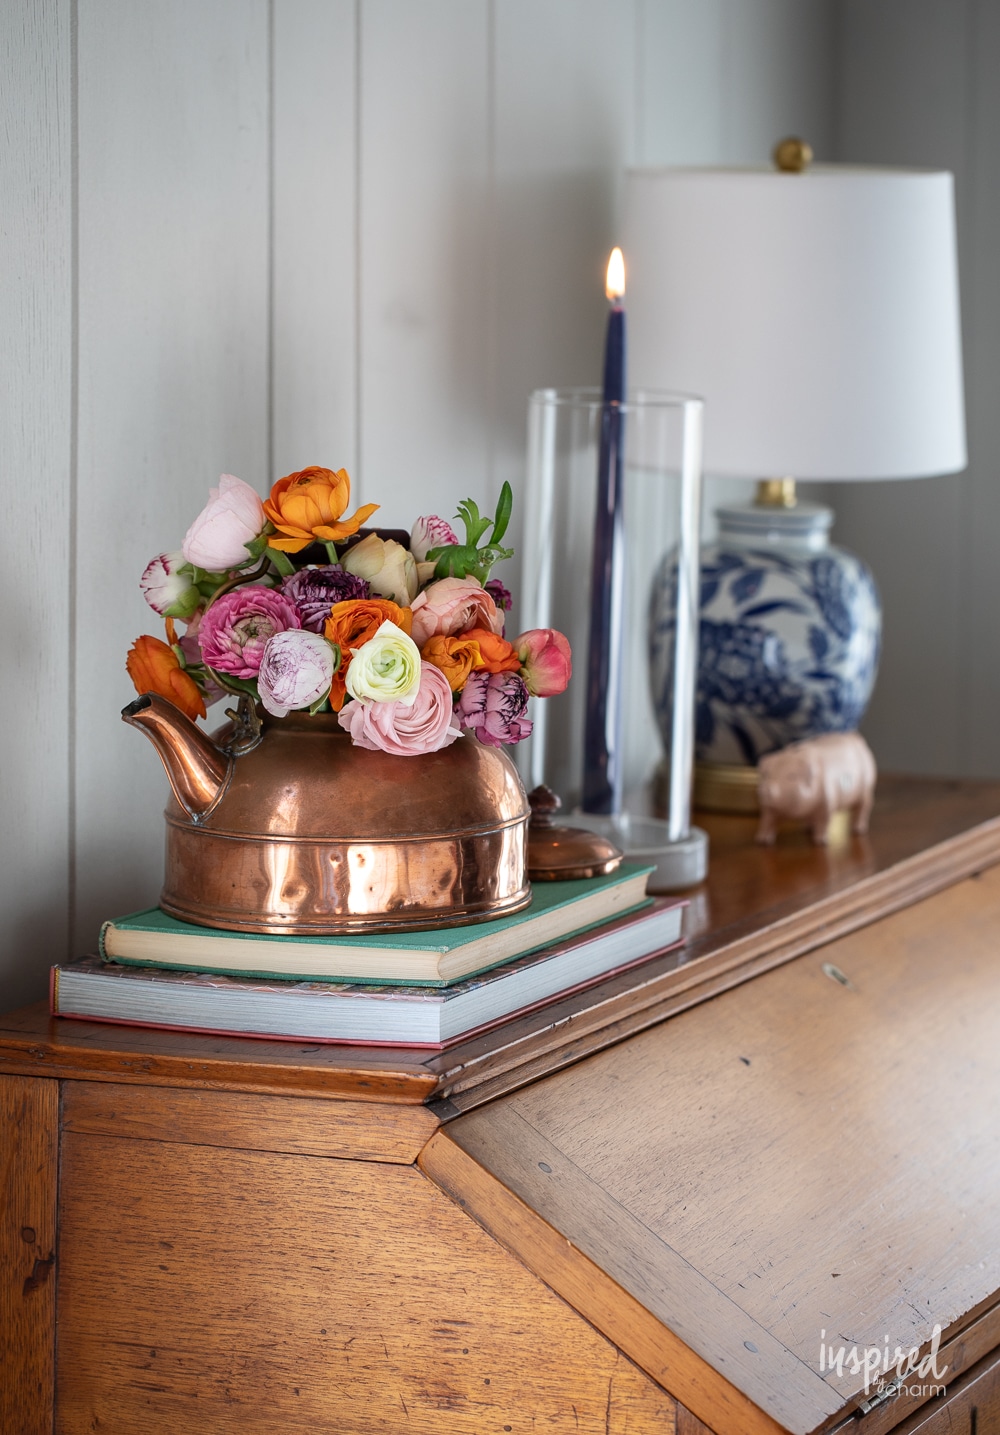
Finding the Perfect Spot:
- Place your arrangement in a cool spot out of direct sunlight. Ranunculus last longer in cooler temperatures.
💌 SAVE THIS POST / RECIPE!
Daily Care:
- Change the water every two days and re-cut the stems to prolong their life.
- Remove any wilted flowers to keep the arrangement looking fresh.
Additional Tips and Tricks
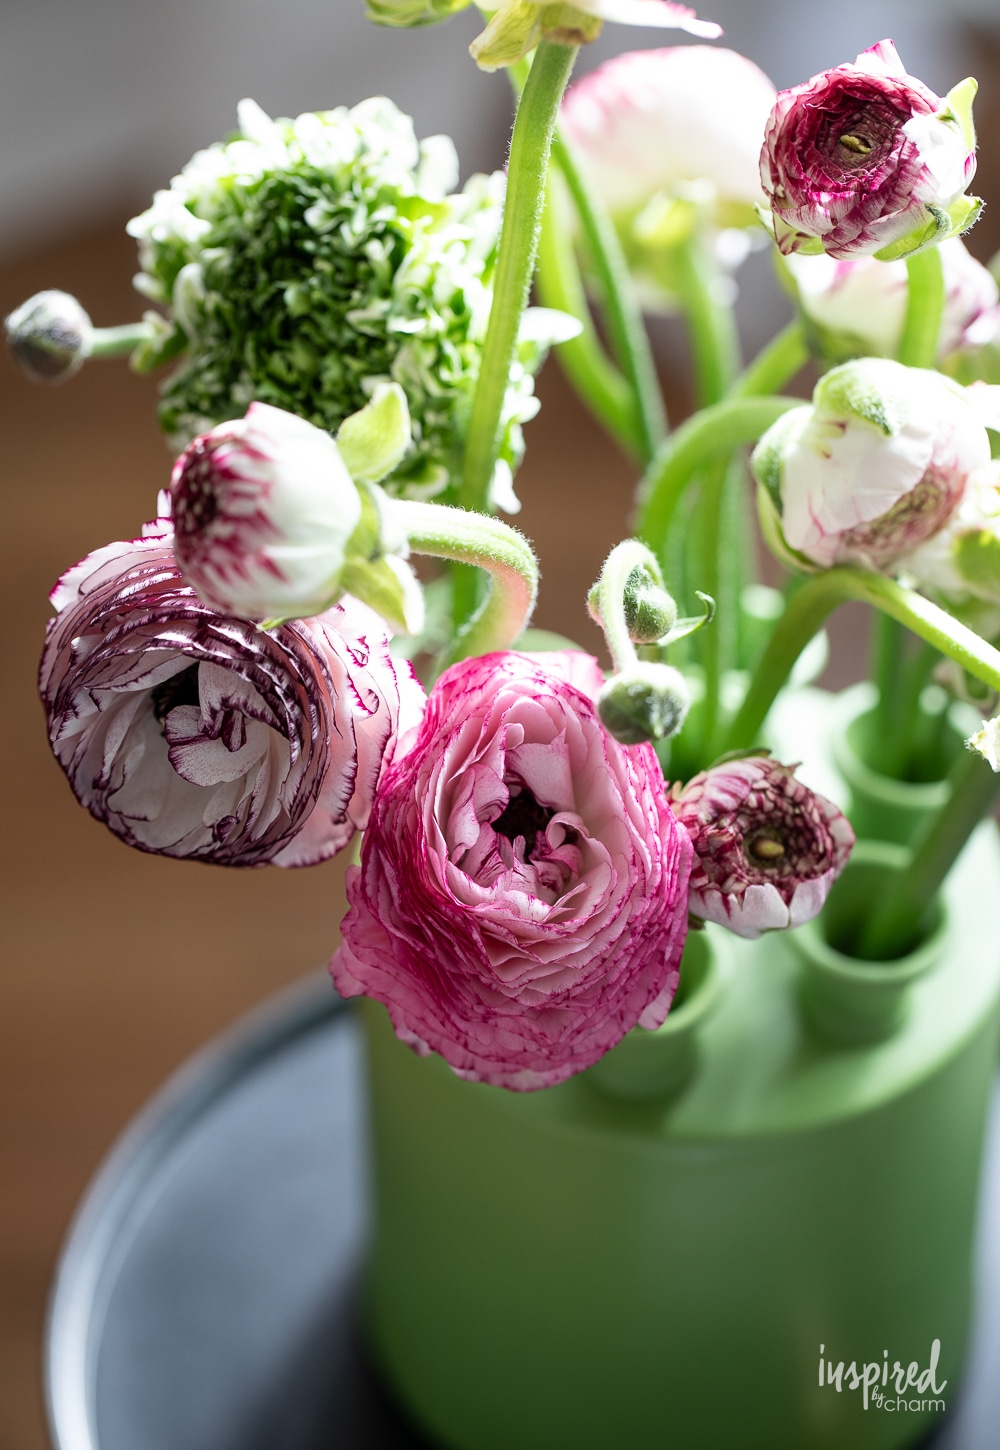
- Buying Tip: Look for buds that are just starting to open. You’ll get to enjoy the blooming process and have longer-lasting flowers.
- Handling: Ranunculus stems are delicate. Handle them gently to avoid bruising.
- Reviving Droopy Stems: If your ranunculus stems wilt, re-cut the ends and place them in warm water for a few hours. They often perk right back up.
Frequently Asked Questions
How long do ranunculus flowers typically last in a vase?
With proper care, ranunculus can last up to 10 days (if not longer) in a vase. Regularly changing the water and trimming the stems can help extend their lifespan.
Can I mix ranunculus with other flowers in an arrangement?
Absolutely! Ranunculus pairs beautifully with a variety of flowers. Consider adding greenery or complementary blooms like roses or peonies for texture and variety.
What’s the best way to choose ranunculus at the store or market?
Look for firm, unblemished stems and buds that are just starting to open. Avoid flowers with overly opened petals or signs of wilting.
Why do my ranunculus stems keep drooping?
Drooping is often a sign of dehydration. Try re-cutting the stems and placing them in warm water. Also, ensure they are not in direct sunlight or near heat sources, as this can cause wilting.
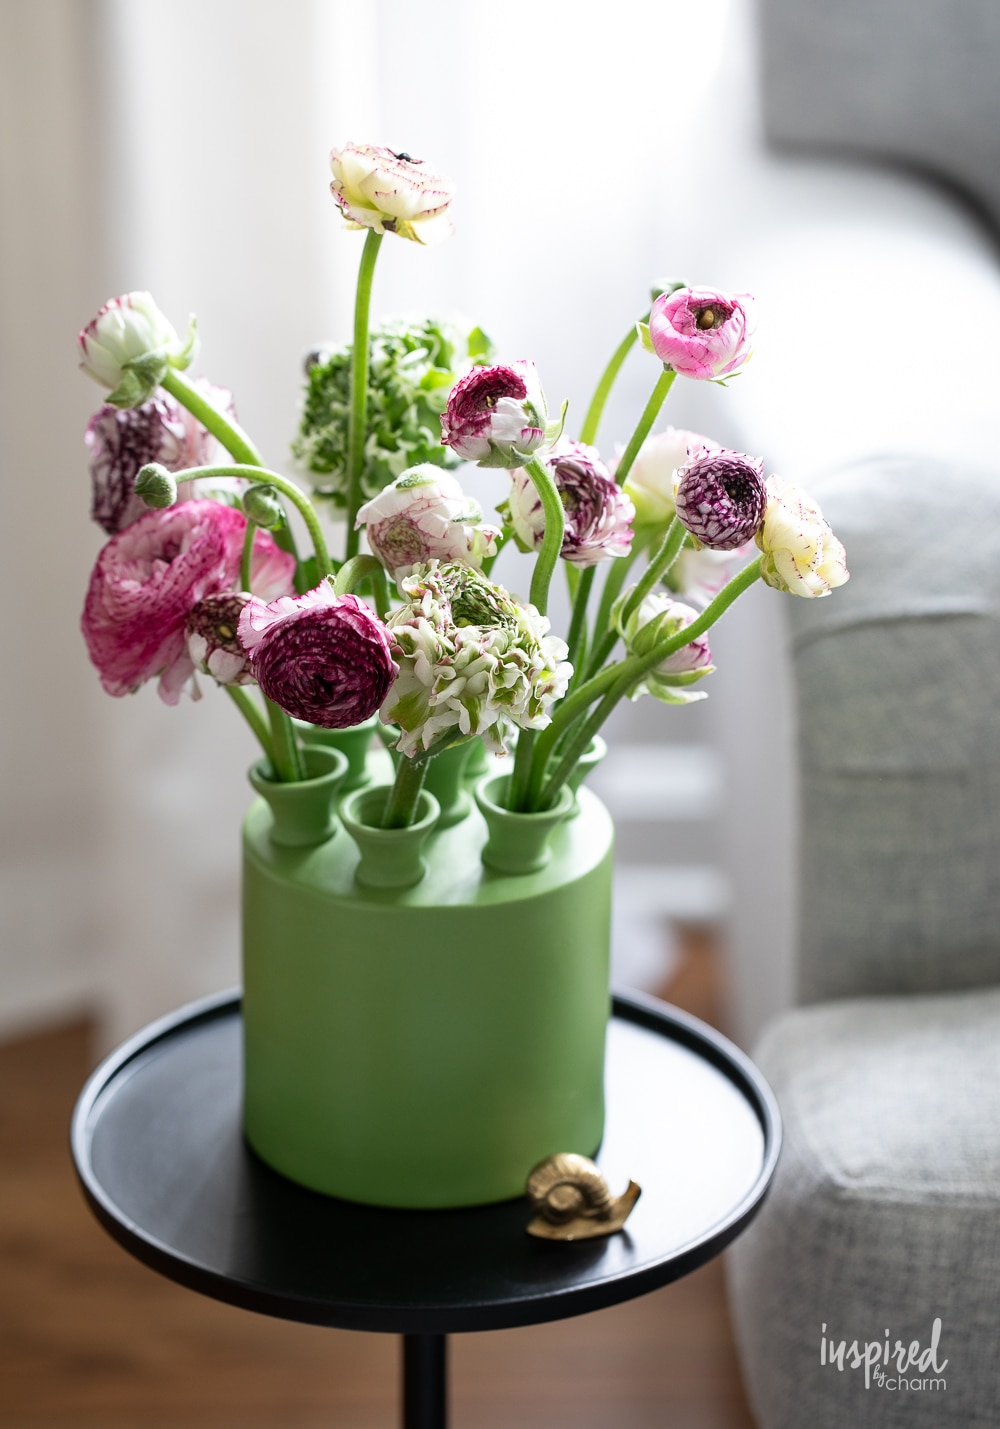
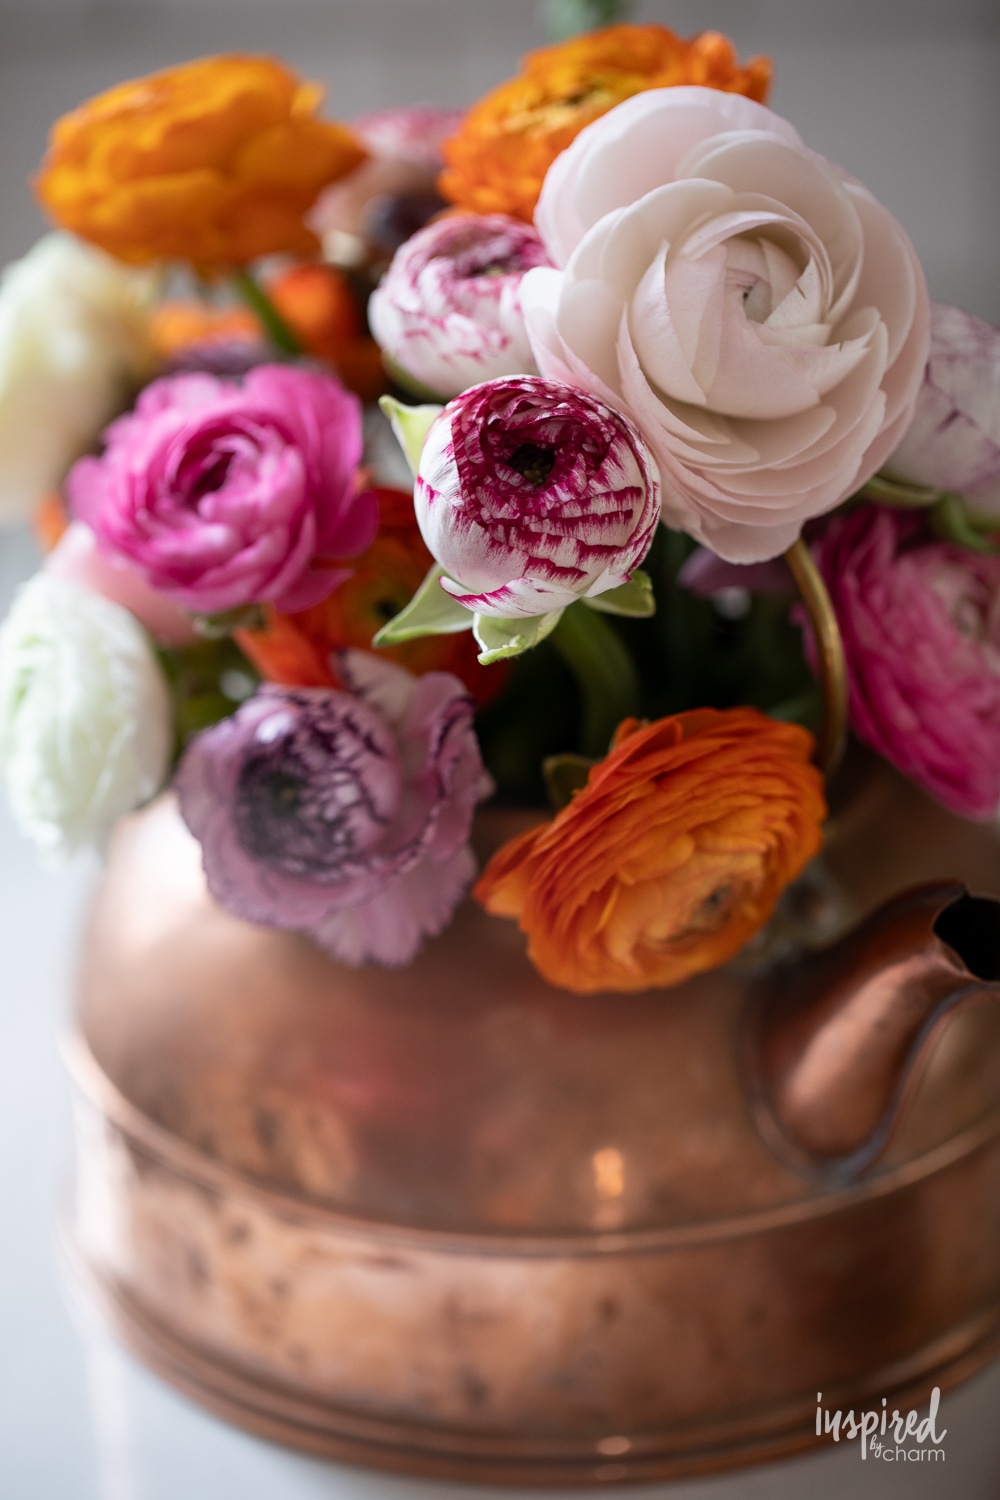
How can I make my ranunculus arrangement look fuller?
You can create a fuller look by grouping stems closely together and using a mix of buds and open blooms. Adding foliage can also provide fullness and contrast.
Are ranunculus flowers pet-friendly?
Ranunculus are mildly toxic to pets if ingested, causing gastrointestinal upset. It’s best to keep ranunculus out of reach of curious pets.
Is it necessary to use flower food?
While not essential, flower food can provide nutrients and help keep the water clean, potentially extending the life of your arrangement.
How can I make my arrangement look professional?
Focus on balance and proportion. Use odd numbers of flowers, mix different bloom sizes, and consider the overall shape. Remember, the beauty of DIY arrangements is in their unique, personal touch.
More Flower Arranging Guides You May Enjoy
- How to Create Beautiful Peony Arrangements
- How to Arrange Tulips
- Tips for Beautiful Fall Flower Arrangements
- Guide to Modern Flower Arrangements
- Ironstone Flowering Bulb Planter
I hope you found this ranunculus arranging tutorial helpful and picked up a few tricks and tips along the way. If so, please leave a comment and a 5-star rating below.
Want more from Inspired by Charm? Join the IBC Mailing List for inspiration in your inbox! Follow along on Instagramand TikTok for daily updates and behind-the-scenes looks at my processes. There’s even more inspiration on Facebook and Pinterest!
How to Arrange Ranunculus
Ingredients
- Fresh ranunculus flowers choose a variety of colors for a vibrant look
- A clean vase be creative – such as using a teapot or pitcher for a unique look
- Sharp scissors or floral shears
- Lukewarm water
- Optional: Flower food
Instructions
Preparing Your Ranunculus:
- Start by gently removing any leaves that will sit below the waterline. This helps prevent bacterial growth in the water.
- Give each stem a fresh cut at a 45-degree angle. This increases the surface area for water absorption.
Arranging Your Flowers:
- Fill your vase with lukewarm water and add flower food if you have it.
- Begin by placing the taller stems in the center and work your way outwards with shorter ones. This creates a full, balanced look.
- Turn the vase as you work to ensure the arrangement looks great from all angles.
Finding the Perfect Spot:
- Place your arrangement in a cool spot out of direct sunlight. Ranunculus last longer in cooler temperatures.
Daily Care:
- Change the water every two days and re-cut the stems to prolong their life.
- Remove any wilted flowers to keep the arrangement looking fresh.
Notes
- Buying Tip: Look for buds that are just starting to open. You’ll get to enjoy the blooming process and have longer-lasting flowers.
- Handling: Ranunculus stems are delicate. Handle them gently to avoid bruising.
- Reviving Droopy Stems: If your ranunculus stems wilt, re-cut the ends and place them in warm water for a few hours. They often perk right back up.
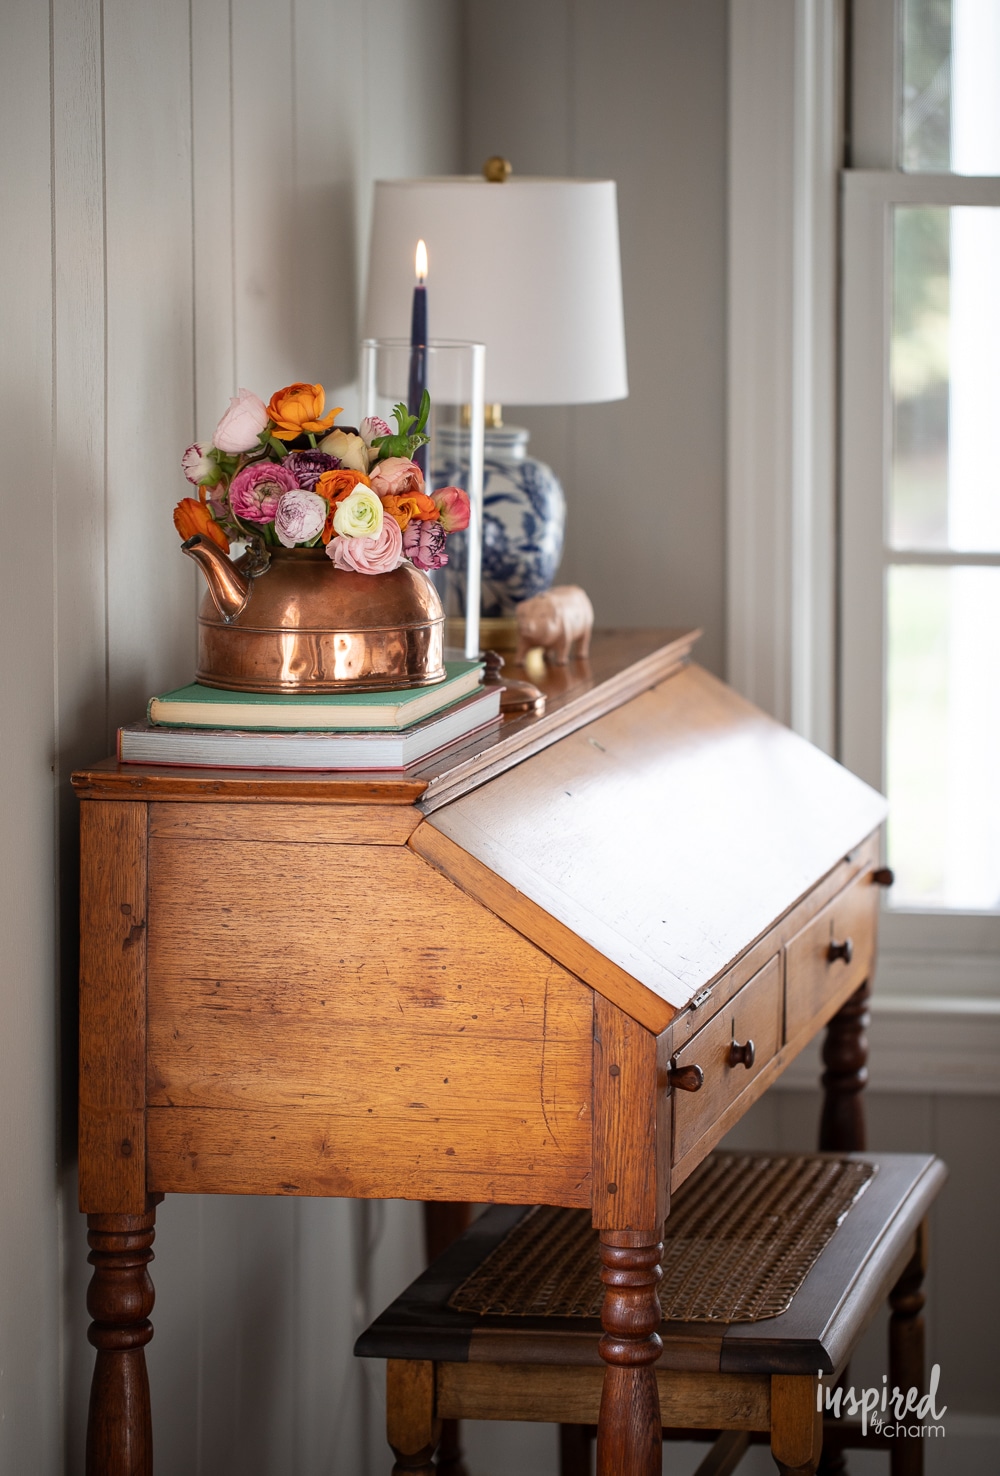
Love the arrangement in the copper kettle! It just pops. You continue to inspire me, Michael.
Thank you so much Shawn!
xo Michael
Your arrangements are absolutely beautiful! Thanks for the great ideas!
I appreciate that Janet! Thank you!
xo Michael
Just gorgeous!
Thank you Sheila!
xo Michael
Michael, your arrangement in the copper kettle is to die for!
Thanks so much Christy!
xo Michael