Paint Dipped Brass Candlesticks
This Post May Contain Affiliate Links. Please Read Our Disclosure PolicyI’ve been so excited to share today’s post with you. I’ve been working on this project for a couple weeks now. Not that it took that long to do, but it did require a little planning.
Before going any further, I must apologize because clearly the only creative thing my brain can come up with these days involves gold, candlesticks, or both. I promise that my brain will soon move beyond this type of project. In the meantime, please just enjoy these pretty candlesticks. (Plus, technically these aren’t gold, they are brass, so maybe I’m off the hook.)
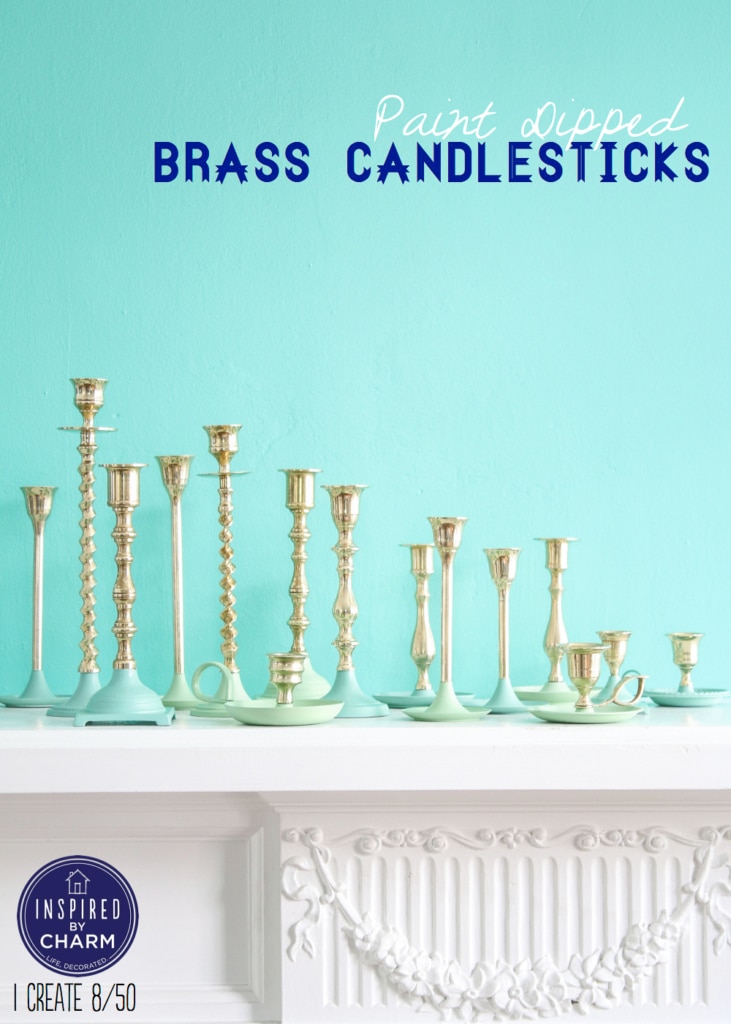
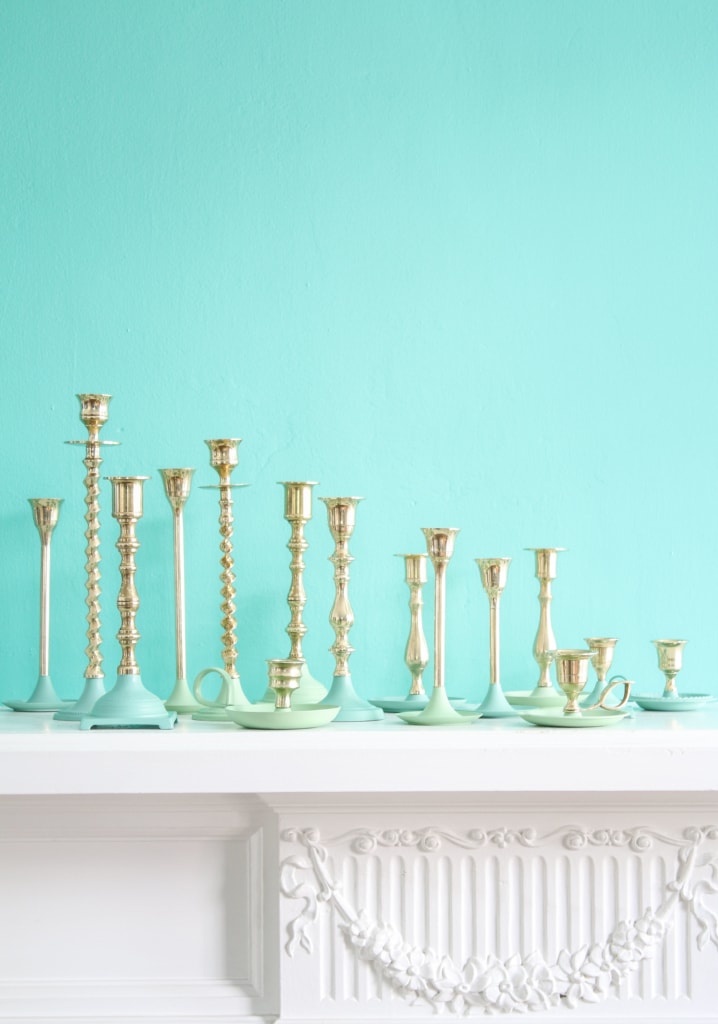
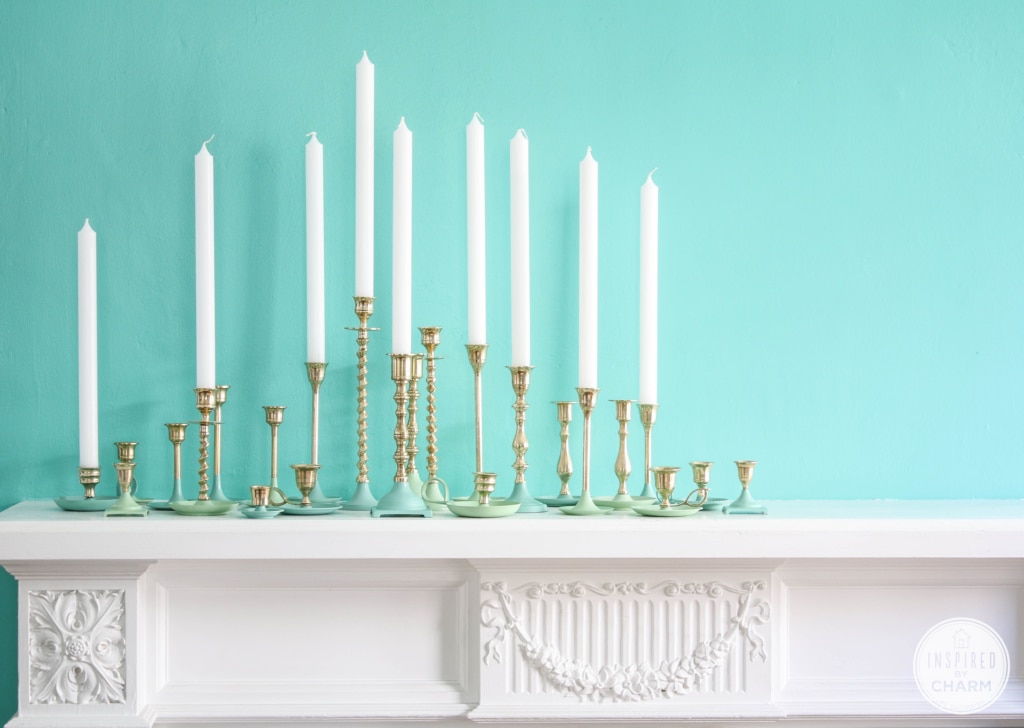
Gorgeous, right? I can’t even. I was also so excited to set these up against my new wall color. It really made them pop!
You have probably noticed that gold and brass are back in a big way in home decor. I am completely obsessed with gold and couldn’t be more excited. Today I’m sharing a tutorial for an insanely easy way to give boring brass candlesticks new life with a little color. Plus, if you’re not so keen on brass yet (notice I said YET), this allows you to ease into the look with a little color for a modern touch.
Let me walk you through what I did.
Paint Dipped Brass Candlesticks
You will need:
brass candlesticks
spray paint (primer and color)
Bartender’s Friend Cleanser
brass polish
First, you’ll need brass candlesticks. Check your local thrift shop if you don’t already have some. I paid $.50 – $2.00 for each of mine. Not too shabby. I actually found all of them on eBay. More on that after the tutorial.
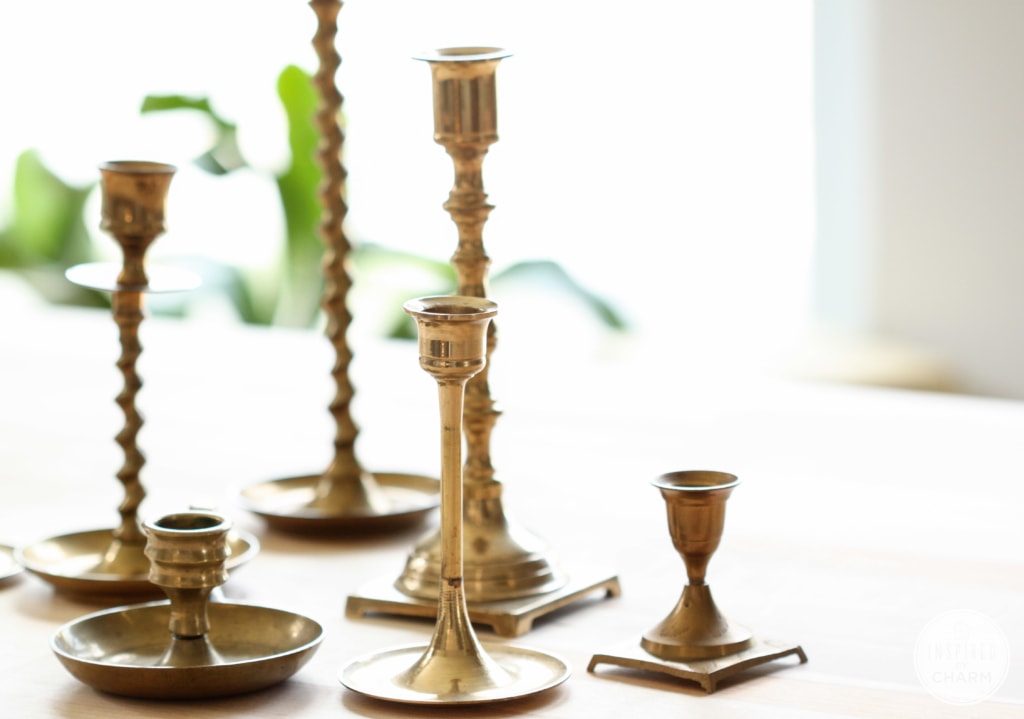
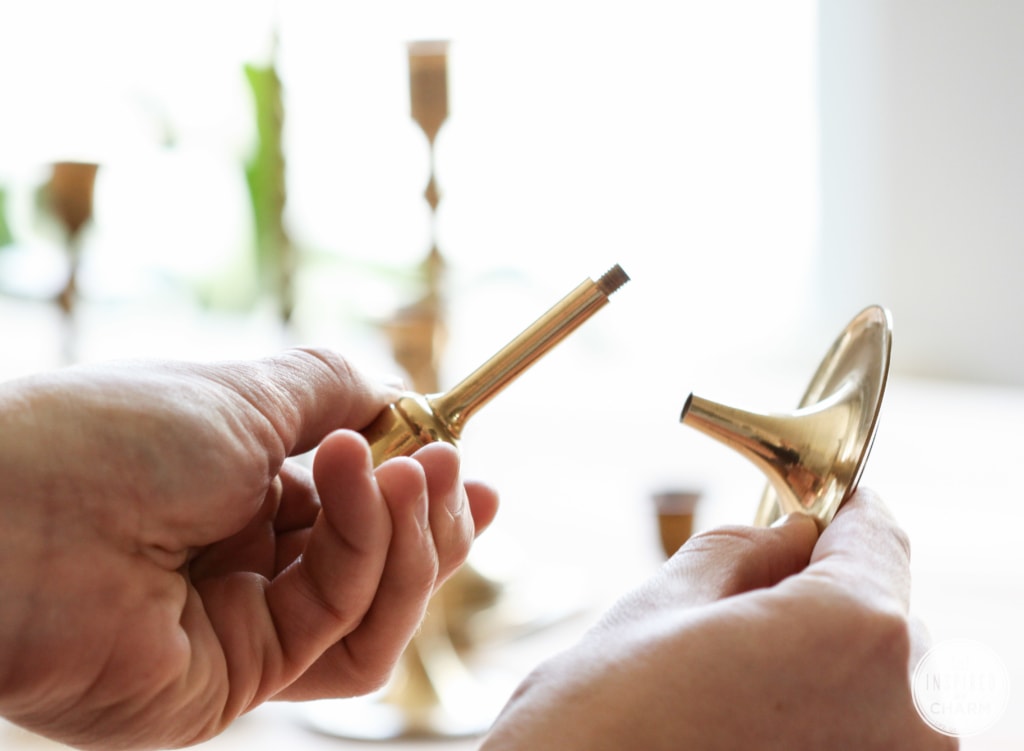
Most older brass candlesticks are designed so that each section screws off. I’m not sure why this was done, but it made this project that much easier. I decided to paint just the bottoms of my candlesticks for a dipped-in-paint-look. So, I began by unscrewing all of the bases. If for some reason your bases don’t screw off, just cover the areas you don’t want painted with painter’s tape.
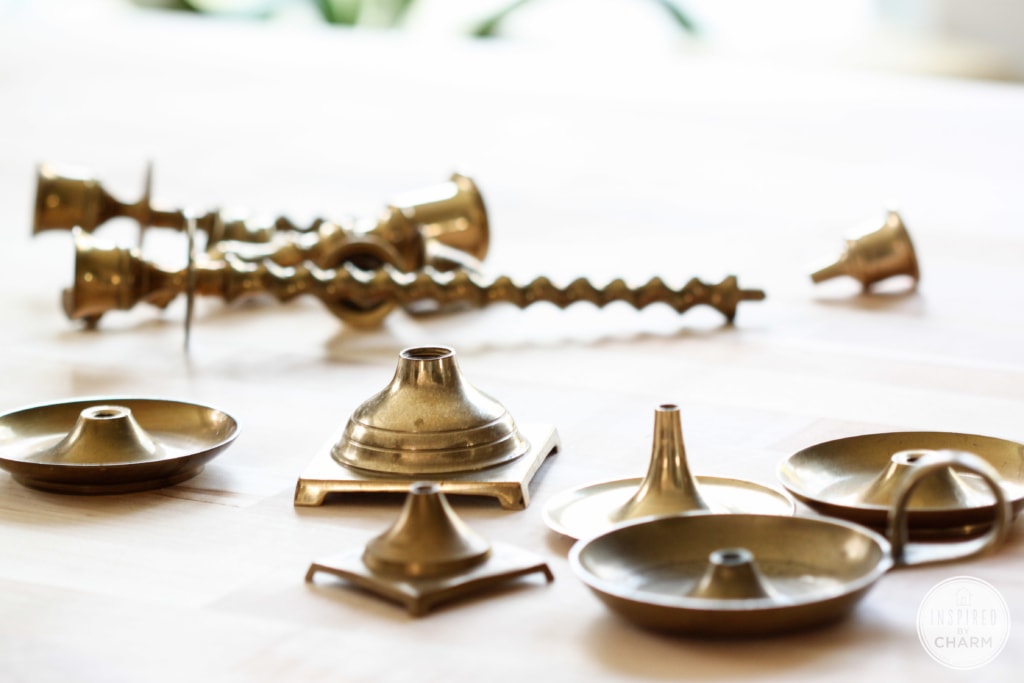
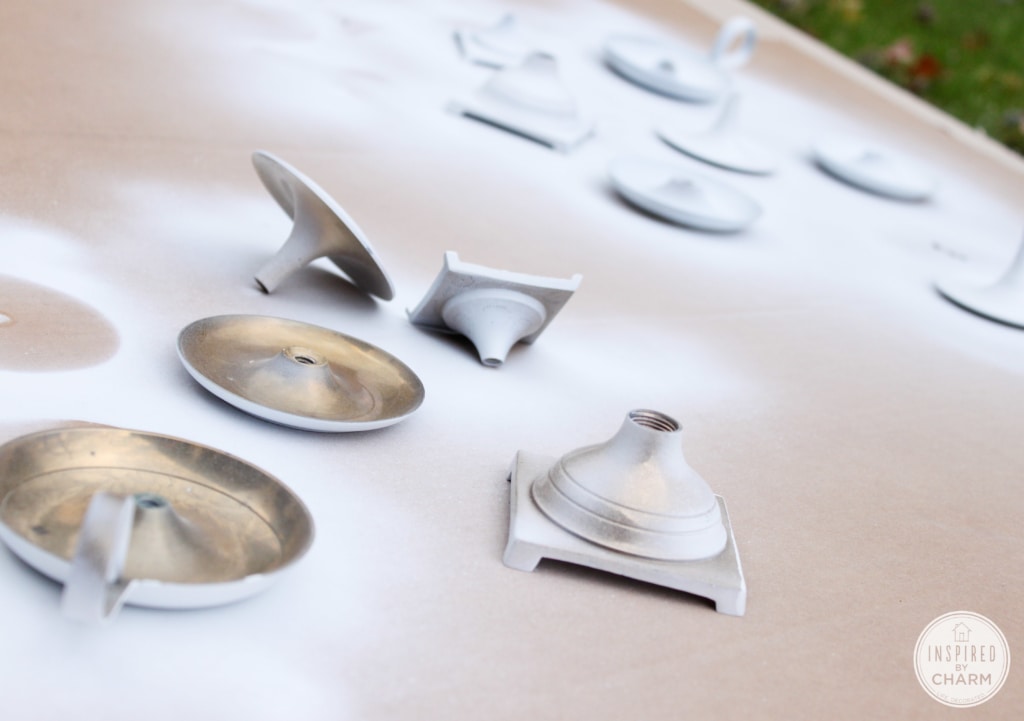
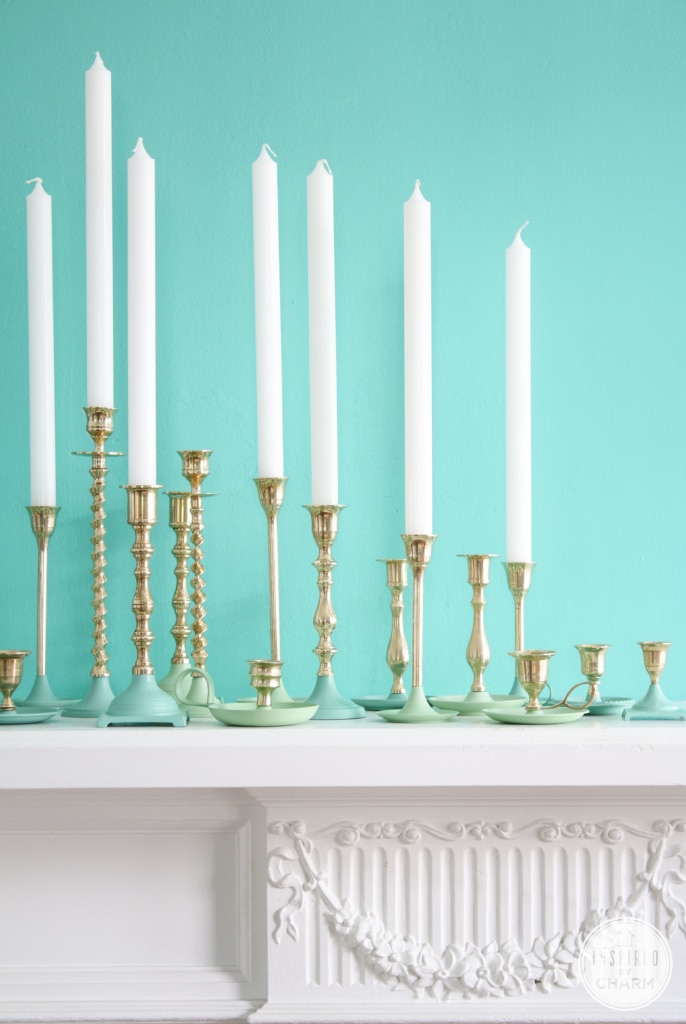
Next, spray the bases with primer. I did the bottoms as well so that everything was covered. This really makes it look as if it was actually dipped in paint. Once everything is primed and dry, add your color. I used Krylon’s ColorMaster Satin paint in pistachio and jade.
As I always say with spray painting, take your time. Multiple thin coats will give you a much better look than one thick coat.
💌 SAVE THIS POST / RECIPE!
While your paint dries, polish the other parts of your brass candlesticks. I prefer brass to be as clean and shiny as possible. If you would rather have a nice patina, skip this step.
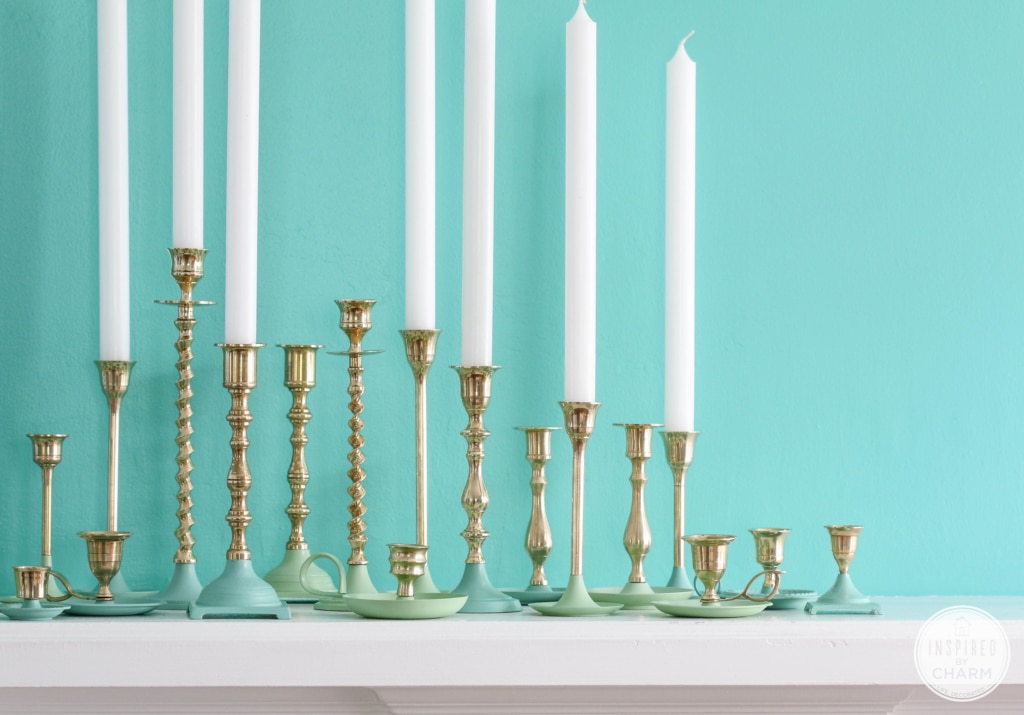
Start by scrubbing everything with Bartender’s Friend. Then follow the instructions on your brass polish to give the candlestick parts a really good shine. The combination of these two things will have your brass looking like gold!
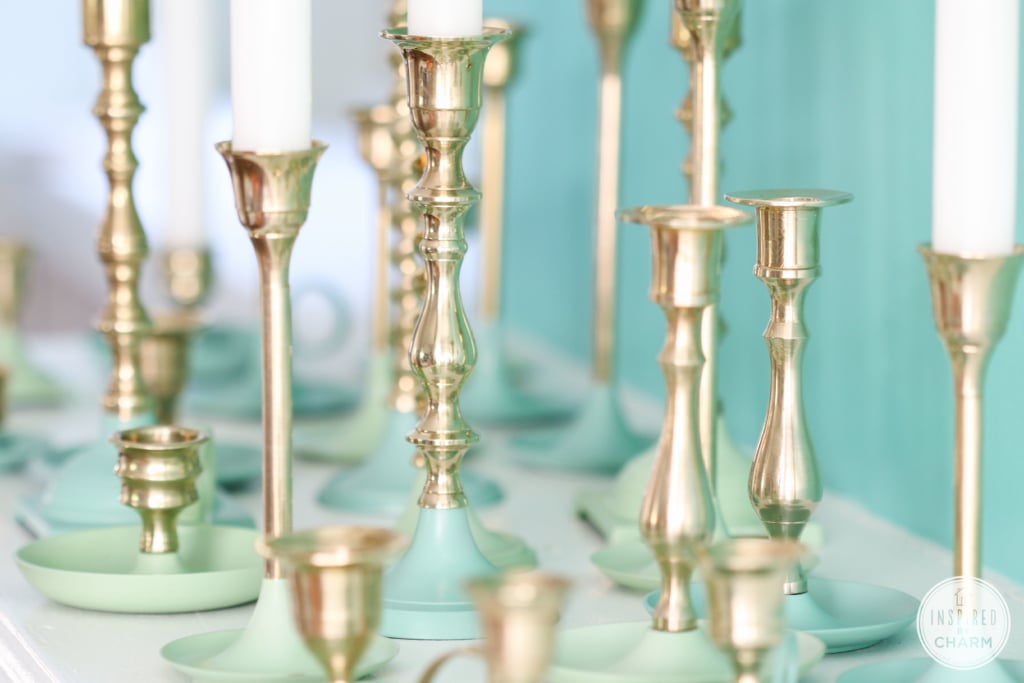
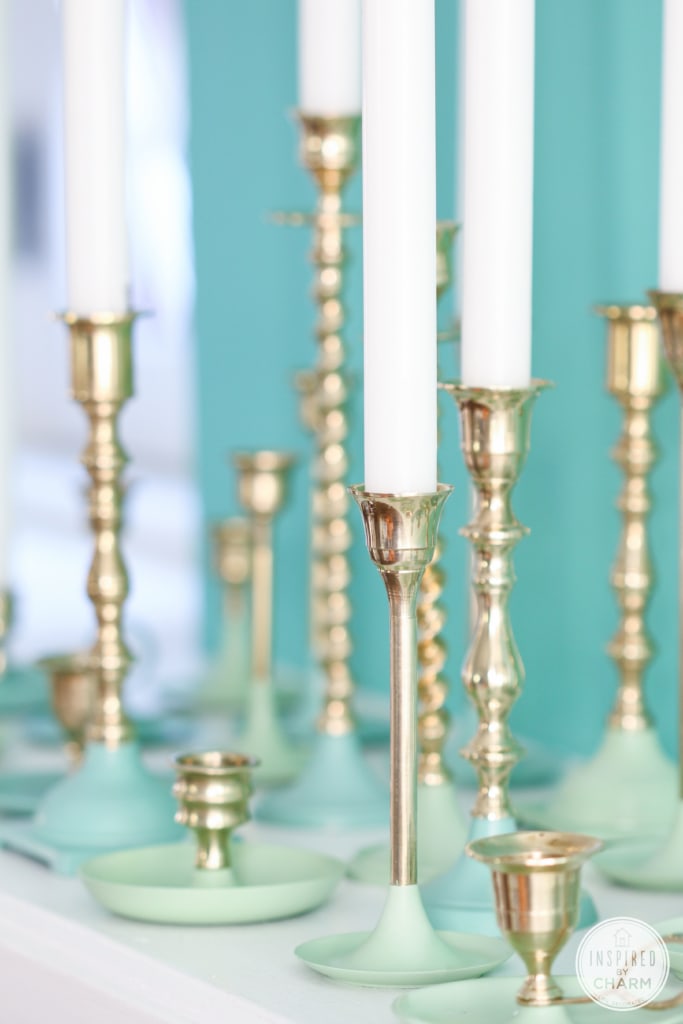
Once everything is dry, screw the painted parts back onto the polished pieces and you are finished!
Now, tell me these don’t look sensational!
As I mentioned above, I’m especially loving the whole collection against my freshly painted fireplace wall. The color combination literally gives me goosebumps. This is a great project too because it’s completely customizable. You can paint whatever part of the candlestick you’d like with whatever color you want. I’m already thinking about making a few more – pink and red for the holidays.

I found all of these vintage brass candlesticks on eBay. You have probably noticed that I’ve been finding a lot of inspiration for my decor and designs from eBay. Remember all of the Christmas goodies I bought?
Recently I developed over 20 collections via eBay in an effort to inspire myself. I also wanted to give you an idea of where I find some of my treasures and why certain pieces stand out to me. I often read in the comments that people have difficulty finding pieces like I do. My goal was to bring these pieces to you.
I also have three collections to help deck the halls this holiday season. For this post, I have a collection of brass candlesticks, plus details on the cleaner and polish I used to get these pieces sparkling like diamonds! Beyond that, you’ll see so many other things that are IBC-inspired, including vintage glassware, must-have crafting supplies, air plants, and much much more! If you’re looking for inspiration or just wondering how I get inspired, this is one of the places to visit.
You can check out all of my collections here. You can follow along to keep up-to-date when I post new items or collections. How cool is that?! I’d love to know which one is your favorite or if there is a particular collection you’d like to see me curate. Let me know in the comments below.
I hope you loved this quick and easy tutorial and have been inspired to give it a try.
What great ideas. I needed ideas for door prizes. Can’t wait to get started.
Love this Bartender’s Friend Cleanser!!! It really works on brass and silver plate. I found 4 brass candle holders for 25 cents each, a small brass mouse for $2.00. Then I found a vintage silver plate bon bon tray for $1.00. The cleanser cleaned them up to where they look new!!! Thanks so much for sharing!
Love this idea… how clever! Would you mind sharing your paint colors by chance?
You bet! You can find both paint colors I used here: http://www.ebay.com/cln/inspiredbycharm/Brass-Candlesticks/55484083018
xo Michael
Do you have any tips for cleaning copper?
Believe or not, I do not own anything copper. Sorry I can’t help you out.
xo Michael
Great idea! I have tons of candlesticks I was going to put in a spring garage sale, but I am getting them out before the holidays. I would love to do some the butter cream and softer yellow in my dining room for christmas to put with my burgandy ornaments and ribbon. Thanks so much!
sue
That sounds like a gorgeous combination! Glad you are putting them back to use. 🙂
xo Michael
Okay, now this is awesome. Will you please, please, please just come do my house. I’ll make you cookies. 🙂
Love ya! xo
Hahaha. We need to figure something out here! I may not even need cookies.
xo Michael
Very, very nice and so lovely on your mantel, Michael! You have me eyeing the brass candlesticks in my hutch. I don’t think they’re safe! 😉
Hahaha. It’s time to bring them back to life!
xo Michael
How do you store your collections when you want to change things up?
Well, I’m in the process of creating a prop closet. But I do have a few storage totes in my basement to keep things dust free and protected. Right now, things are a bit of a mess, but I’m looking to get a bit more organized this winter. Maybe I’ll share a few tips.
xo Michael
These look wonderful, Michael! What a great idea, particularly since the bottoms of each one came off. It’s exciting to see that brass is back; makes me wonder how we’ll all use it.
Thanks for the tip about Barkeeper’s Friend. That stuff works wonders, but I would never have thought to use it on brass!
Your candlesticks against that wall remind me of a piece of gold jewelry in a box from Tiffany’s!
Awww. Thanks for all of the love Richella! I love that brass is back too! Wait until you see my latest purchase!
xo Michael
This makes me want to go to EVERY thrift store I know of in search of brass candle holders. These look awesome, Michael! Great job!
Doesn’t it Deb! I had the same problem – as you can clearly see by how many I bought! Haha.
xo Michael
I think all of the candle stick posts are inspired by the holidays…it gets a little colder outside, a little cozier inside, the sun sets earlier in the day…candles provide the perfect soothing kick back and relax ambiance. It just goes hand in hand with the coming season 🙂
Perhaps! Good point. As long as they are useful!
xo Michael
Pretty! Pretty! Pretty! I’m loving your posts on candleholders. I can do this. THANKS!
Thanks! At least I’m not completely boring you. More ideas coming soon!
xo Michael
Those are amazing! I am going to see if I can find any at my local thrift store this weekend.
Good luck Angela. IT’s such a quick project.
xo Michael