DIY Bunny Straws
This Post May Contain Affiliate Links. Please Read Our Disclosure Policy
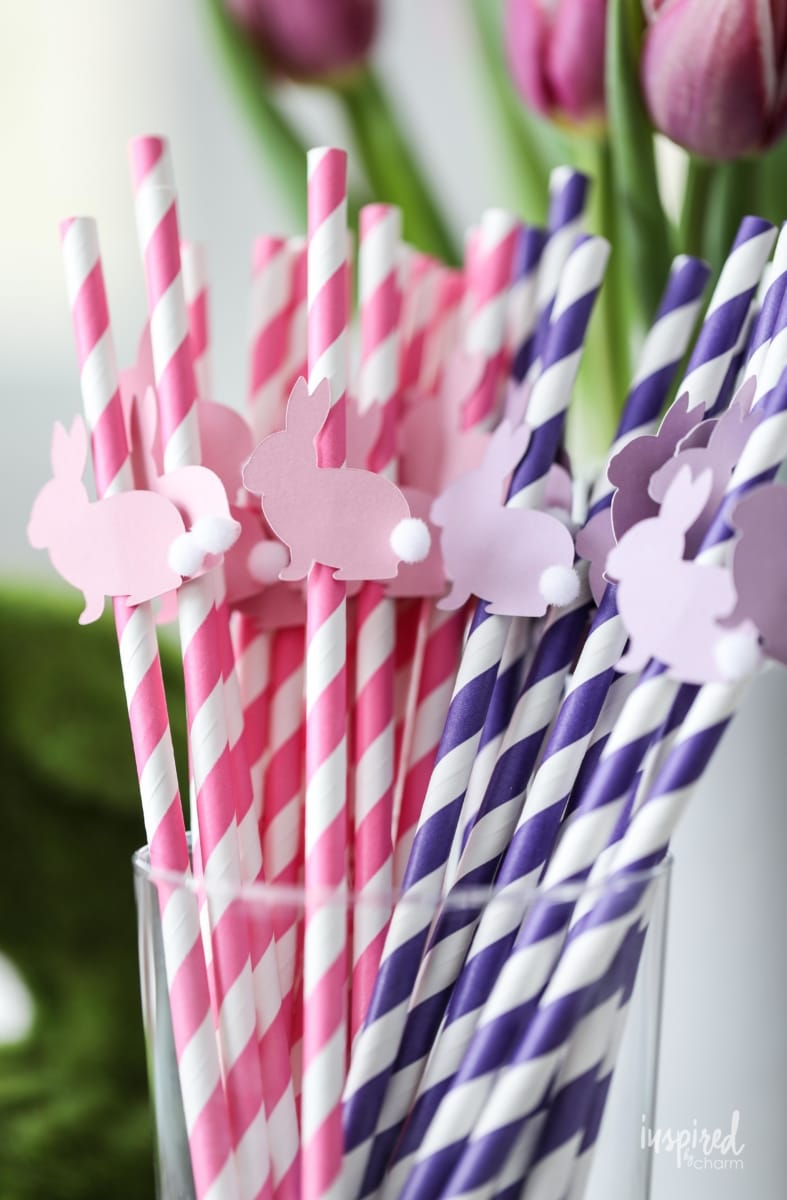
Let’s craft! Today I’m teaching you how to make these adorable bunny straws for Easter! Be sure to download the FREE cutting machine file in this post so you can also DIY these colorful straws!
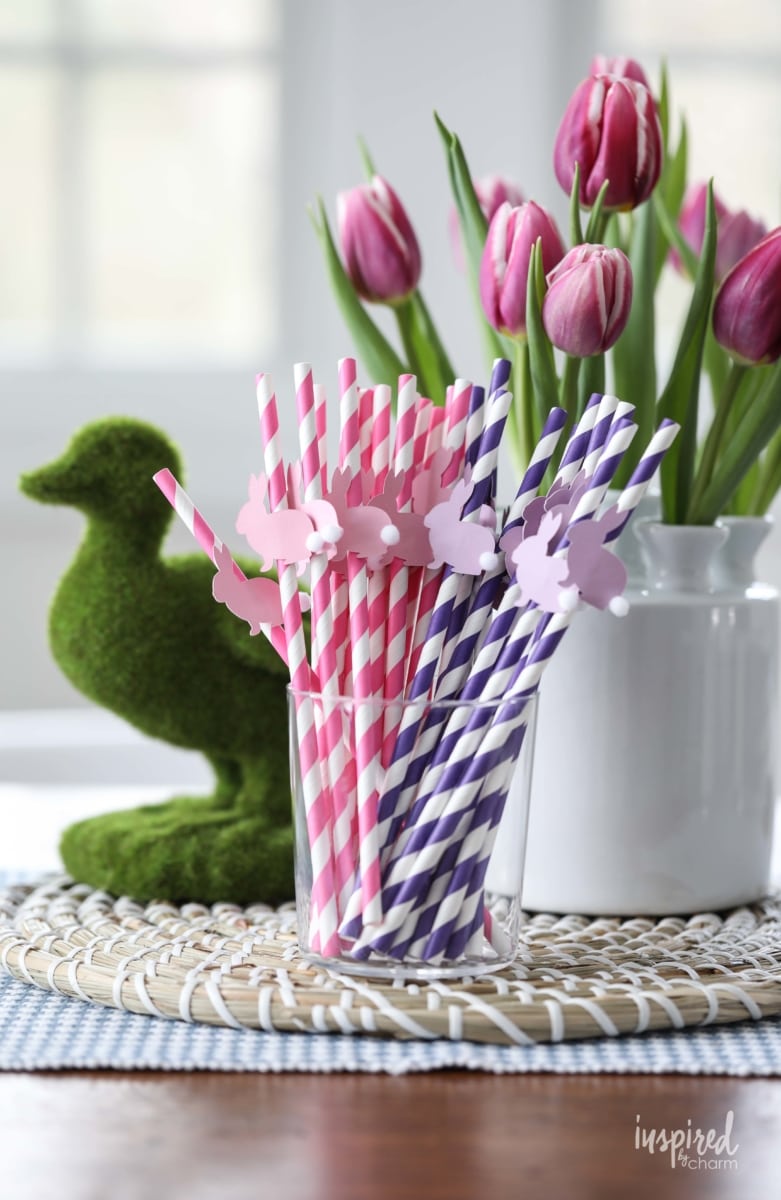
I love craft projects, and I’m especially excited to share this spring/Easter project with you. These sweet Bunny Straws are both pretty and functional. If you’re hosting an Easter celebration this year, this is a quick way to dress up your signature cocktail or mocktail.
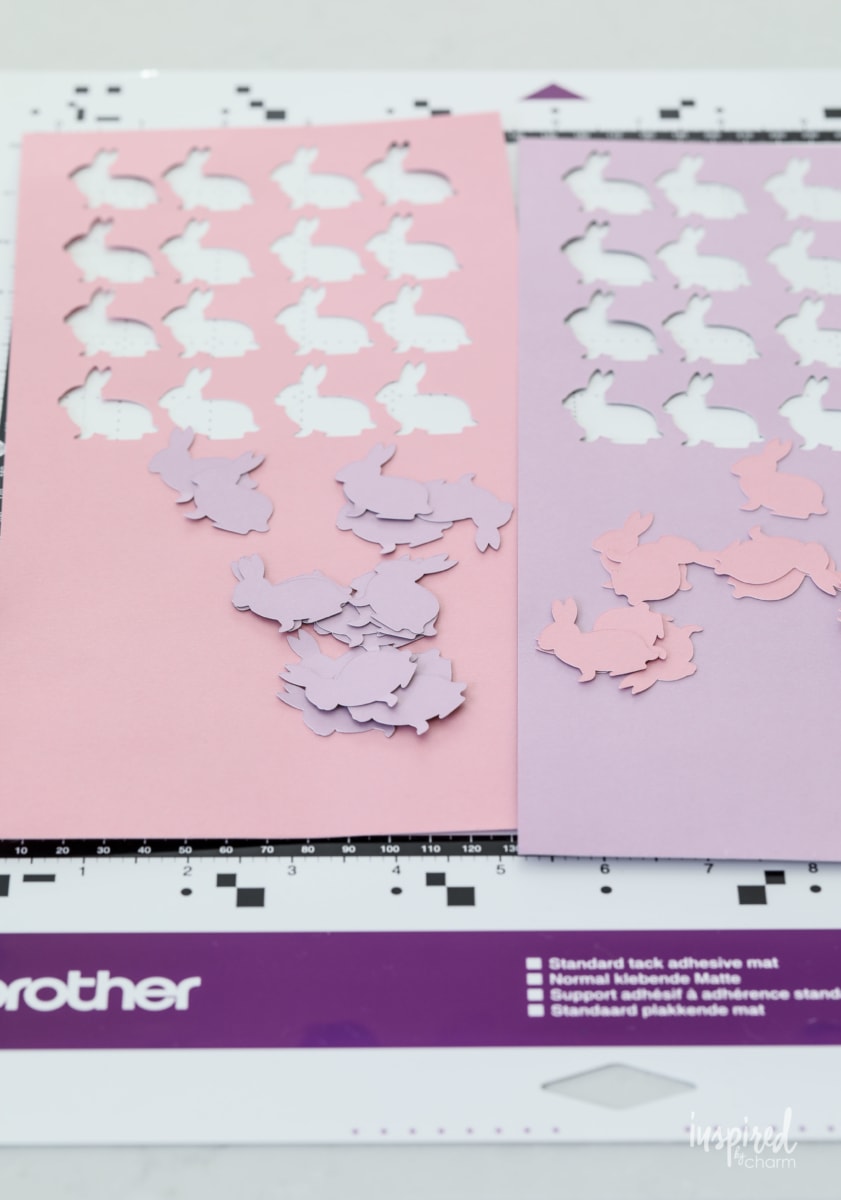
For this project, I used my Brother ScanNCut machine. (You could also use a Circuit, Silhouette, etc.) I’ve provided a FREE SVG file download below. In case you don’t have a cutting machine, you can still do this project. Just use an online file converter (like this one) to change the downloadable file to a PDF. You can then print the bunny outlines on color paper and use scissors or a craft knife to cut out the design. Voila!
DIY Bunny Straws:
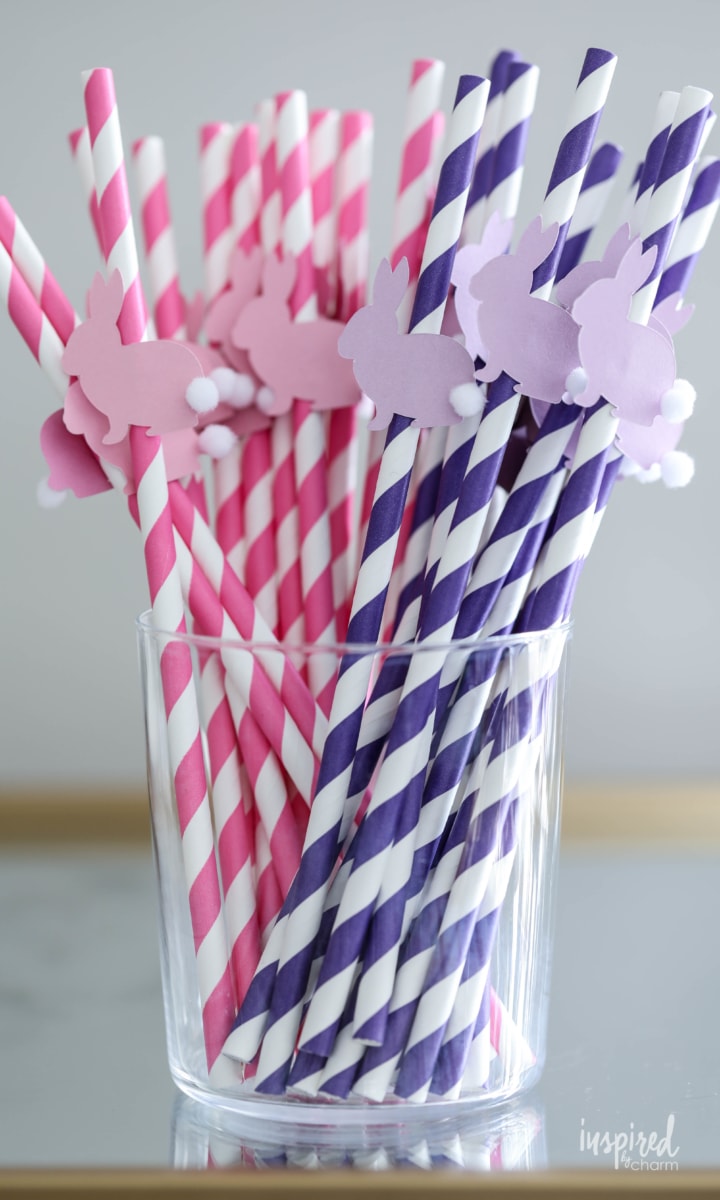
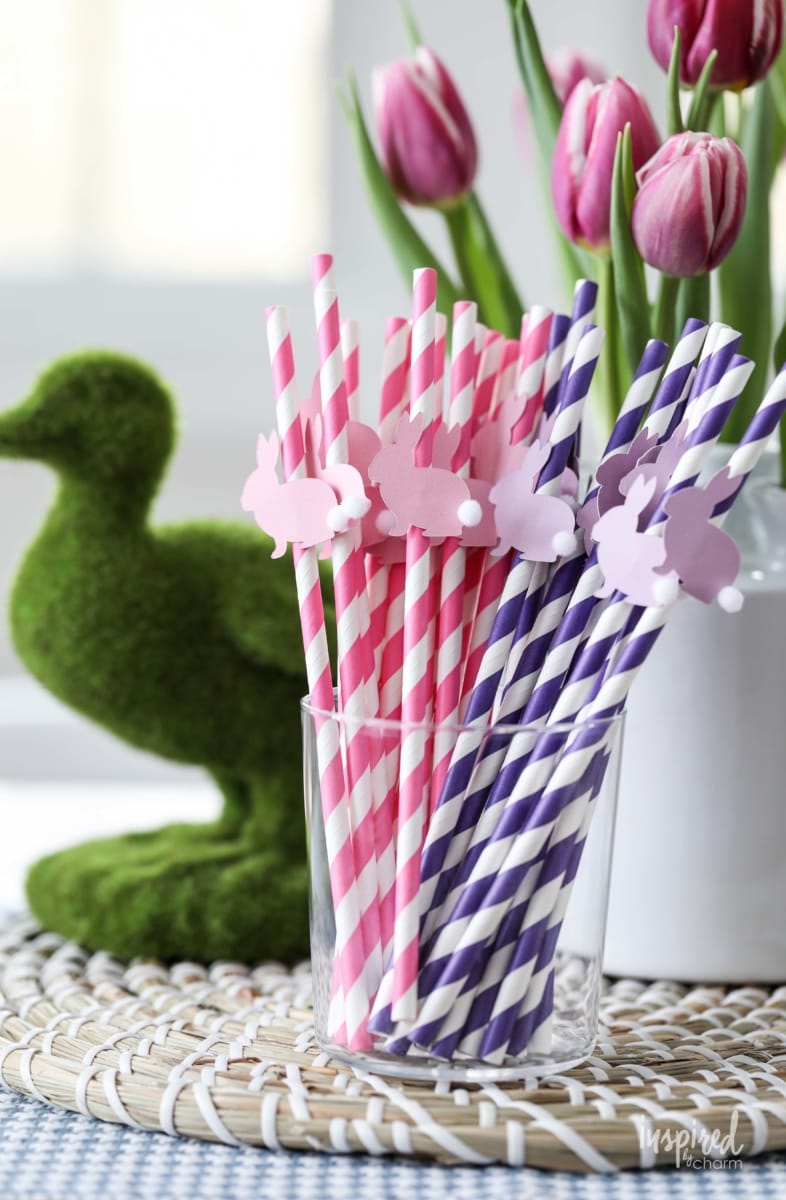
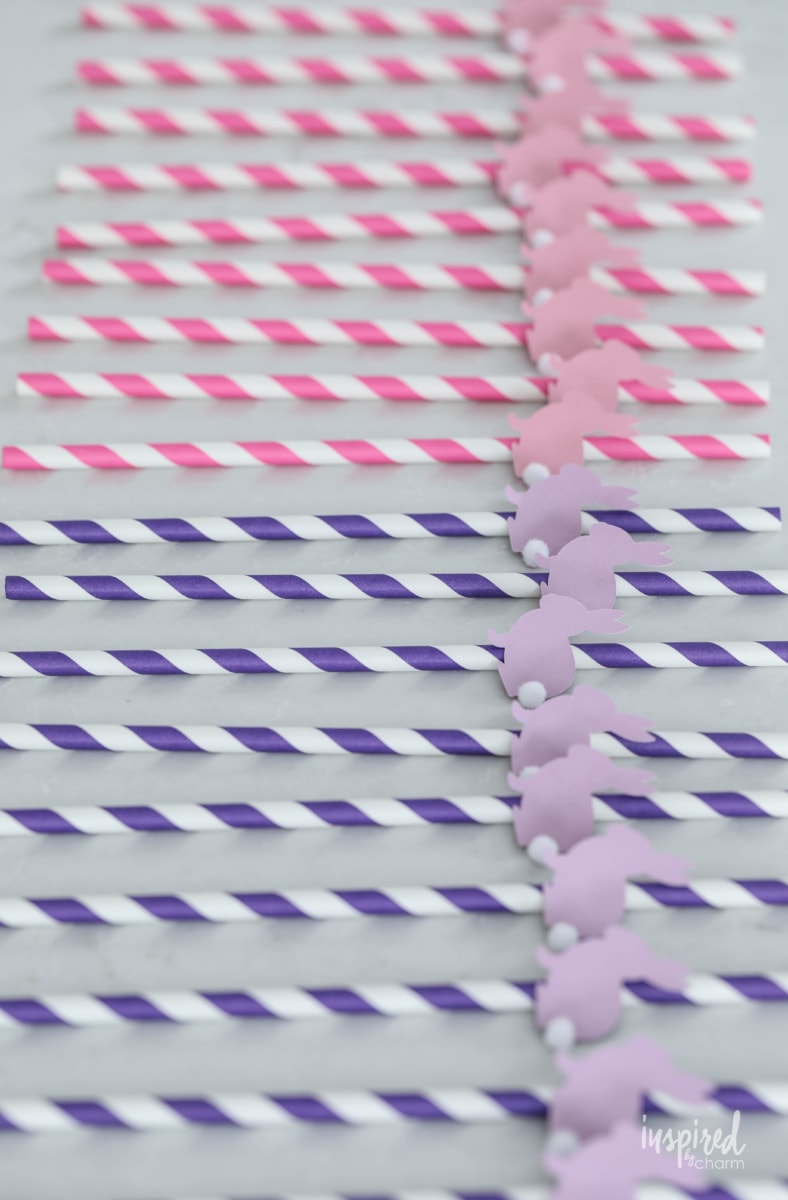
As you can see, I made purple and pink straws. I wanted vibrant and happy colors for spring. You can make the straws any color that suits your decor or party theme. There are so many fun craft papers and a variety of colored straws, so you have plenty of options.
Also, if bunnies aren’t your jam, feel free to cut out a different shape. You could even use a circle craft punch like this one and add a sticker to the middle of the shape for a no-cutting-machine-required craft. Just have fun and get creative!
With all that behind us, let me show you the process I followed in creating these DIY Bunny Straws.
How to Make Bunny Straws:
I realize there are different cutting machines out there, so my directions for this project are rather generic. For the best outcome, I recommend having some knowledge of your particular cutting machine before attempting this project.
For this project you will need:
- cutting machine (or craft cutting tools)
- SVG file (Details for the free download are below)
- craft paper
- paper straws (The ones I purchased can be found HERE.)
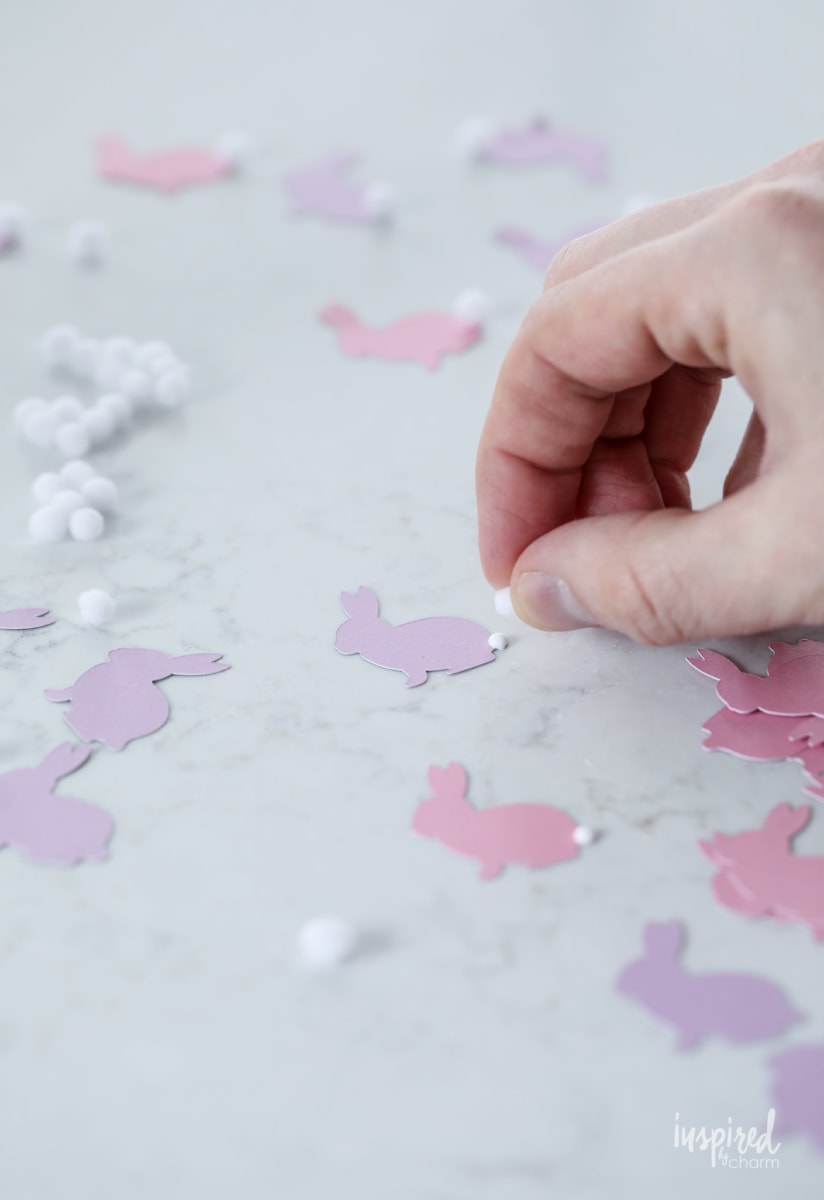
- 1.2 cm pom-poms
- tacky glue
Start by downloading the SVG file. Transfer the file to your cutting machine. Format your machine to correctly cut your paper. (This procedure will vary for different machine brands and models.)
Bunny Cutout SVG Download:
You can access the download in the IBC Printable Library, which can be found HERE.
If you’re new to Inspired by Charm, you can get access to this library by SUBSCRIBING HERE. Once you’ve subscribed, you will immediately receive an email that contains a link to this download.
If you’re already on the IBC Mailing List, you can find the password to access the library at the bottom of any email from Inspired by Charm.
💌 SAVE THIS POST / RECIPE!
Should you use any of my printables, I would so enjoy seeing what you create! Be sure to share your photos on Instagram and tag @inspiredbycharm.
The next step is to load your paper on the cutting mat*. Then, cut out your design.
*Depending on your machine and paper, I recommend a low tack or standard tack mat.
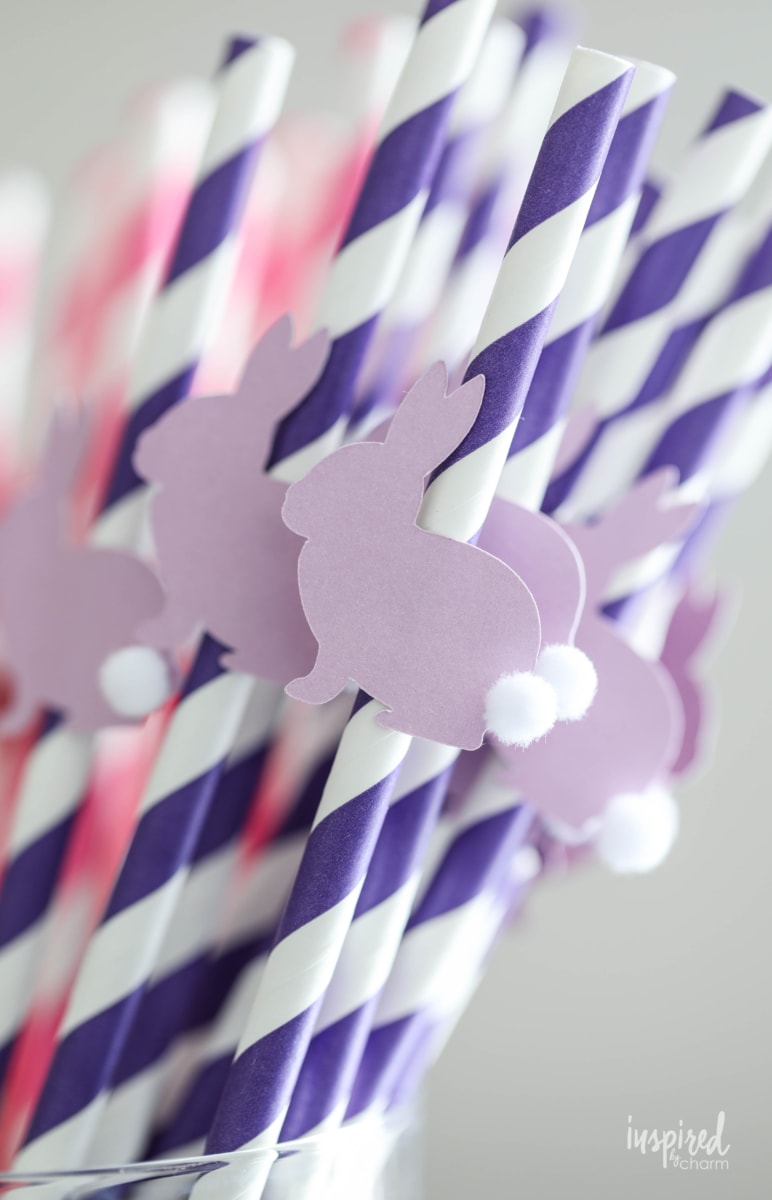
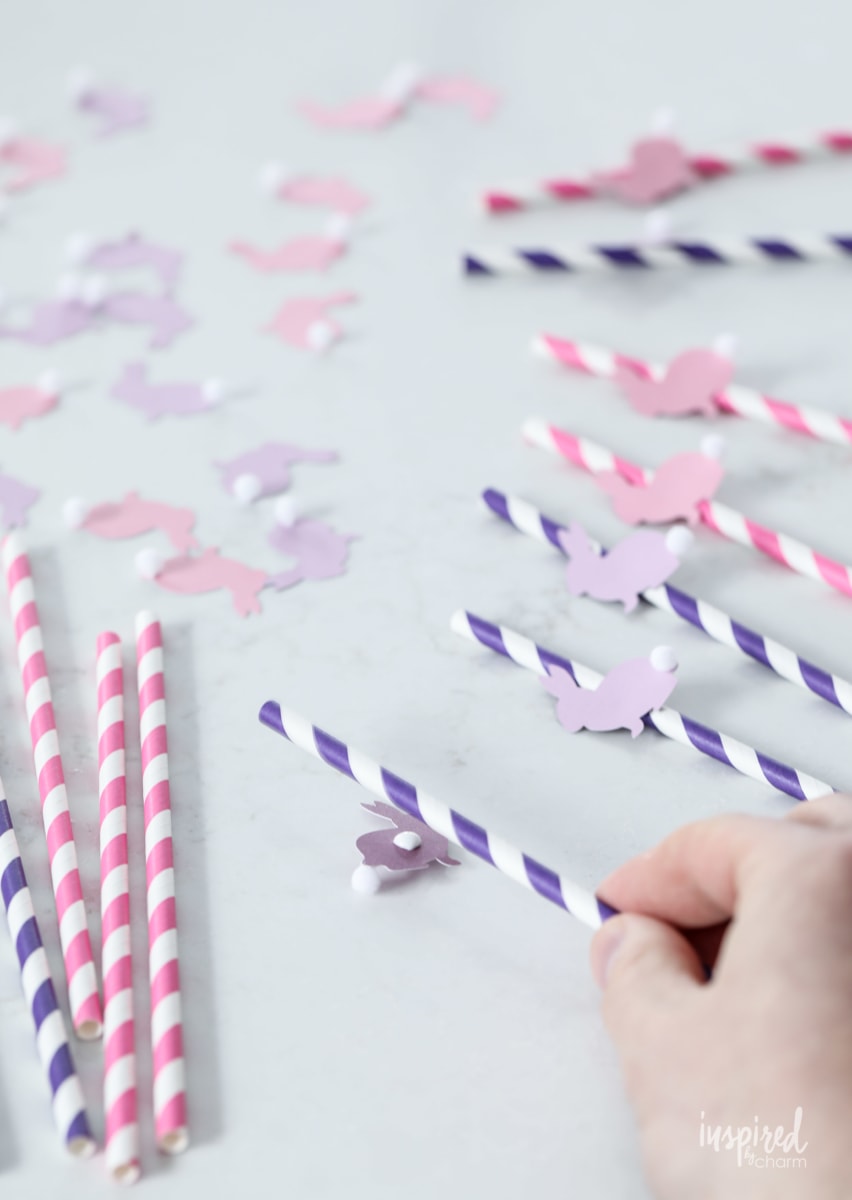
Now remove the bunnies from the cutting mat. Put a small dot of tacky glue on the tail area of the bunny and then place a pom-pom on the glue dot. Repeat this step with all the bunnies and allow them to dry.
Once a bunny is dry, add a line of tacky glue to the back of the bunny. Then attach the bunny about 2 inches from the top of a straw. Repeat with the rest of the bunnies and straws. Allow everything to dry completely.
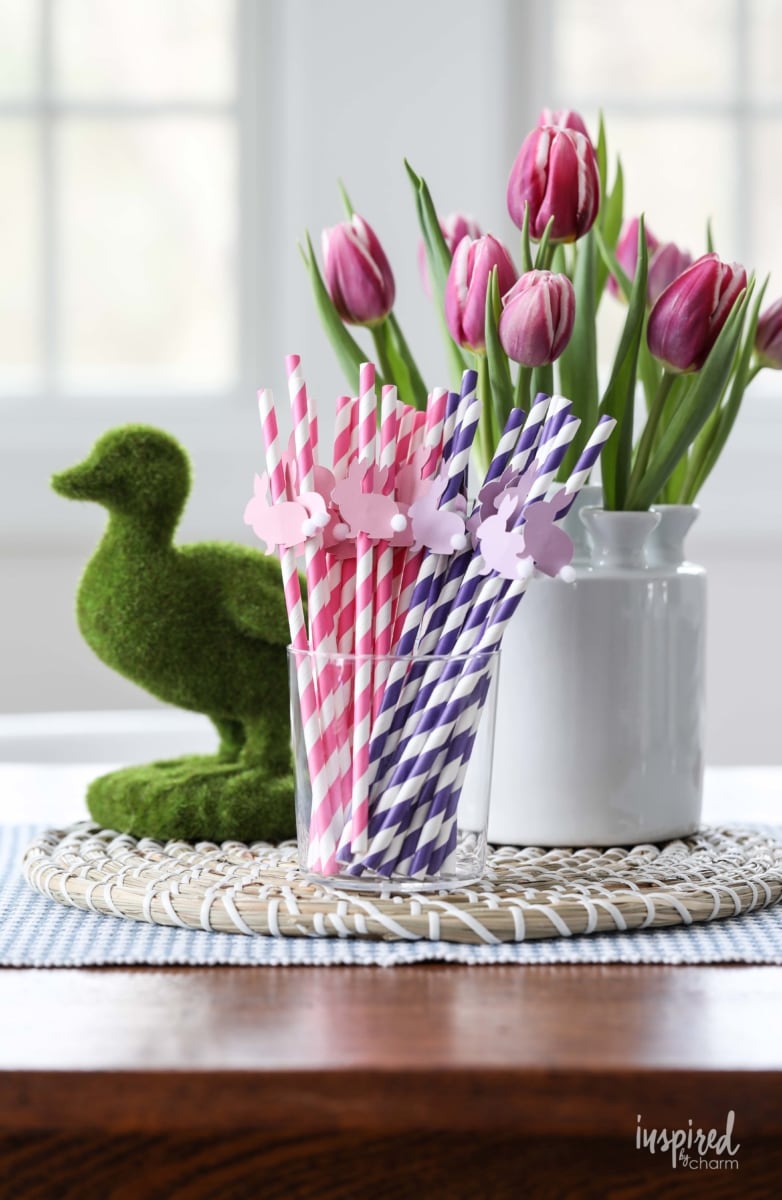
And that’s it! These charming DIY Bunny Straws are ready to enhance all of your spring and Easter drinks. I think they look so sweet! Now I need to work on a new Easter cocktail recipe so I can test out the straws. I’ll be sure to update this post with a picture or two once I do.
Looking for more Easter ideas? Try these:
- Wow-Worthy Easter Recipes
- Easter Dessert Kabobs
- Floral-Inspired Easter Table Decor
- Colorful Easter Decor Ideas
- Cottontail Martini
- Egg Hunt Easter Cookies
As I mentioned above, these straws are a fun, colorful, and creative way to dress up entertaining this time of year. They are sure to delight guests of all ages.
Happy spring crafting!
Love this Project and Want More?
Join the IBC Mailing List to get all of my recipes, projects, and ideas sent straight to your inbox! I hope you’ll also join me on social media for daily updates and behind-the-scenes looks at my work and adventures.
Connect with Michael! Instagram // Facebook // Pinterest // Twitter
Have you tried this recipe? Follow me on Instagram, then share YOUR dish with #myIBC and tag @inspiredbycharm. It’s fun to see how folks are using recipes from IBC.
So dang cute!!
What a fun project! You’ve got me thinking about what else I could put on straws: suns, pumpkins, Christmas trees,… Thanks for the inspo.