Refinishing my Upstairs Hardwood Floors
This Post May Contain Affiliate Links. Please Read Our Disclosure PolicyHappy July, friends! I can’t believe we are almost halfway through the month. I’m not sure about you, but this summer seems to be flying by at lightning speed. Today I thought it would be great to give you a look into my first big project at the new house: refinishing my upstairs hardwood floors.
However, before we get to that, I wanted to quickly thank you for your patience as I know that my posts here on IBC and social haven’t been as frequent recently. In addition to the busyness of summer, moving, and just getting settled, I’ve been a bit distracted. I’m hoping to get back to my typical posting schedule in the coming weeks.
After purchasing my house I knew there were several house projects that I wanted to tackle and complete before I moved in. Refinishing the upstairs floors was first on the list.
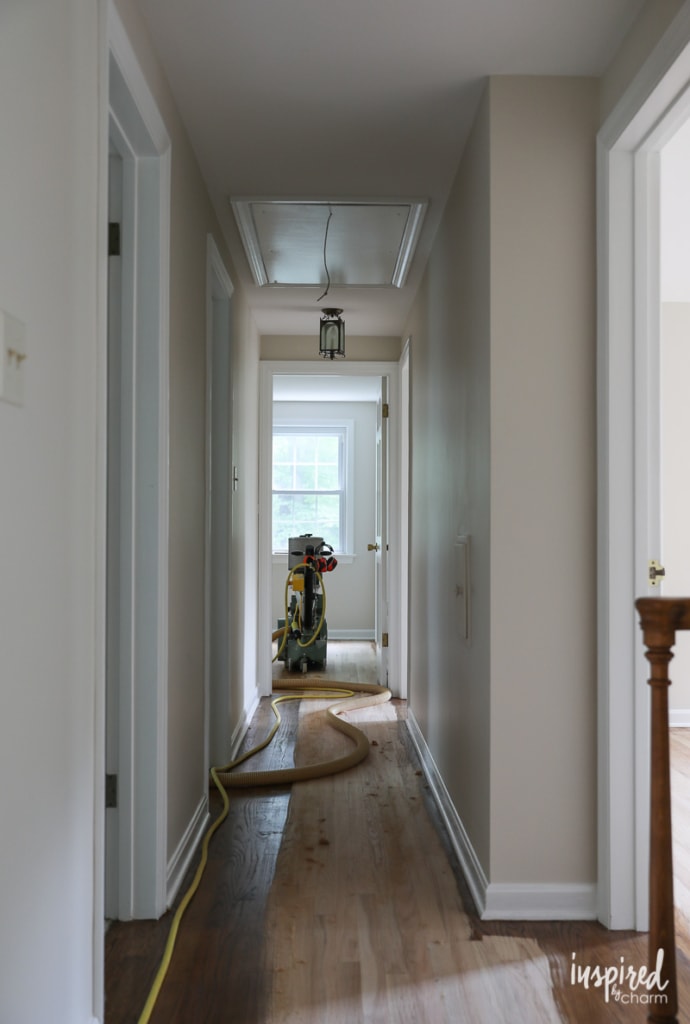
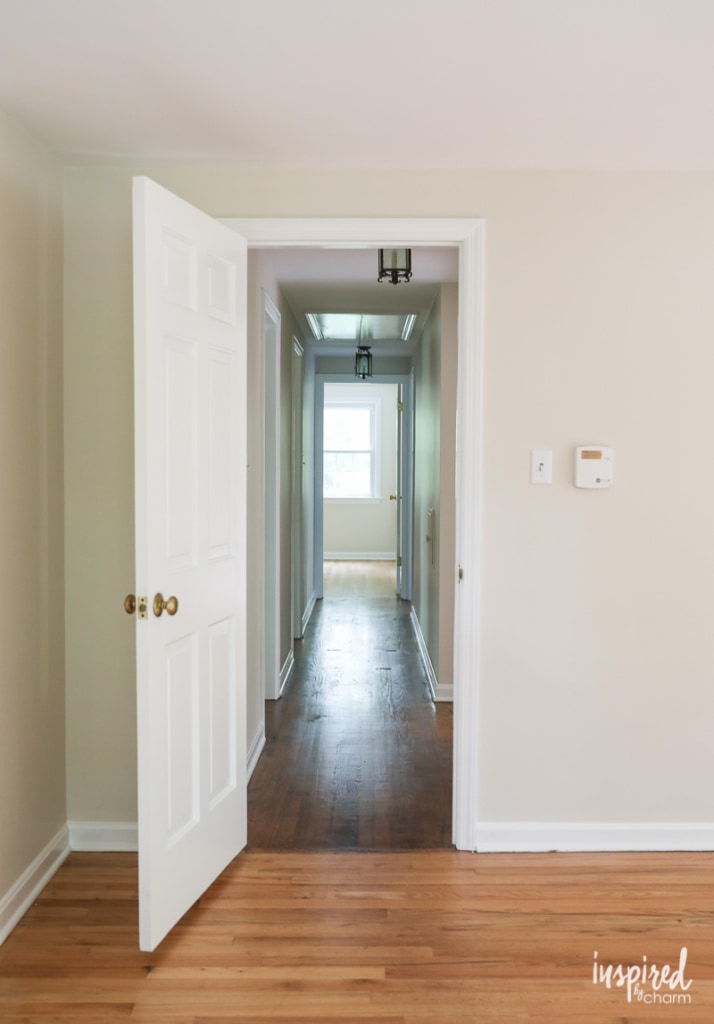
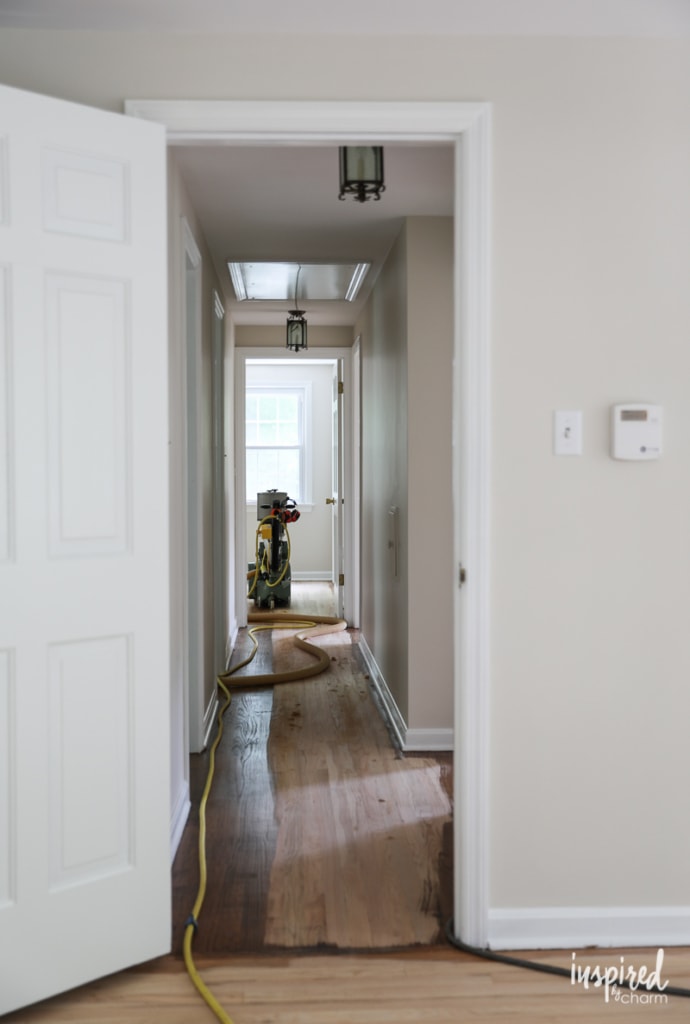
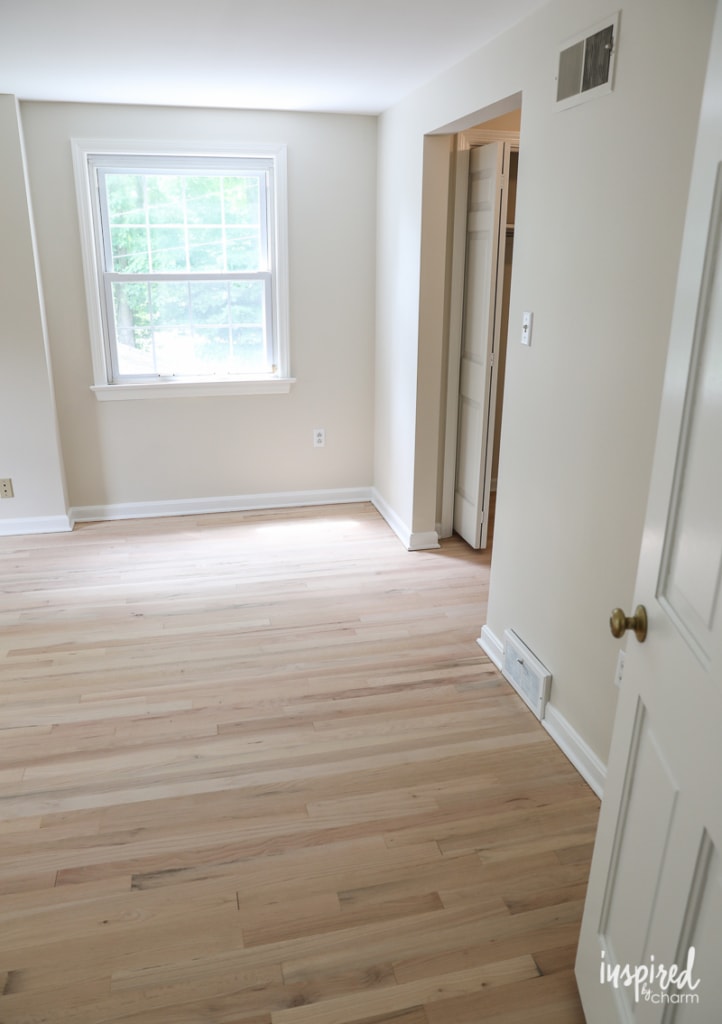
I needed and wanted to start this project right away because before the home was listed, the sellers decided to remove all of the upstairs carpeting. I assume the seller wanted to highlight the hardwood floors feature, but in the end, I was left looking at floors that were damaged from carpet installation and that had inconsistent stain color.
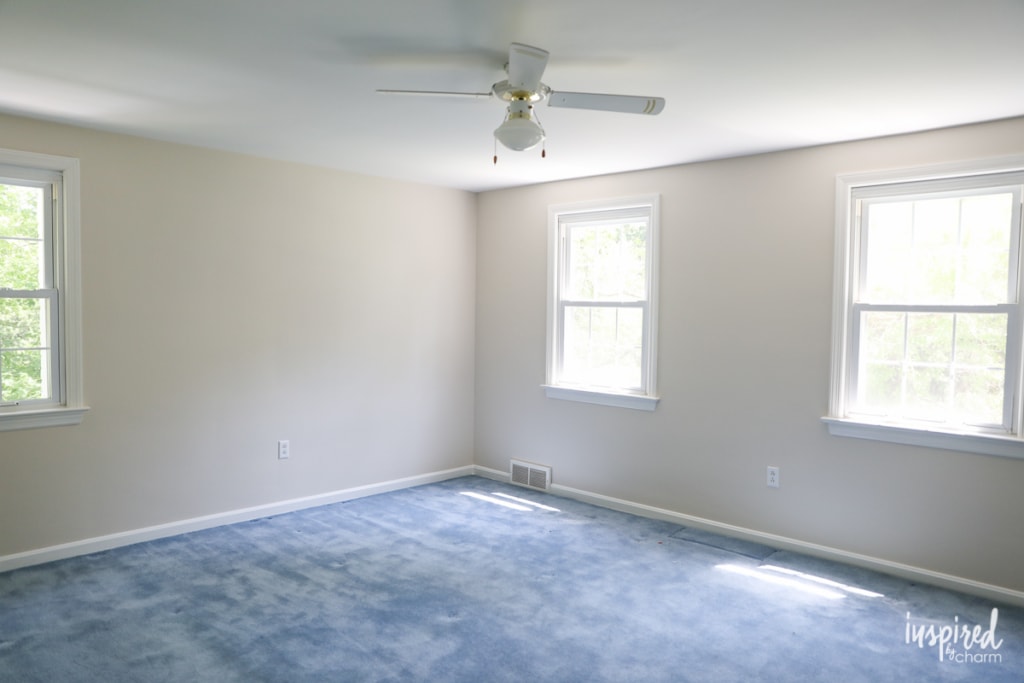
The fortunate side of all of this was that it was going to be much easier to tackle this project while the house was close to empty. The unfortunate side was that I wouldn’t be able to completely “settle-in.” For now my living room would become my bedroom, my dining room my office, etc. Not fun, but if it helps to get the floor refinishing project underway, I will manage.
Because I have no experience with refinishing floors and since I wasn’t going to attempt to learn with five bedrooms and five closets, I hired someone else to complete the task.
My realtor recommended Horst Hardwood Services. They came out, gave an estimate, and I booked them for the job! While most of the floors were ready to be refinished, I did have to remove carpeting and tack strips from one of the rooms.
The lead time to get the project started was three weeks. The gentleman from Horst Harwood Services mentioned that he’s usually a couple months out, so waiting three weeks didn’t seem too terrible.
I obviously didn’t have much involvement in the process, but it was exciting to see the daily progress. I expected the sanding process to be loud and messy, but a vacuum system was used which left virtually zero dust – seriously! There was noise, but it didn’t really bother me.

The first couple of days were consumed with mostly prep and sanding – the entire process took five days in all. On day three we looked at stain colors.
💌 SAVE THIS POST / RECIPE!
Obviously picking stain colors is a daunting process. I knew that I wanted something darker, but not too dark. I also knew that I wanted something less orange when compared to the existing hardwood floors on the first floor.
Naturally I turned to some of my inspiration photos I found while sourcing inspirational ideas for my home. More and more I find that social media can be a blessing and a curse when it comes to making design decisions. While I know what I like, I often feel a pull to do what’s “trendy”. For a split second I considered something lighter with a matte finish, but ultimately I knew that that wouldn’t be true to the home and that today’s trend wouldn’t be so “trendy” in a couple of years.
Taking the style of the home and my own design ideas into consideration, I had three samples applied to the floor: Jacobean (left), Dark Walnut (middle), and Espresso (right).
The wood used for my floors is Red Oak.
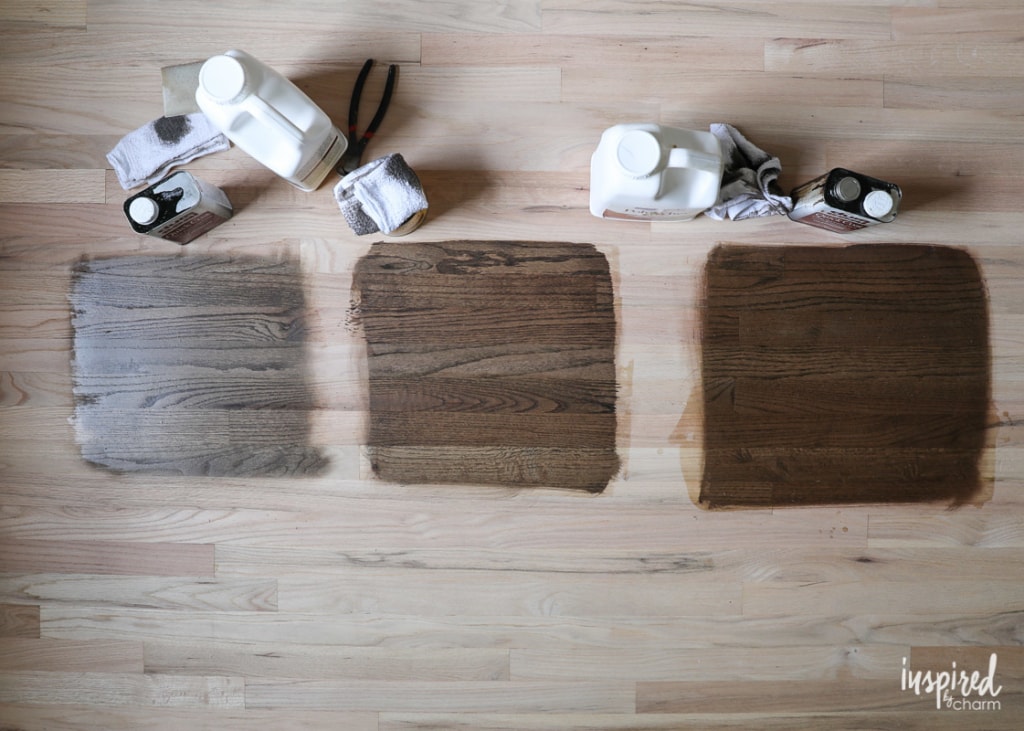
From this point on, the choice was easy for me. Dark walnut was the winner. Jacobean felt a bit too gray and the expresso was a bit too red.
You can also see the sheen of the poly finish in the photos above. The Jacobean (left) had a semi-gloss while the other two had satin.
I also opted for a satin finish. The other option I was considering was matte, but that felt a little too flat for my tastes. While I certainly didn’t want a glossy finish, the satin seemed like the perfect fit.
With that, the biggest decision was made, and the floors were ready for stain. So exciting, right?!
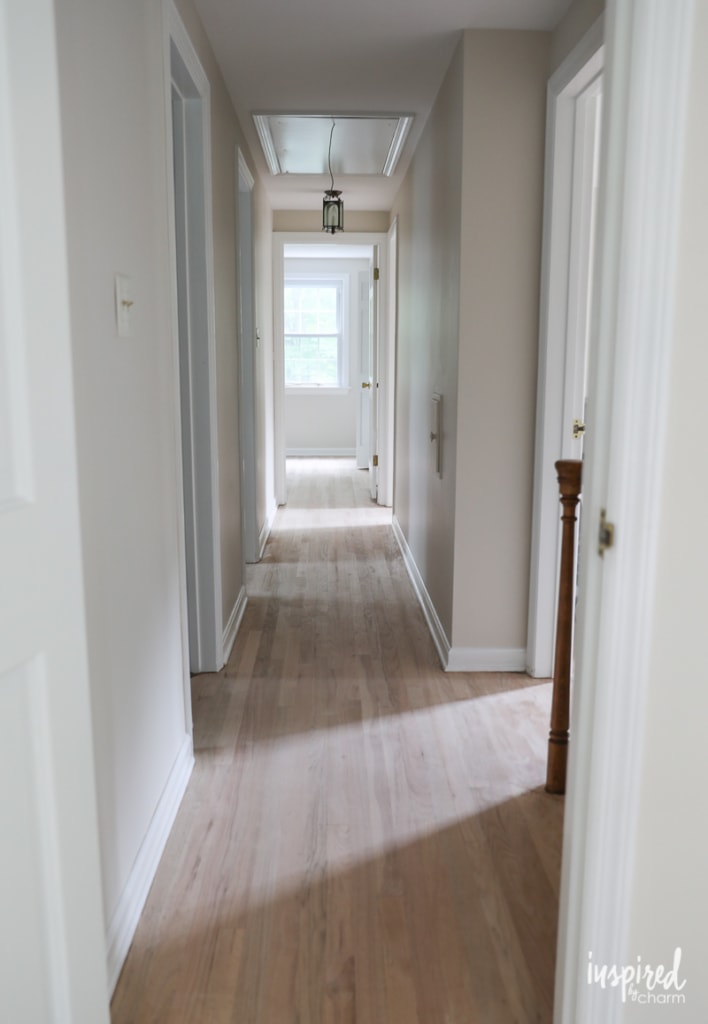
I think that’s where I’m going to wrap up part one of this story. I actually JUST started moving my things upstairs a couple days ago. So yes, the floors are complete and I gave them plenty of time to cure. While having refinished floors is wonderful, finally being able to move in and have a bedroom again has been the most amazing feeling.
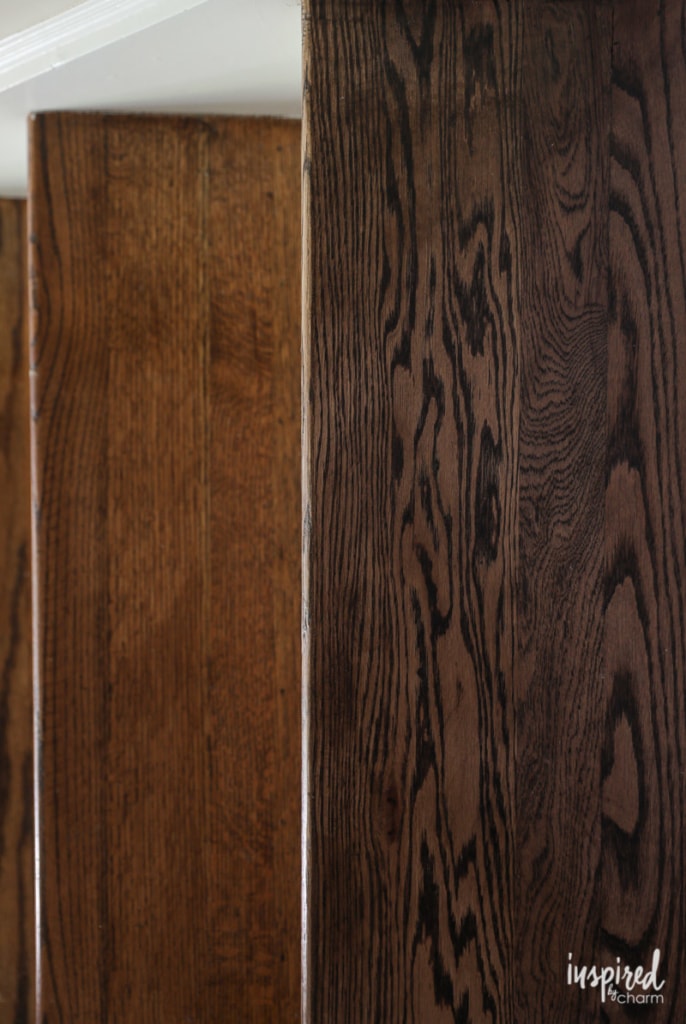
Here’s a little sneak peak of the before and after. What a difference, right!? (If you’re curious, the stain on the left, which is also what is used throughout the first floor of the home, is Provincial.)
Once I snap a few more pictures, I’ll circle back with an update on how the floors look now that they are finished! Stay tuned!
Your remodel is lovely. Kudos! What is the dark walnut stain company that was used in your home? I am looking at duraseal and they have that color. bona does not which is another company I am looking at. Is your upstairs and downstairs stain the same? Please advise. Thank you.
Do you know what stain brand your contractor used to finish the floors in the dark walnut?