Queen Guest Bedroom: The Before
This Post May Contain Affiliate Links. Please Read Our Disclosure PolicyIt’s the start of another makeover which means it’s time for a look at the before. Join me as I give my guest bedroom a makeover.
Queen Guest Bedroom: The Before
Things are busy here at Bayberry House. It just so happens that all the projects I wanted to complete are happening at the same time. (Does anyone else’s life tend to work out that way or is it just me?) I’m working on my basement studio, a retaining wall is about to be installed in my backyard, and I’m painting/wallpapering two of my bedrooms. If that isn’t enough, I’m officially in the busyness of the fall and holiday season. Bring it on!
It’s one of those situations where I am ecstatic that all of this is happening, but at the same time, it also stirs up a big pot of things to manage and an overwhelming to-do list. I’ll just be riding the wave for the next couple of months.
As I mentioned above, I’m working on two of my bedrooms. In this post, I’m sharing the before of my Queen Guest Bedroom. I’m not sure how helpful, interesting, and/or useful these “Before” posts are, but I like seeing a story from start to finish so I figure it’s worth sharing.
In case you were wondering, my house has five bedrooms. Here’s how I use them:
- Mine (Main) Bedroom
- Guest Bedroom (with a queen bed)
- Guest Bedroom (with twin beds)
- Office
- Exercise Room (a.k.a. random storage room! Ha!)
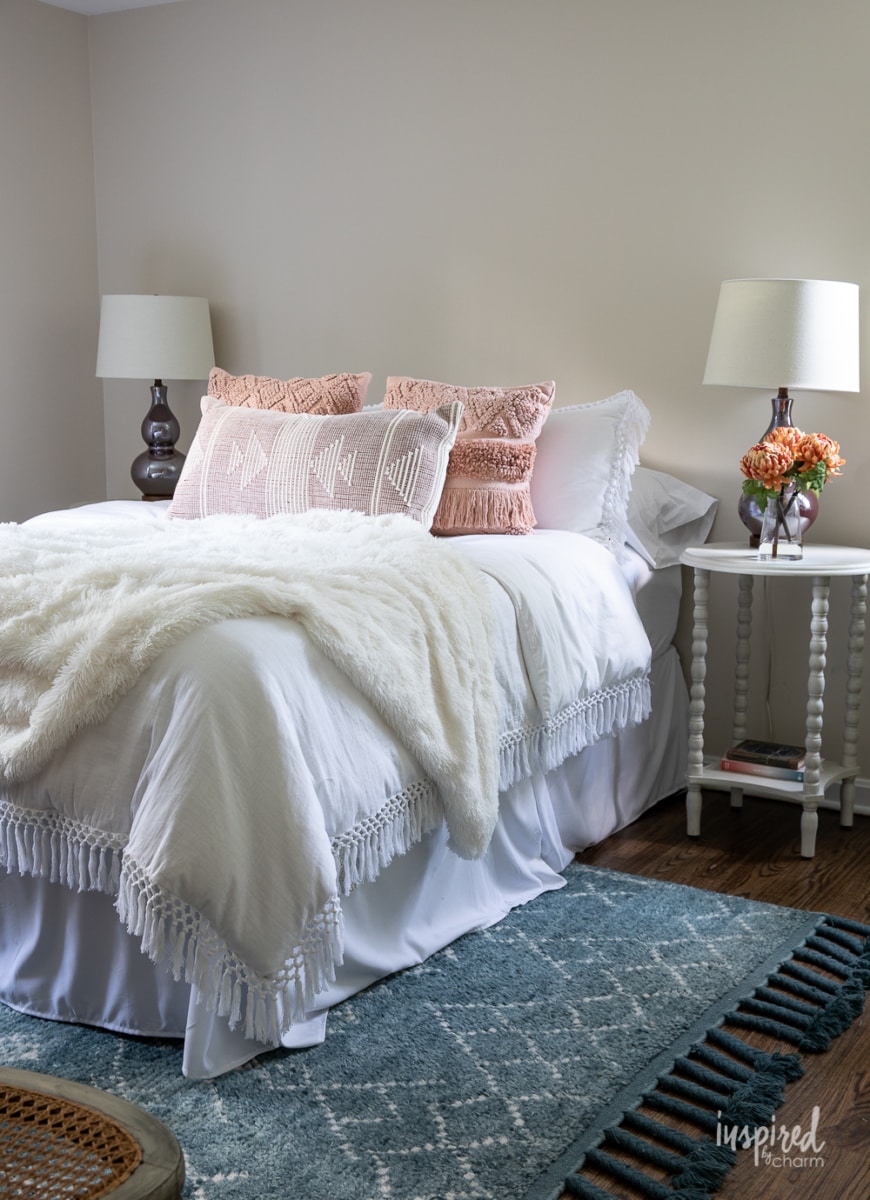
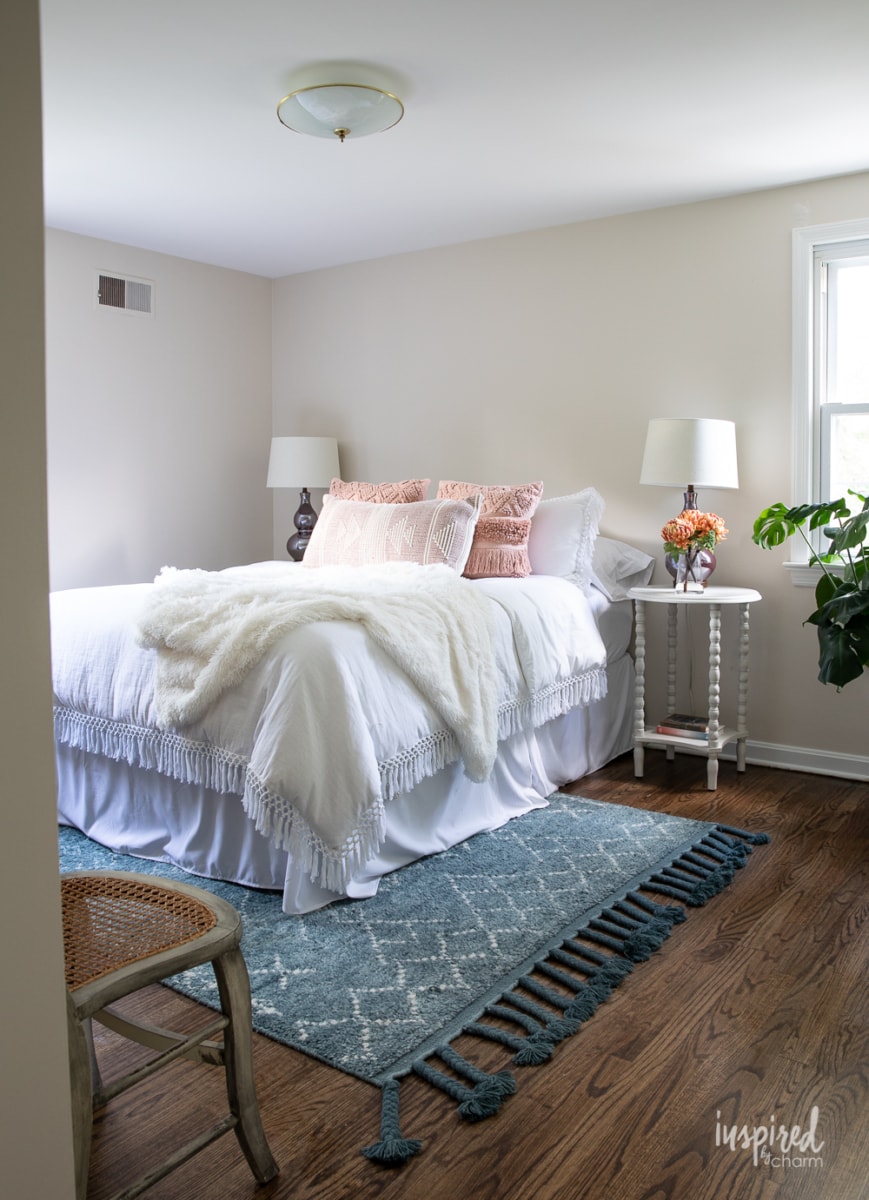
This guest room is the most used bedroom as this is where my mom stays and she’s typically here every month or so. It’s a nice-sized guest room measuring 13×11.
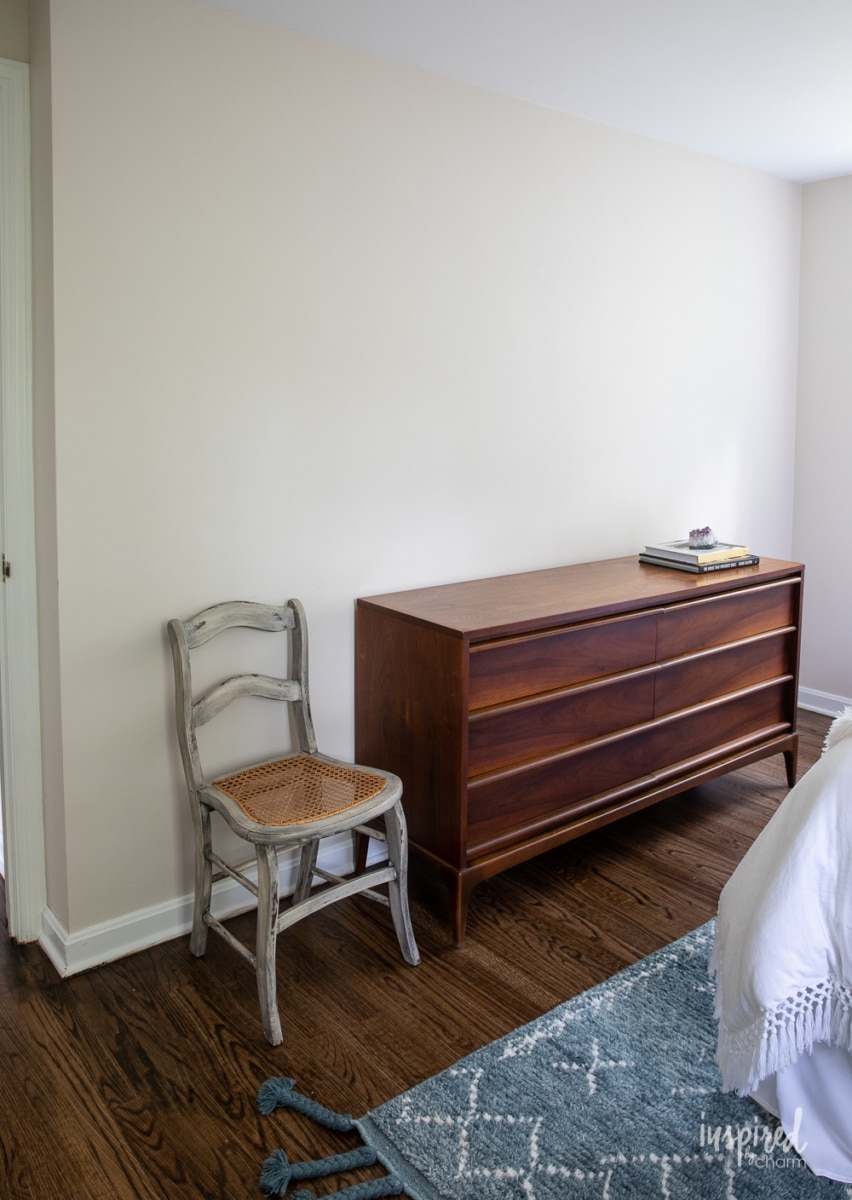
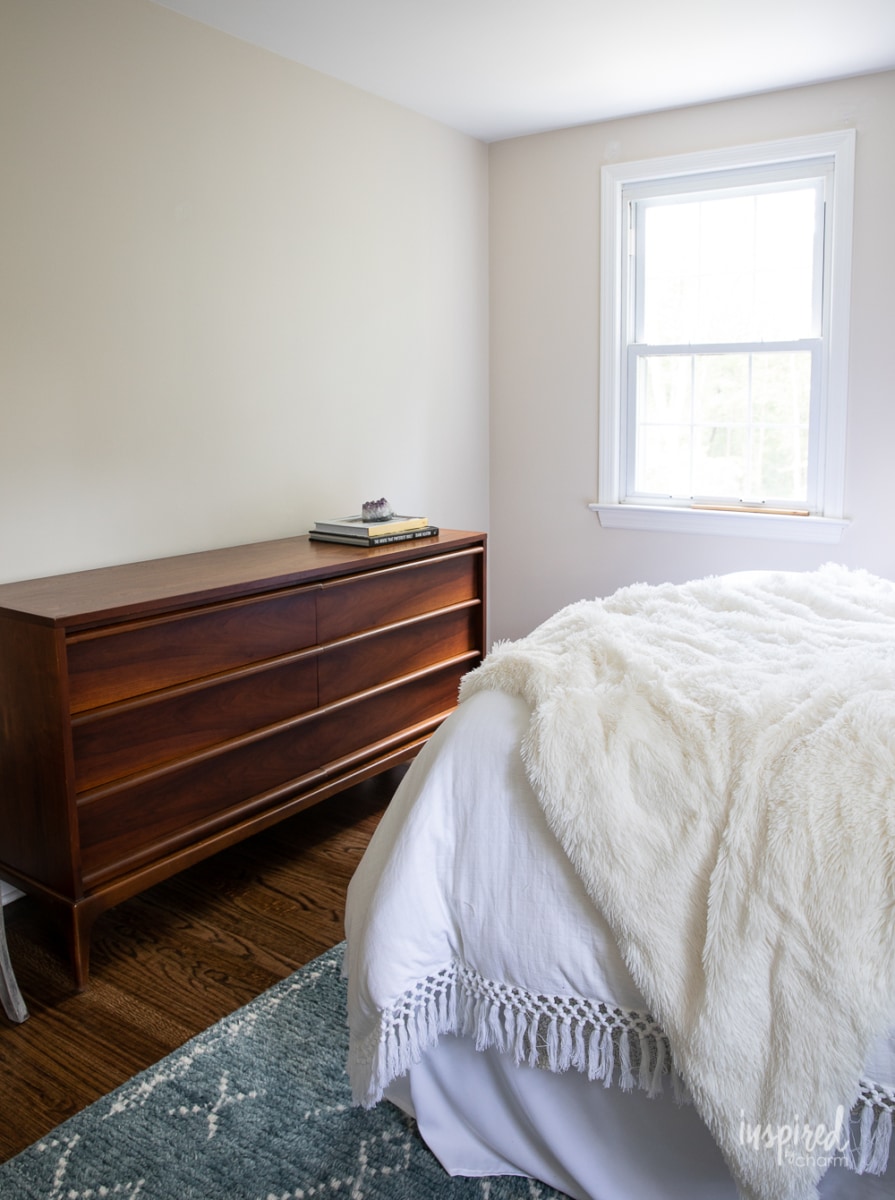
Other than the furnishings and refinished floors, this room looks the same as the day I moved in (same builder-beige walls and original light fixture, etc). It’s definitely time for this room to get a bit of my style and personality.
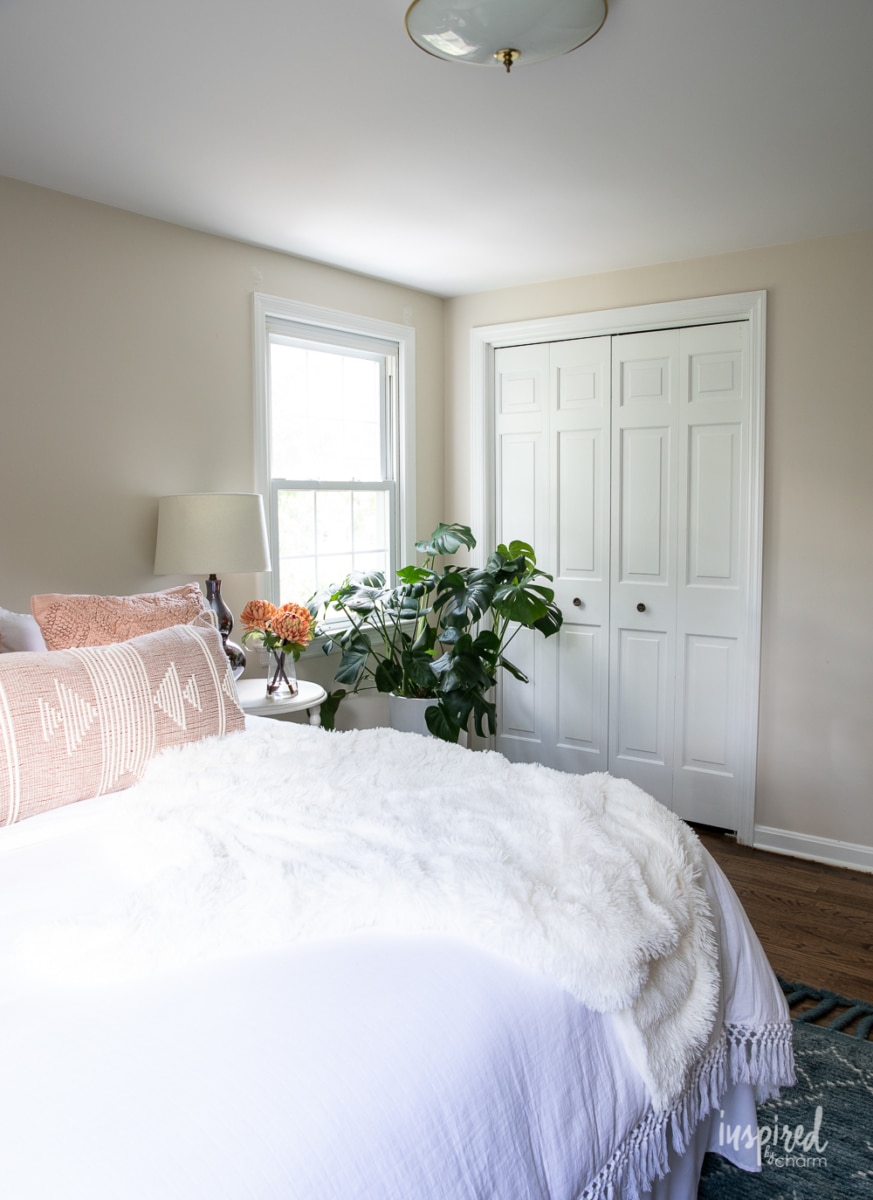
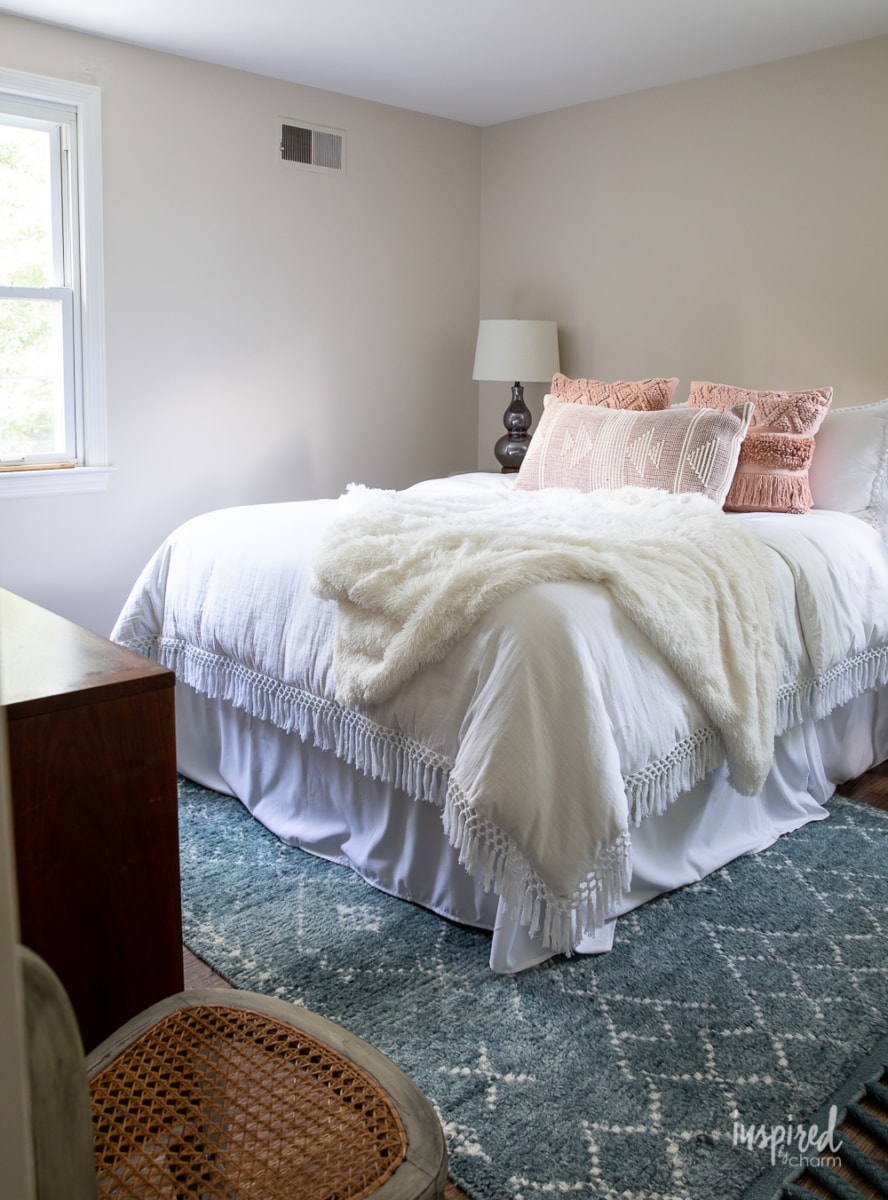
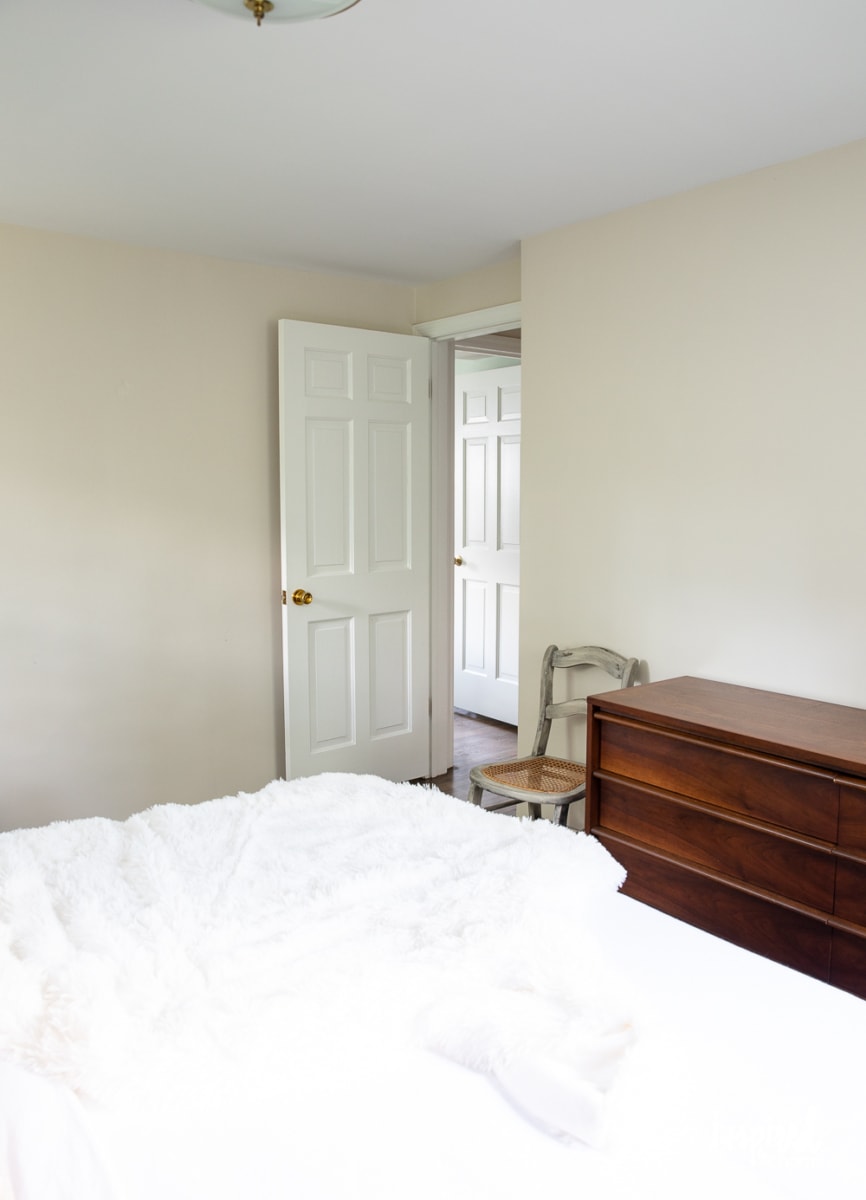
The layout of this room is slightly awkward. Due to the location of the doors and windows, the furniture placement is a little odd. The way things are set up now totally works, but I’m considering swapping the bed to the wall with the dresser to make the room just a bit more functional and spacious. We’ll see! I know that breaks “the rule” of where a bed should be when you walk into a room, but rules are made to be broken. Right?
💌 SAVE THIS POST / RECIPE!
The beginning items on my grand plan for this room are to give the trim a fresh coat of white paint and add wallpaper! Yes, wallpaper!
If you follow me on Instagram (@inspiredbycharm) you may have seen a little sneak peek of the paper. I came to this decision after talking to my mom about my desire to get things painted and freshened up. When I mentioned wallpaper, she offered a suggestion of one that she really liked, so that’s what I chose. Since she spends the most time in this space, why not pick something she loves?
Once the trim is painted and the wallpaper is up, I’ll start the process of decorating, swapping out the light fixture, etc. I want a bed frame, unique artwork, cozy bedding, and other fine details for this room to make the space a real retreat. It’s going to be fun.
I plan to take my time with this process. This is not going to be a weekend warrior makeover that’s done, decorated, and finished in two days. You know I love decorating with antiques, so naturally, I want to include some vintage pieces in my design. It usually takes time to find just the right thing, but in the end, it’s always worth it.
If you want a little peek at the design plan, I have a Pinterest board for my entire house HERE. Feel free to have a look around. If you want to see this room specifically, you can find it organized into this section HERE.
There you have it, the before of my Queen Guest Bedroom! I hope you enjoyed this little look into the space and are excited as I am for what’s to come! In my next post about this room, I’ll be sharing a bit more about my design plan for the space, so be on the lookout for that! I’ll also be posting a peek into my Twin Guest Bedroom soon.
As always, thanks for joining me on these decorating adventures!
Love your white comforter set!
Michael,
Where did you get the guest room bedding?
I’m am loving this guest room, eager to see the finished room. Are the two pinkish pillows made from throw rugs? My mind went right to the store looking for something similar to a throw rug or towel on my last shopping trip.
Nope. I found then at HomeGoods.
xo Michael
I like seeing before and after renovations, it inspires me to decorate my space as well.
Looking forward to your room afters. I enjoy seeing the befores…and at your house even those are neat and simple and pleasant.
I’m so excited for this. First, my room has a similar layout and size and second, I’m doing a refresh right now. Although your before isn’t too shabby! Can’t wait to see what you do in this space.
Hi Michael, I love seeing your “before” photos. I’m a fan of following a makeover from start to finish. It makes for a very inspiring transformation. Can’t wait to see your “after” photos. I hope you add some of your paintings. They are fabulous!
As a cat parent, how do you keep your whites and light looking so pristine? I feel like I can’t ever keep up with all of the shedding!