My Home Office: The Before
This Post May Contain Affiliate Links. Please Read Our Disclosure PolicyIt’s time to paint and decorate a new room at Bayberry House! Today I’m showing you how my office looks before I start to make it over.
Yes, friends, I’m ready to paint another room in my home. Earlier this year I wrote about some of my 2020 House Projects. You may remember that the list included painting several bedrooms. Well, one of those bedrooms happens to be my office. (I also want to tackle one of the other bedrooms in the next couple of months, but we’ll save that “before tour” for another day.)
My Home Office: The Before
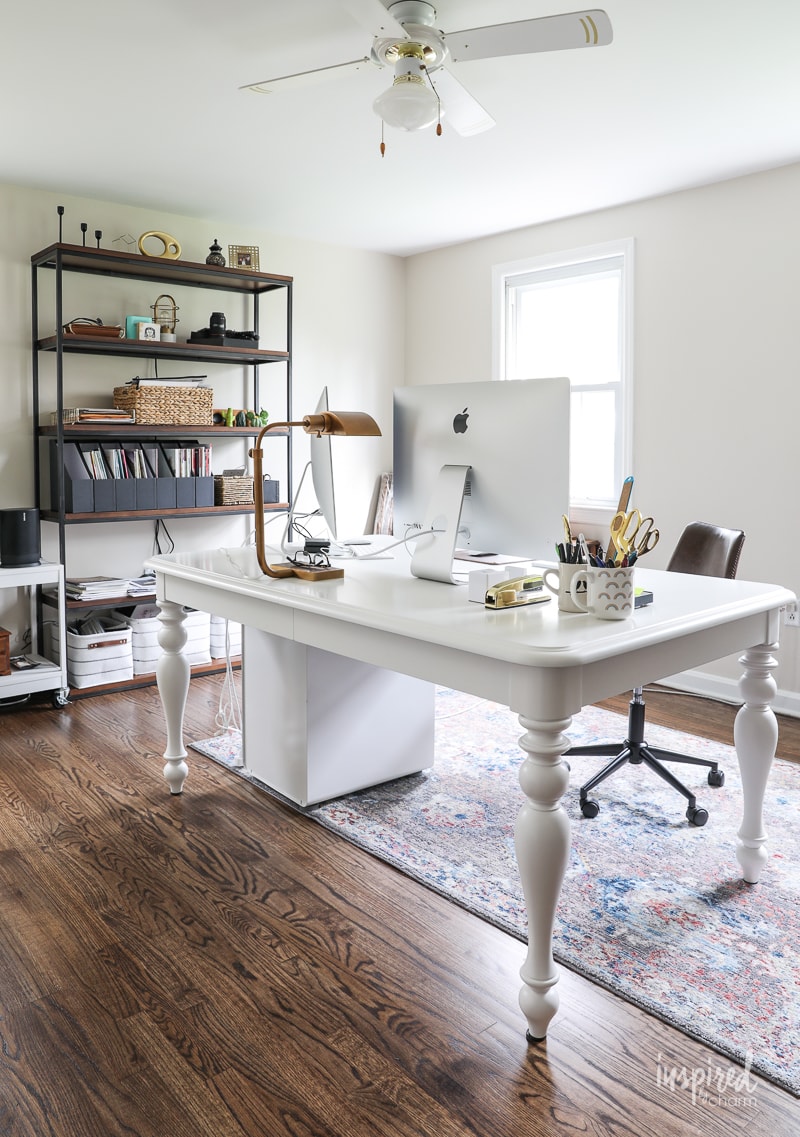
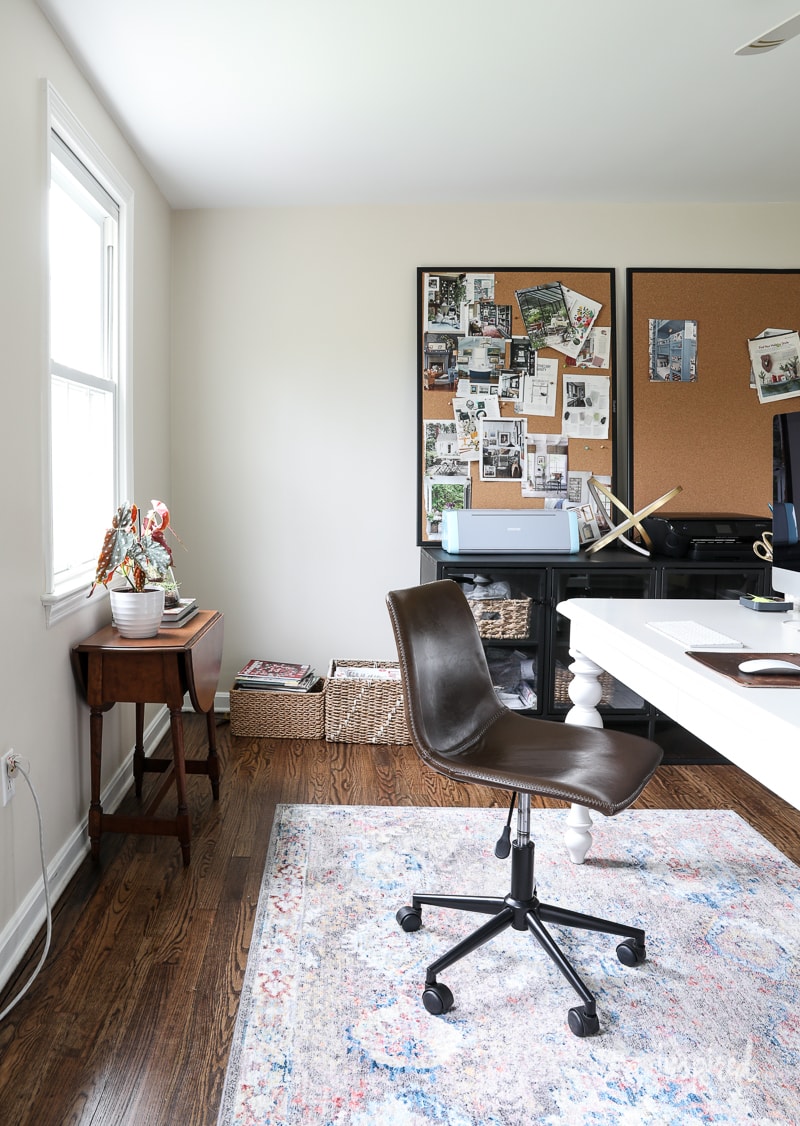
This room is on the second floor, but it’s on the opposite side of the house from my master bedroom. I chose this bedroom for my office because it has three windows, and I love me some natural light. (The other four bedrooms in Bayberry House have only two windows.)

If you’re an eagle-eyed IBC follower, you’ve probably noticed that every piece of furniture in my office came from other areas of this house or my previous place. Can you guess each of the spaces before I tell you?
Here’s the rundown:
- The “desk” is my old dining room table.
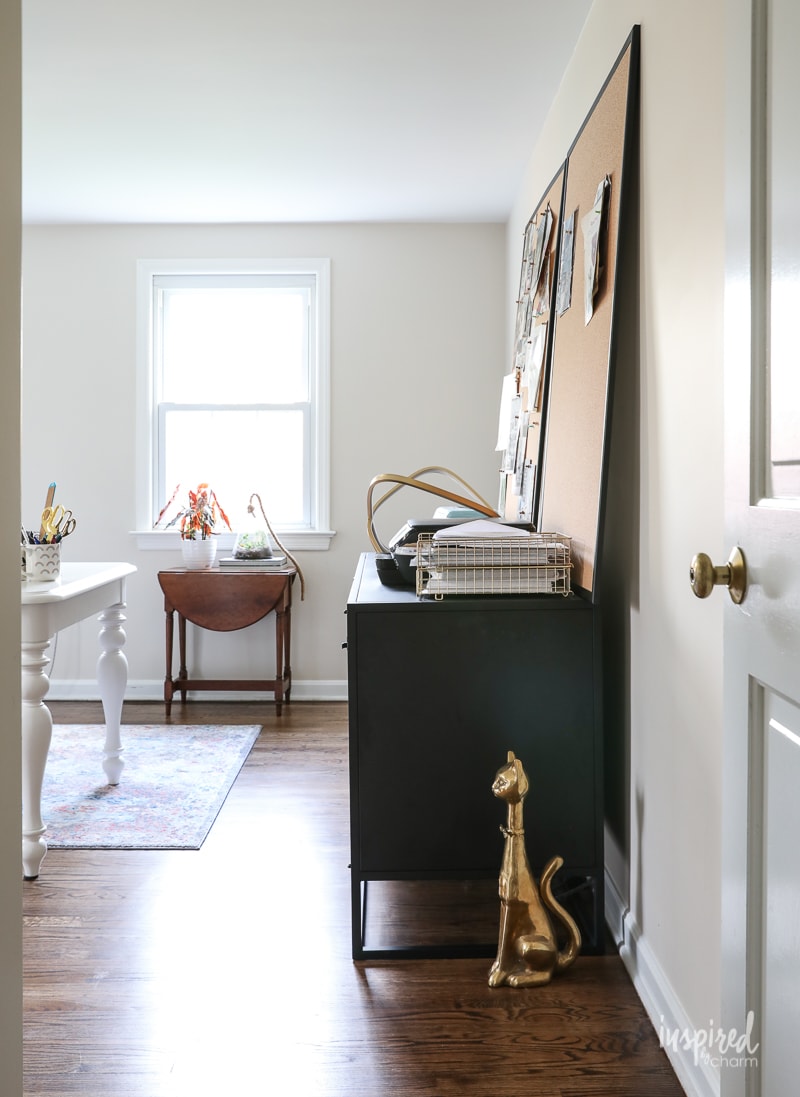
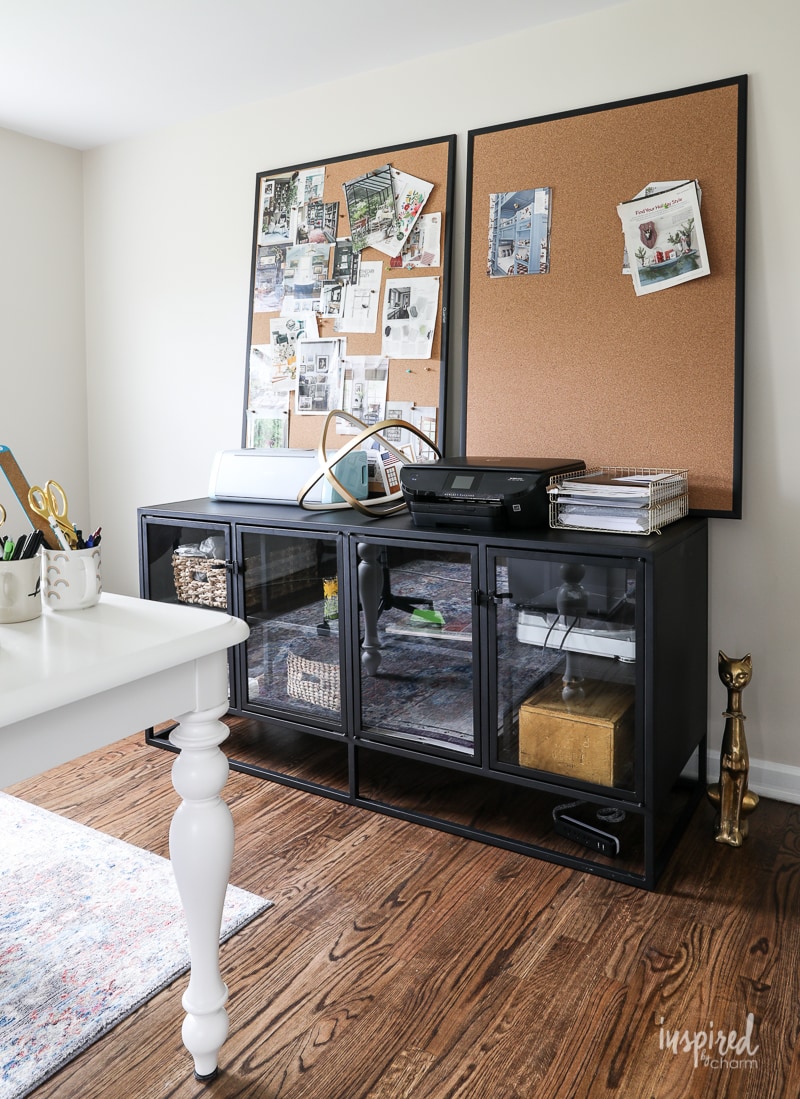
- The sideboard served as the entertainment stand in my loft apartment in Pittsburgh. When I moved to Bayberry House, I had the sideboard in my dining room for a while.
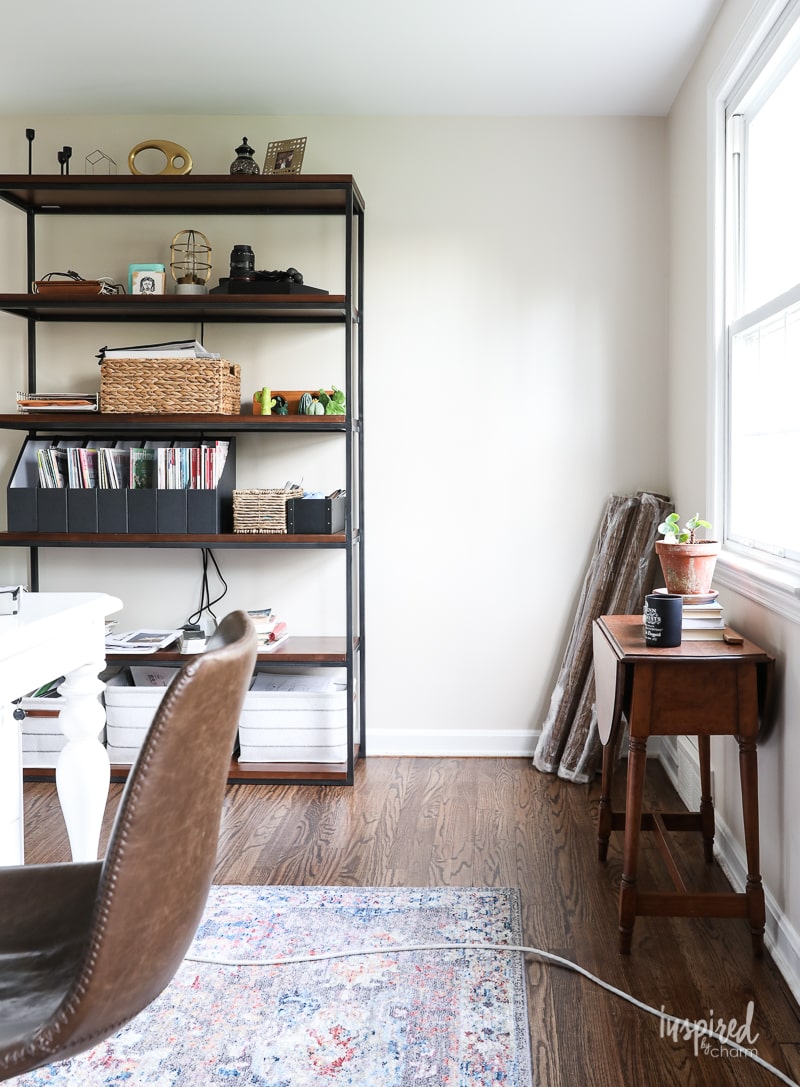
- The shelves used to be in my apartment office.
- The rug was in the entryway of my apartment.
- The green chair was in the living room of my apartment.
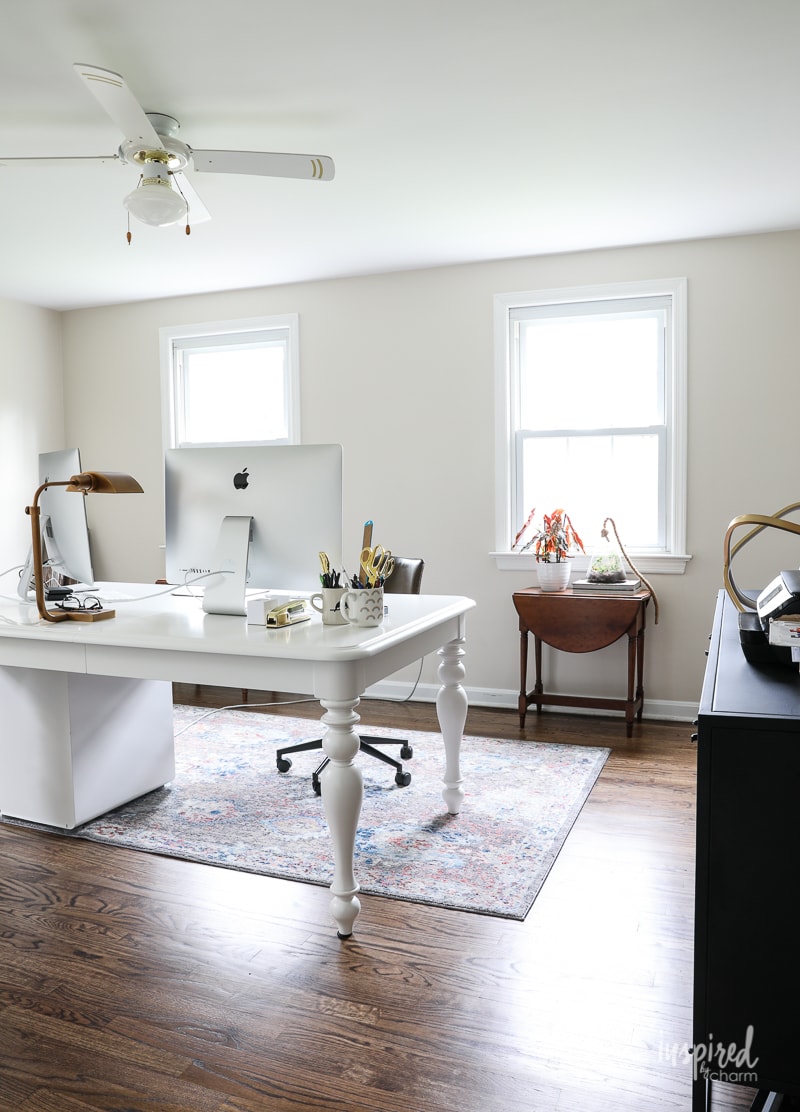
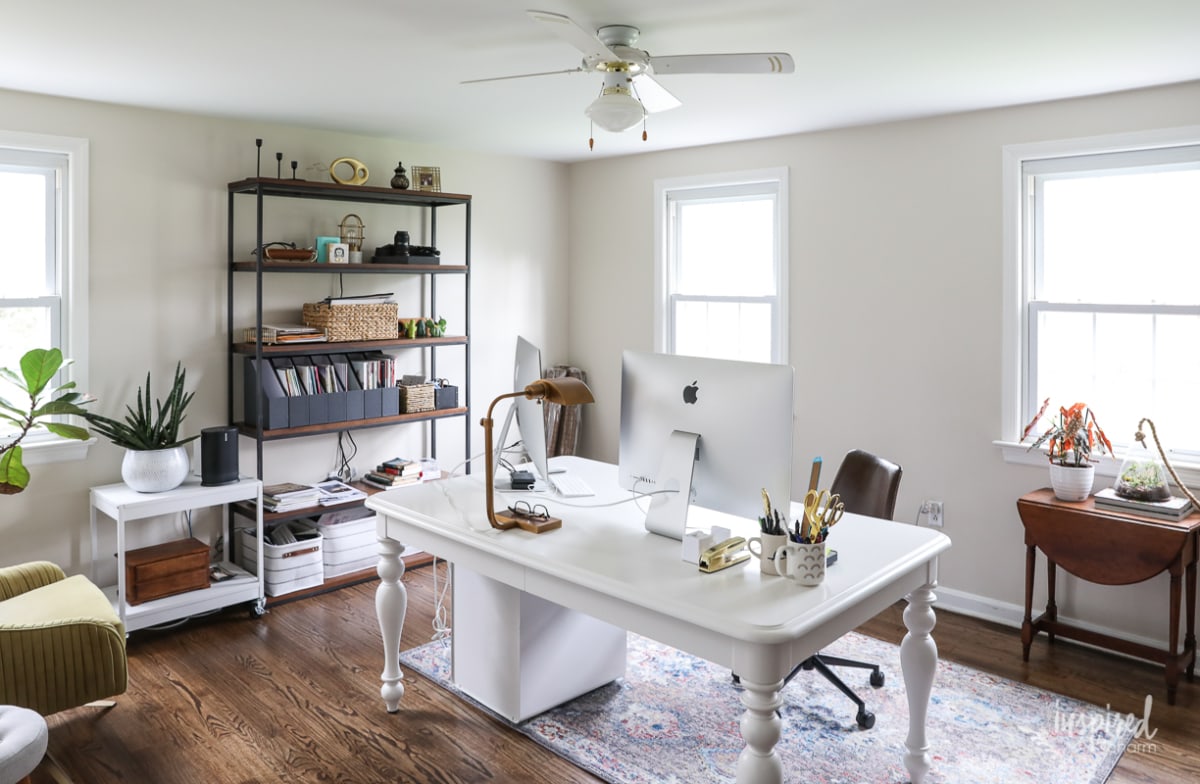
As you can see, lots of things came together to make this space somewhat functional. Although things work OK as they are, I want the design to be more intentional and inspiring since I spend quite a bit of time in this room.
The great part is that’s it’s pretty much a blank slate, and I have some foundation pieces that I love to get me started.
We should also talk about the closet in this room. I was hesitant to show you this, but in the interest of “keeping it real,” here’s a look inside. *Hot mess alert*

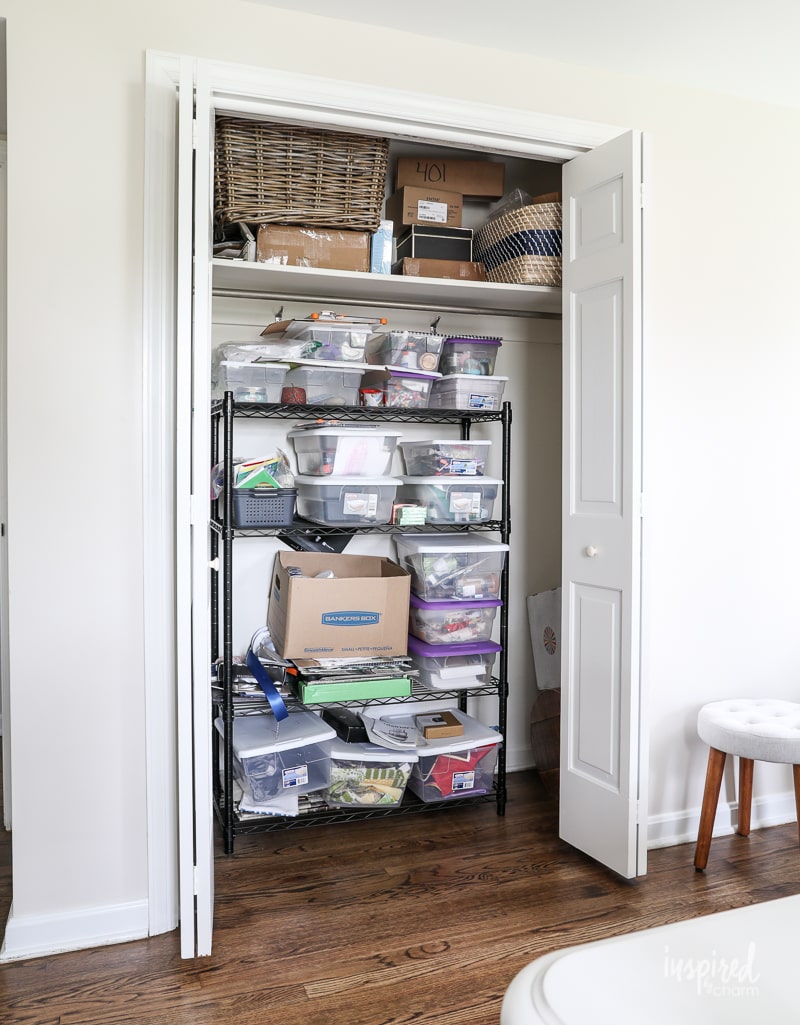
I don’t consider myself the most organized or tidy person. A lot of that comes down to not having a designated place for everything. This closet is a prime example. I just sort of threw things in. Even though my intention was good, it’s clear the system doesn’t work. As I put this room back together, I will create designated storage with new wood shelves.
For this makeover, I’m not planning to throw a bunch of money at it to “get it done.” Instead, I want to take my time and slowly add pieces as I find them. However, after I paint, I do want to get things organized and in place so that it feels complete and pulled together.
In a year or two, I would love to add built-in cabinets to this room to create more storage and a desk space. Right now, though, that’s not in the cards. (The reason: I just hired a cabinet maker for two other cabinetry projects that will be happening late this summer. I’m already excited to share those with you down the road.)
💌 SAVE THIS POST / RECIPE!
My Home Office: The Plan
Since the above explanation was probably a bit rambly, I thought I’d break things down.
Here’s my plan:
- Clear the clutter.
- Touch up the trim paint.
- Paint the walls.
- Hang a new light fixture. (This is the light fixture of my dreams, but it’s $2,000, so that’s not happening.)
- Add organization to the closet.
- Decorate and style with what I have.
- Slowly redecorate as I find pieces for the room.
- Enjoy every moment of this process!
My Home Office: Initial Design Ideas
Generally speaking, I plan to stick with the overall theme of my home, which is Modern Country Colonial. (You can read more about what that means here.)
I’ve already picked out the color for the walls. And, because of the current stay-at-home order, I broke all of my “how to choose paint color” rules and picked a color based solely on a 1×2-inch sample square. EEK! I’m a little nervous about it, but I’m excited at the same time!
I’m not going to share the official color yet, but I will tell you it’s light green. It’s similar to the color of my pantry cabinets, but it’s a mintier, blue-green. I think this color will look beautiful with the blacks and browns already in the room. (I’m sure I’ll need a new rug.)
Sidenote: I recently wrote a post about the paint colors I’ve used in my home. You can find that here if you ever have questions about my paint colors.
Beyond my paint color choice, I’m not sure how the rest of the space will look. I’m thinking about using more shades of green as well as pink and yellowy-orange. I found this image on Instagram from @yasminemei and love the color palette, so maybe it will be something like this:

My wall color won’t be that dark, but I hope you get the idea.
Well, that’s all I have to say about my office before I start the makeover. What do you think? Are you excited about seeing another transformation?
More than likely, I will put together a more detailed design plan and share that with you next. Stay tuned.
Until then … I’d better get painting!
Woh I love your posts, bookmarked!
Michael,
If you are willing to put in some sweatequity you can make a custom looking bookcase with Ikea cabinets. I’m sure you have already heard of this but two good examples of this are at “Gluesticks” and “Infarrently Creative.” And since you are stuck at home…
Maureen
Thank you so much! Yes. Totally. I did consider this, but I’m not really a fan of IKEA for this type of thing. I’m having some custom cabinetry made for other parts of my home and feel like I should do the same for this room.
Also, I feel like I’m cursed when it comes to building things. I try my darnedest, but it always feel “amateurish” to me. (Maybe because I’m an amateur! Ha.) And I don’t really want to spend all that time and effort and not LOVE the results. Hopefully that make sense. But thank you SO much for sharing this. It’s a great thought.
xo Michael