Homemade Milk and Cookie Shots
This Post May Contain Affiliate Links. Please Read Our Disclosure Policy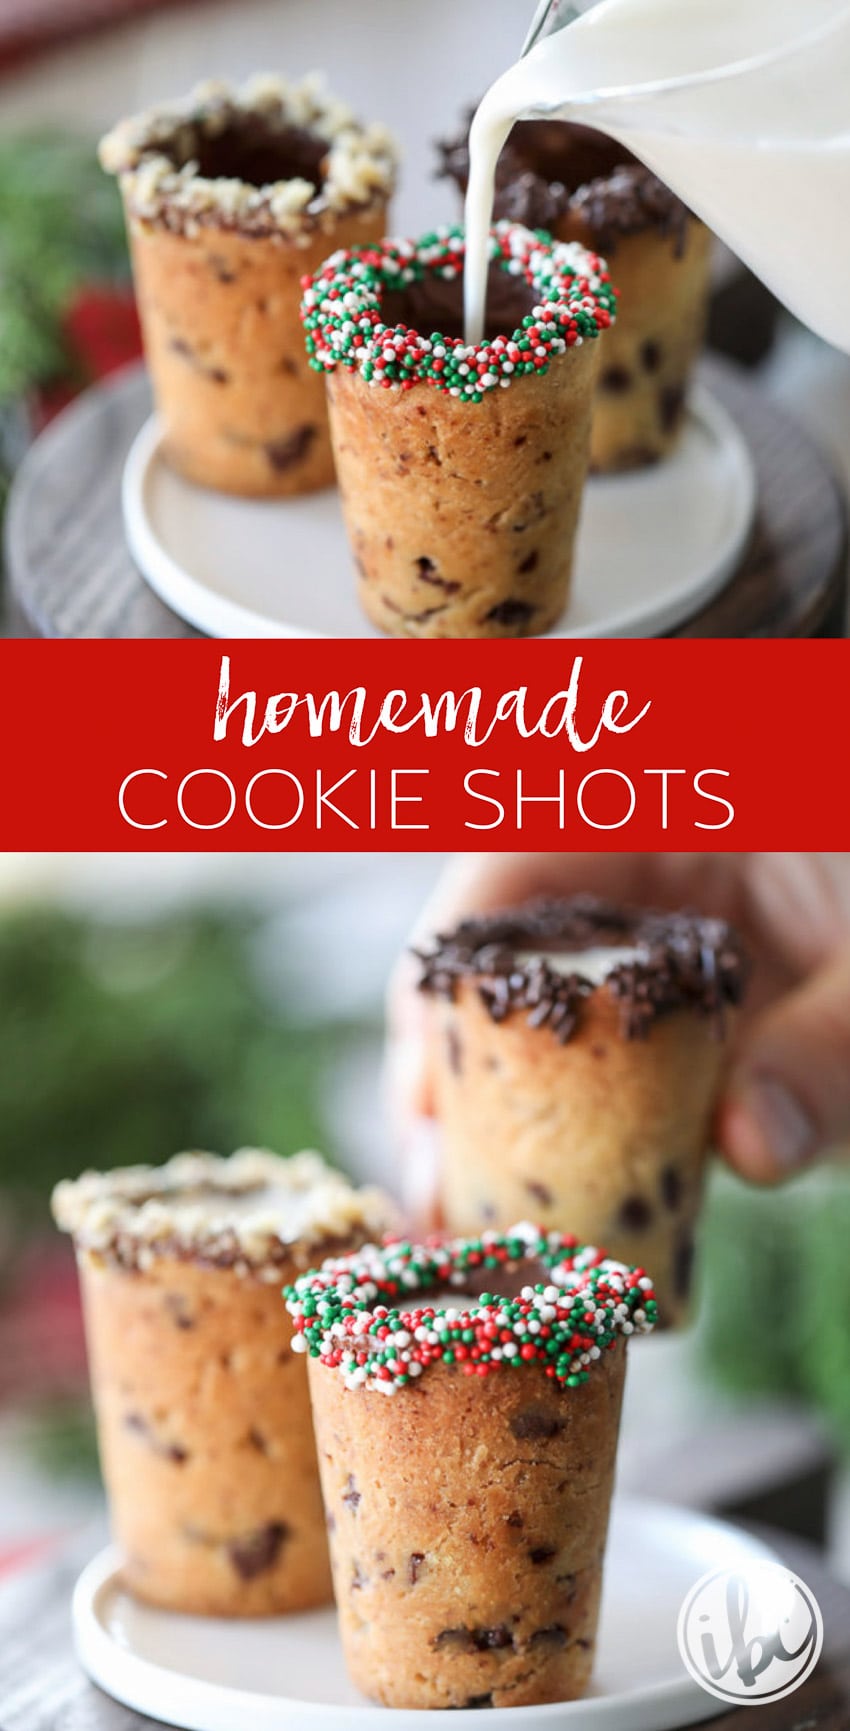
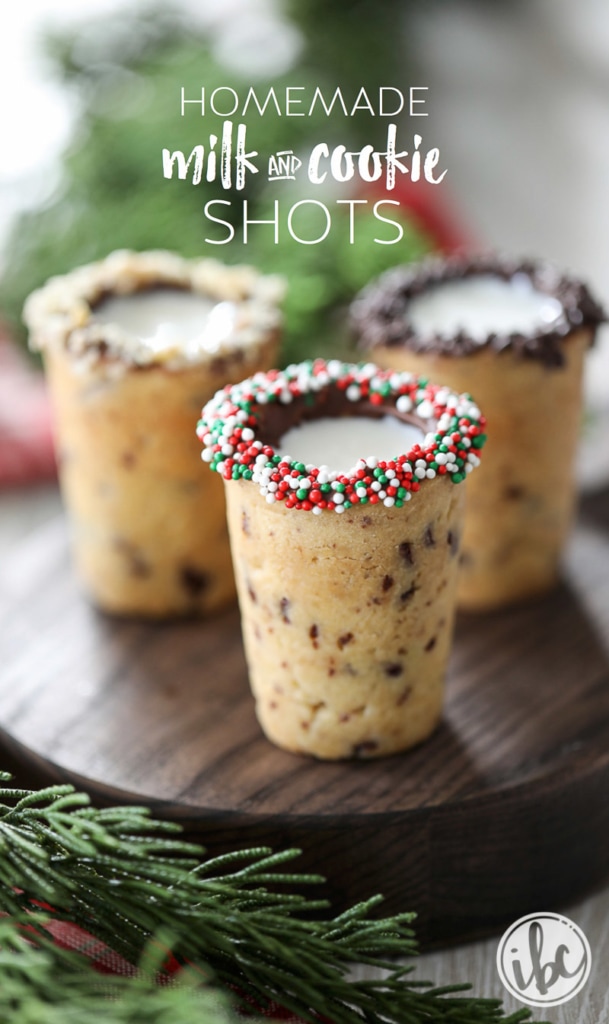
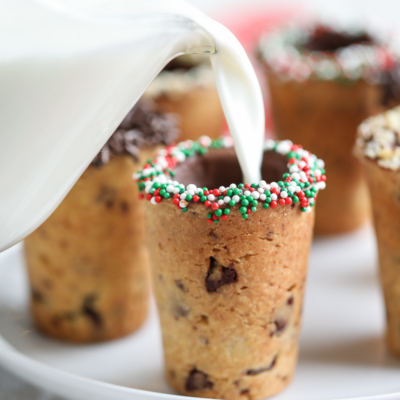
These Homemade Milk and Cookie Shots turn a classic dessert into a moment of undeniable joy with family and friends. You’re going to love this sweet and unique dessert recipe!
Any cookie tastes better with milk. And because I always like to shake things up a bit, I thought I’d share these milk and cookie shots which actually hold the milk you drink with the cookie.
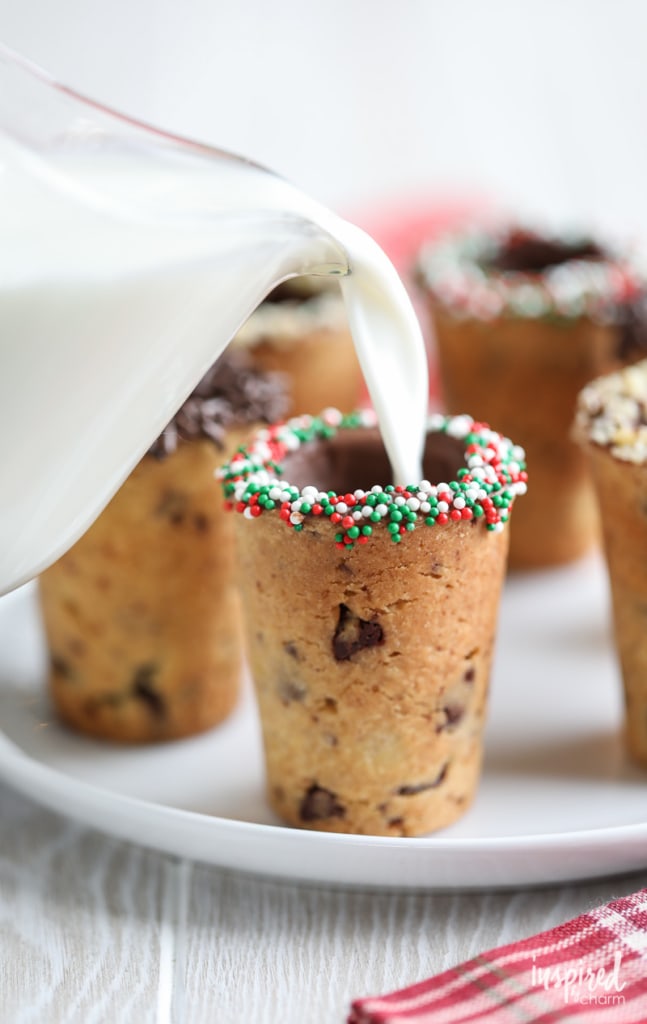
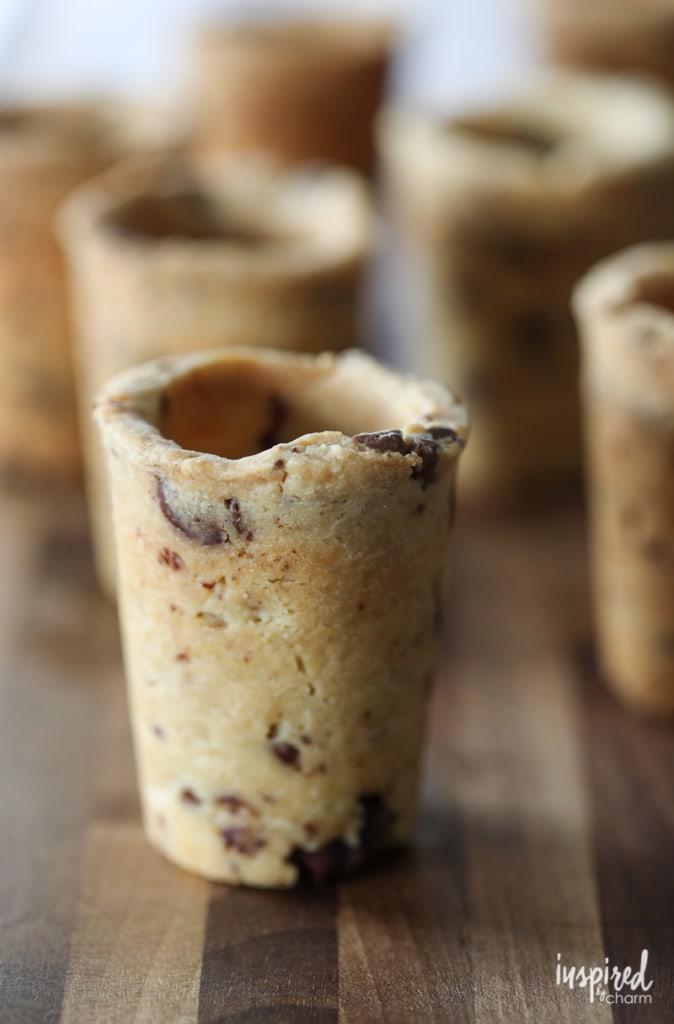
These milk and cookie shots are a classic chocolate chip dough, molded into the shape of a shot glass, which is baked and then filled with milk. How clever is that, right?
Since the holiday season has begun, I’m thinking this could be a unique way to help you connect with your family and friends.
How to Make a Cookie Shot Glass:
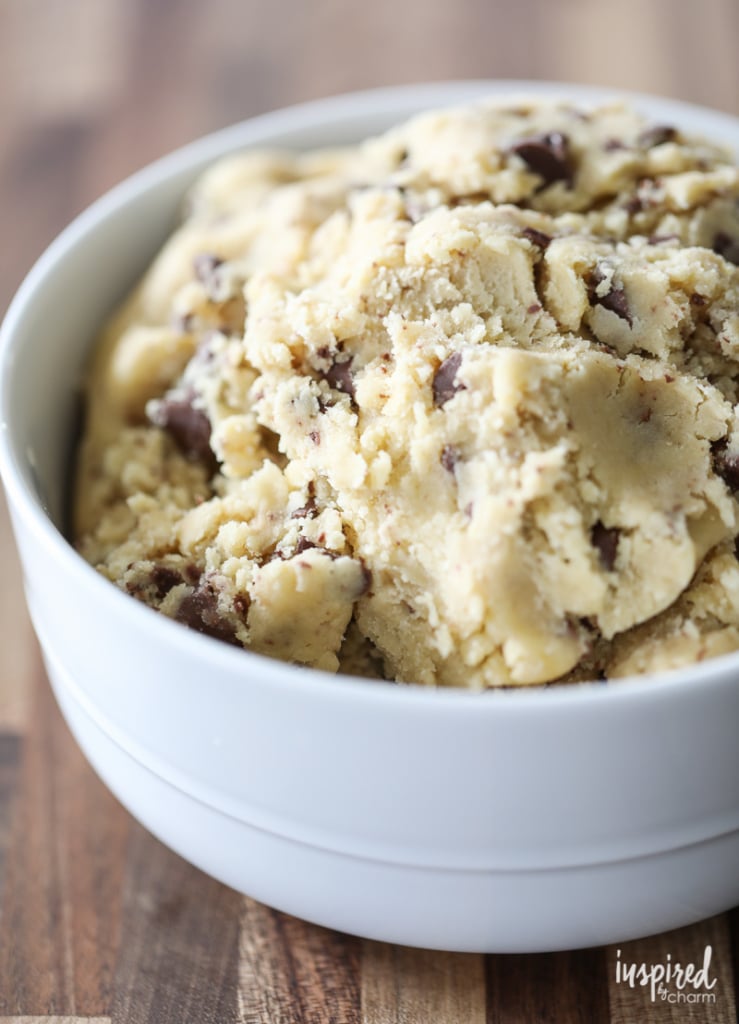
You might be wondering how these are made. Well, first you’ll need a chocolate chip cookie recipe. I tested a few recipes, including store-bought cookie dough. (I was trying to make these as easy as possible for you to make.) However, I found the recipe below to be the best. You need a recipe without leavening agents so that the dough will keep its shape and not expand while baking.
Once the cookie dough is made, you’ll need a mold. I used this one which was designed for this specific purpose. If you don’t want to buy something extra just for this recipe, you could certainly use a cupcake pan paired with a heatproof shot glass or ball of aluminum foil as the insert.
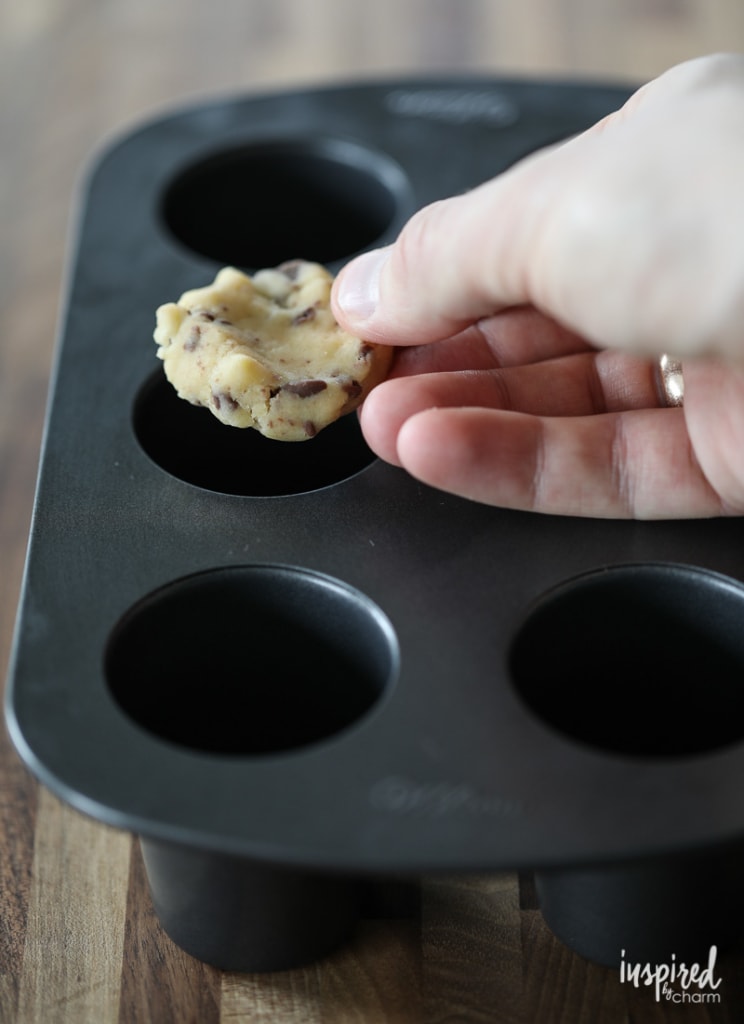
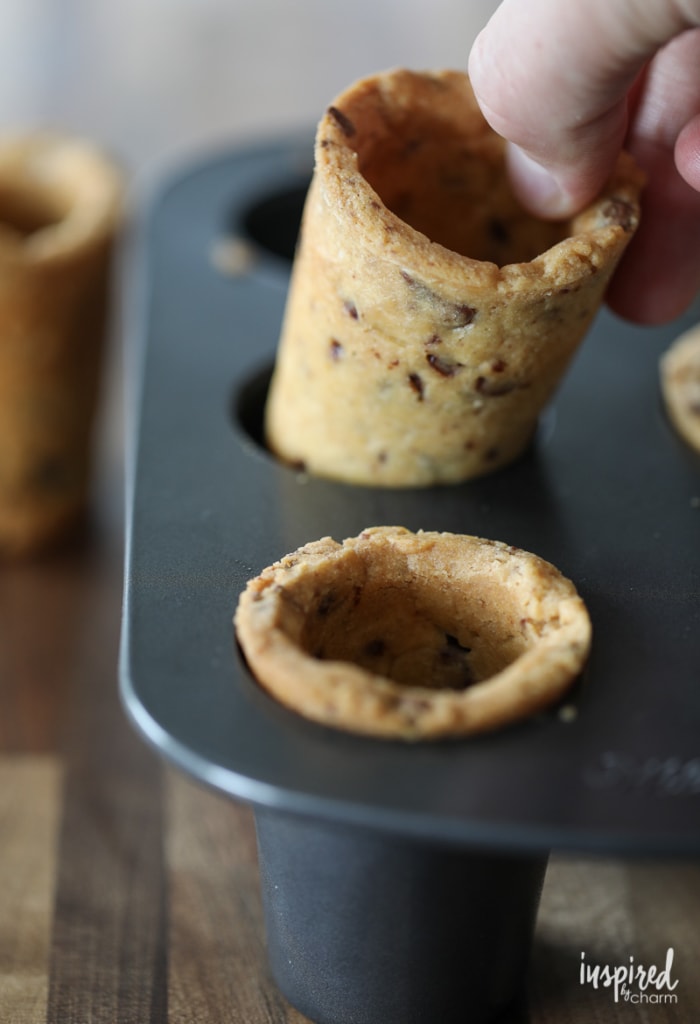
You’ll begin by greasing the pan with shortening to ensure the cookie shots release easily from the pan.
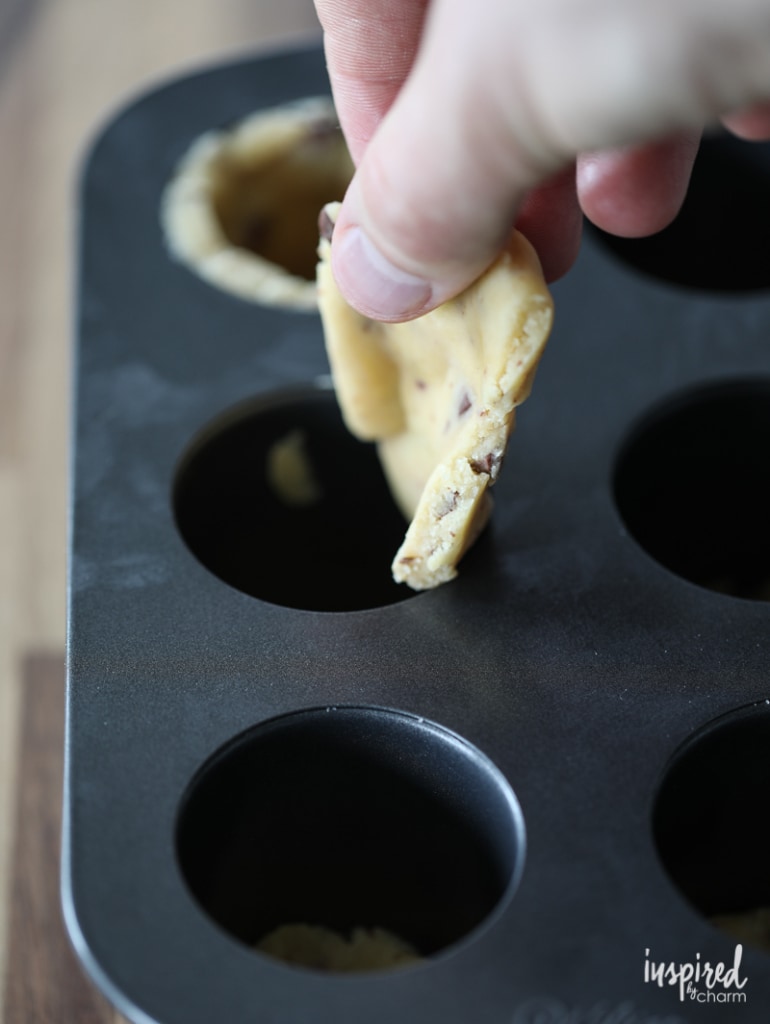
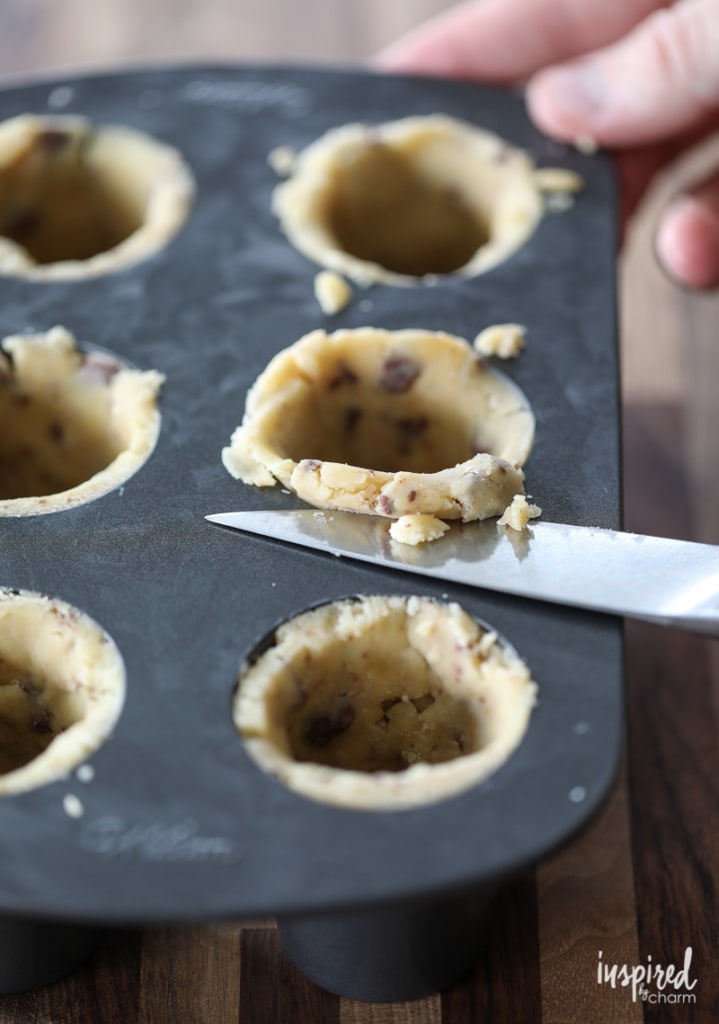
Then, you’ll put the cookie dough in the pan. Use about 3-4 tablespoons of dough per mold. Start by adding a disc of dough to the bottom of the mold and then work up the sides. The final thickness should be about 1/4-inch. Use a knife to cut off any dough above the top of the mold.
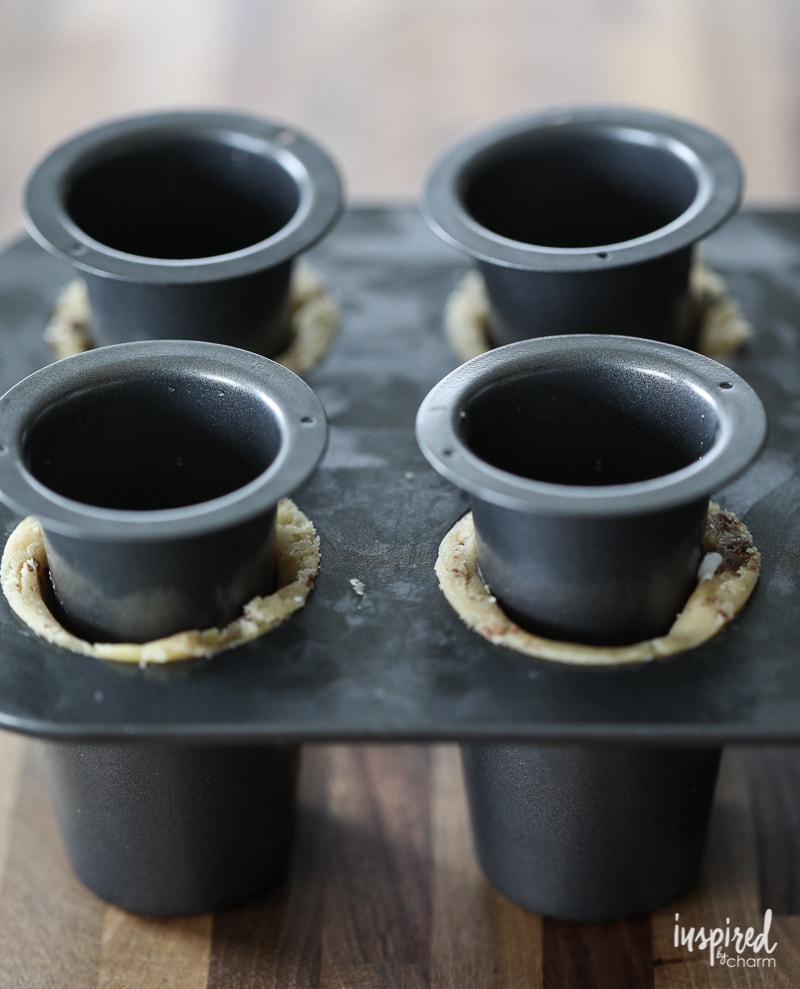
Place the inserts into the molds and pop them into the freezer for about 10 minutes. Chilling your dough will help it maintain its shape during baking.
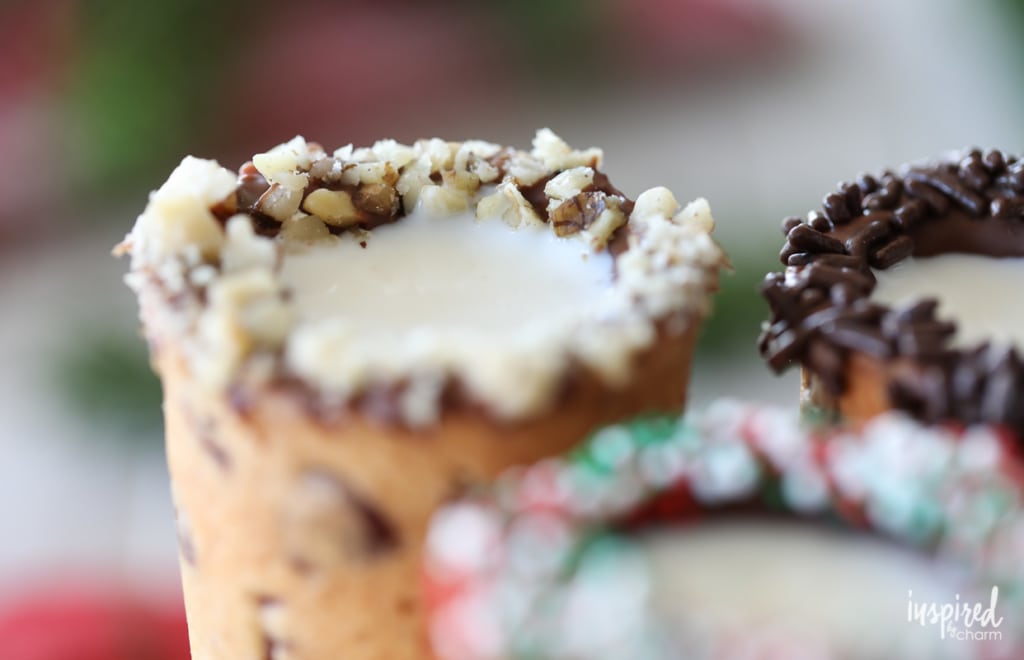
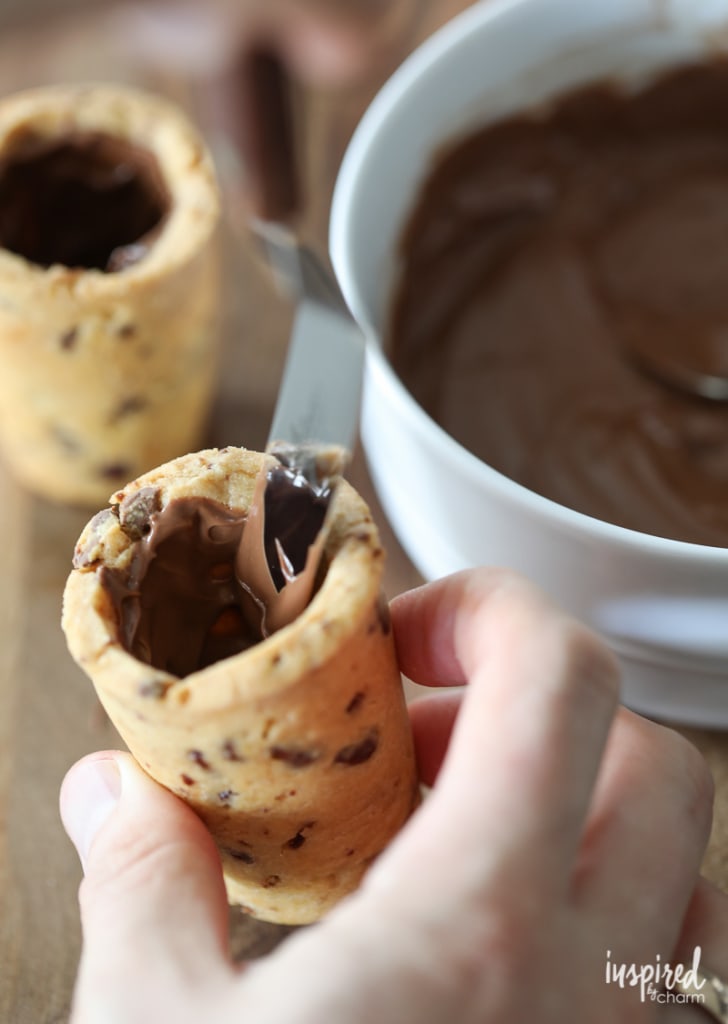
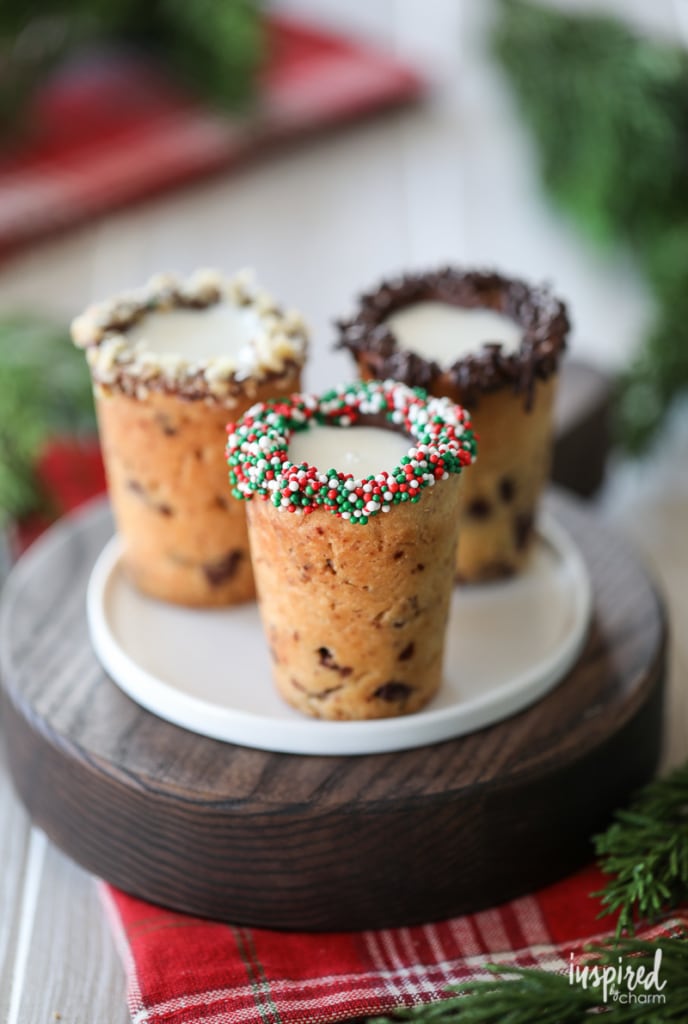
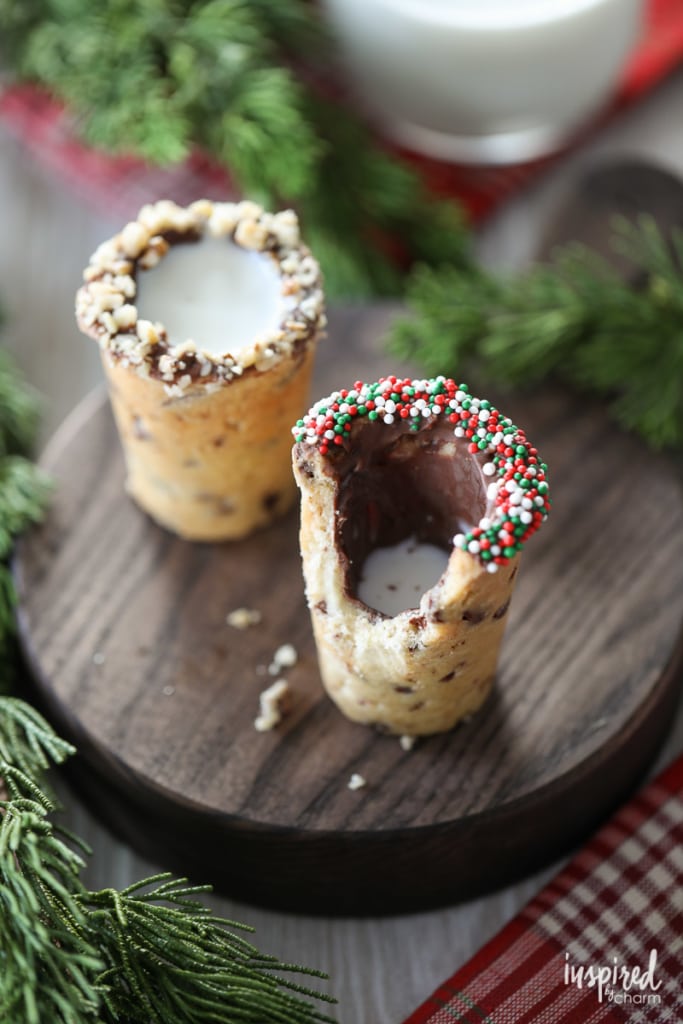
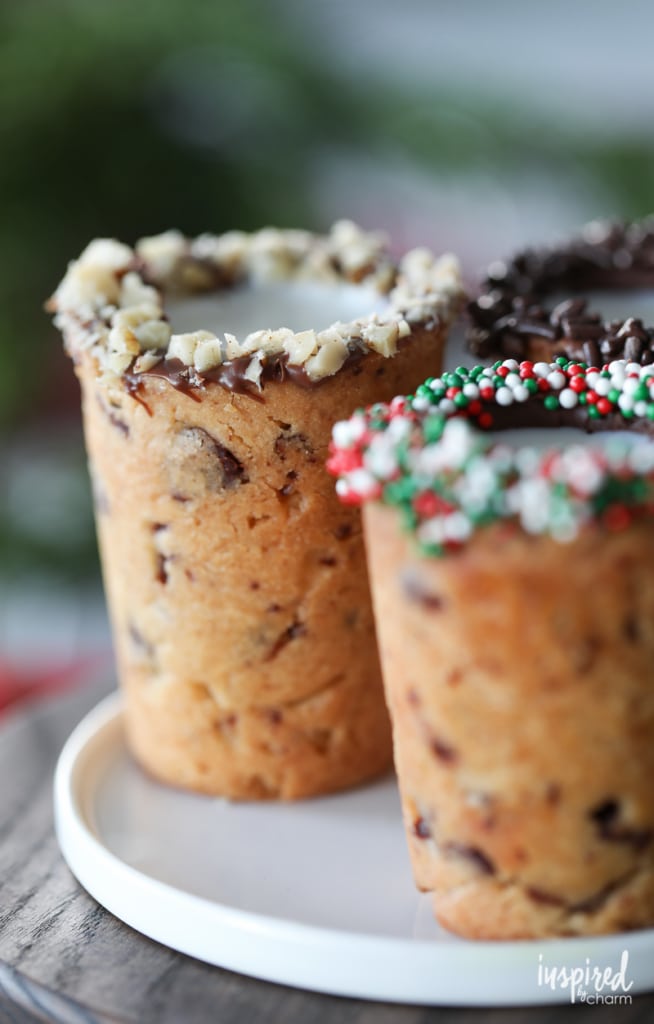
After the cookie shots are baked and cooled, coat the inside of each with chocolate. This chocolate coating will allow the cookie shot to hold milk and keep it from seeping through the cookie.
💌 SAVE THIS POST / RECIPE!
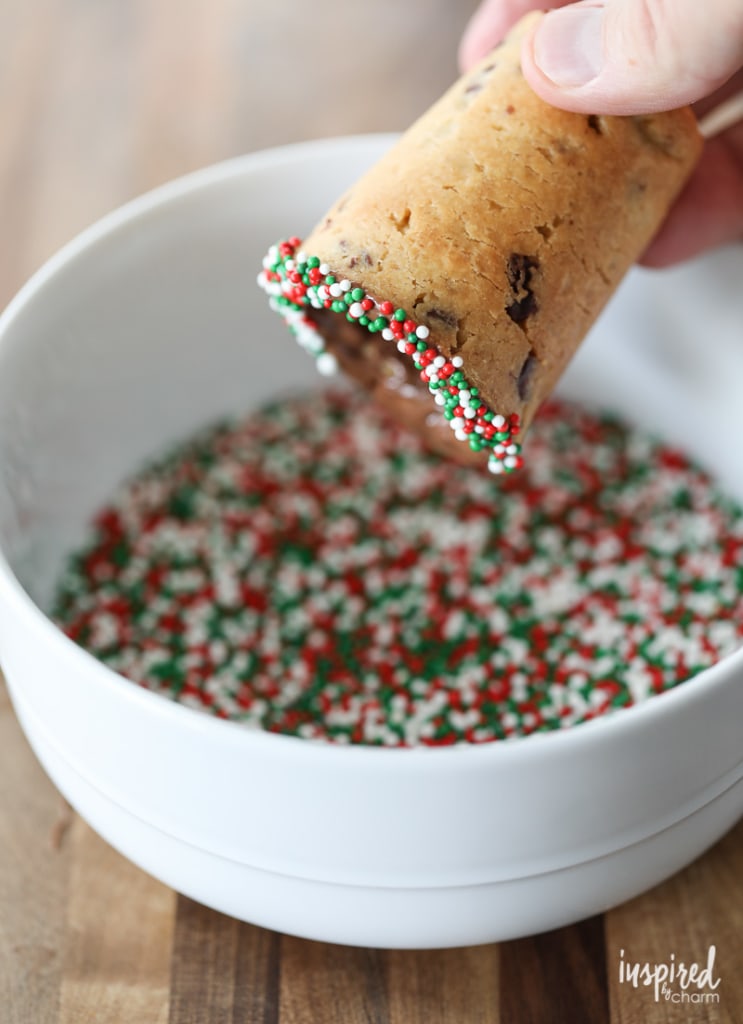
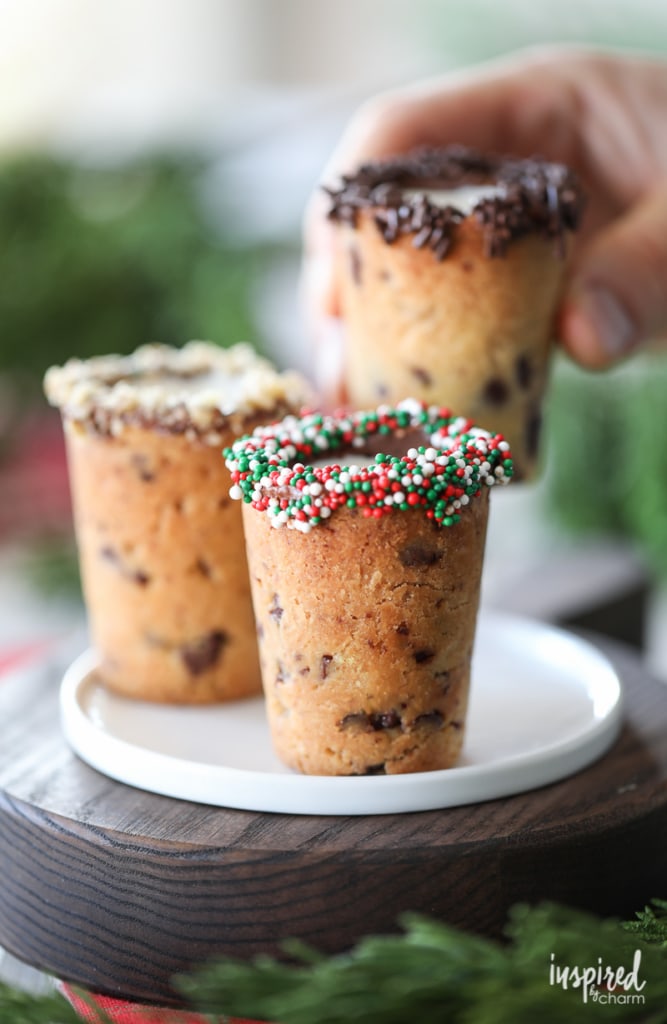
To make my cookie shots festive, I added sprinkles and nuts. Feel free to leave them off or change them up depending on the occasion or celebration.
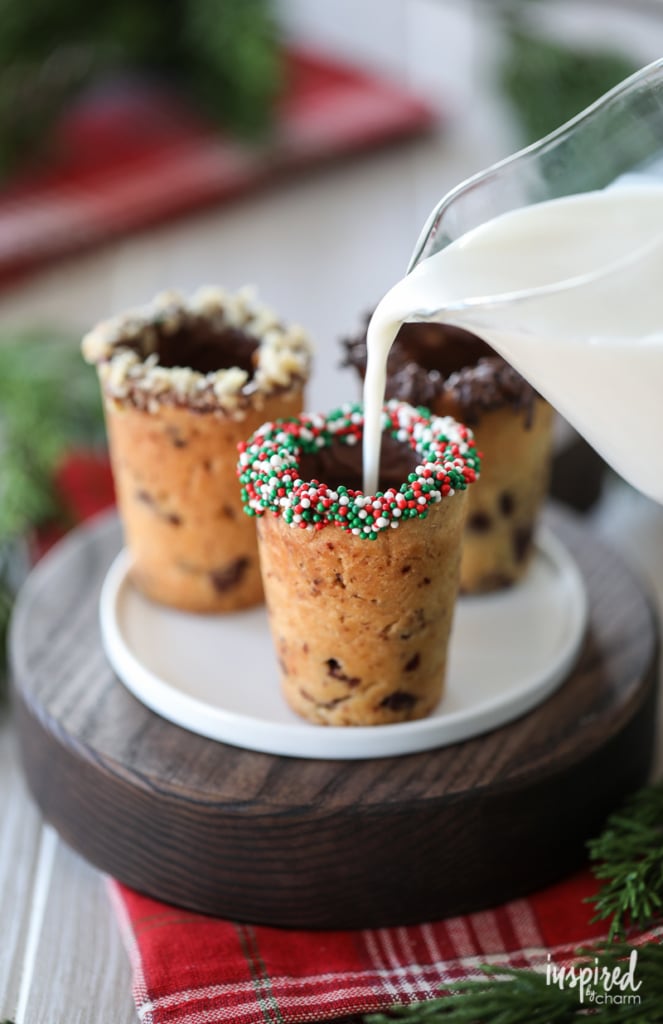
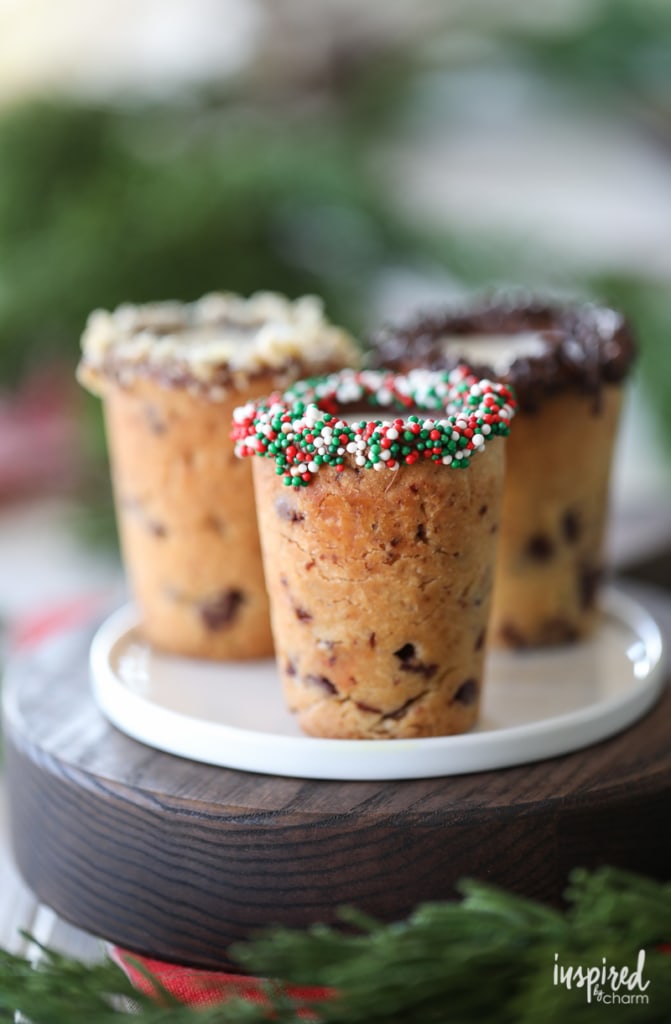
Once the chocolate hardens, the excitement begins when you bring on the milk.
I recommend serving a cookie shot with a small glass of milk so your guests can keep adding milk and nibble on the cookie as they drink. What an enjoyable and inventive way to connect with dear ones over a shot of milk.
Cheers!
I hope you enjoy this unique and merry treat. And if you can stop yourself and your loved ones from eating all of them, you could leave out a few of these Homemade Milk and Cookie Shots for Santa. I think he’ll greatly appreciate your creative spirit.
Ho! Ho! Ho!
Cookie Shot Recipe:
Homemade Milk and Cookie Shots
Video
Ingredients
- 2 1/4 cups all-purpose flour
- 1/2 teaspoon salt
- 1 cup unsalted butter softened
- 1/3 cup sugar
- 1/2 cup brown sugar
- 2 large egg yolks
- 2 teaspoons vanilla extract
- 3/4 cup chopped milk chocolate chips
Garnish:
- 1 cup milk chocolate chips
- Sprinkles and/or chopped nuts optional
Instructions
- In a bowl, whisk together the flour and salt. Set aside.
- In the bowl of stand mixer fitted with a paddle attachment, beat the butter and sugars on medium speed about 4 minutes until light and fluffy. Scrape down the side of the bowl and add the egg yolks and vanilla. Beat to combine.
- Turn the mixer to low and add the dry ingredients, mixing until just combined. Stir in the chopped chocolate chips.
- Preheat your oven to 360 degrees F.
- With a paper towel, grease your molds with shortening.
- You'll need about 3-4 tablespoons of dough per shot mold. Begin by flattening about a tablespoon of dough to a 1/4-inch thickness and adding it to the bottom of the mold. Flatten another piece of cookie dough to 1/4-inch thickness and add that to the side of the mold. Continue adding dough until the interior of the mold is evenly covered with a 1/4-inch thickness of cookie dough. Repeat with all molds.
- Use a knife to cut off any dough that's above the top of the mold. Add the mold inserts and place the filled molds in the freezer for about 10 minutes.
- Take the cookie shot molds out of the freezer and bake for 20-22 minutes or until the tops begin to brown. Remove them from the oven and allow to completely cool on a wire rack.
- Remove the cookie shots from the molds.
- In a microwave-safe bowl, microwave the 1 cup of milk chocolate chips at 30-second intervals to melt. Using a butter knife or small offset spatula, coat the interior of the cookie shot with chocolate.
- Optional: Dip the rim of the cookie shot into the melted chocolate and then into sprinkles or nuts.
- Allow the chocolate to set before serving the cookie shots with a pitcher of cold milk.
These are amazing!! I’ve made them a few times now. If you could come up with recipes for more flavors like red velvet and chocolate for these molds you would be my hero!!
Appreciate some suggestions on these. Have tried several times and they were a mess. Do u leave the insert in while baking? The bottoms were far too thin and dough came far over the tops.
Where can I get the pan?
These look so good and seemed to have turned out perfect. Any hints on how to prepare the pan so that the cookie dough does not stick and comes out looking like yours??
Can I use less butter and only brown sugar? If so what are the exact measurements?
I’m honestly not sure. This is the way I make them. You’re welcome to try and research alternative recipes if this one doesn’t suit you.
xo Michael
Loved the concept and creativity. What a fun way to have the “older” kids get involved. Santa will want to come to your house just to see what you have left him.
This is a great recipe, and it is delicious. They were a big hot with both kids and adults, and so fun! The consistency of the dough was just right and easy to work with. We will make these again soon!
Meant to put 5 stars, and a big “hit”.
i already had the pan for these shooters and decided to do a little research before trying it out. This post was very helpful. The first 6 didn’t turn out great. I think there is a learning curve on these. I didn’t make them thick enough and I pushed the mold down too far which resulted in thin bottoms. The second 6 turned out much better!. The tops of mine aren’t as beautiful and smooth as pictured. User error- grin- but they are still super cute. I didn’t have sprinkles on hand, but that would make them look better. I made a homemade chocolate mousse to pipe into mine for a Bridal shower.
Nordic Ware makes a Cookies and Cream pan especially for this. I found one today on clearance for $8.50! Scooped it right up. And other suggestions for fillers other than milk? Maybe something you don’t have to eat right after filling?
Swooning over these cute cookie shots! So perfect for a holiday party!
The best way to impress Santa! These are such a delicious {and clever} treat!
Totally pinning these for the holidays! My kids would love them!
So fun — my kids will adore these!
Love this
Where can i find the pan?
It’s linked in the post above. 🙂
xo Michael
Michael, these are such a fun idea! The little ones are going to love them. (And the adults too!) Running out now to pick up my shot glass pan, so that I can give it a test run before Christmas.
Thanks for the step-by-step instructions. I hope mine end up looking as beautiful as yours.
Ingenious!
Do you have a recipe with an egg substitute? My granddaughter is allergic! There’s so many treats she can’t have.😞
I’m so sorry, I’m not familiar with what egg substitutes would work with this recipe.
xo Michael
Sugar cookies & chocolate milk! Or a little Bailey’s? Yum!
Definitely Bailey’s when the kids go to bed…
Michael,
These are so awesome!! Can’t wait to try them. Merry Christmas!