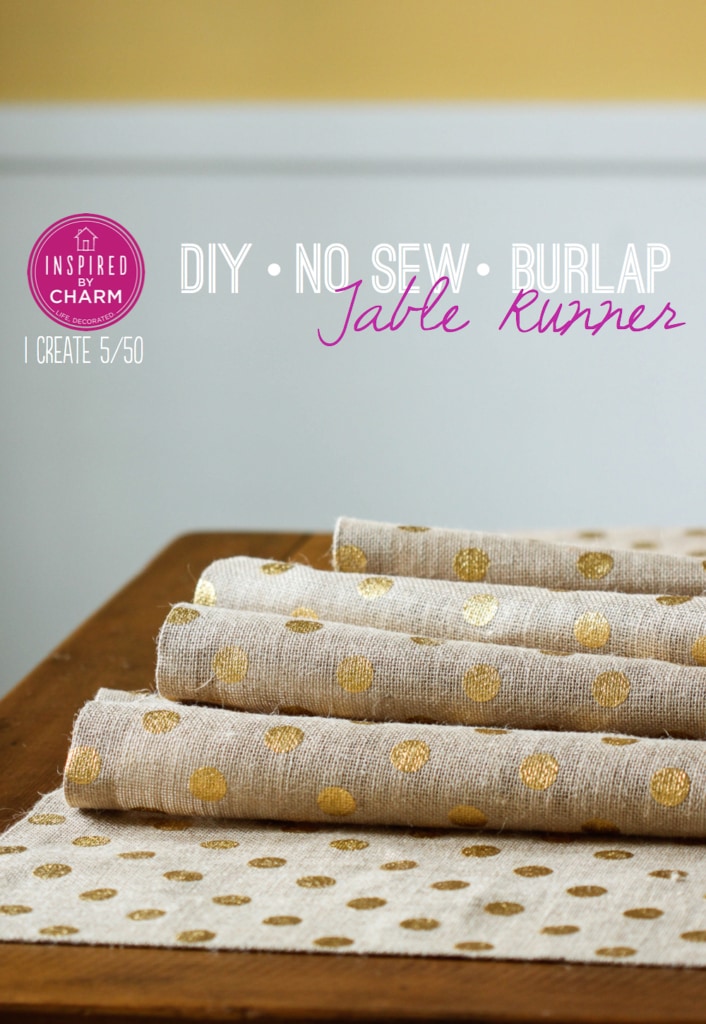
DIY No Sew Burlap Table Runner
This Post May Contain Affiliate Links. Please Read Our Disclosure Policy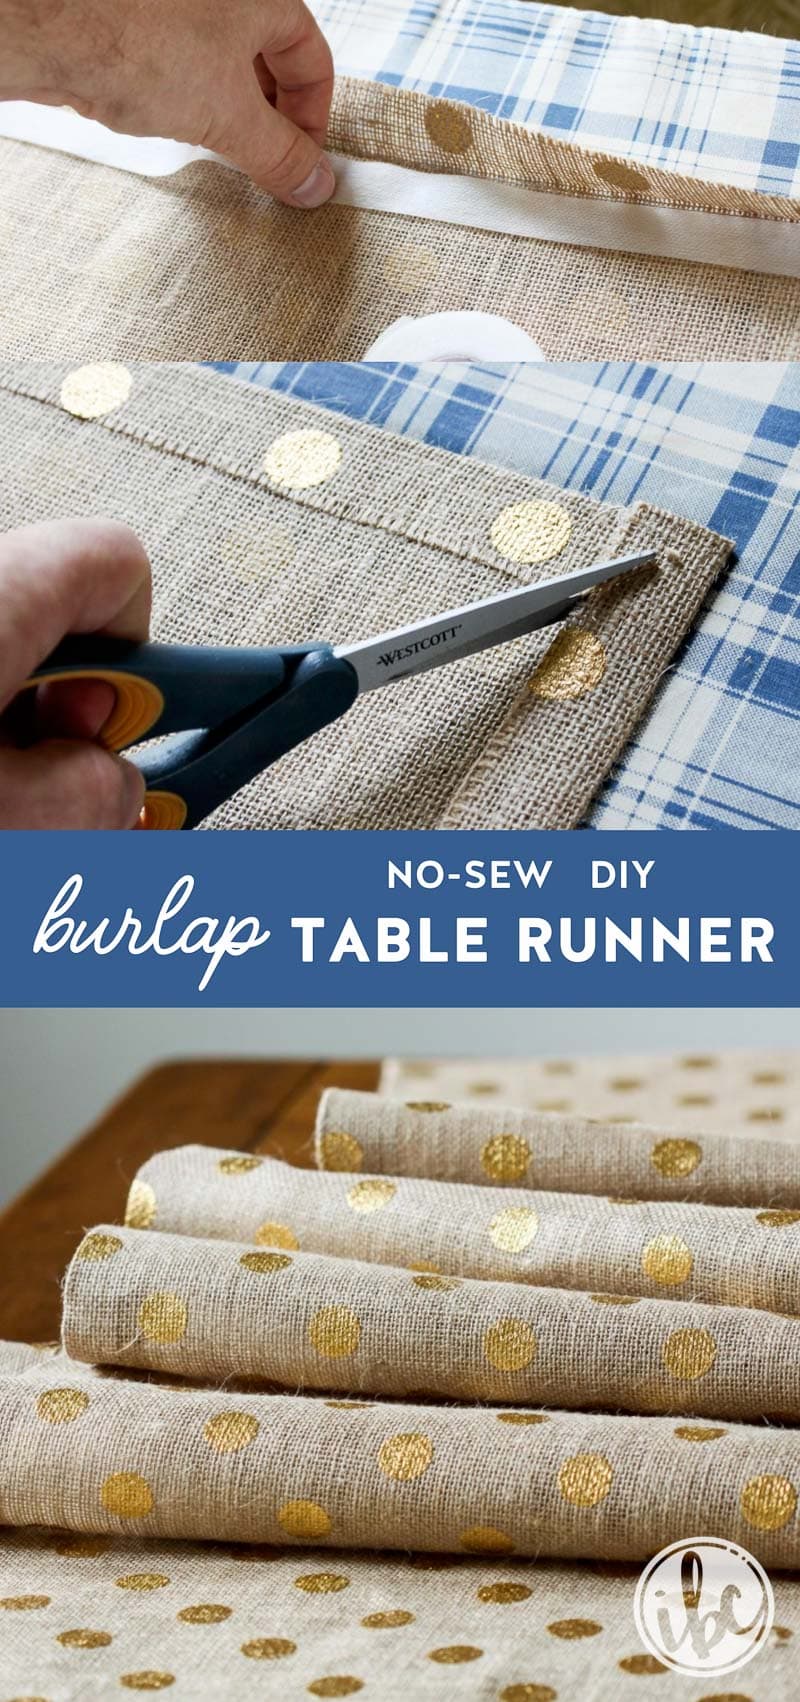
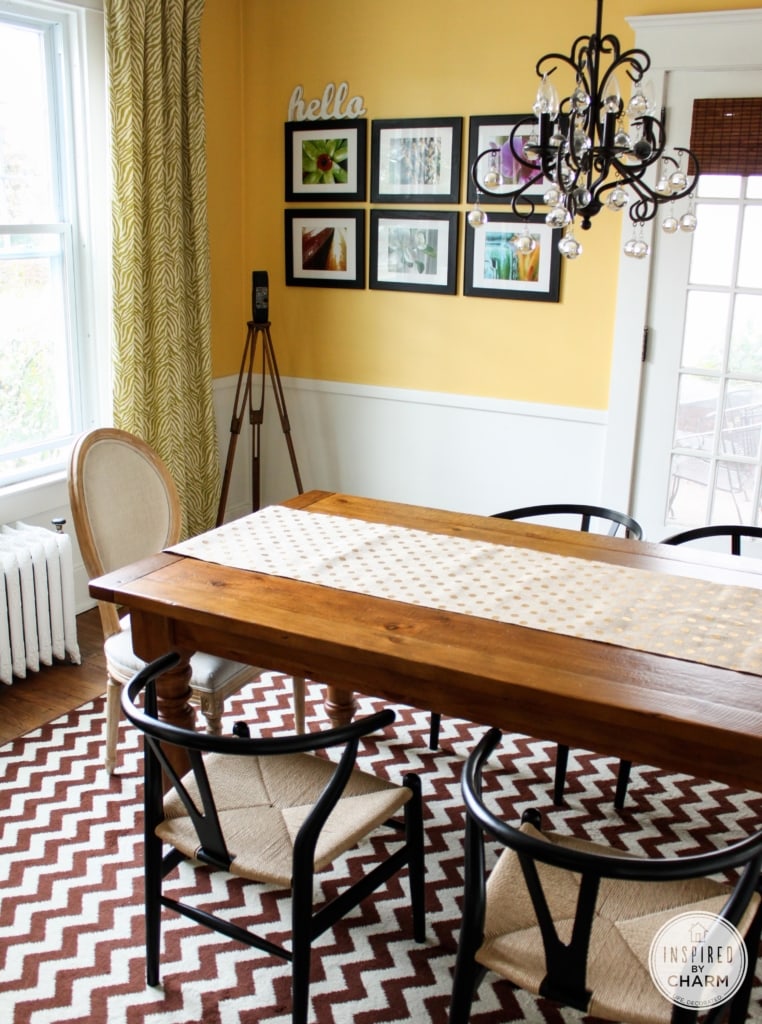
This DIY Burlap Table Runner is a quick and easy was to add rustic style and a bit of sparkle to your table!
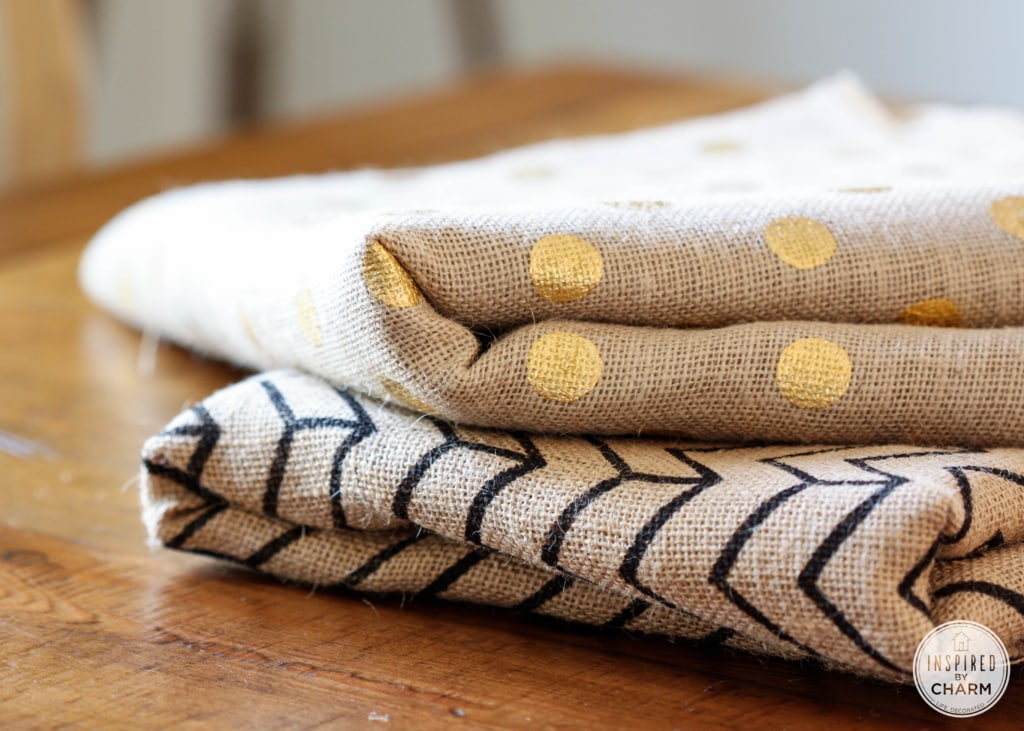
Last week I was shopping at JoAnn’s and out of the corner of my eye I spotted burlap in array of designs ranging from chevron, to mustaches to spiders to pumpkins. I had a mini-creative-heart-attack.
So my brain immediately went into overdrive, thinking of project ideas. I finally decided on a burlap table runner.
Burlap Table Runner:
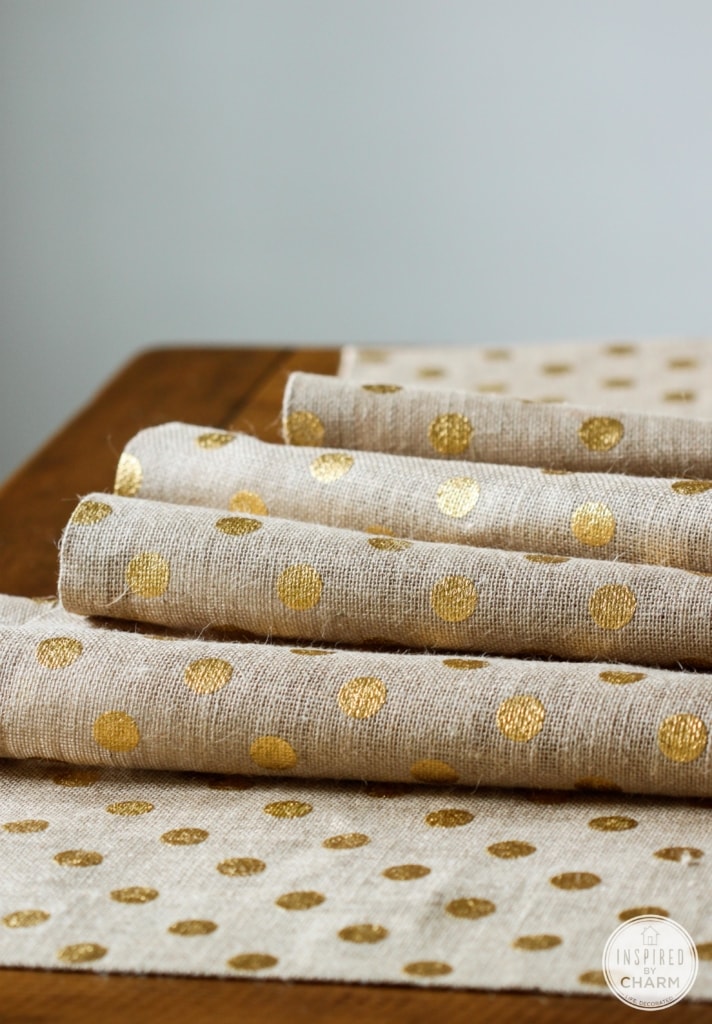
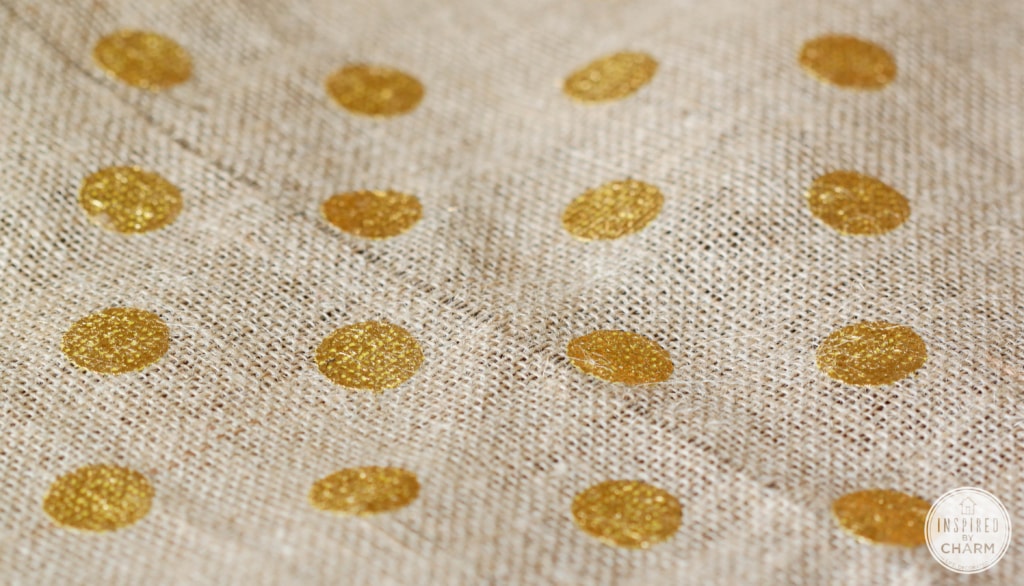
This burlap table runner would be great for fall and could possibly transition into the holiday season. (There was also a silver polka dot, for those of you not feeling the gold love as much as I am.) I quickly grabbed the bolt and bought three yards. The burlap was priced at $9.99, but I had a coupon for 40% off one item, so I ended up paying about $6 per yard.
I had never sewn burlap and didn’t want to screw up my sewing machine, so I also picked up a pack of fusible webbing.
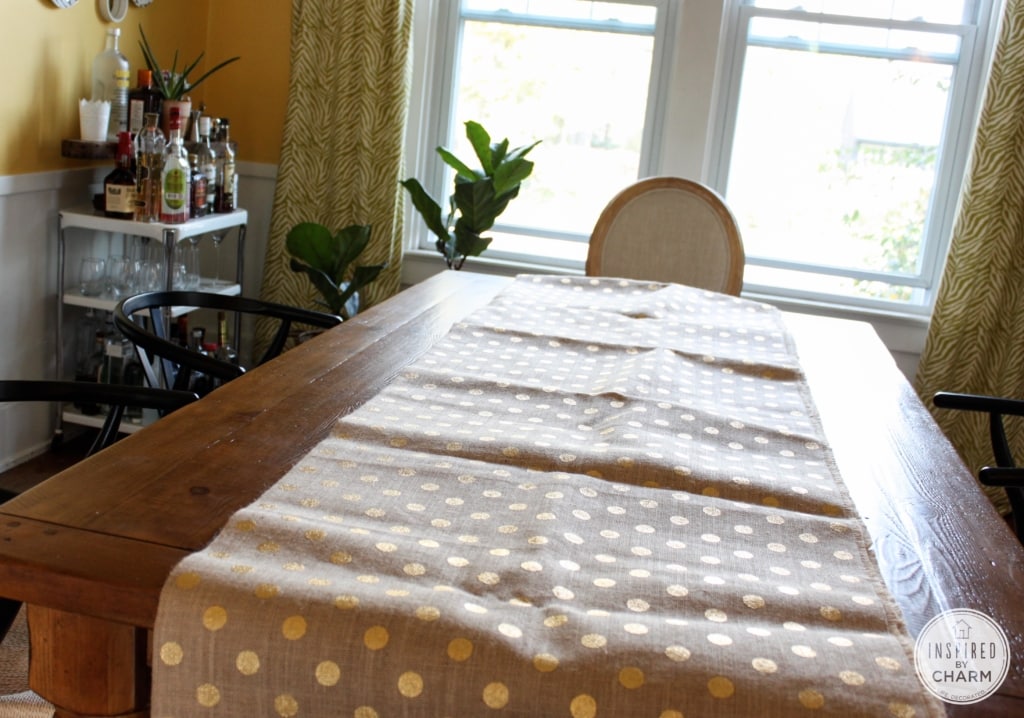
After about an hour of work this morning. I had a brand new table runner that’s perfect for fall.
Let me show you how easy this is to make.
DIY No Sew Burlap Table Runner
Here’s what you will need:
burlap fabric (see notes below to determine how much you will need)
fusible webbing
scissors
measuring tape
seam ripper (or pointed tool)
cotton dish towel
iron
How to Make a Burlap Table Runner
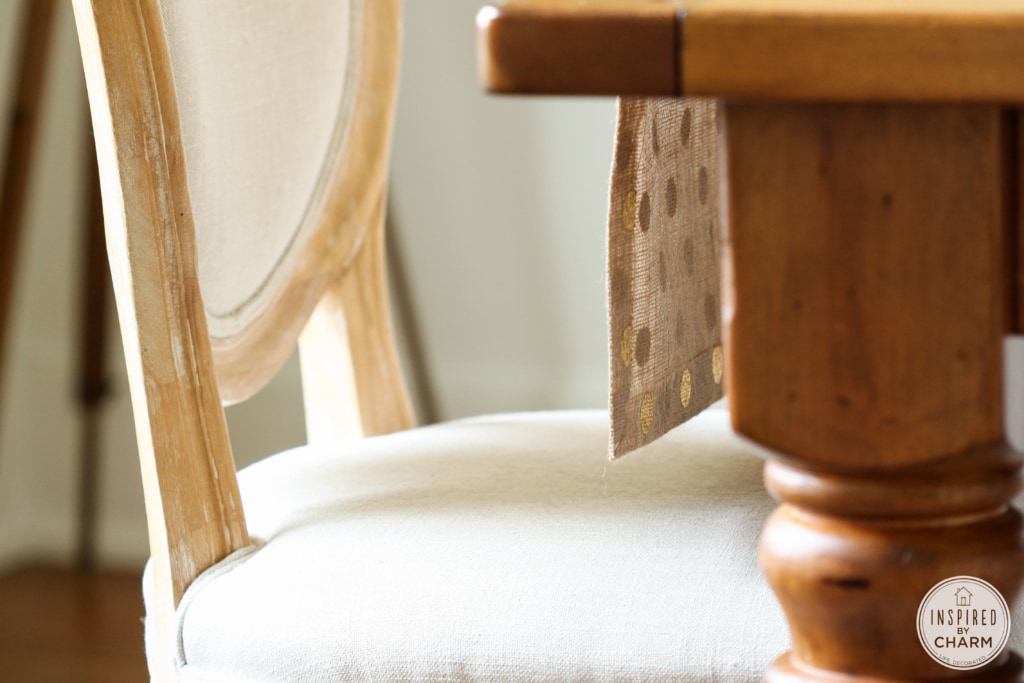
First, you’ll want to determine how much fabric you need for your burlap table runner. You can make your runner any size you’d like. Personally, I like my runner lengthwise on the table with a little extra falling off each side. So, to determine the length, measure the length of your table. Then add 26 inches.
This allows for 12 each inches of overhang on each side, plus a one inch seam allowance for both sides. (My table is 76″, so the length of fabric I need is 102″) For the width, measure the width of your table and divide by two. Add two inches to that. (My table is 40″ wide, so the width of my fabric needed to be 22 inches.)
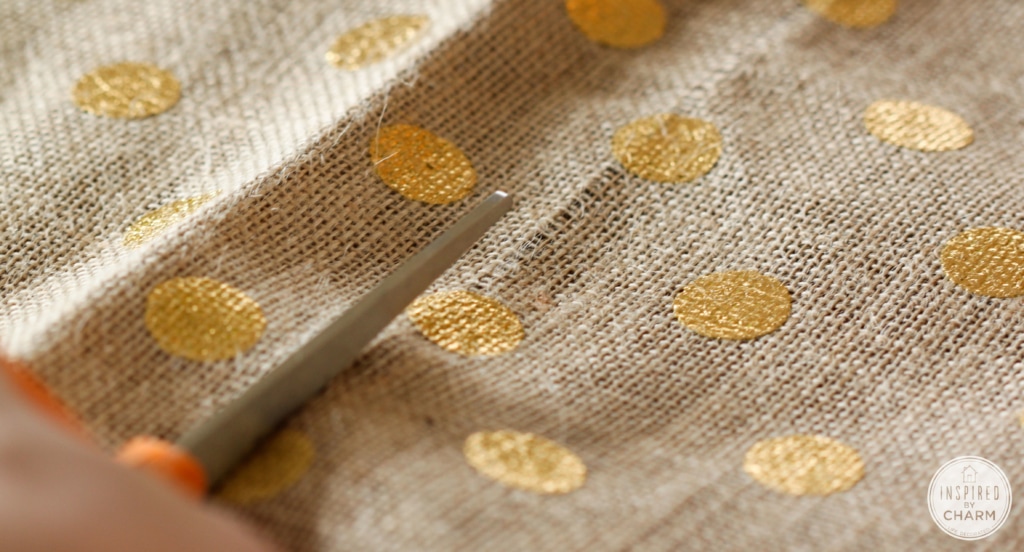
Next you want to cut your burlap. If you are awesome with cutting straight lines, you can begin cutting. If you want to insure straight lines (and I highly recommend this) I have a little trick for you. Begin by marking where you are cutting your burlap and make a tiny cut.
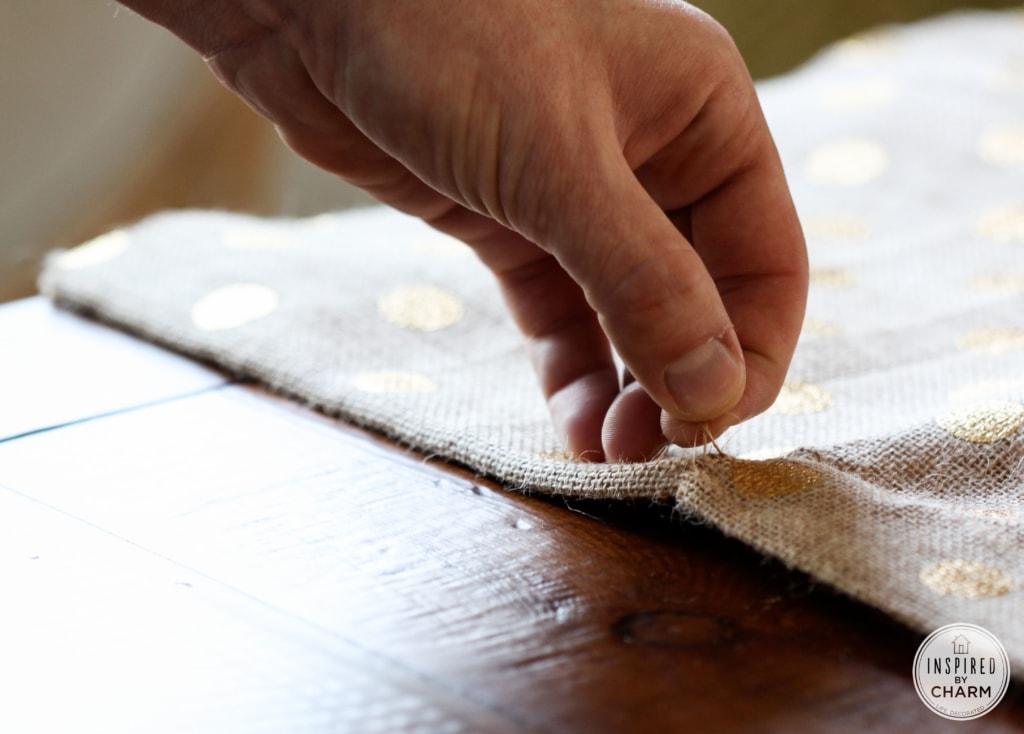
Then begin to pull out one of the threads. Pull slowly and carefully with even force. The burlap will start to buckle and gather, but just keep pulling. Pull until you have the entire string out. The painted gold dots may give you some trouble as the paint tends to hold the thread in place.

If the whole string doesn’t come out, use your seam ripper to pull up the string where it broke off and continue the processes. Once the string is out, you’ll be left with a perfectly straight line.
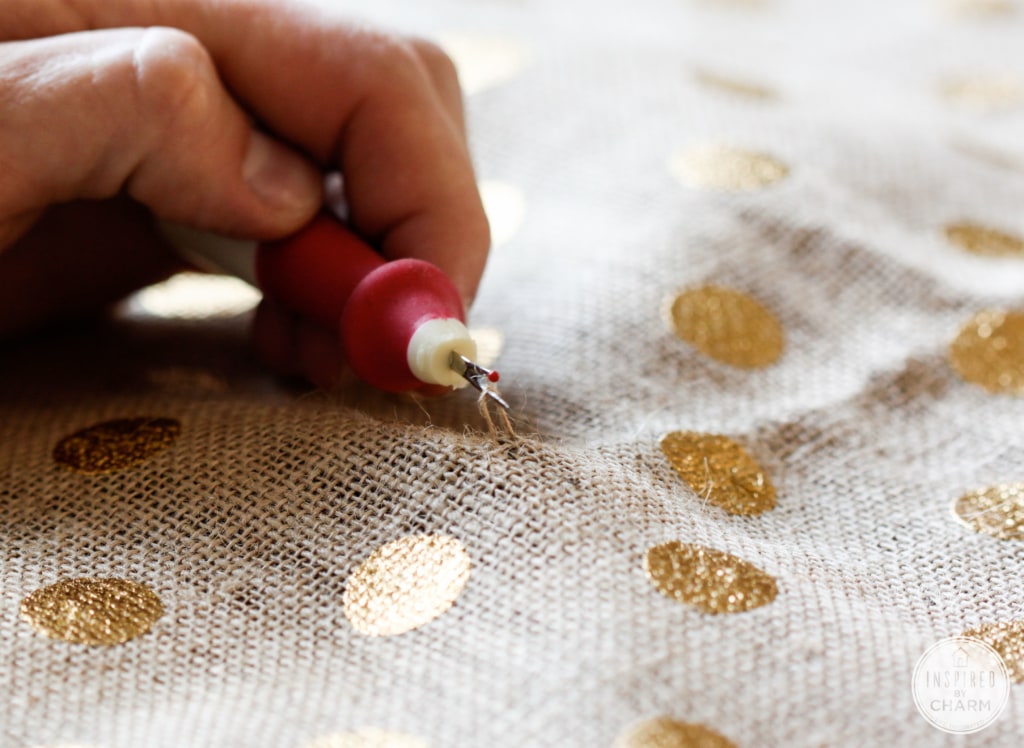
Cut along this line, being careful not to cut the lines above or below it.
Continue this step on all four sides.
💌 SAVE THIS POST / RECIPE!
At this point your runner is cut out. Next, you’ll want to prepare your fabric for the fusible webbing by ironing down your seems. Let’s start with the two shorter sides.
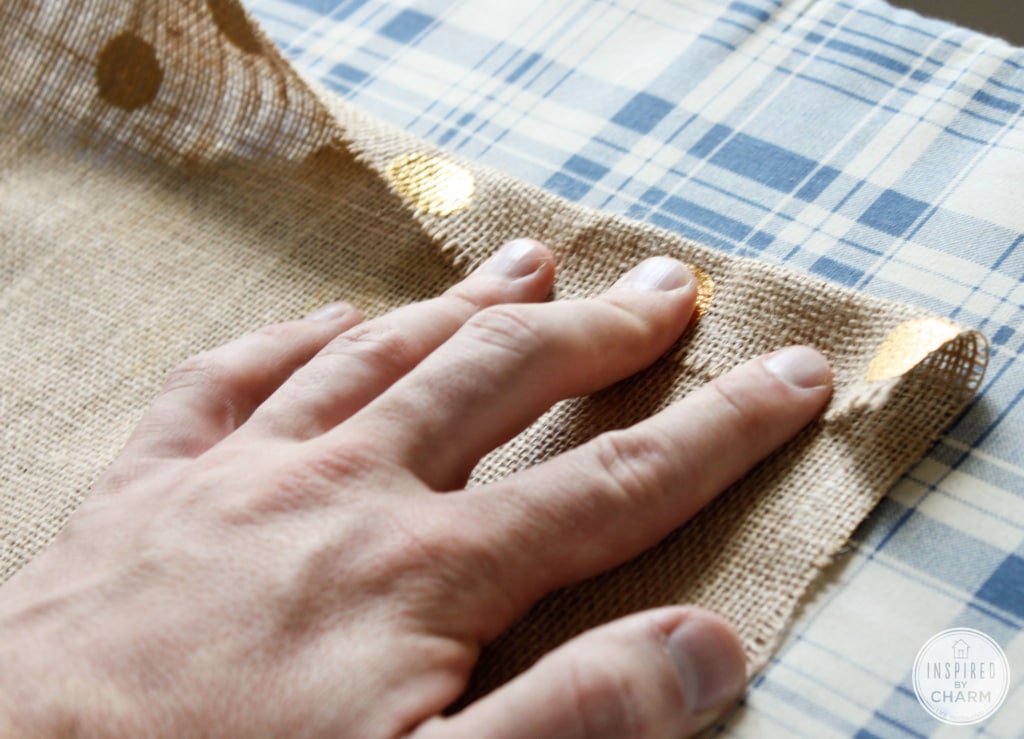
To do this, flip your burlap so that the patterned is facing down. Using your fingers, fold the edge of the fabric back one inch.
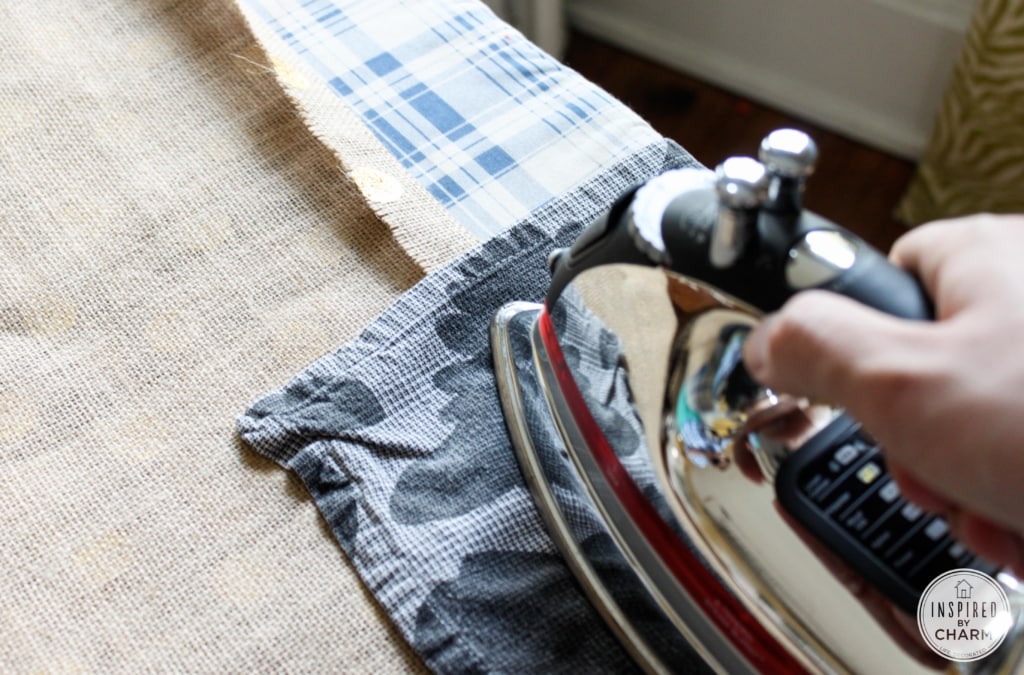
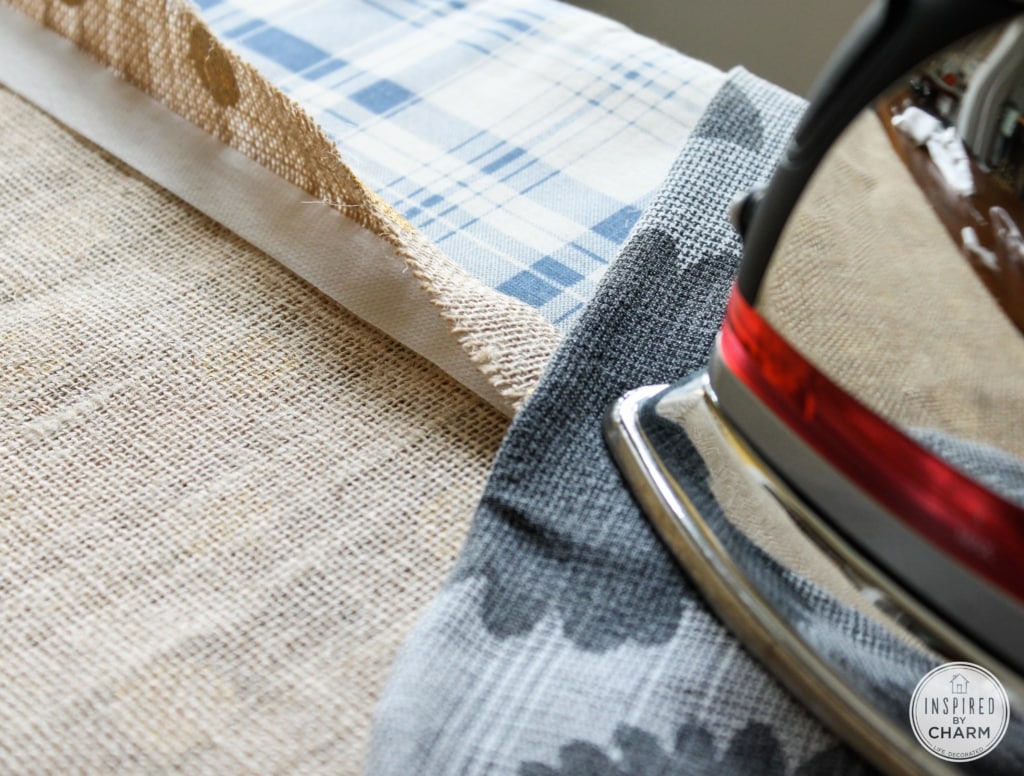
Place your dish towel over the fabric and iron down the seam. Using the dish towel is essential with this particular fabric. If the iron makes direct contact with the gold dots the paint will come off and be transferred to your iron. (Trust me, it’s not pretty.)
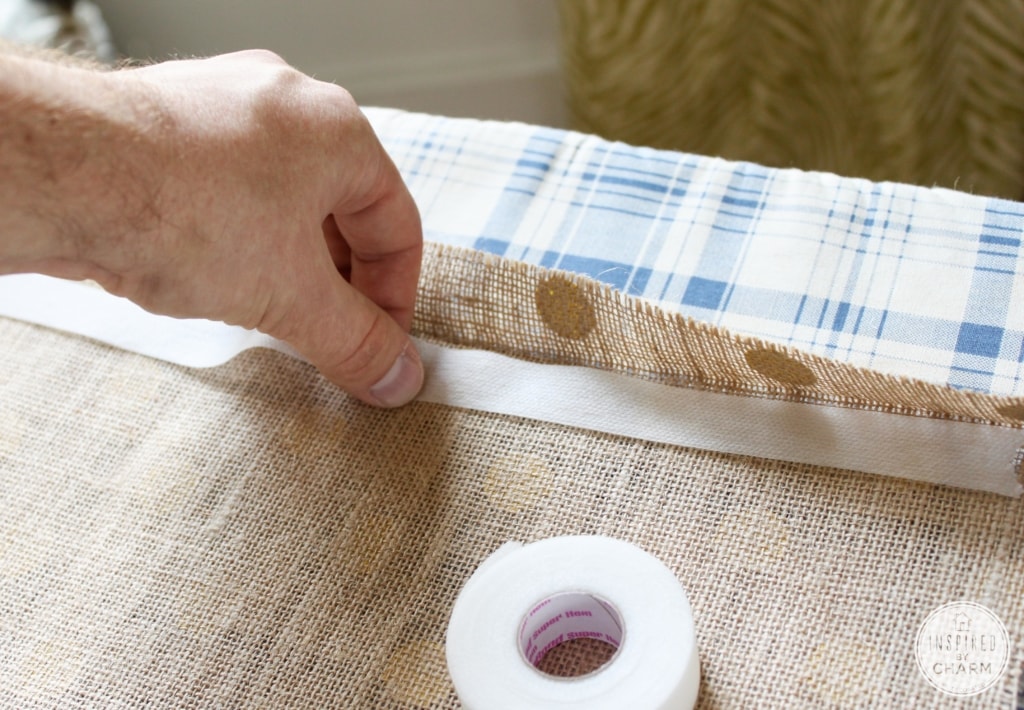
Once you have a seam, you’ll want to put your fusible webbing in between the two layers of fabric. Again, cover with your towel and, with your iron on medium-high, heat for about 5-7 seconds.
Repeat this step until the two layers are bonded. Then do this to the other short side.
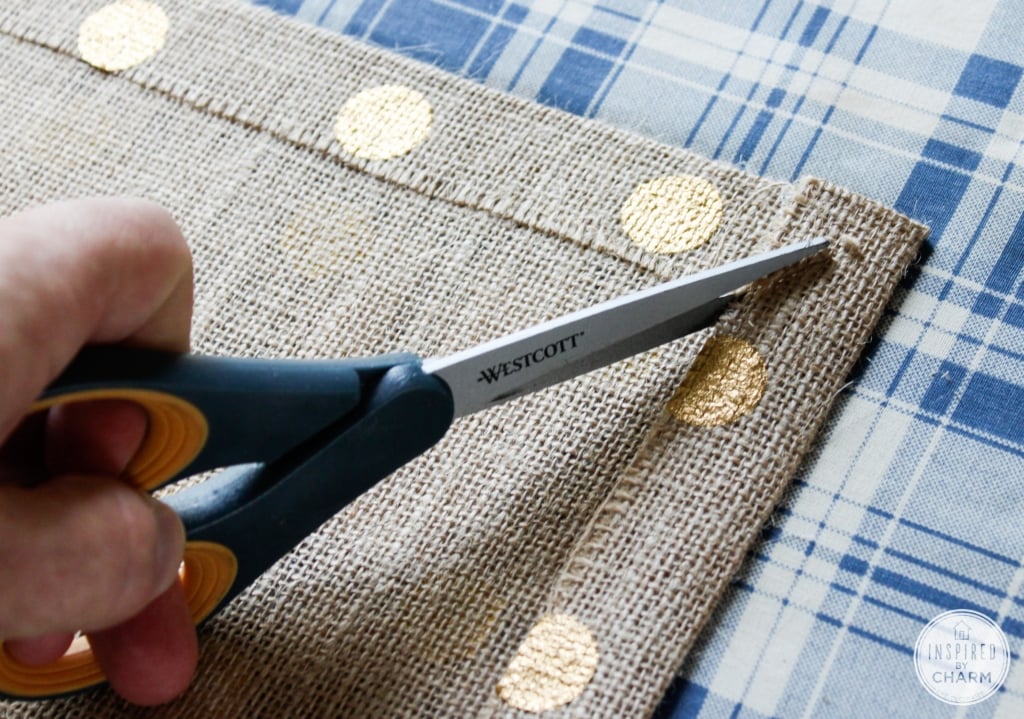
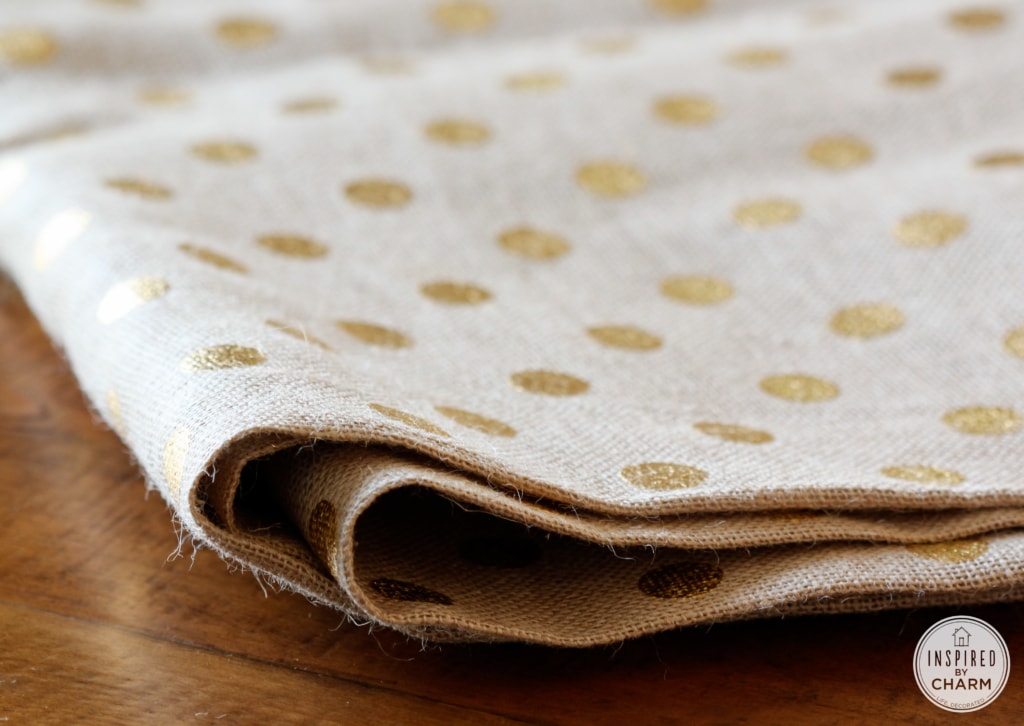
After both short sides are complete, you will repeat the previous two steps with the longer sides. To reduce any fabric bulk at the corners, when completing the longer sides, trim off a section of the fabric on the corner on a diagonal.
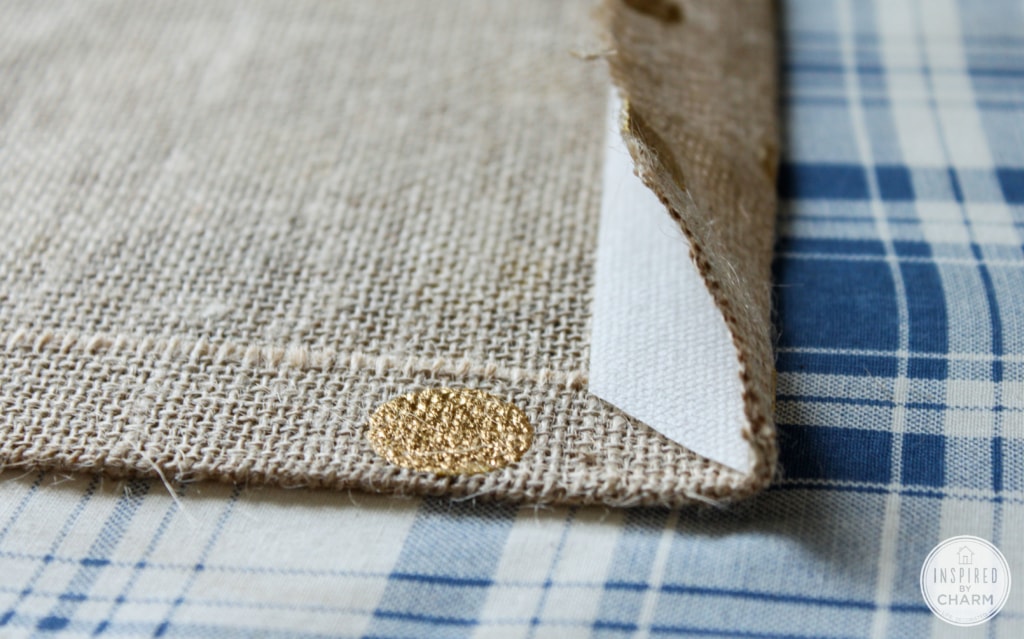
Once all of your edges are complete, give your runner a quick iron (Don’t forget to cover with a dish towel.), and it’s finished!
Easy DIY Burlap Table Runner
For under $20, you have a beautiful, festive, and custom burlap table runner.
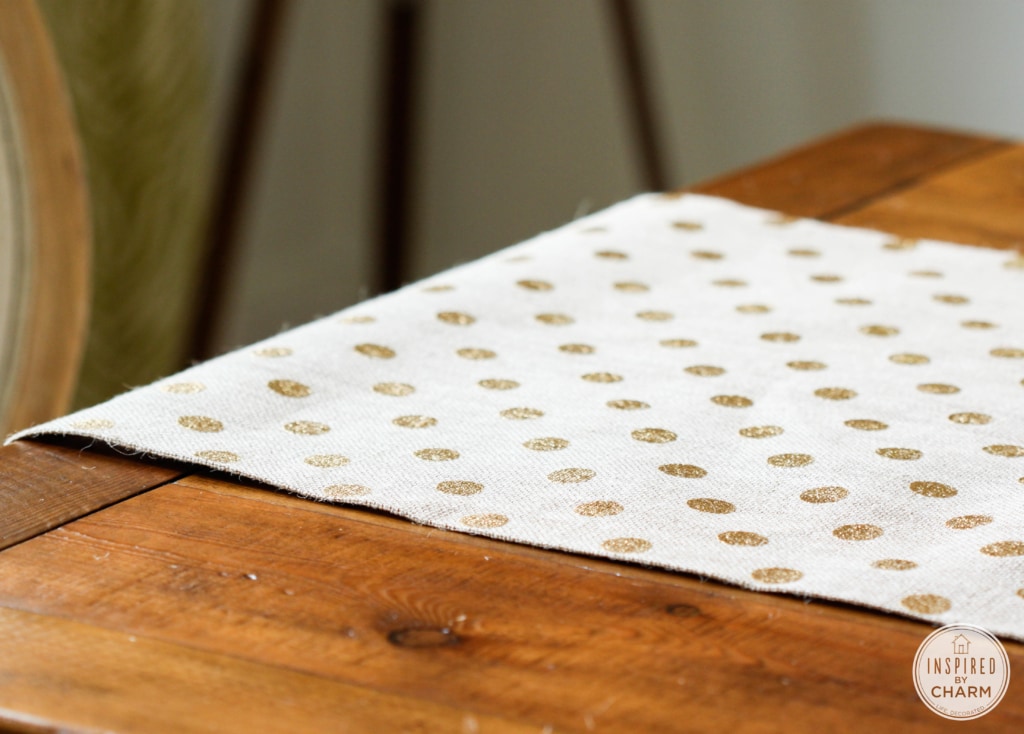
And seriously, the gold polka dot is almost too much for me to handle. I’m in love!
Also, as much as I love sewing, this fusible webbing is pretty fabulous stuff. Especially when it came to making this particular runner. Once you give this a try, you may never buy a runner again. You can easily use this tutorial with any type of fabric you’d like.
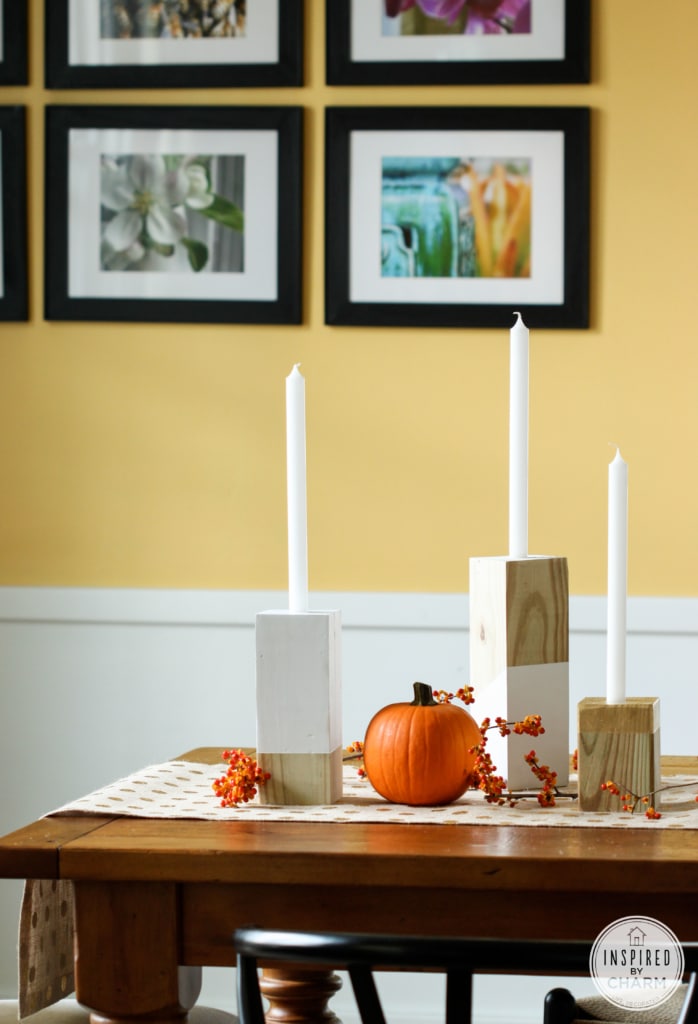
I did an impromptu table setting using the wood colorblock candle holders I made several weeks ago.
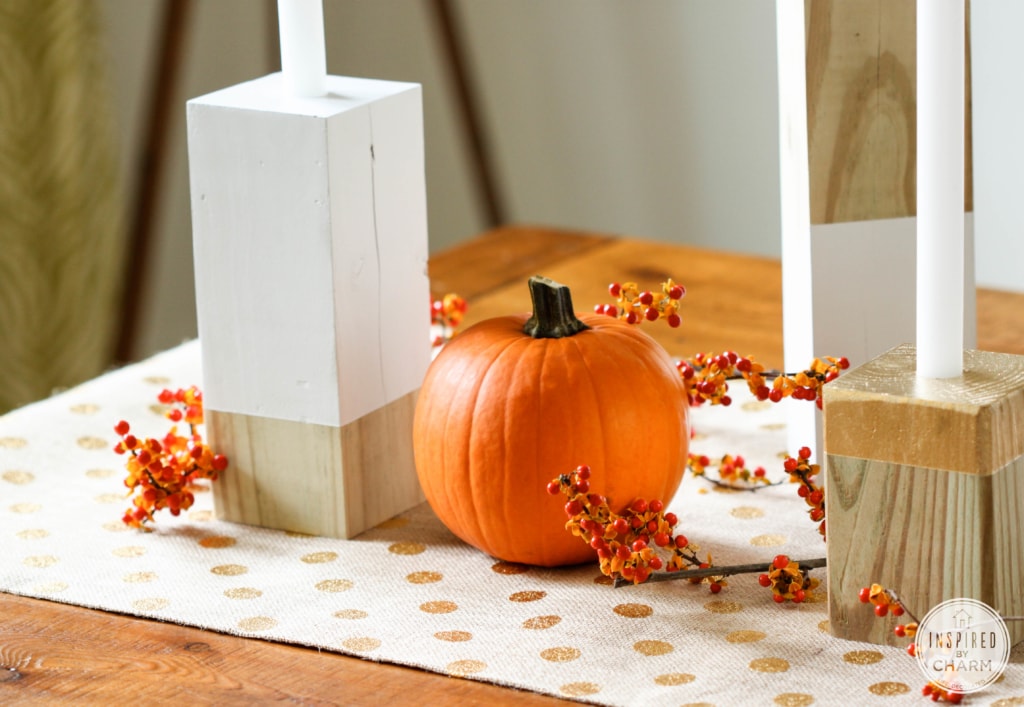
A few springs of bittersweet and a pumpkin completes the look for a fall-inspired feel.
Next week I’ll be doing a full centerpiece with some beautiful purple vases I picked up at Target. Stay tuned for that.
Enjoy this Burlap Table Runner Tutorial? Check out these DIY projects:

What do you think of this easy no sew burlap table runner? Will you be making one (or two, or three, or ….) for your table?
Fabulous – I love quick & easy projects that also look wonderful.
I used a length of lovely fabric this week to make a runner also using fusible webbing – it makes it so much easier …
Michael, you are awesome at giving directions! I’m excited to try this. Thanks for the inspiration, as always!
I love it. I have gold and silver chargers for my table and my son has been wanting to make our own game runner. I love the look. I was curious as to where you got your rug. Been looking for months for one like yours.
First of all…Where have you been my whole life! L-O-V-E your site!!
You made my whole year!!
With a big family comes a super big table, and I cannot ever find table runners long enough (and the ones I do…ouch $!) I cannot wait to make get to the fabric store! My table will finally be complete and ready for the holidays! Thank you so much for this tutorial!!
Love this! I made my Christmas stockings last year out of this same gold polka dot fabric (not fun to sew on BTW), I bought way more than I needed so I’m going to make the table runner to match! Thanks for the tutorial, you’ve saved me a lot of work trying to do make one the hard way 🙂
I saw a link to this on pinterest and was immediately inspired. I got up early this morning to make one for my Thanksgiving tablescape and it was so easy — and looks great!! Thanks for the inspiration!!
Michael,
quick question — what kind of fusible webbing did you use?? i bought some stitch witchery (regular) at Joanns today when i picked up the burlap (love the gold dots as well!) but it is not working at all! i have my iron on the hottest steam setting, but it will not fuse 🙁 if i use the iron directly on the burlap it does start to melt the gold paint. help!!
thanks!!
Alexandra –
I’m not 100% sure at this point. However, I know I bought mine at Walmart and it was the one with the strongest hold. I hope that helps.
xo Michael
Thank you for getting back to me so quickly! I will try Walmart today and grab a few different rolls of the webbing with the stronger hold. Your webbing in the picture looks much thicker than the one I’m using, so I bet that’s the problem. Thank you! Can’t wait to have my runner complete!!
No problem! Good luck.
xo Michael
Thanks a million you solved a headache regarding the burlap runner as I need to make a lot for my daughter’s wedding and was not looking forward to all the sewing!!
Great tutorial! I am also wondering about the wooden candle holders. Are those a project of yours or did you buy them?
Cuuute! It would be mats for our small round table and breakfast bar! Fusible webbing is pure awesomeness! Especially for those of us who do not sew! Love the hint for a straight line! You rock, dude!
beautiful for fall, Christmas, new years. will have to try.
Hi Michael! I sent through an email via the site but I’m not sure it arrived (or of course you could just be super busy!) I wanted to do a runner with your tutorial to write up on my own blog-with a few little changes of course! Would that be OK! I’d love to credit your fab tutorial when I do my own post, but wanted to ensure that was OK…..thank you!
anna-mack
Forgot the third question
3. Does the use of the fusible webbing keep the edges from fraying?
Yeppers! 🙂
xo Michael
Questions:
1. I have never used burlap before. Do I need to wash it first. I was looking at another tutorial and they recommend washing it first, so it doesn’t shrink later when it is washed.
2. Fusible webbing – Is that what is called stitchery witchery?
Barb – I didn’t wash mine before. However, I don’t really plan on washing my runner. I just spot clean it when necessary. I believe fusible webbing and stitch witchery are the same.
xo Michael
I am sitting here at 1:00 am and wondering how to bond the corners of 19 table runners I am making for a wedding. Lo and behold, I came upon your tutorial on using fusible webbing and I was sooooo happy. This answers my question so perfectly and your pictures and notes were perfect. I can’t thank you enough …off to bed now with the alarm set to get to the store early , buy the webbing and get this project complete. Cheers from Nova Scotia Canada 🙂
I LOVE LOVE LOVE this!!! I have been looking for a DIY burlap table runner like this and am so glad you shared. So inspired. Can’t wait to make this…I think I’ll start on it today 🙂
What a blessing your tutorial was to me! Many thanks for helping a computer illiterate novice to burlap first easily find your directions, and then create a 10 foot runner this evening! I was very excited to learn about fusing instead of sewing and, following your amazing directions and pictures, was very pleasantly surprised to see how easy it was. Thank you again!
Thanks for your wonderful tutorial! I just made mine in a thick burlap with a gold finish, it’s very pretty. For some reason, my fusible stitch witch didn’t bond when I used the press cloth, so I tested it and ended up using my iron on the steam setting directly on the burlap – worked like a charm and no harm done to the iron or burlap! So if anyone else is having the same problem, give it a try but do test it first 🙂
Brilliant idea for a simple project – thank you so much.
Thanks so much for sharing your tip Chris! Whatever works to get the job done.
xo Michael
My friends and I made this project this weekend and it was so easy. One friend made a couple in a black chevron pattern. Another friend made a red one and then stamped gold snowflakes on it. I made two in plain burlap and then stenciled monograms on each of the ends in white acrylic paint…for Christmas gifts. All of them are soooo cute. Thank you for the idea and great directions. We LOVE your blog, keep up the good work!
Woot! Woot! So happy to hear that Janine. They sound so beautiful. It’s the perfect project for friends. And I’m so thrilled you all love the blog. Thank you! Thank you!!!!
xo Michael
I love this! And I think I just might be able to pull it off 🙂 on my way to joann’s !
You can do it!!
xo Michael