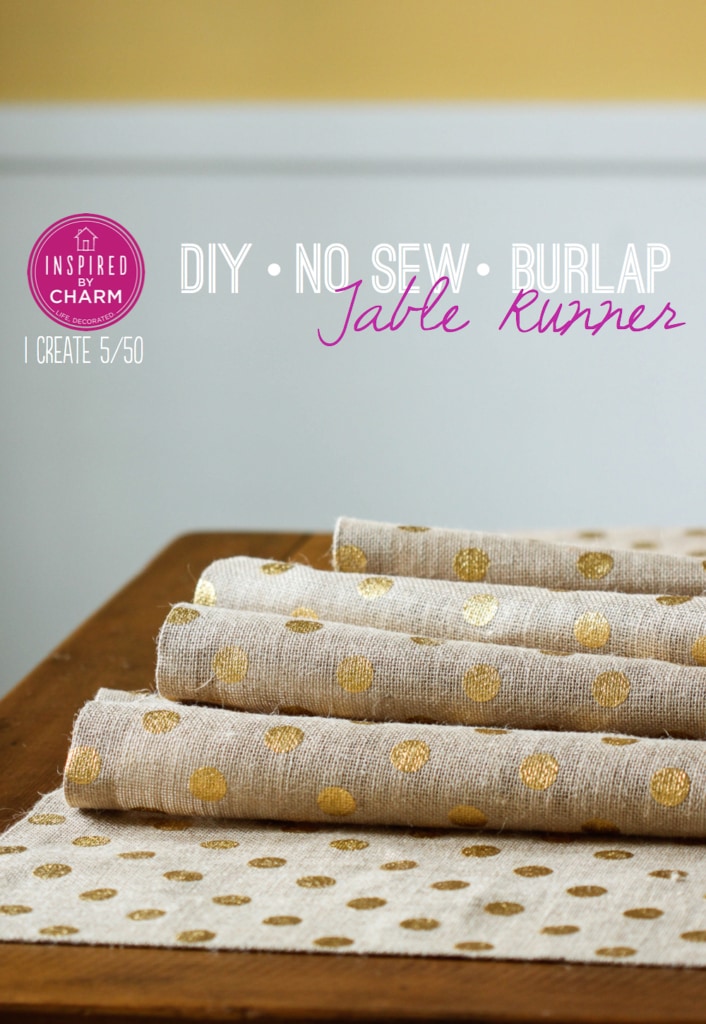
DIY No Sew Burlap Table Runner
This Post May Contain Affiliate Links. Please Read Our Disclosure Policy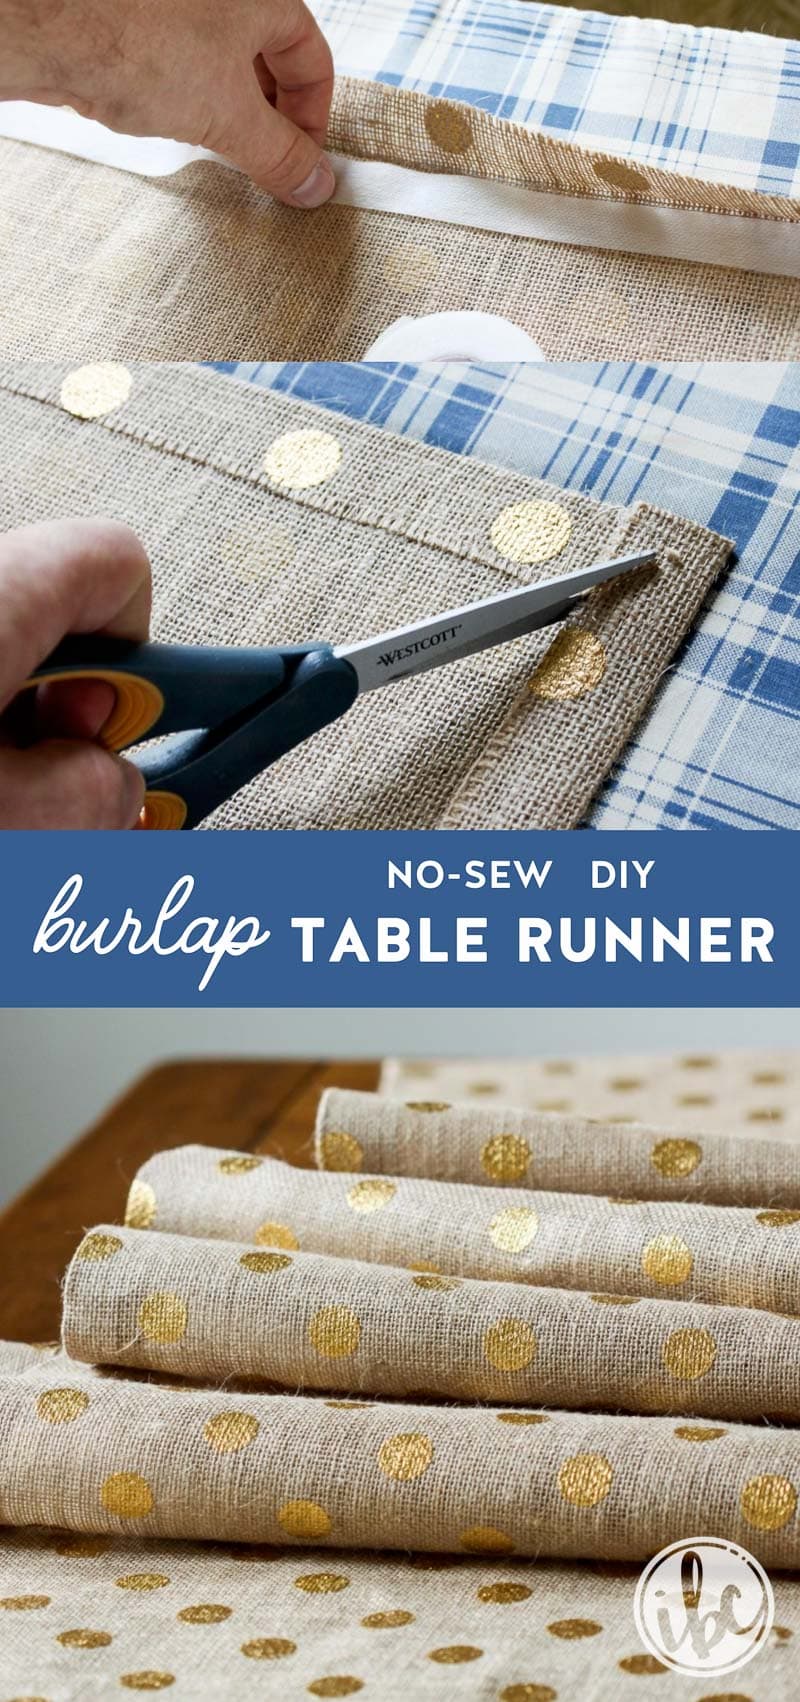
This DIY Burlap Table Runner is a quick and easy was to add rustic style and a bit of sparkle to your table!
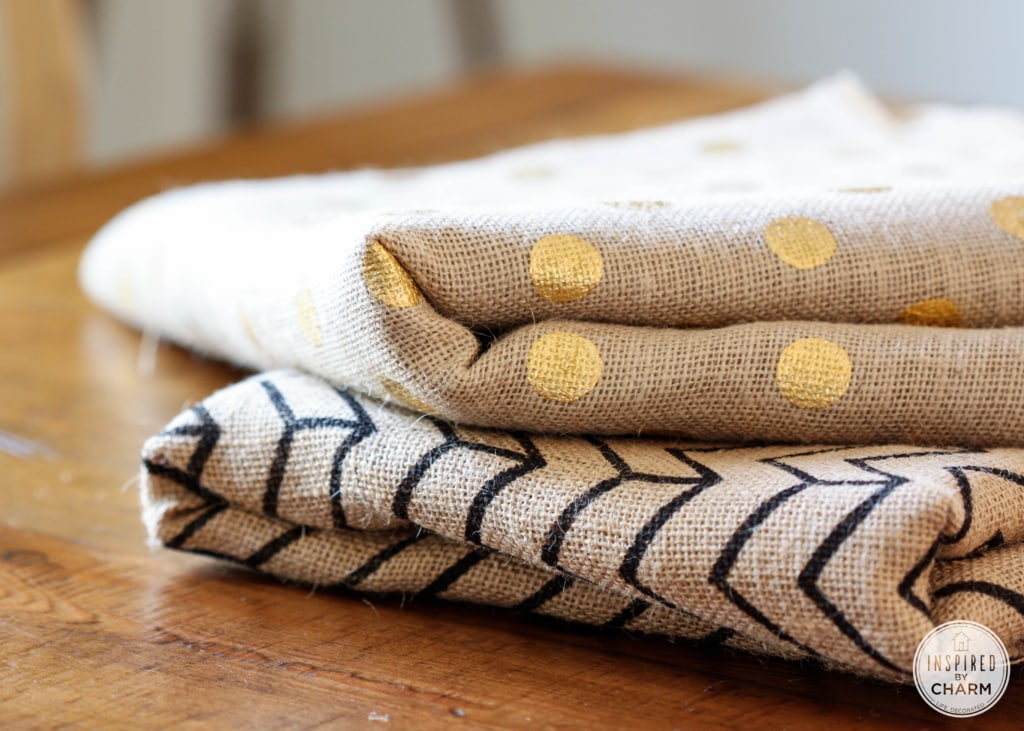
Last week I was shopping at JoAnn’s and out of the corner of my eye I spotted burlap in array of designs ranging from chevron, to mustaches to spiders to pumpkins. I had a mini-creative-heart-attack.
So my brain immediately went into overdrive, thinking of project ideas. I finally decided on a burlap table runner.
Burlap Table Runner:
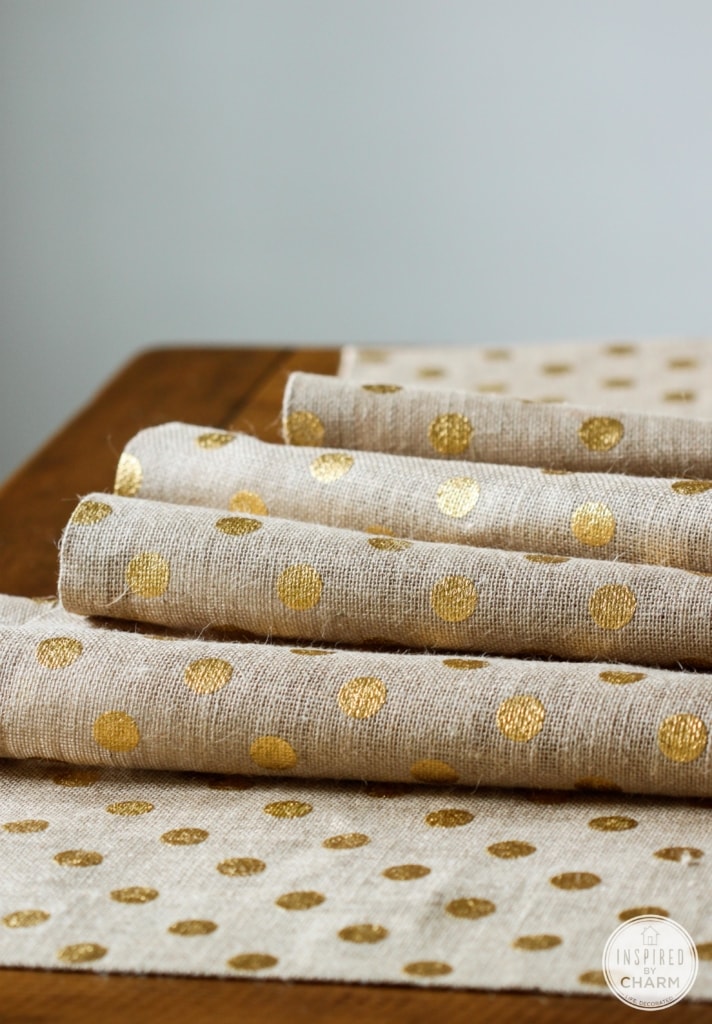
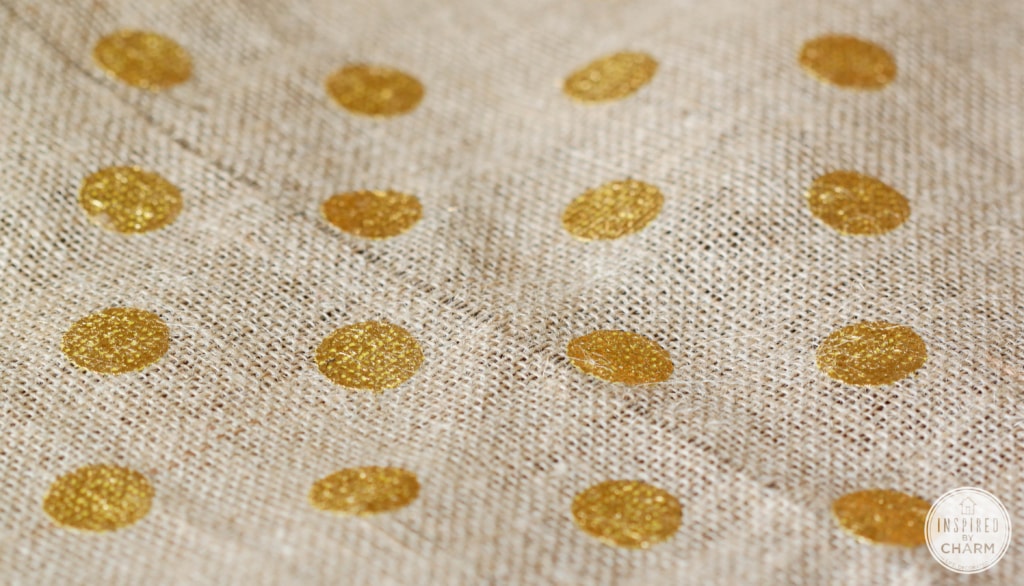
This burlap table runner would be great for fall and could possibly transition into the holiday season. (There was also a silver polka dot, for those of you not feeling the gold love as much as I am.) I quickly grabbed the bolt and bought three yards. The burlap was priced at $9.99, but I had a coupon for 40% off one item, so I ended up paying about $6 per yard.
I had never sewn burlap and didn’t want to screw up my sewing machine, so I also picked up a pack of fusible webbing.
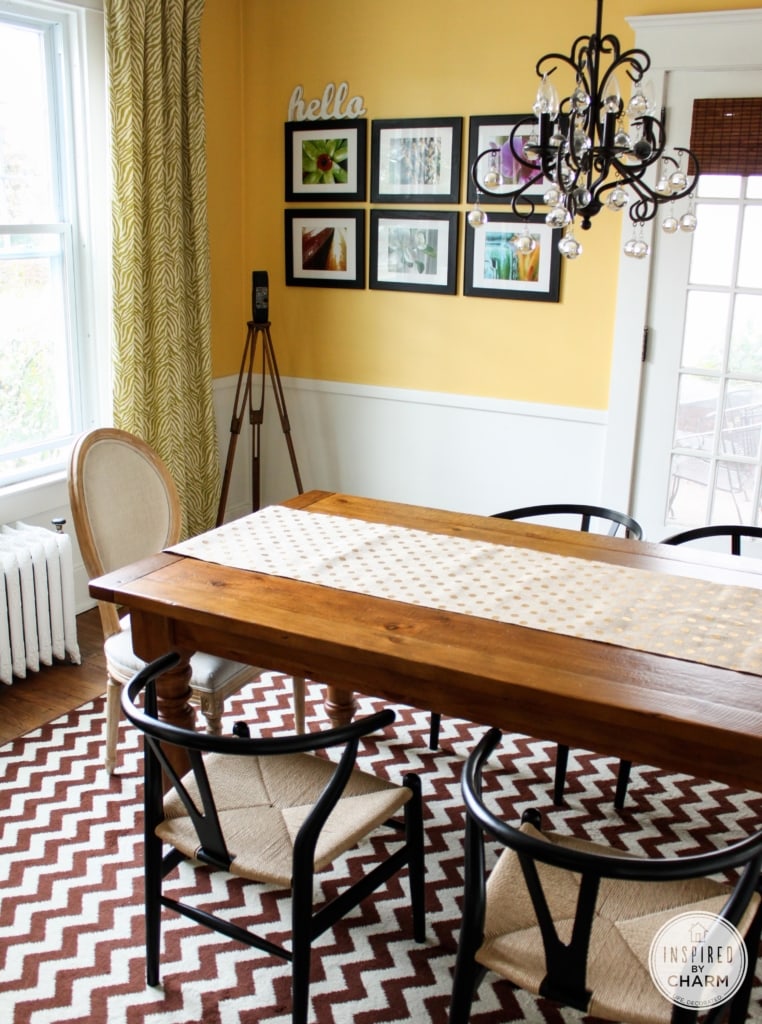
After about an hour of work this morning. I had a brand new table runner that’s perfect for fall.
Let me show you how easy this is to make.
DIY No Sew Burlap Table Runner
Here’s what you will need:
burlap fabric (see notes below to determine how much you will need)
fusible webbing
scissors
measuring tape
seam ripper (or pointed tool)
cotton dish towel
iron
How to Make a Burlap Table Runner
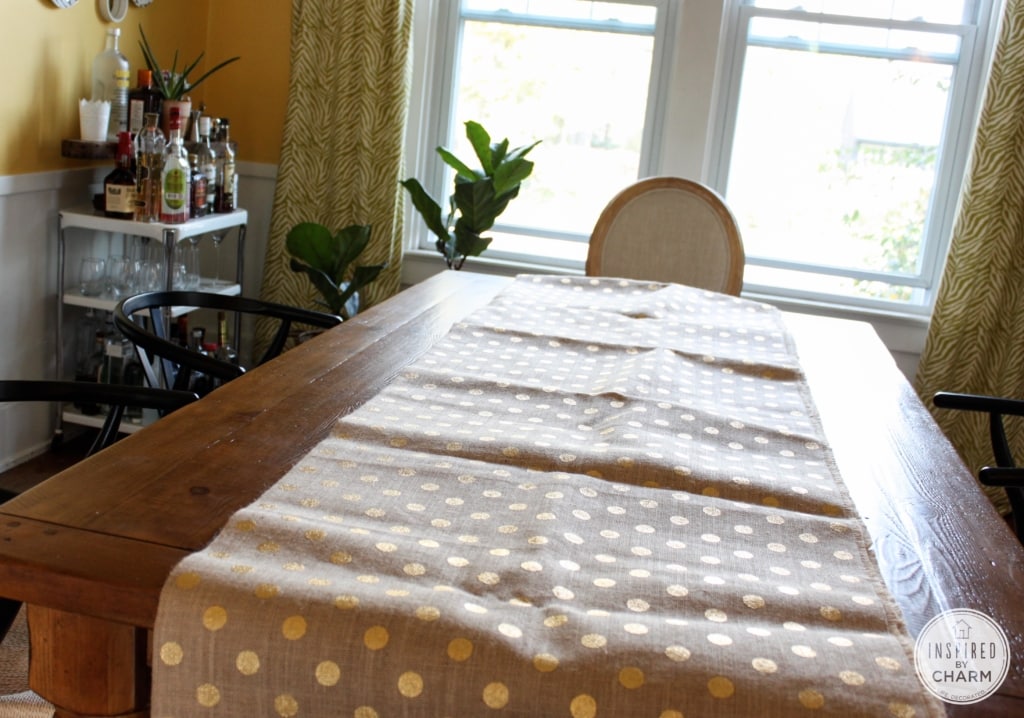
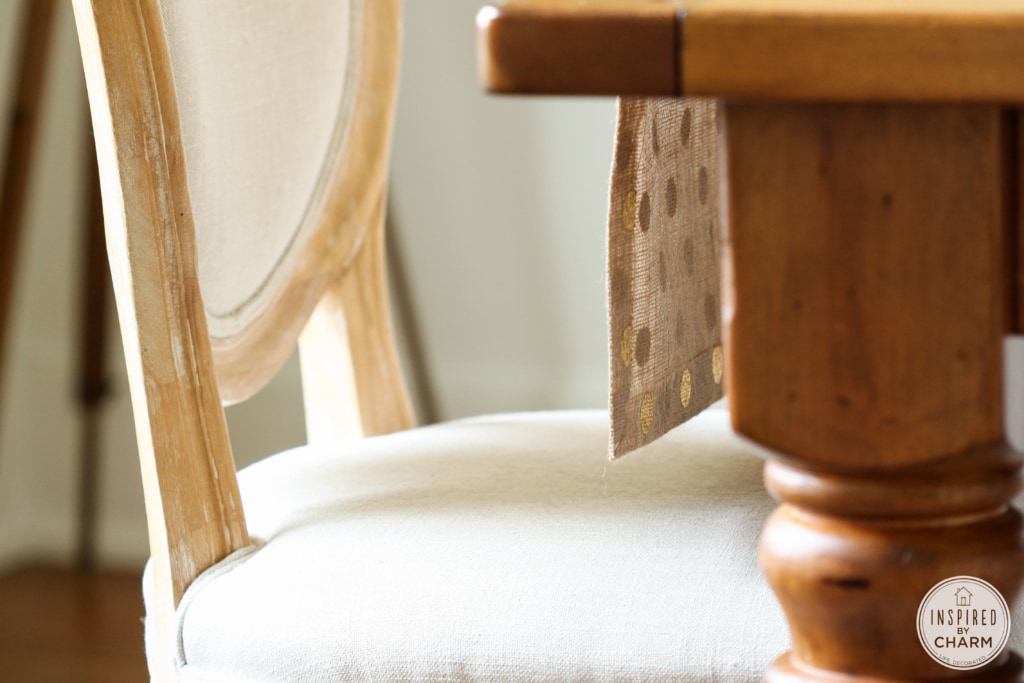
First, you’ll want to determine how much fabric you need for your burlap table runner. You can make your runner any size you’d like. Personally, I like my runner lengthwise on the table with a little extra falling off each side. So, to determine the length, measure the length of your table. Then add 26 inches.
This allows for 12 each inches of overhang on each side, plus a one inch seam allowance for both sides. (My table is 76″, so the length of fabric I need is 102″) For the width, measure the width of your table and divide by two. Add two inches to that. (My table is 40″ wide, so the width of my fabric needed to be 22 inches.)
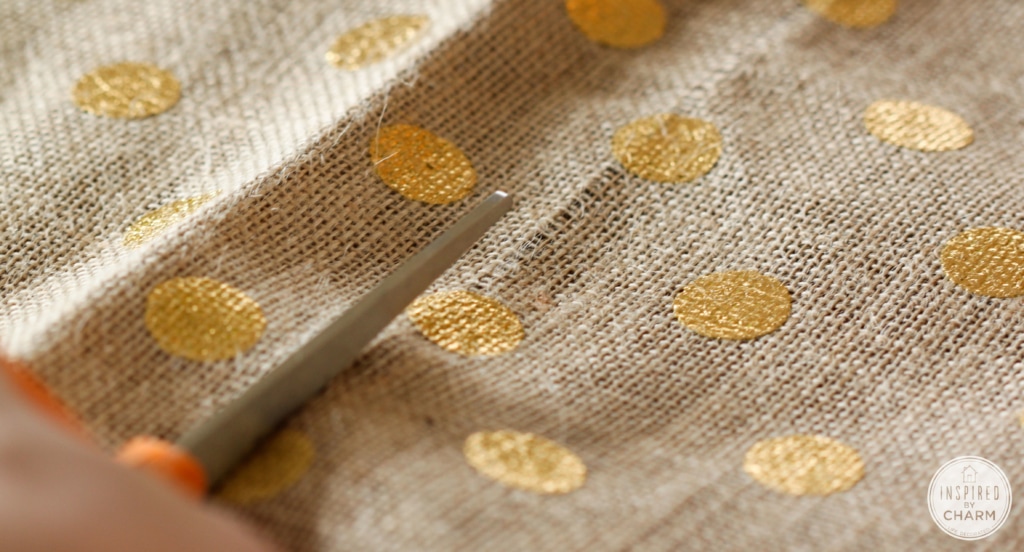
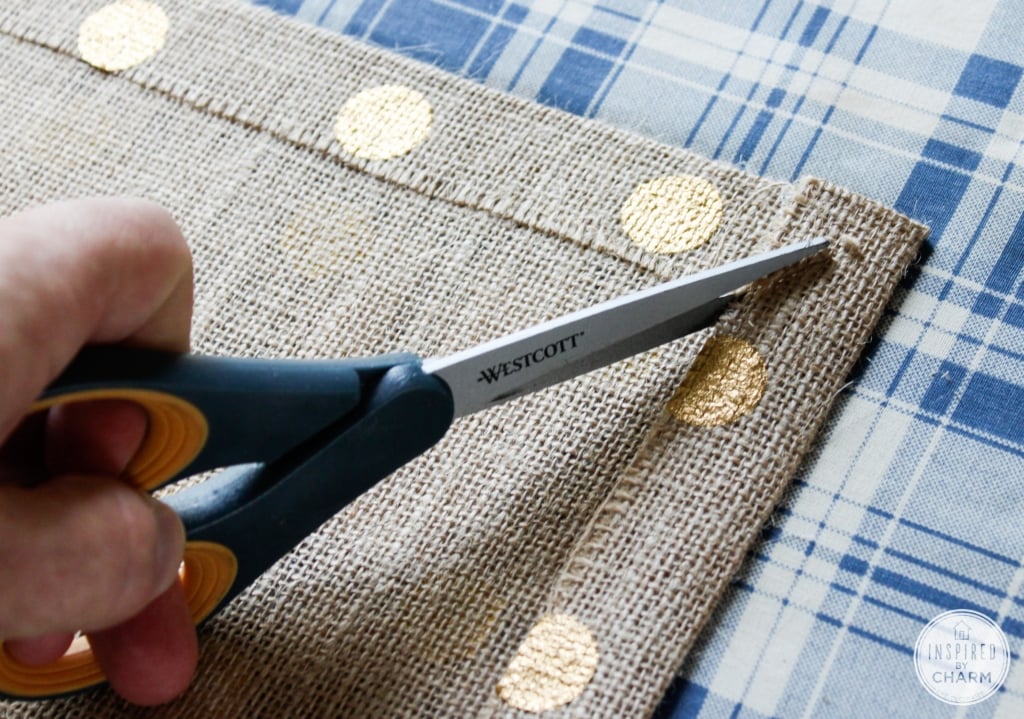
Next you want to cut your burlap. If you are awesome with cutting straight lines, you can begin cutting. If you want to insure straight lines (and I highly recommend this) I have a little trick for you. Begin by marking where you are cutting your burlap and make a tiny cut.
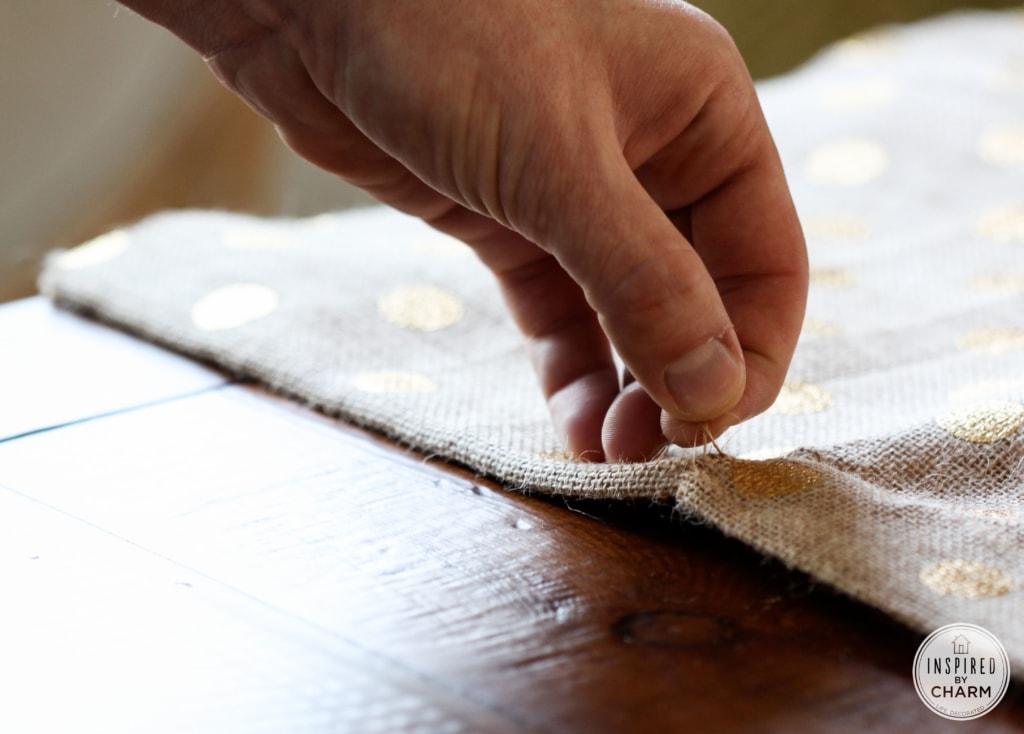
Then begin to pull out one of the threads. Pull slowly and carefully with even force. The burlap will start to buckle and gather, but just keep pulling. Pull until you have the entire string out. The painted gold dots may give you some trouble as the paint tends to hold the thread in place.

If the whole string doesn’t come out, use your seam ripper to pull up the string where it broke off and continue the processes. Once the string is out, you’ll be left with a perfectly straight line.
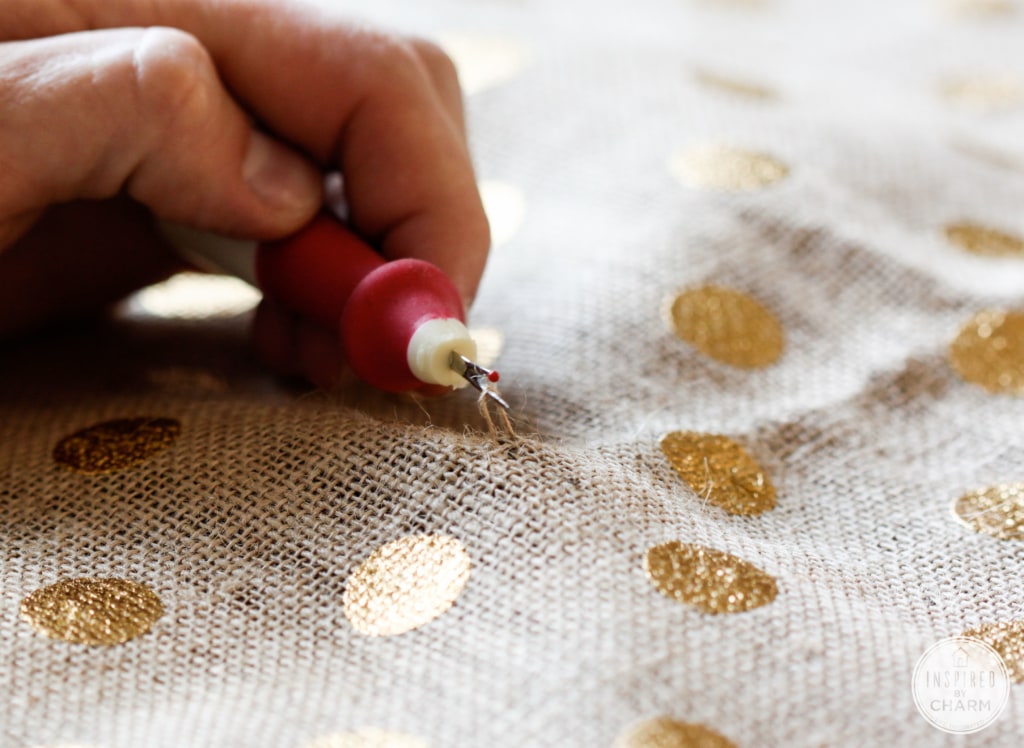
Cut along this line, being careful not to cut the lines above or below it.
Continue this step on all four sides.
💌 SAVE THIS POST / RECIPE!
At this point your runner is cut out. Next, you’ll want to prepare your fabric for the fusible webbing by ironing down your seems. Let’s start with the two shorter sides.
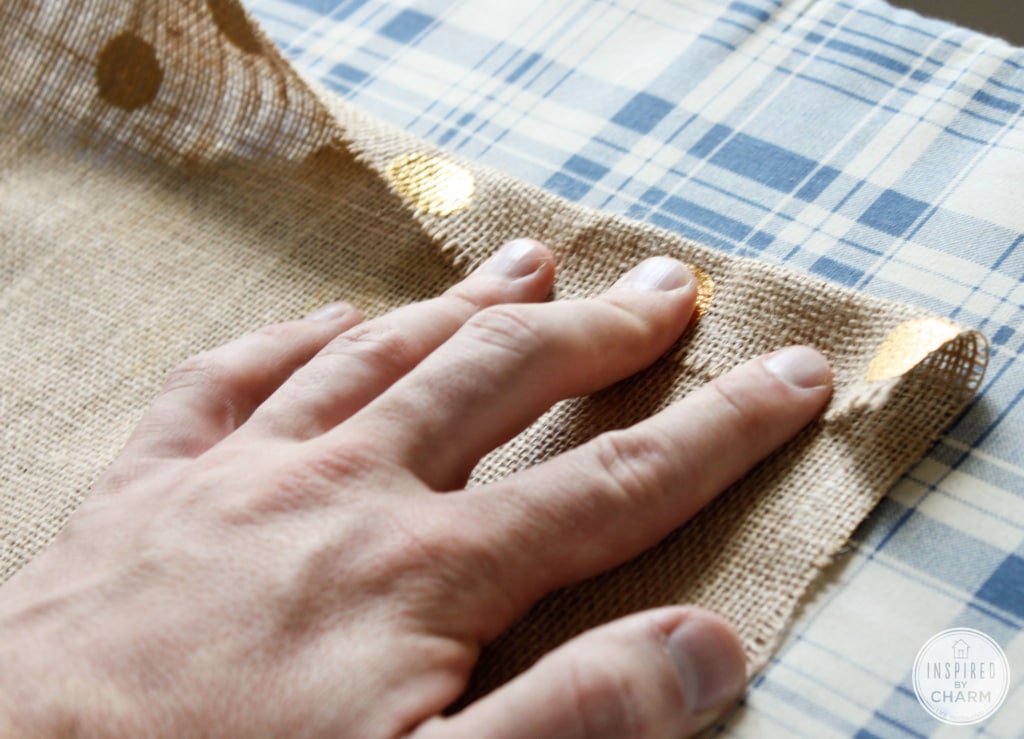
To do this, flip your burlap so that the patterned is facing down. Using your fingers, fold the edge of the fabric back one inch.
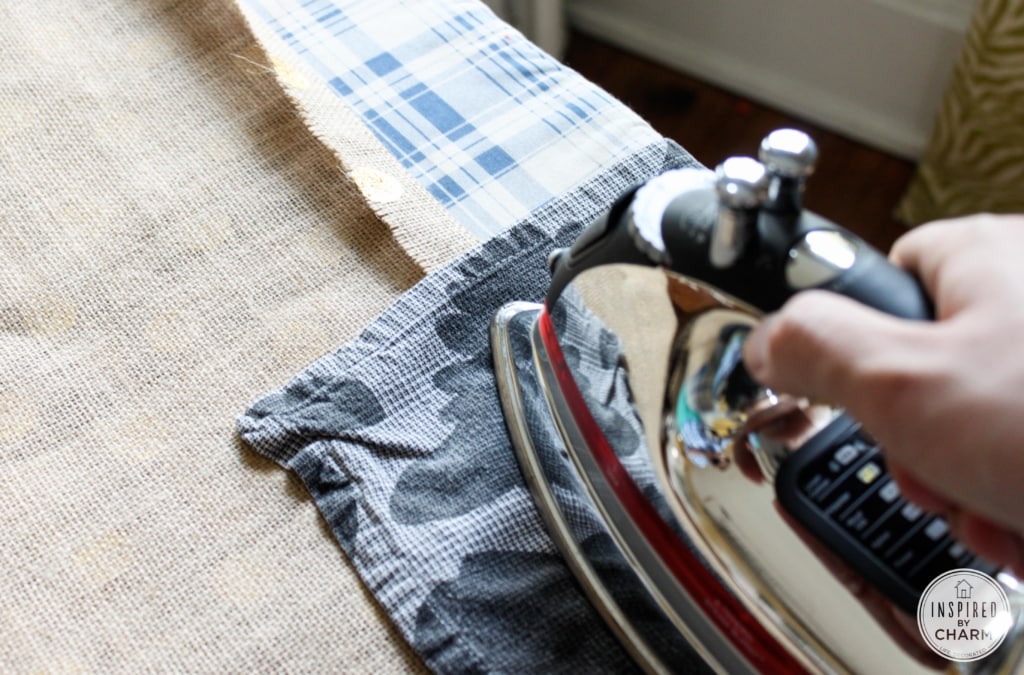
Place your dish towel over the fabric and iron down the seam. Using the dish towel is essential with this particular fabric. If the iron makes direct contact with the gold dots the paint will come off and be transferred to your iron. (Trust me, it’s not pretty.)
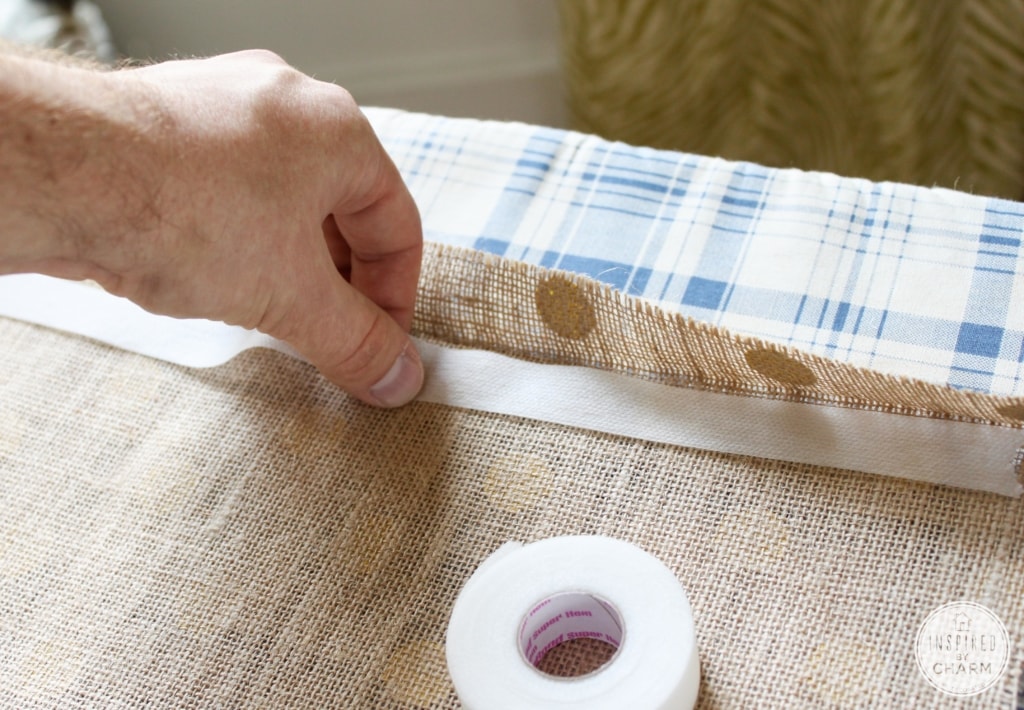
Once you have a seam, you’ll want to put your fusible webbing in between the two layers of fabric. Again, cover with your towel and, with your iron on medium-high, heat for about 5-7 seconds.
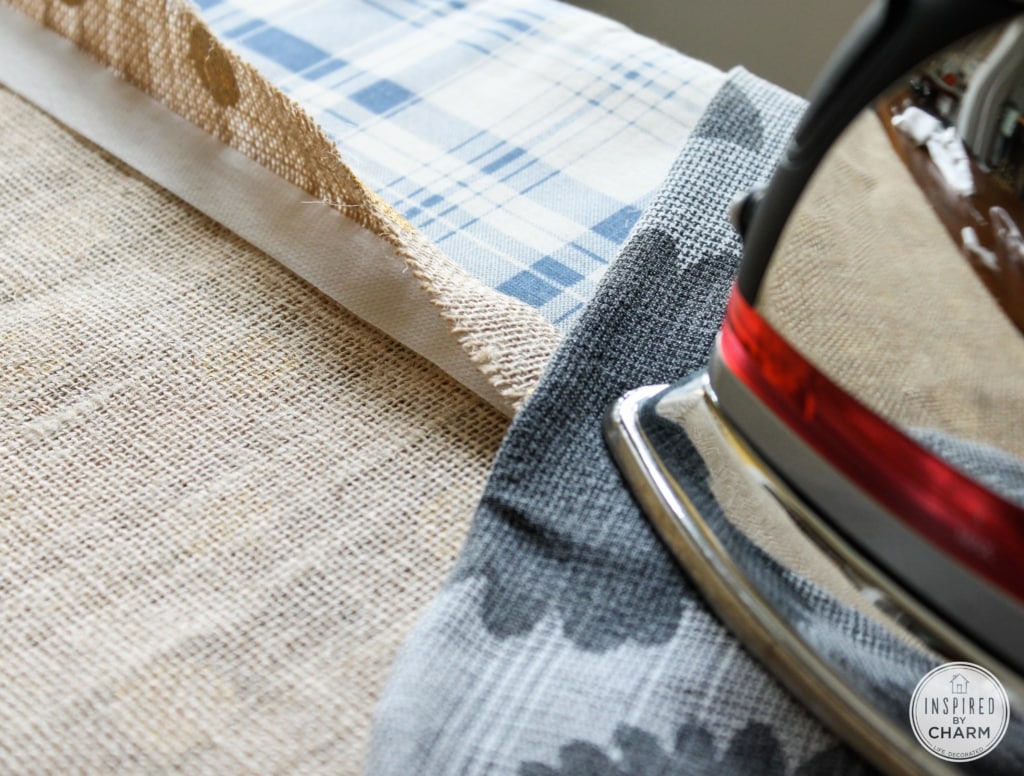
Repeat this step until the two layers are bonded. Then do this to the other short side.
After both short sides are complete, you will repeat the previous two steps with the longer sides. To reduce any fabric bulk at the corners, when completing the longer sides, trim off a section of the fabric on the corner on a diagonal.
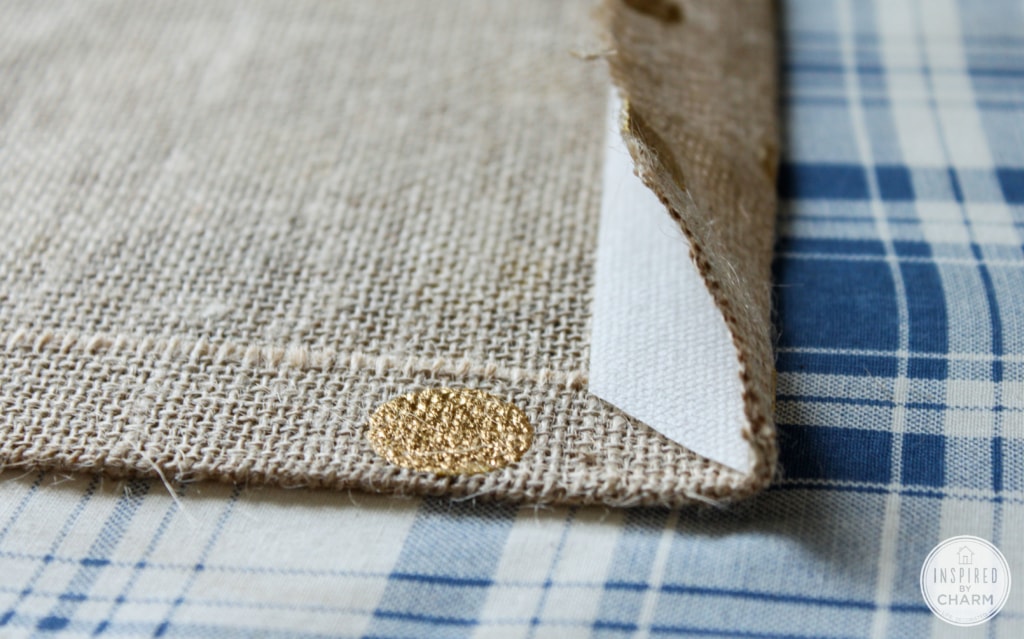
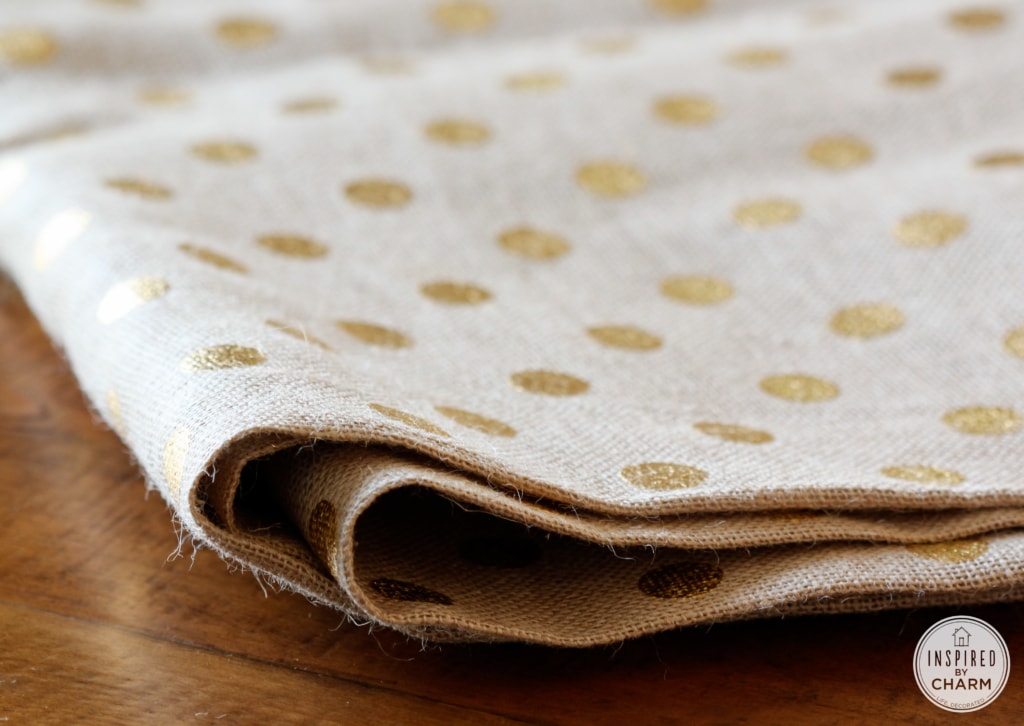
Once all of your edges are complete, give your runner a quick iron (Don’t forget to cover with a dish towel.), and it’s finished!
Easy DIY Burlap Table Runner
For under $20, you have a beautiful, festive, and custom burlap table runner.
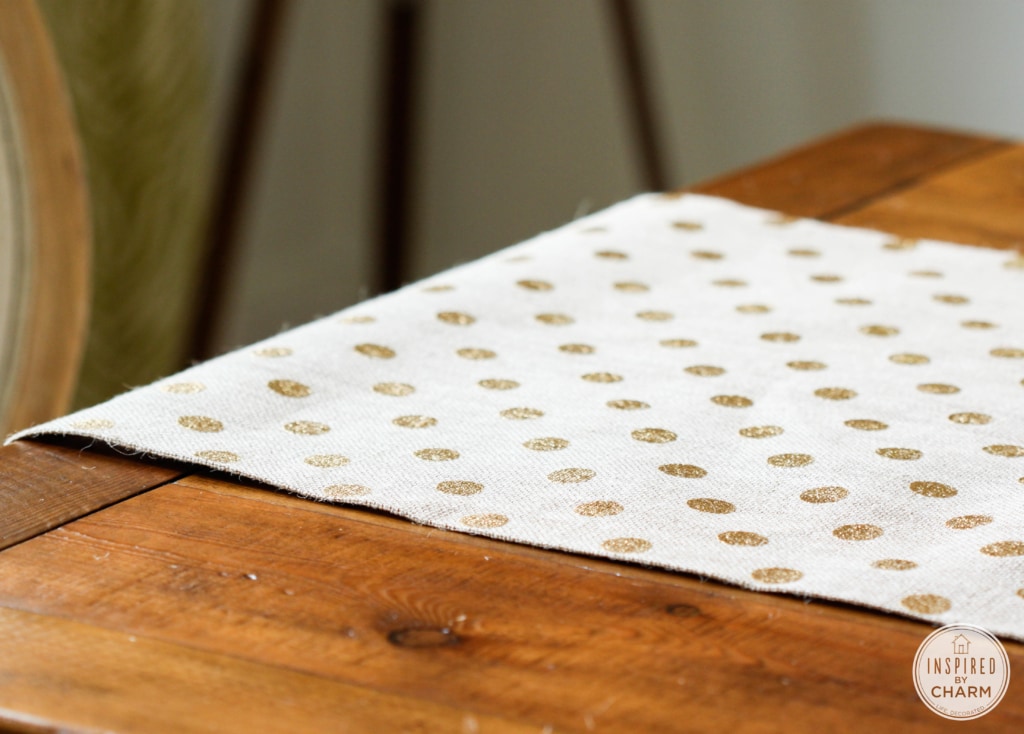
And seriously, the gold polka dot is almost too much for me to handle. I’m in love!
Also, as much as I love sewing, this fusible webbing is pretty fabulous stuff. Especially when it came to making this particular runner. Once you give this a try, you may never buy a runner again. You can easily use this tutorial with any type of fabric you’d like.
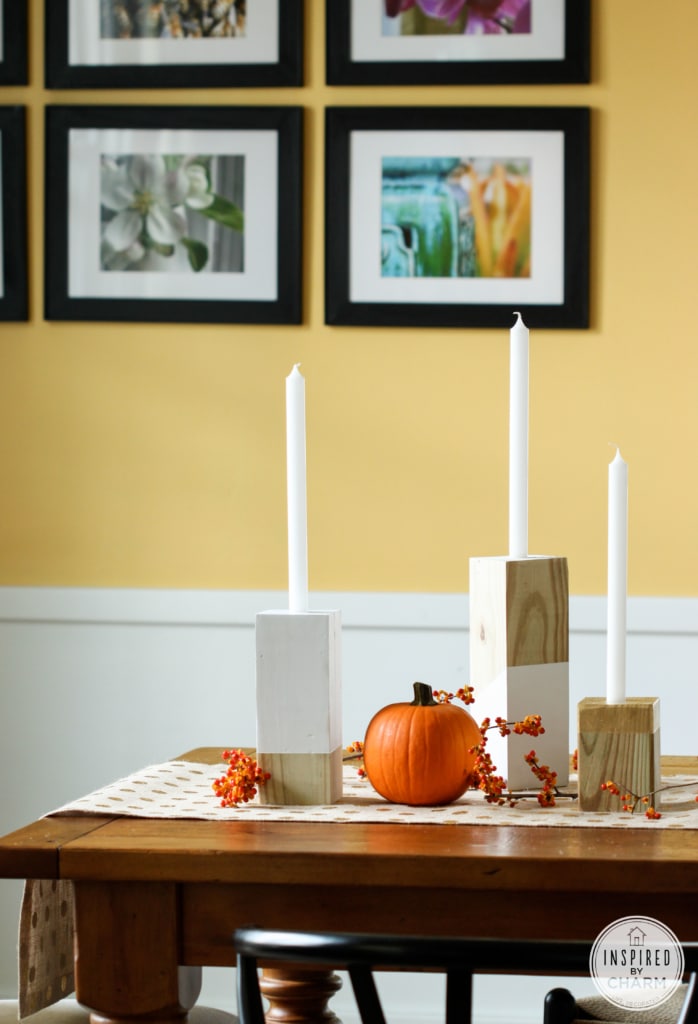
I did an impromptu table setting using the wood colorblock candle holders I made several weeks ago.
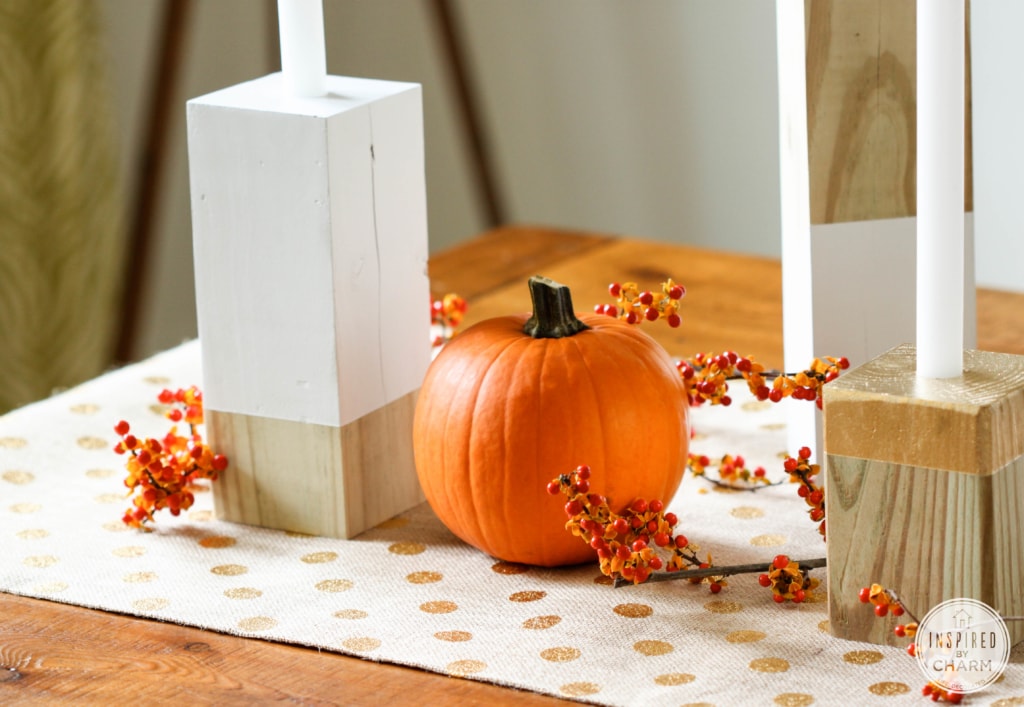
A few springs of bittersweet and a pumpkin completes the look for a fall-inspired feel.
Next week I’ll be doing a full centerpiece with some beautiful purple vases I picked up at Target. Stay tuned for that.
Enjoy this Burlap Table Runner Tutorial? Check out these DIY projects:

What do you think of this easy no sew burlap table runner? Will you be making one (or two, or three, or ….) for your table?
I have been struggling with the idea of making something in burlap, but I’ve never sewed it before, and I was afraid of all the different varieties in weave. The fusible webbing is perfect! I love polka dots, and I can’t wait to get to Jo-Ann’s! Thanks so much for sharing … the table runner is exactly what I need!
Love this idea! Do you think the fusible webbing would work on the seams if I wanted to make a pillow? Or would the seam not last? I don’t sew much, so will have to try this method!
Thanks for any suggestions,
Heidi
Hi Heidi – I’m honestly not sure. I assume if it’s just decorative it SHOULD hold up, but I can’t guarantee anything.
xo Michael
Thank you for the easy step by step tutorial. This was my first time making anything out of fabric!! I made this today for my 100 year old dining room table that I use every day just as my grandmother did. I knew when I saw this it would be perfect & it is. I never liked the Fall table prints (leaves, plaids, turkeys etc) and this can actually be used right up to Christmas. I ordered the fabric on Joann’s web site
Yay!! You are so welcome Mary. I’m so glad it turned out and I bet it looks gorgeous on your table!
xo Michael
Love it! I saw this fabric last year. One of my favorite local stores had it on all of their Christmas trees. The women did rough cut strips and used as garland around their trees. Gorgeous. Make sure to scoop up the fabric when you can, it sold out early last year and I couldn’t find it! I was sad for weeks but luckily I stumbled upon it again last month. Can’t wait to attempt a runner or maybe place mats.
Oooo! I love that idea! Yeah – I’m sure this will sell out in no time! I need to make another trip to Joann’s to pick up a few other pieces.
Thanks!
xo Michael
Michael–Thank you for such a fun craft! I am making this in both gold and red for myself and gifts for friends for the holidays!
You’re instructions say add 36 inches, when I believe you meant 26? At least that’s what it comes out to with your measurements! Again, thanks for helping us be creative out here!!
Oops! Thanks Jillian. 26 is correct. It’s been adjusted. Thanks!!
xo Michael
this looks so great! thank you for showing us how to make it without sewing – even better!
silly question but, would this work on a round table or do I need to make something round? 🙂
Um, If I had a round table I would trim it so that it didn’t have off the edges. I think. Haha.
Actually, cut it long enough so it hangs off both sides and see how it looks before finishing off the edges. If you like it, go with it, if not just trim it so it sits just on the table.
Hope that helps!
xo Michael
I saw that same fabric, what a gorgeous runner
Thank you Heather!
xo Michael
I have been eyeing up the burlap for months and months now. I really want to make curtains but wasn’t sure how awesome I would be at sewing burlap…looks like I don’t have to now! Yes! Can’t wait to get my craft on!
Haha. Fusible webbing saves the day! Good luck with your project.
xo Michael
i too am dying over gold right now. this is gorgeous. the trick with pulling the string is great! thank you! i will have to try the fusible stuff. wow!!!
I know, right?
Thanks so much Sharon!
xo Michael
Thanks for sharing this fab project at Modern Cottage Monday!
You bet! 🙂
xo Michael
Love this! I’m going to look for some fabric right now. Thanks for the inspiration:)
So cute! This is such a great idea – I might have to make one for my mum for christmas!
That’s a great idea! I’m sure she’ll love it!
xo Michael
Love your tip on how to cut a straight line with burlap! Will have to use next time I work with it.
Yes – it works like a charm. It takes a little extra time, but it’s totally worth it!
xo Michael
This is just fabulous! I love your modern touch you put on all of your projects! I would love to invite you to share this at my new link party Modern Cottage Monday at Curate by Carrie Corson:)
Thanks so much Carrie – I’ll pop on over to link up. Thanks!
xo Michael
Stunningly beautiful Michael! Thank you for the step by step instructions. I am inspired to make my own now. Thank you for sharing!
Have a wonderful day.
Lisa
You bet! Thanks so much Lisa. I hope your runner turns out fabulously.
xo Michael
I LOVE, LOVE, LOVE this fabric! Thanks for the inspiration! I’ve been wanting to add some gold to my daughter’s new room. This would be great wrapped around a canvas with some type of 3-D object centered on it, don’t you think? I’m heading to Jo-Ann’s tomorrow! Thanks again!
Yes, the fabric is so awesome. Wait until you see all the varieties in store. Have fun with your project!
xo Michael
Beautiful.i think I will make one! Thank you
Thank you Silvia!
xo Michael
I am so in love with the gold polka dots! Oh my goodness, I love them! Wonderful job – it’s such a perfect simple project, but it adds such a special flair. I hate to copycat, but I think I may need to 🙂
Please copycat – that’s why I gave a tutorial. I’m so glad you are inspired to try one yourself. And yes, the gold polka dots are perfection!
xo Michael
Love this, Michael! I am so excited to see the patterned burlap on my JoAnn run tomorrow. The gold dots are the BOMB! So pretty. Pinning! xo
You. will. die. They are fabulous. It was so hard deciding which ones to buy. Have fun! Thanks for the pin!
xo Michael
I love, LOVE the table runner! I’m SO inspired to re-create one for myself! Thank you for sharing your ideas and techniques; I can’t wait to get started!
You’re so welcome! It’s such a fun and easy project. Enjoy!!
xo Michael
I purchased one from https://www.etsy.com/shop/BurlapUSA to see the craftsmanship. It was perfect and helped make one on my own.
Beautiful burlap and lace table runners. https://www.etsy.com/listing/199866215/burlap-table-runner-with-lace-14-inches