Bayberry Kitchen Remodel: Drywall and Hardwood
This Post May Contain Affiliate Links. Please Read Our Disclosure PolicyIt’s time for another Bayberry Kitchen remodel update! Drywall and flooring are in!
I wasn’t sure whether this news required a full post and video, but it’s an exciting moment in the overall process, so I figured why not.

Why all the excitement? Well, after almost two months were spent making the space look “worse” in a sense, there’s finally visible progress. Demolition, framing, plumbing, and wiring are super important, but they don’t hint at project completion like drywall and floors do.
In addition, I knew that once the drywall and new flooring were in, the construction dust would start to subside. (And boy am I ready for less mess!)
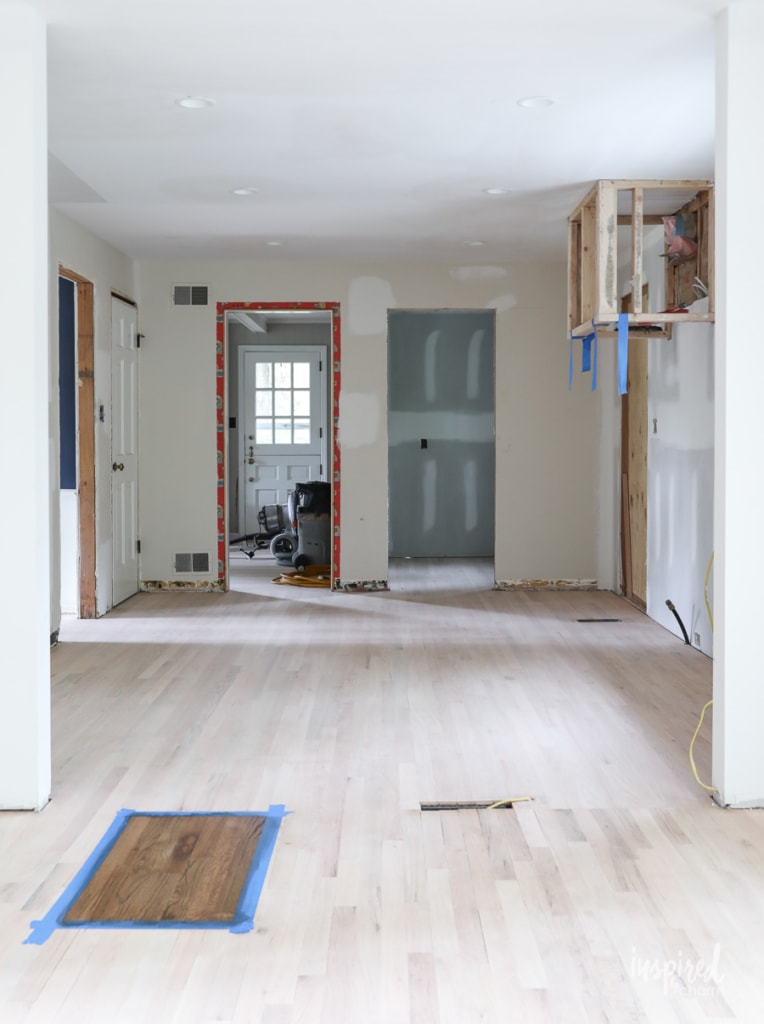
To my surprise, the drywall process wasn’t as terrible as I anticipated. It was definitely dusty and noisy when the crew hung the drywall, but the mudding and sanding went smoothly (pun intended).
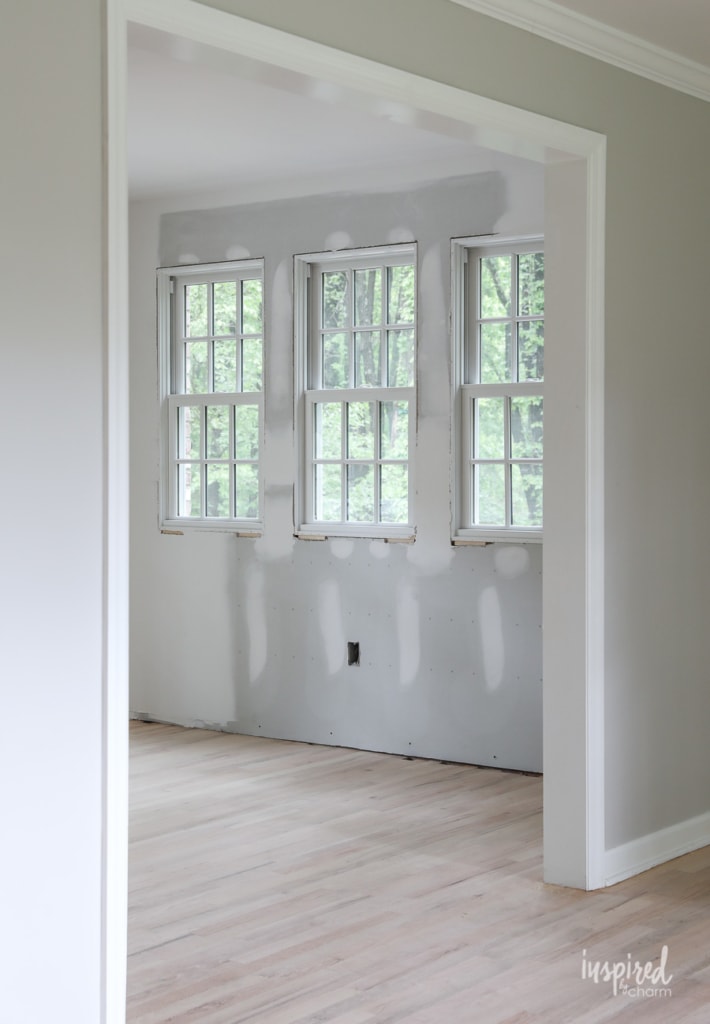
Once the drywall was up, it was time to lay the new hardwood.
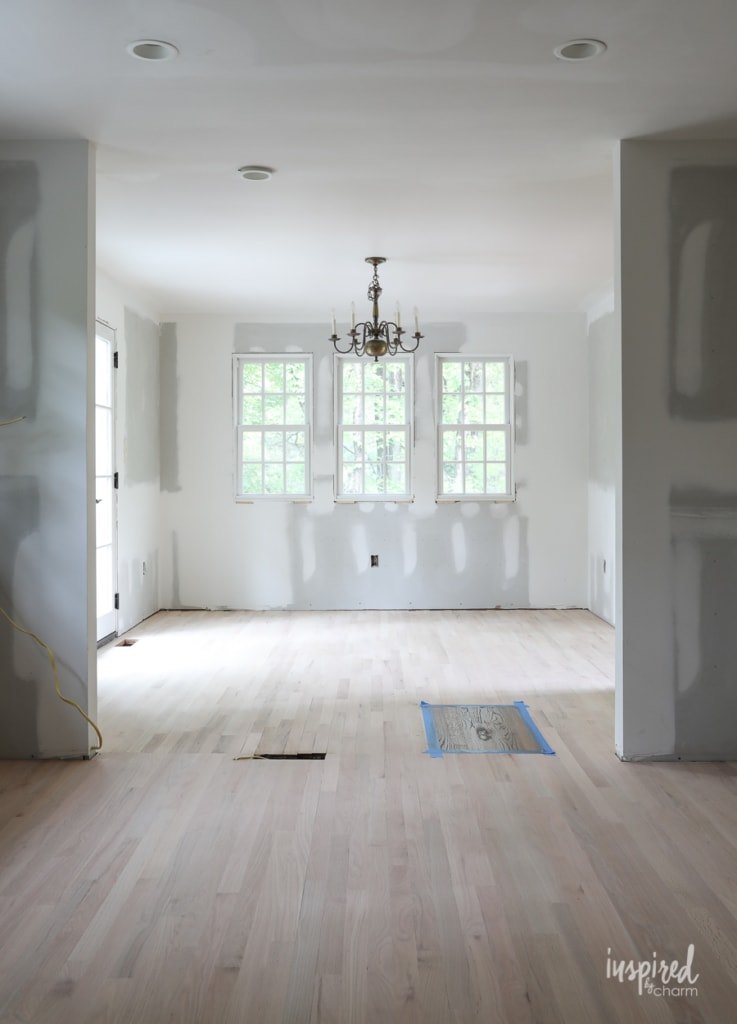
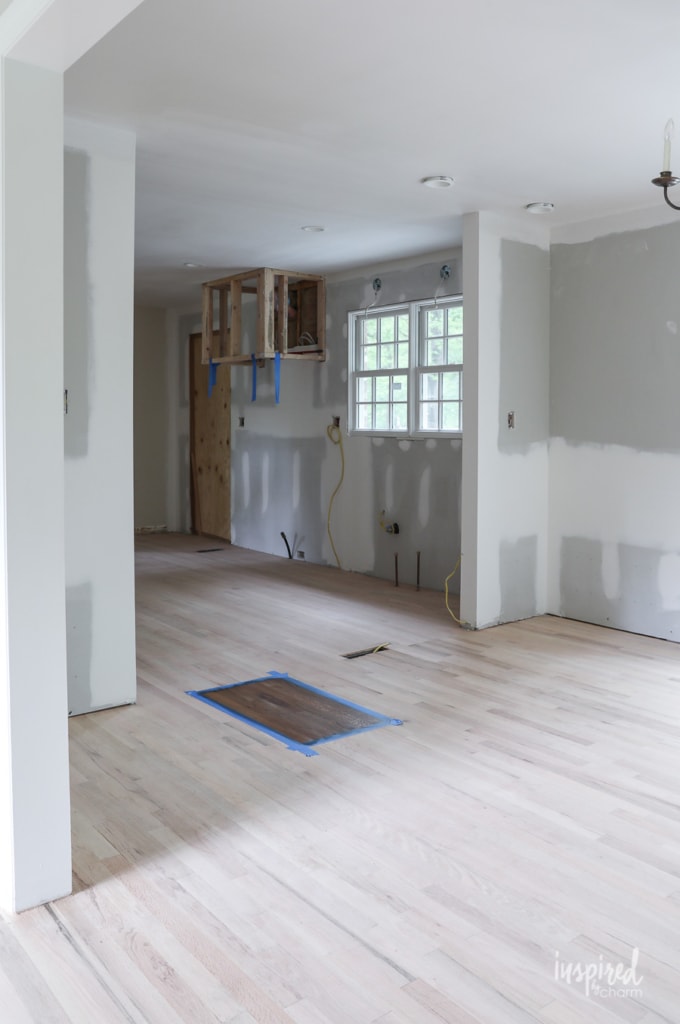
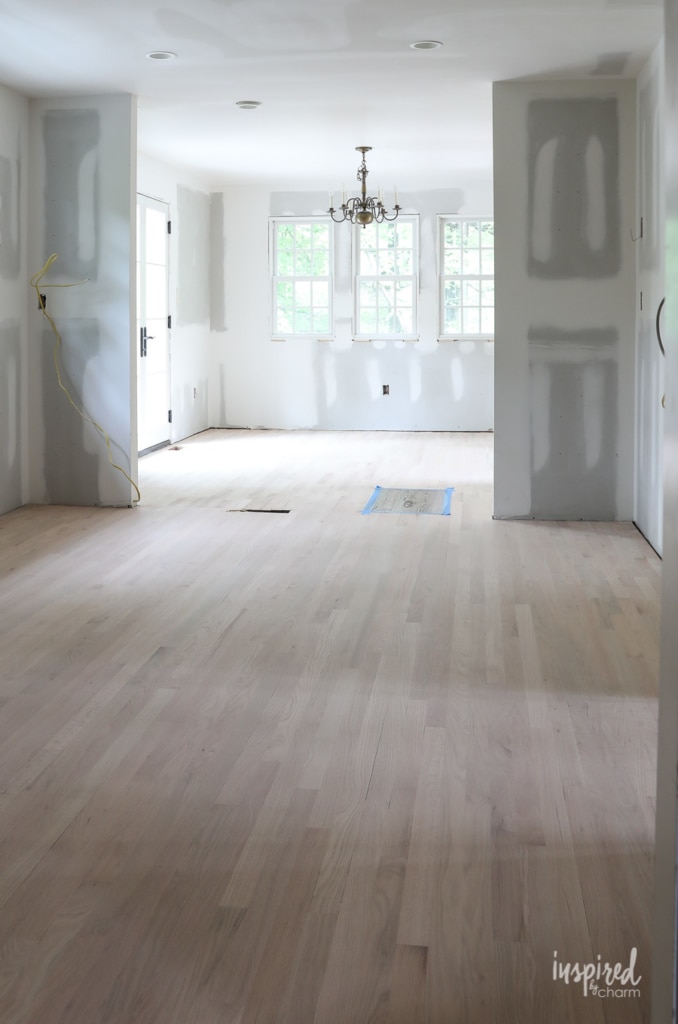
As I mentioned previously, I chose to have hardwood on the entire first floor. I wanted to match what was in the living room and dining room. That meant laying new floors in the kitchen, entryway, pantry, and powder room.
As you can see, that’s exactly what was done.
Where the kitchen met the dining room and the living room met the entryway, the installers toothed in the flooring for a seamless look. Since the flooring in the family room (where the large brick fireplace is) runs the opposite direction, they just added a small threshold level with the floor. The flooring in the powder room was toothed into the family room flooring.
All of the hardwood is red oak. The old flooring is 60 years old, but it matches the new amazingly well. It’s hard to tell where the old floor ends and the new begins. Fingers crossed that there won’t be a discernable difference once the stain is applied!
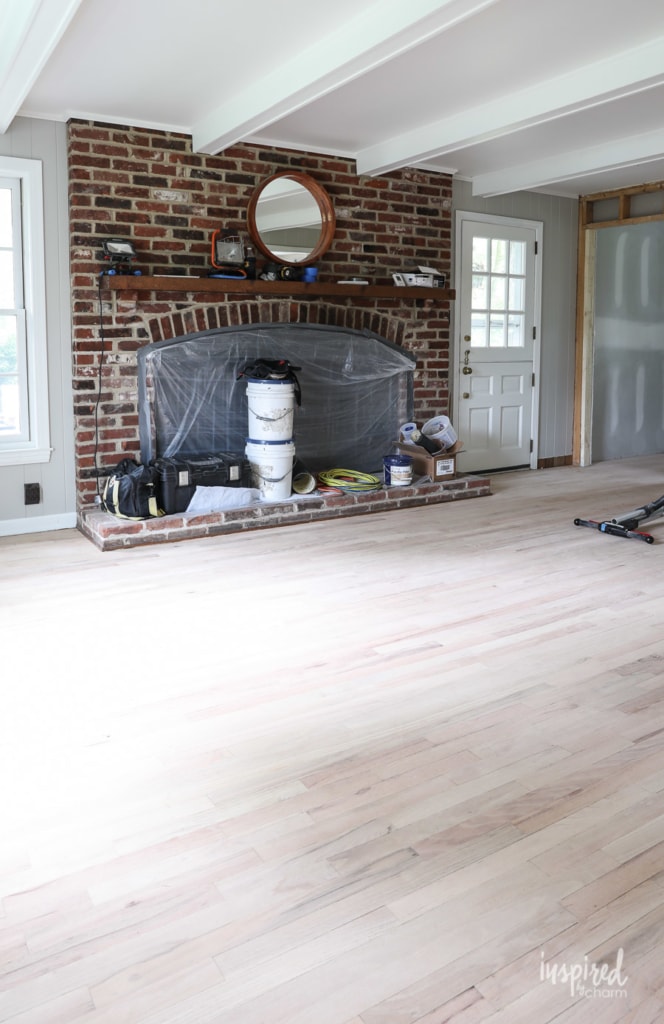
You’ll also notice that my entire first floor is devoid of furniture and decor. Since I want all of the flooring to match, the existing hardwood is also getting sanded, stained, and sealed. That meant I had to move my furniture to the basement, garage, and upstairs. Yes, it was a major pain in the behind, but it will be worth it!
And there you have it. Another step forward in this remodel!
💌 SAVE THIS POST / RECIPE!
So what’s next? As I said, the floors need to be stained and sealed. Once they’re finished and cured, the trim (baseboards, casings, etc.) can go up. Then it will be time to paint. When the painting is complete, the cabinets will be installed. The finish line is getting closer!
In case you’re interested, I filmed a short video to give you a tour of the space with the drywall up and the floors laid.
You can watch that video below or join me on YouTube and watch it there.
I hope you enjoyed this Bayberry Kitchen update! In the next post, I’ll be back with details about paint colors, lighting choices, tile, cabinet hardware, etc. Stay tuned!
I also put together a list of all my kitchen update posts. You can find it below. I hope the list makes it easier to revisit previous posts or find something you might have missed.
Bayberry Kitchen Remodel Updates:
- The Before
- Kitchen Remodel Inspiration
- Design Plan
- New Windows and Doors
- Appliances, Sinks, and Faucets
I have loved you sharing even the smallest details of your remodel. As the layers of your “canvas” have been removed then redone, you’ve shared your journey with those of us considering making changes in our homes. Change is often scary, and you sharing your remodel has certainly helped me settle some of my fears.
I love oak floors! They are timeless. I know they’re going to be gorgeous when stained and sealed.