Meringue Mushrooms
This Post May Contain Affiliate Links. Please Read Our Disclosure Policy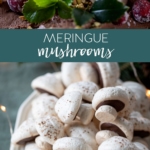
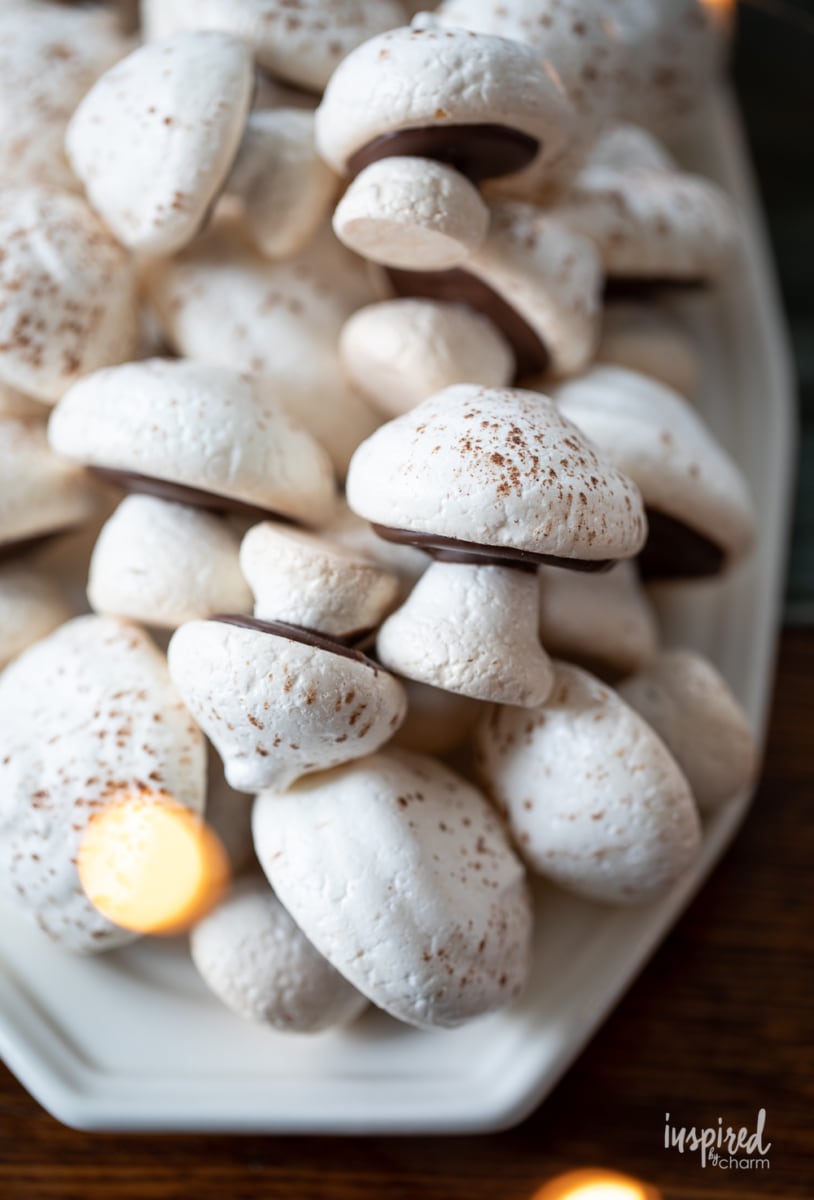
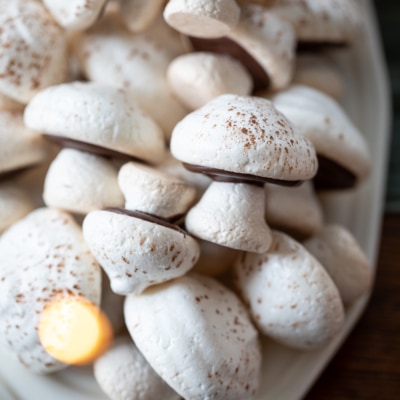
Airy, delicious, and unbelievably realistic, these meringue mushrooms are a showstopper. Whether you’re serving them on their own or using them to decorate a confection, everyone will be amazed and delighted.
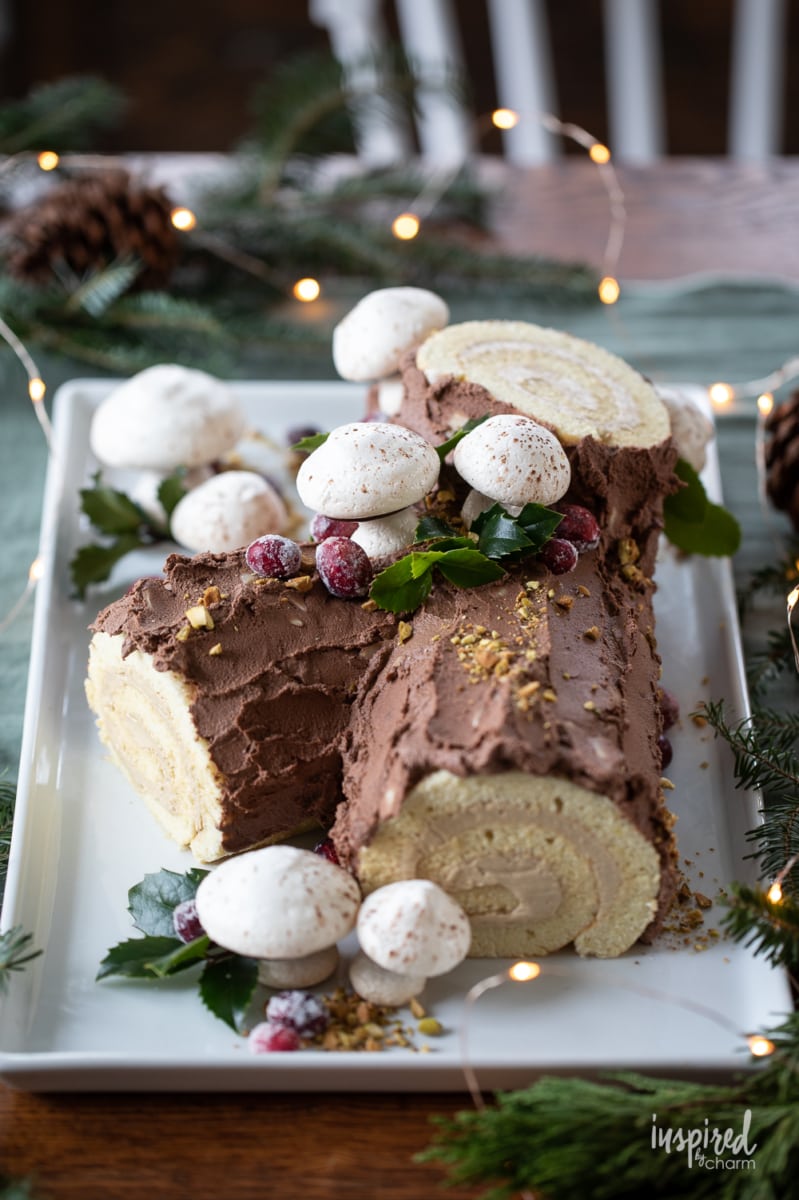
I’ve been wanting to make a proper Bûche de Noël for several years now. Since a proper Bûche de Noël features meringue mushrooms, I had to make them too!
(I will be sharing my Bûche de Noël in the coming days. Stay tuned for that! I’ll update this post here once it’s live.)
Why You’ll Love this Recipe:
There are a few things I love about these meringue mushrooms…
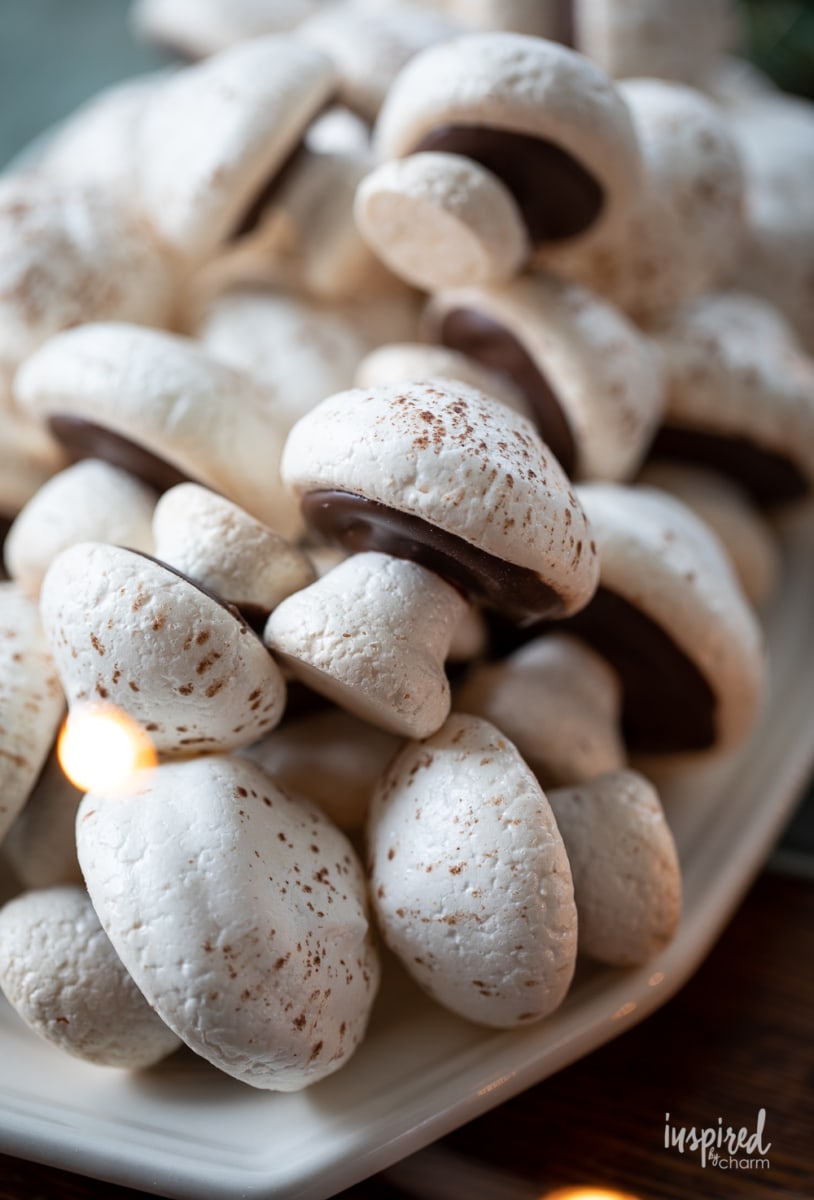
- First, they look so realistic! I shared them on Instagram and everyone was convinced they were just a plate of mushrooms until they read the description.
- Second, they are pretty darn delicious. They are crispy, yet melt in your mouth. Plus, the sweetness with the chocolate and a kiss of salt is SO GOOD!
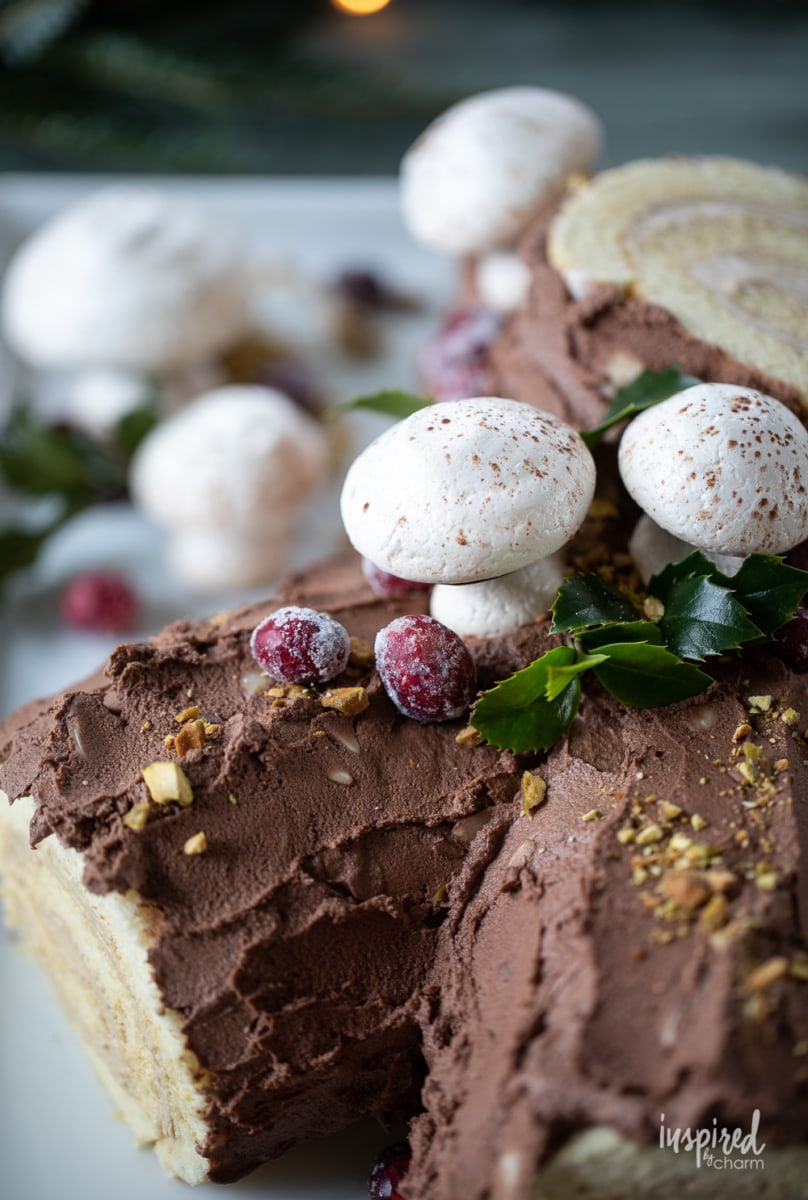
I just LOVE how they look on my Bûche de Noël.
In previous years, when I made yule log or swiss roll-style cakes, I just used piped melted chocolate mushrooms and/or mushroom cookies to decorate my cakes. They looked adorable, but these meringue mushrooms definitely take it to the next level.
More Roll Style Cakes:
- Pink Velvet Yule Log
- Gingerbread Swiss Roll
- Festive Almond Swiss Roll
- White Birch Yule log
- Pumpkin Roll
Before getting into the recipe, I want to say that making baked meringues (especially in the shape of mushrooms) is not the easiest recipe for novice bakers.
This is not to discourage you because you can do anything you put your mind to. I just wanted to give you a heads-up in regards to this recipe requiring some general baking know-how and skill. Proceed with care.

Ingredients
Here’s what you’ll need to make this recipe:
- egg whites – I used fresh eggs at room temperature and separated the whites from the yolks.
- cream of tartar – This is essential as it helps to stabilize the whites. Without it, your meringue will be hollow.
- kosher salt – Salt in baked goods is a must. It gives a great balance of flavors.
- vanilla extract – While you may want to reach for clear, I opt for regular as the small kiss of brown color makes the mushrooms look more realistic.
- unsweetened cocoa powder – You’ll use this to create those brown spots/imperfections on your mushroom caps. It helps make the mushrooms look realistic.
- dark chocolate melting wafers – To ensure that the chocolate sets properly, you’ll want to use melting chocolate here rather than just chocolate chips. I use and trust the Ghirardelli dark chocolate melting wafers.
Gather up your ingredients and let’s get baking!
How to Make
I will walk you through the recipe here. I’ve also provided a printable detailed recipe and ingredient list at the end of this post.
- Preheat your oven to 225 degrees F. Line two cookie sheets with parchment paper.
- In a large clean bowl, use an electric mixer to beat the egg whites until they are foamy.
- Add in the cream of tartar, salt, and vanilla.
- Continue beating until soft peaks form.
- Slowly begin to sprinkle in the sugar as you continue to beat the egg whites. Beat until you reach stiff peaks.
- Transfer the meringue to a large pastry bag fitted with a large round tip.
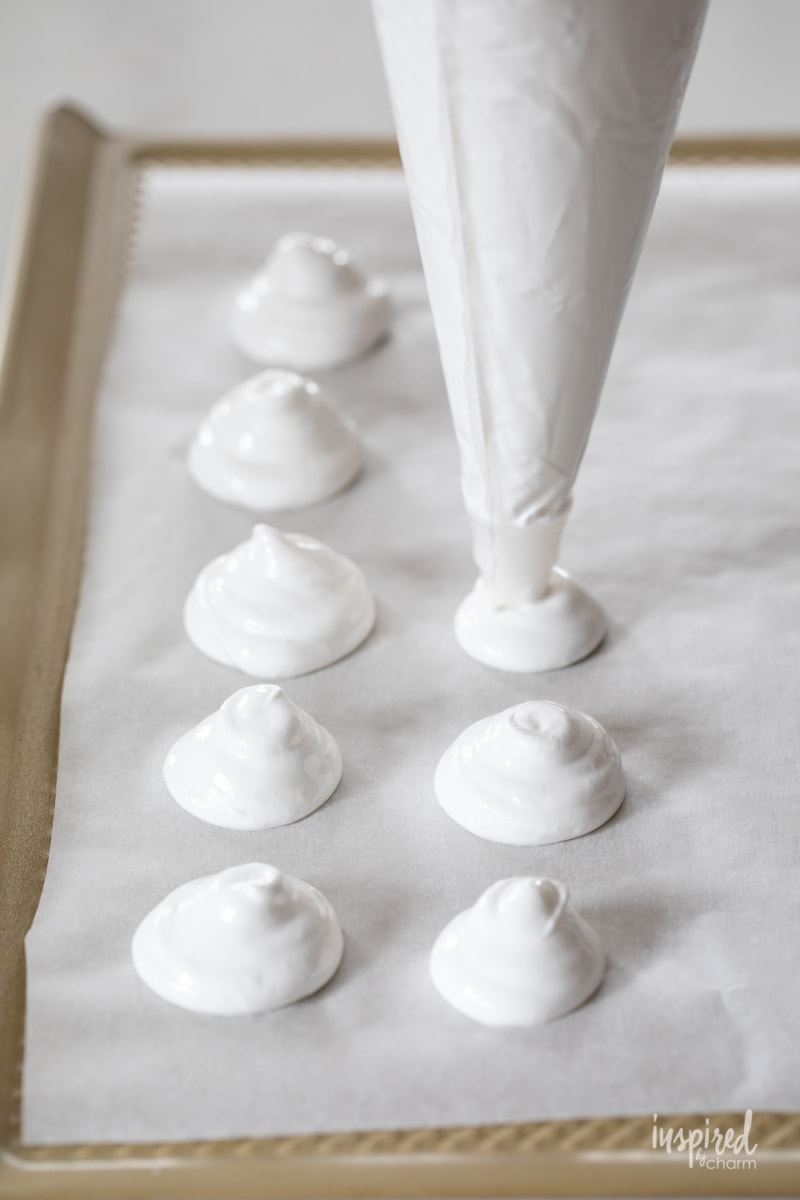
- Pipe out the mushroom caps by squeezing mounds of meringue onto the prepared baking sheets.
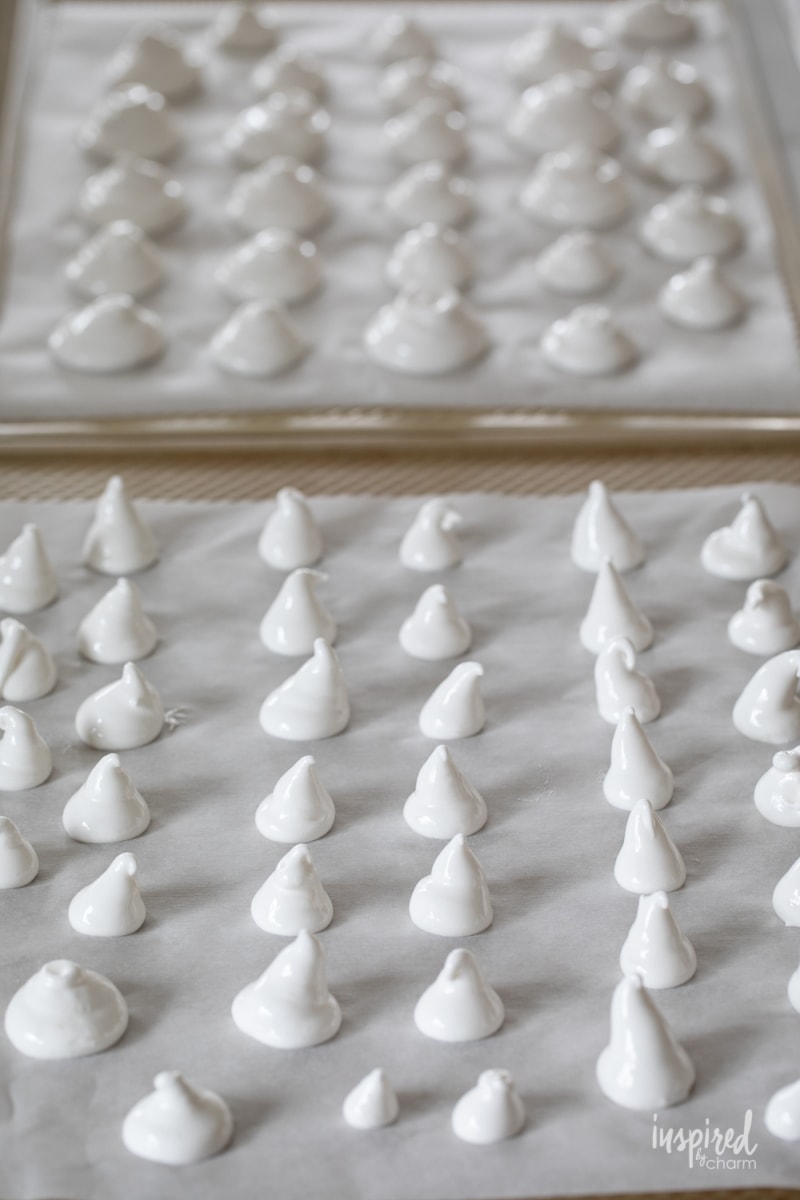
- Pipe out the mushroom stems by squeezing out the meringue onto the prepared baking sheets and then pulling straight up. (Keep in mind that imperfections and different shapes and sizes will help the mushrooms to look more natural.
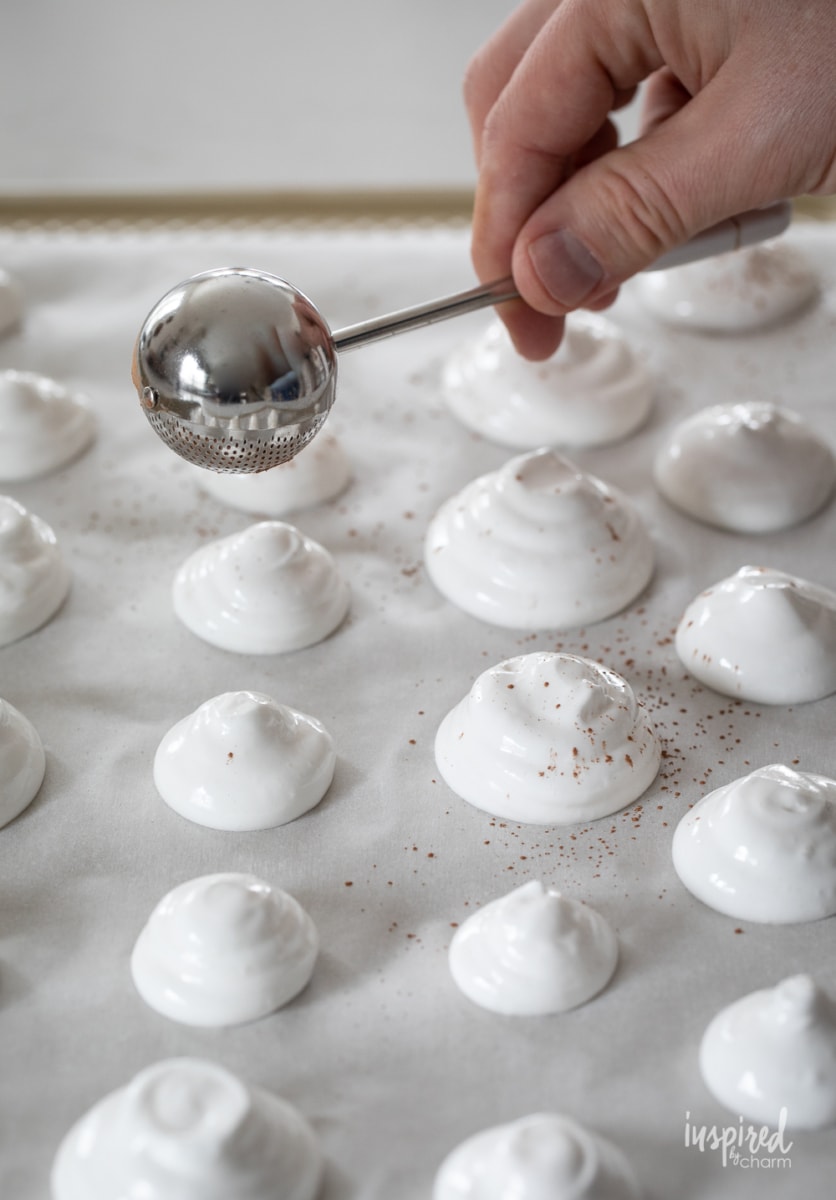
- Add the cocoa powder to a fine mesh sieve and lightly dust the caps.
- Bake for one hour, then set aside to cool completely.
- Use a small knife to cut the tips off of the top of the stems.
- Melt the chocolate melting wafers.
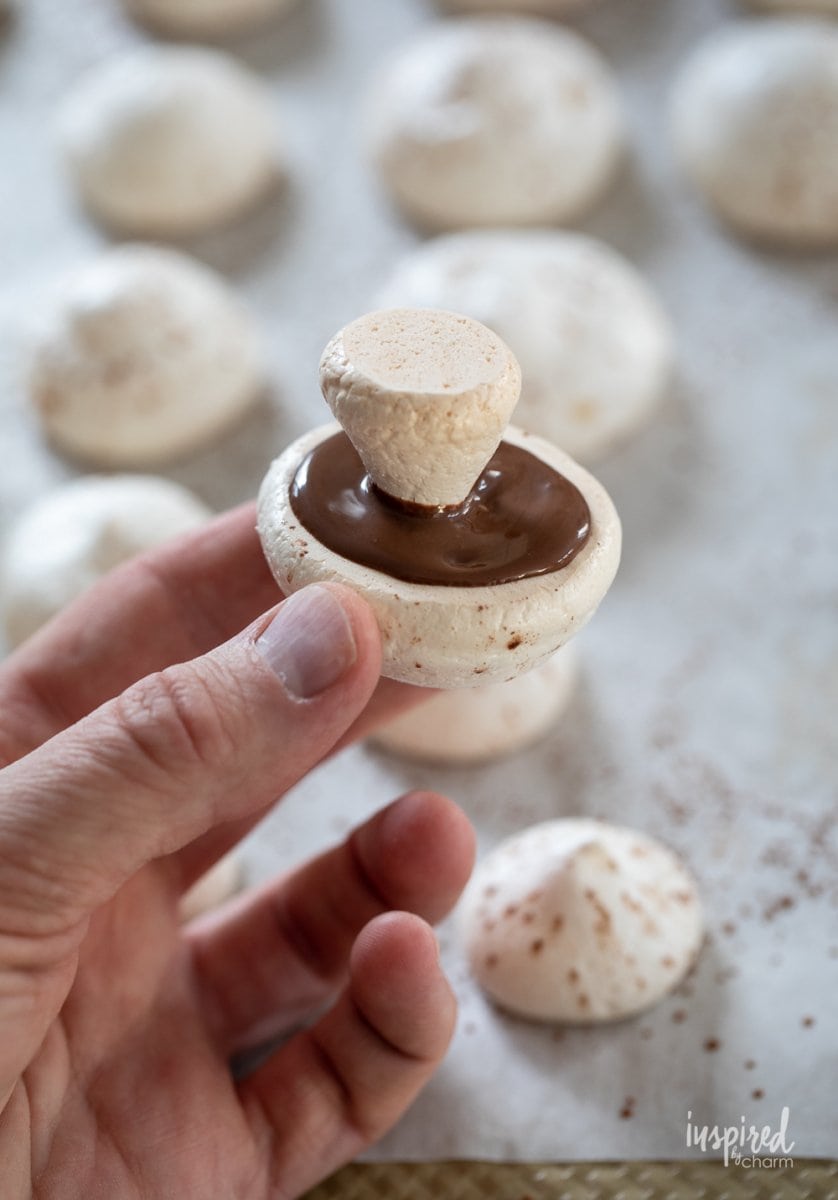
- Spread the chocolate onto the bottom of the caps, then press the top of a stem into the chocolate.
- Place upside down on a crumpled tea towel to allow the chocolate to set.
- Repeat with the remaining pieces.
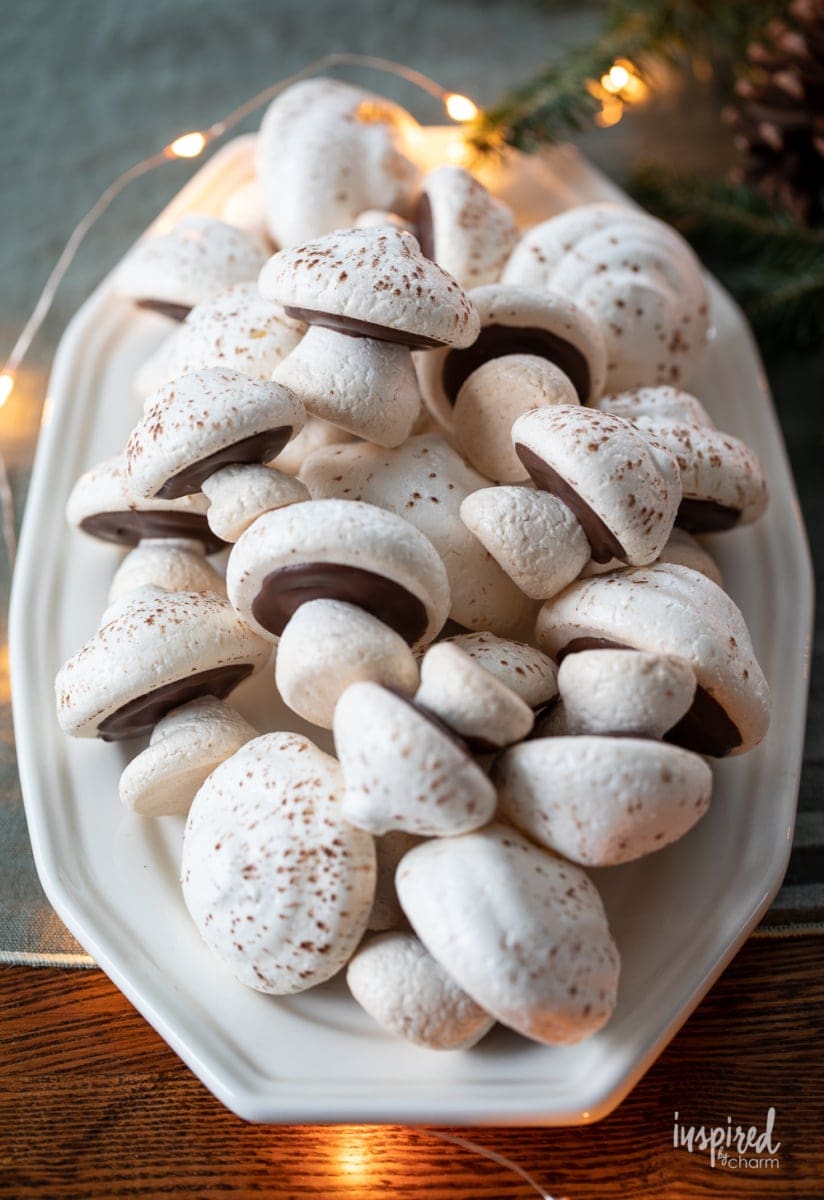
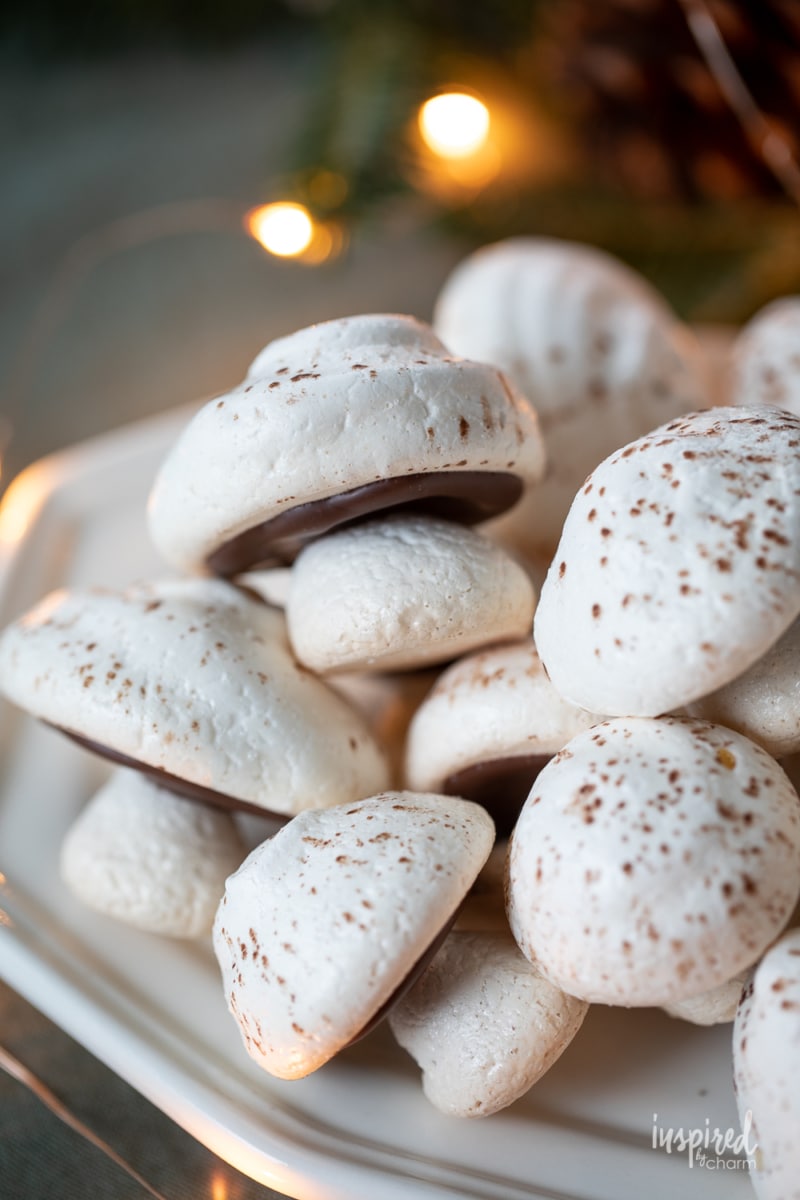
And that’s it! Your meringue mushrooms are ready to enjoy or to use in decorating the confections of your choosing.
Aren’t they cool? Pretty realistic too! I told you.
How to Store
Meringues can be stored at room temperature in a dry location. To avoid trapping any moisture, I would not use an airtight container.
These meringues cannot be frozen.
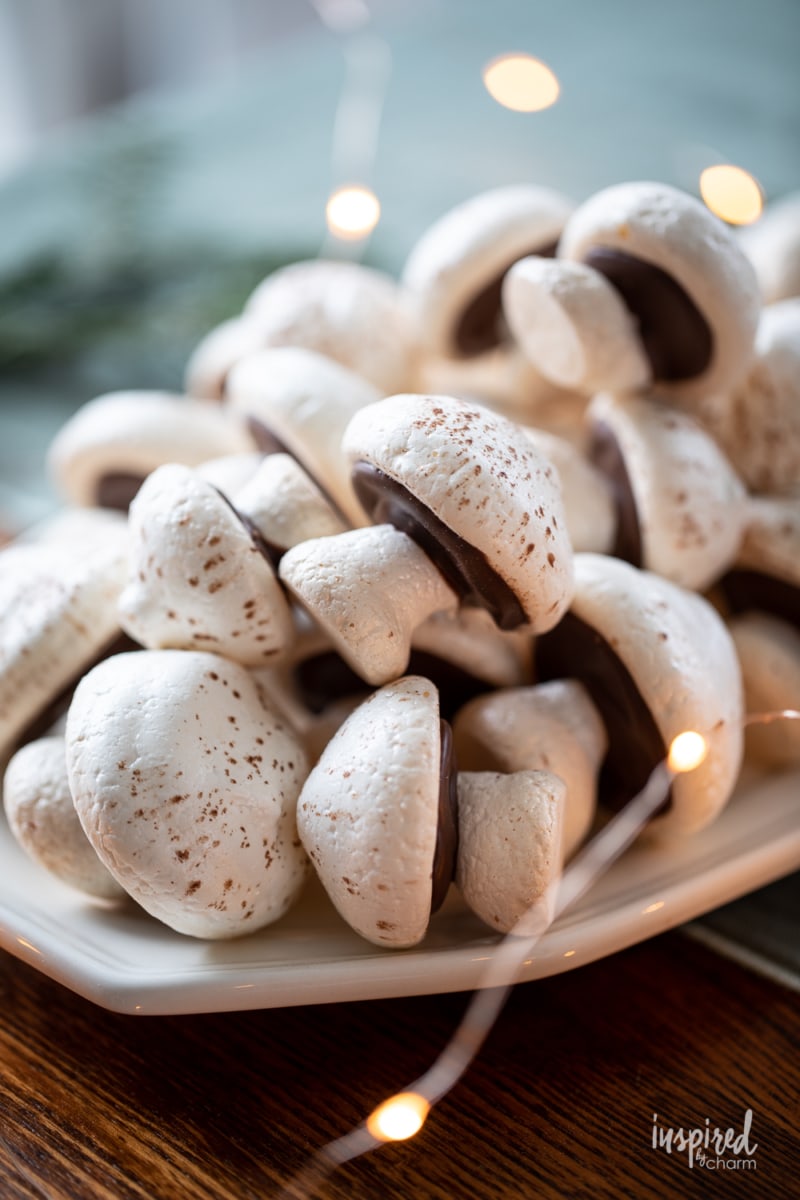
And that’s a wrap on these whimsical and tasty meringue mushrooms. Aren’t they great fun?
I hope you have the opportunity to make them at some point in your baking journey. The end results are just so rewarding.
Enjoy!
I hope you’ll shake up and serve this oatmeal cookie shot. If you do, please leave a comment and a 5-star rating below.
Want more from Inspired by Charm? Follow along on Instagram and TikTok for daily updates and behind-the-scenes looks at my processes. There’s even more inspiration on Facebook and Pinterest!
Meringue Mushrooms
Ingredients
- 1/2 cup egg whites at room temperature
- 1/4 teaspoon cream of tartar
- 1/4 teaspoon kosher salt
- 1 teaspoon vanilla extract
- 1 cup sugar
- 1 tablespoon unsweetened cocoa powder
- 4 ounces dark chocolate melting wafers such as Ghirardelli
Instructions
- Begin by preheating your oven to 225 degrees F. Line two cookie sheets with parchment paper and set aside.
- In a large clean bowl, use an electric mixer to beat the egg whites until they are foamy. Add in the cream of tartar, salt, and vanilla. Continue beating until soft peaks form. Slowly begin to sprinkle in the sugar as you continue to beat the egg whites. Beat until you reach stiff peaks. The meringue should be glossy.
- Transfer the meringue to a large pastry bag fitted with a large round tip.
- Pipe out the mushroom caps by squeezing mounds of meringue onto the prepared baking sheets.
- Pipe out the mushroom stems by squeezing out the meringue onto the prepared baking sheets and then pulling straight up.
- Keep in mind that imperfections and different shapes/sizes will help the mushrooms to look more natural.
- Add the cocoa powder to a fine mesh sieve and lightly dust the caps.
- Place the baking sheets into the oven and bake for one hour. The mushroom pieces should be ever so slightly browned and the caps should be easily removed from the baking paper.
- Set aside to cool completely. Once cool, use a small knife to cut off the tips from the top of the stems.
- Add the chocolate melting wafers to a microwave-safe bowl. Microwave at 30-second intervals stirring in between until the chocolate is melted and smooth.
- Spread the chocolate onto the bottom of the caps, then press the top of a stem into the chocolate. Place upside down on a crumpled tea towel to allow the chocolate to set.
- Repeat with the remaining pieces.
- Meringues can be stored at room temperature in a dry location.
I used these to decorate a woodland cake. They turned out so cute and are quite delicious too!
Michael, There is no sugar!!! Helpppp!!! Eggs have already been started….I know better than to read through but was hurrying for teachers tomorrow.
It’s 1 cup. I’m so sorry. It must have somehow got deleted. My apologies.
xo Michael
They turned out great Michael, thank you.
My 16 yr old is a Culinary student and she wanted to make for her teachers.
Hi,
I don’t see anywhere in the notes or ingredients the amount of sugar?
Thanks,