DIY Valentine’s Day Treat Bags
This Post May Contain Affiliate Links. Please Read Our Disclosure PolicyNormally, I would let Valentine’s Day go by unnoticed. It’s really not my favorite holiday. This year, however, I decided to push myself to get a little bit into the holiday spirit.
In addition to sharing my Sweetie Martini and Sugar Cookies with Cotton Candy Frosting, I’m also going to show you how to make a fun and useful craft. I’m part of the Lowe’s Creative Blogging Team and periodically we are given a challenge. This month, one of the challenges was Valentine’s Day. After hearing this, I knew pretty quickly what I wanted to make.
One of my favorite crafting supplies is actually available at Lowe’s. It’s drop cloth. I’ve used this stuff in a few projects here on IBC. It’s relatively inexpensive, a great neutral surface, and very easy to work with.
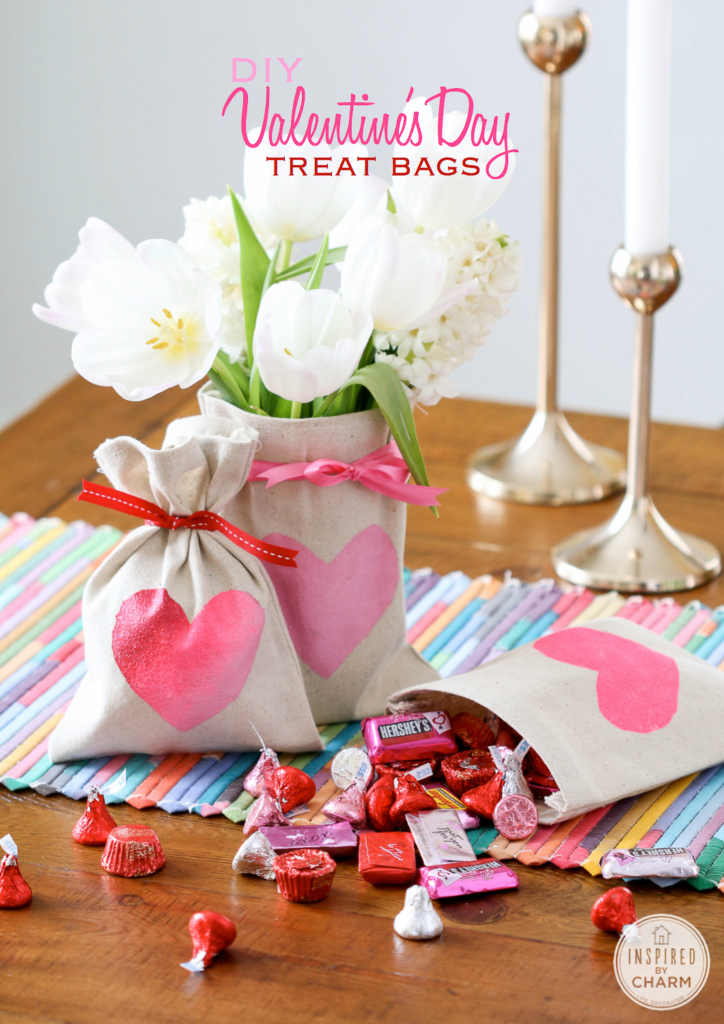
Today, I’m going to show you how to make these adorable DIY Valentine’s Day Treat Bags. What I love about this project is that the basic steps are pretty simple. From there you can let your creative juices flow and really have fun.
DIY Valentine’s Day Treat Bags
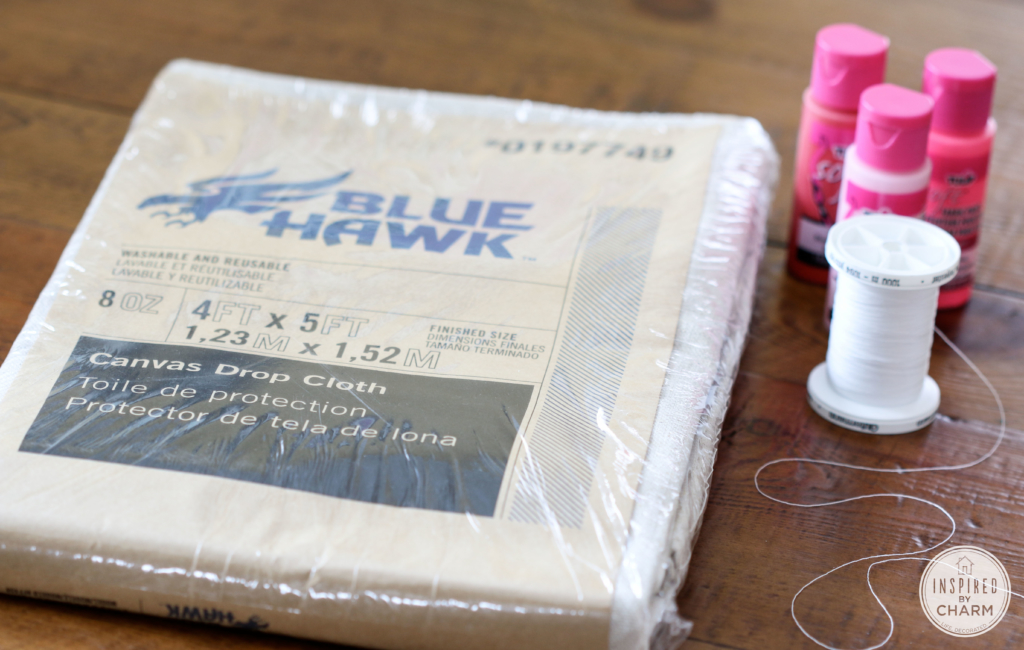
For this project you will need:
drop cloth
fabric paint
paint brush or pouncer sponge
sewing machine and thread (or fusible webbing)
iron and ironing board
scissors
ruler
paper
ribbon, candy, wine, and flower are optional, but highly recommended
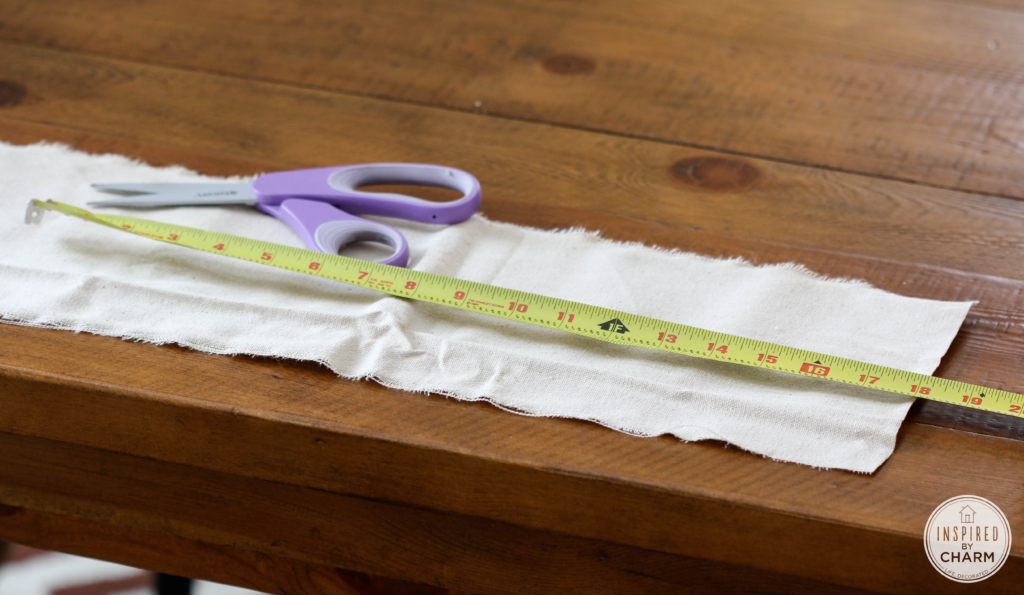
The first step is to cut the drop cloth for your bags. One thing I love about this material is that it tears easily – and in a straight line. Just mark the location where you want to cut with a snip of your scissors; then tear!
I made two different sizes here. For the shorter bag, you’ll want a piece that measures 6 x 18 inches. For the taller bag, you’ll need a piece that’s 5 x 24 inches. However, you can make these bags any size you wish. Once cut, iron your pieces.
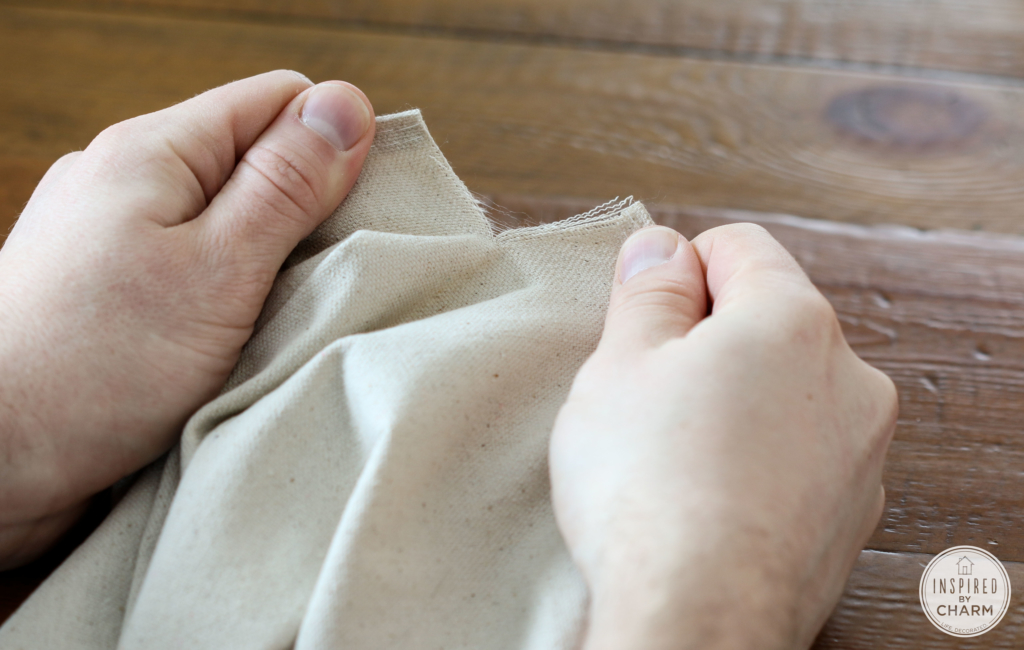
Next, you’ll want to create nice edges for the top of your bag. On the two shorter edges of your bag, fold over the drop cloth a quarter of an inch. Then fold over another quarter of an each. Then iron to hold in place. As you can see, this will hide any rough edges. Do this on both sides.
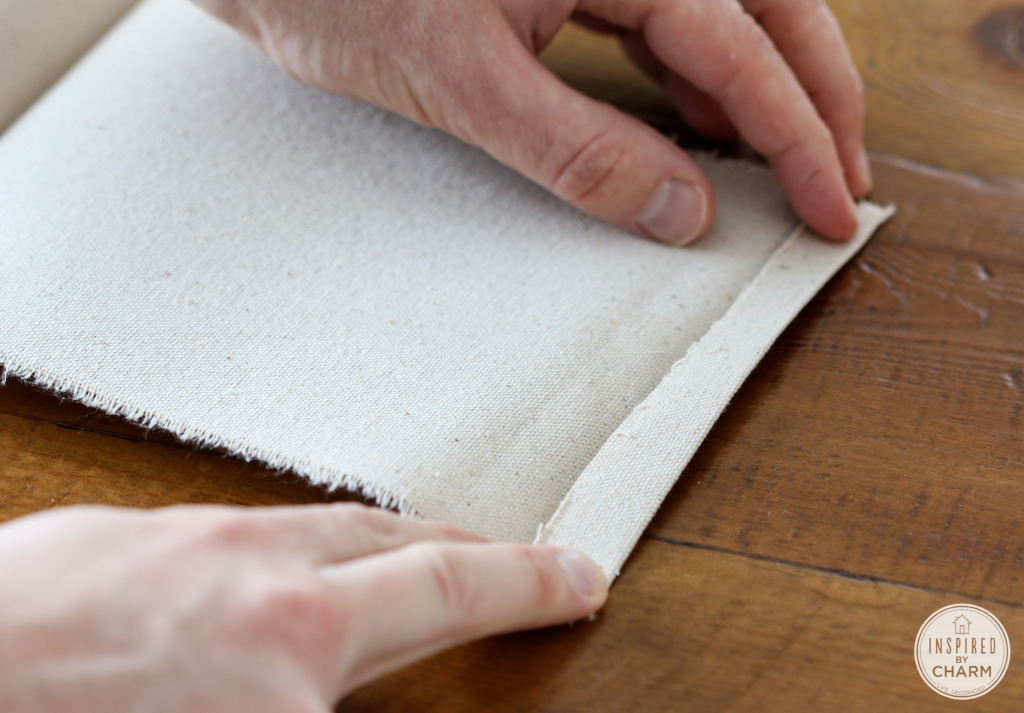
Then, with your sewing machine, sew a line through the folded-over fabric to hold it in place. Repeat this step on the other side. (If you don’t have a sewing machine, you could easily substitute fusible webbing for any stitching involved in making these bags.)

Next, fold your piece of fabric in half with the two right sides facing each other. Then, simply sew up each side. The bottom of the bag will be created by the fold in the fabric and won’t require any sewing.
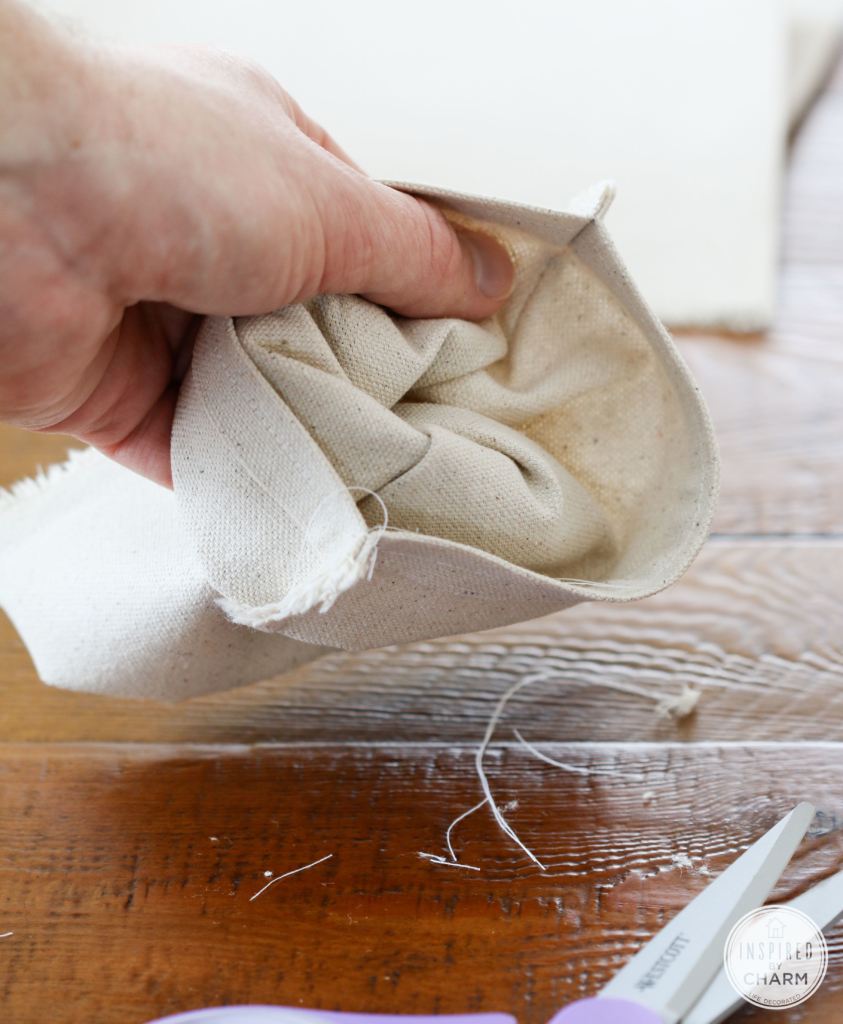
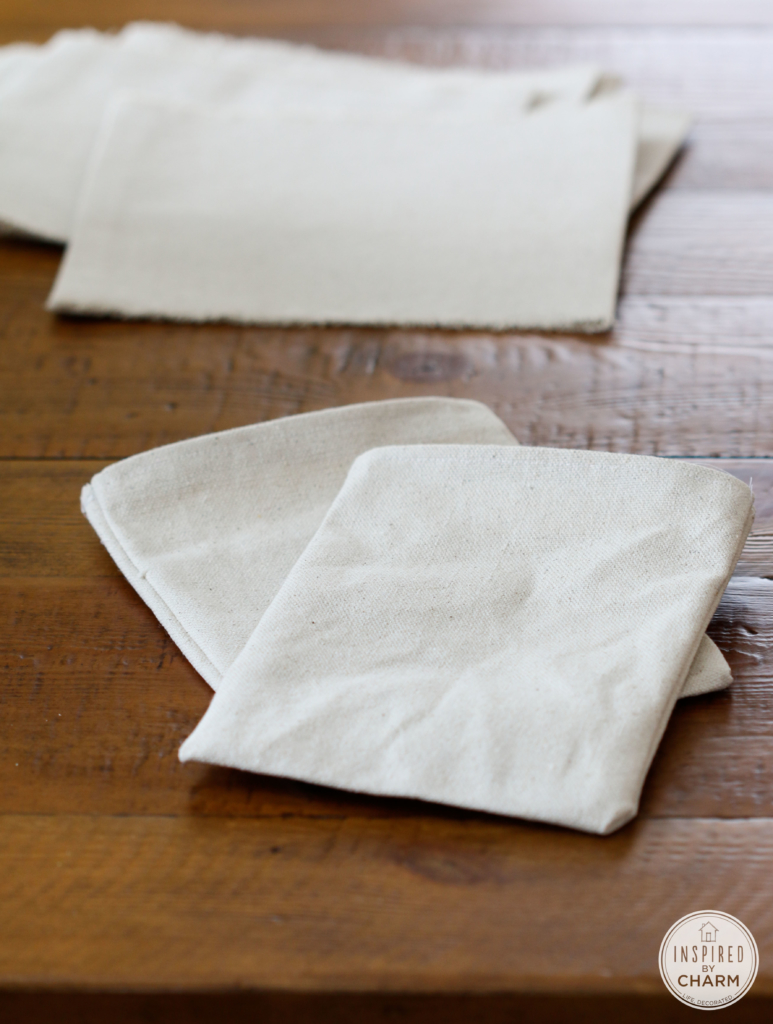
Then, trim off excess threads and turn your bag right side out. Give your bag a quick press to make the surface flat before painting.
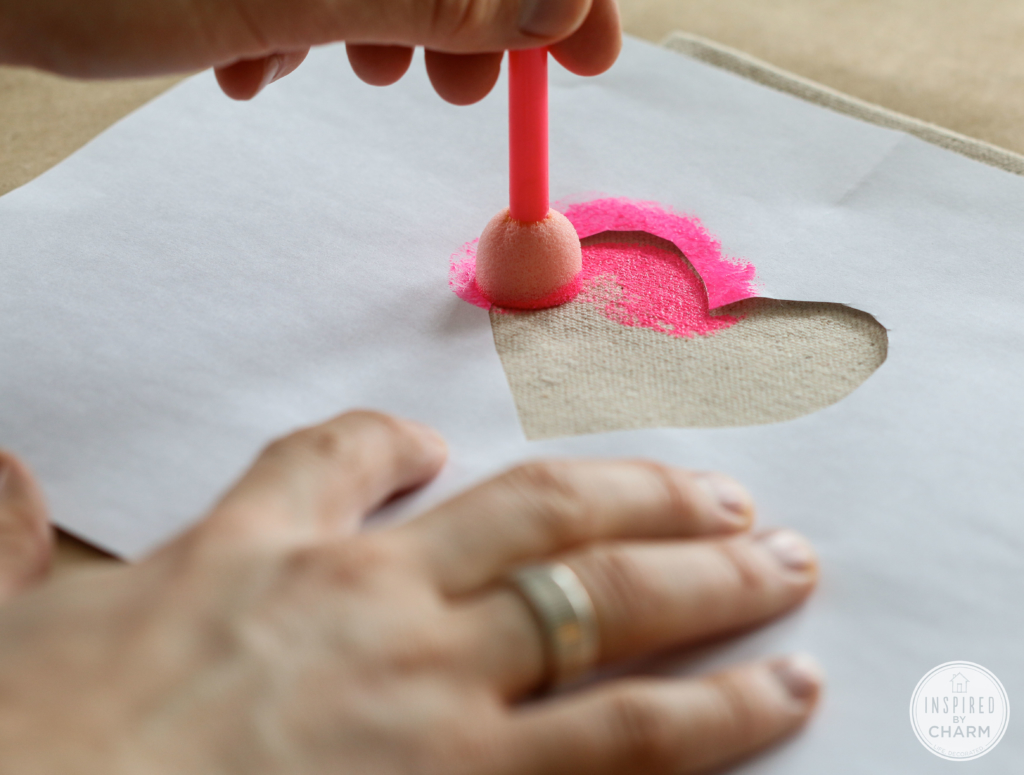
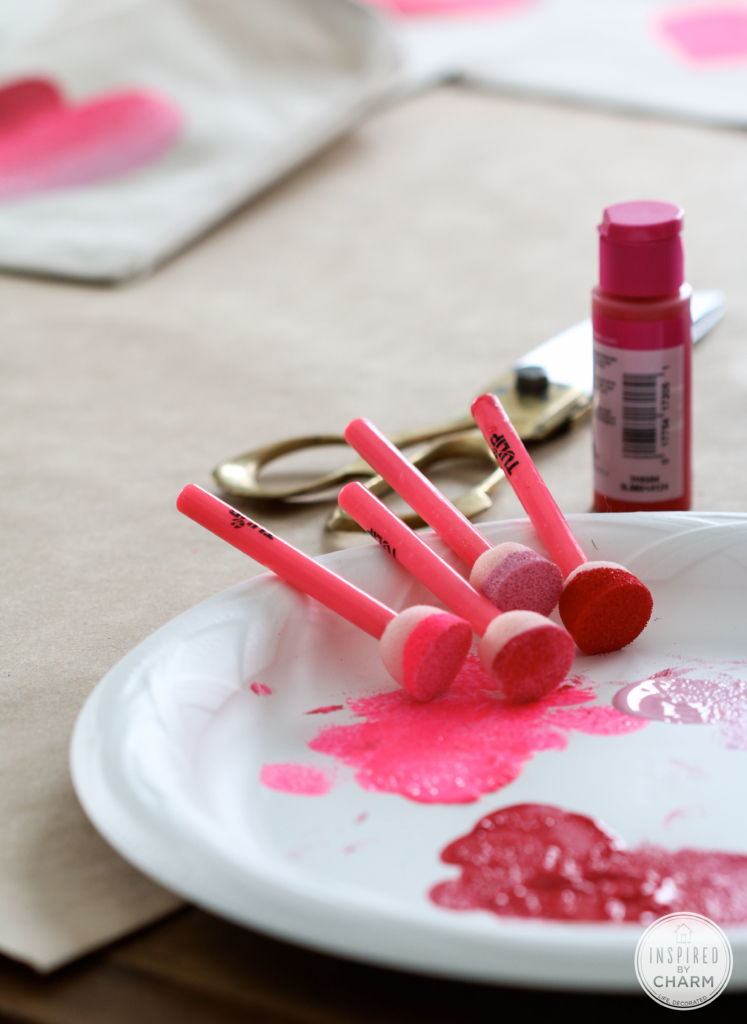
Now, you’re ready to paint. I used shades of pink and red for my bags, but you can use whatever colors that will work for your project. I prefer working with the Tulip brand fabric paint. For my treat bag artwork, I kept things simple by cutting out a heart from a piece of white paper. Using a pouncer sponge, I added in the color. Some hearts I kept solid, other I added a gradient effect.
This is where you can get creative. Draw Xs and Os, write out a poem with a Sharpie permanent marker, paint on words or “kisses” – just have fun. For my bags, I really liked the simplicity of the hearts so I went with that.
Once you are finished painting, let your completed projects dry for at least 3 hours.
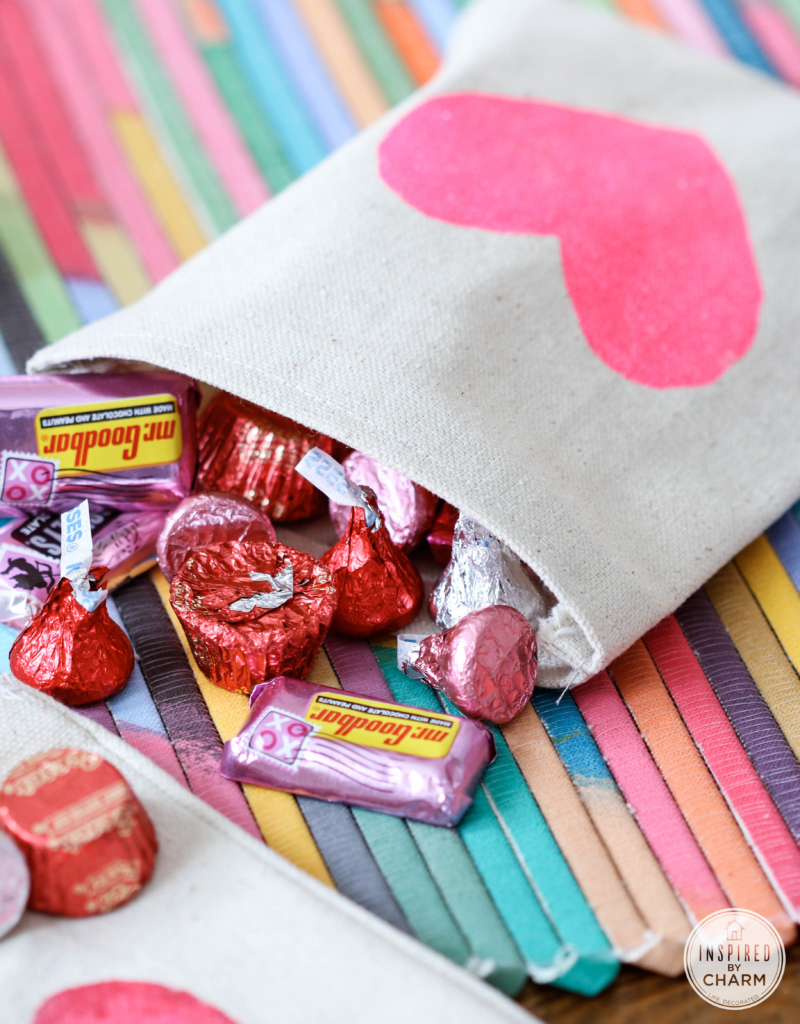
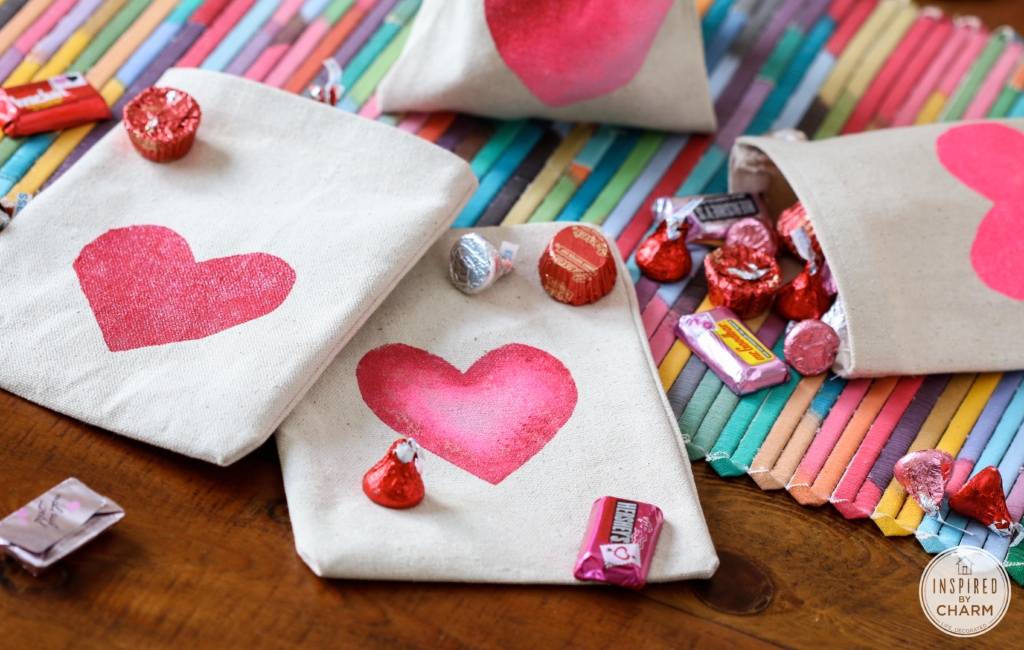
After that, your DIY Valentine Treat Bags are complete!
Aren’t they adorable?

These bags have so many fun uses, too!
First, you have your basic treat bag. Fill it with some candies and tie a ribbon around the top to seal in the goodies.
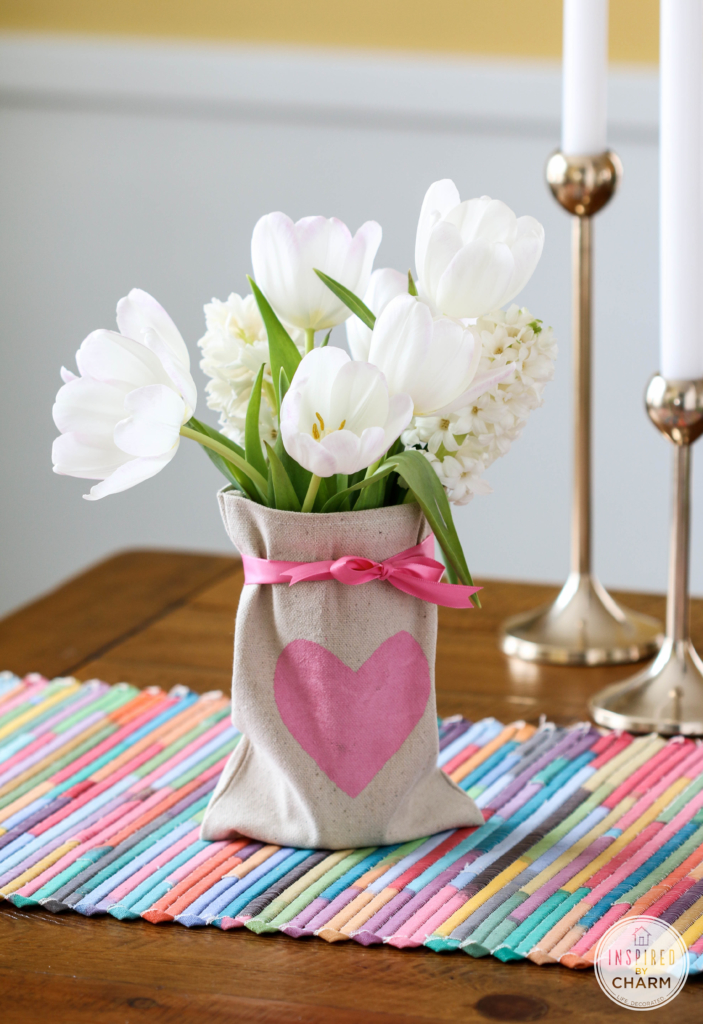
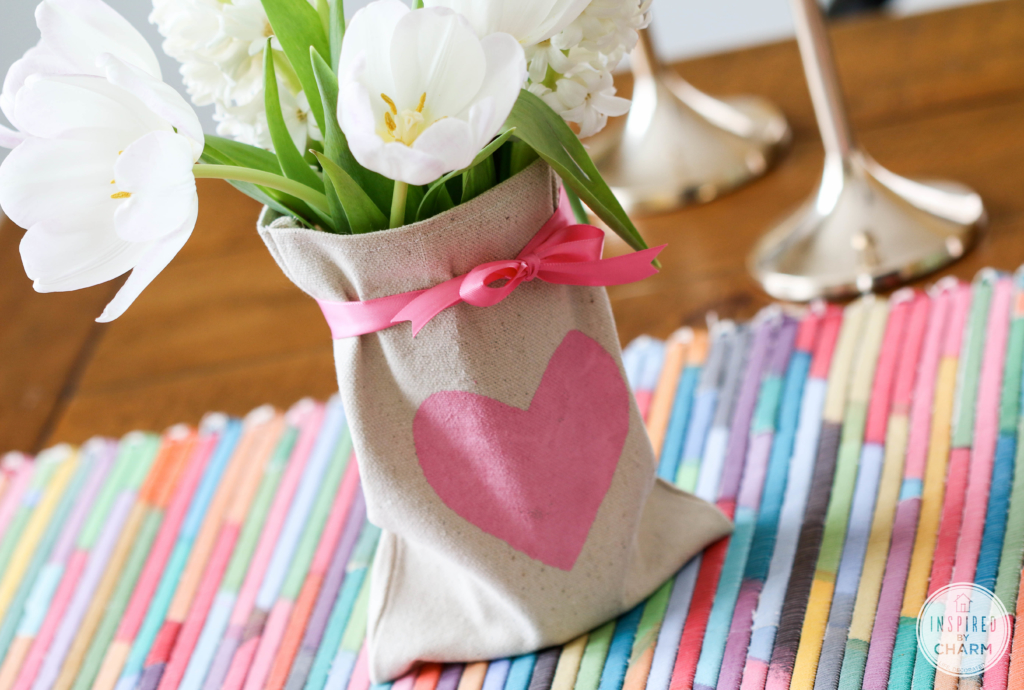
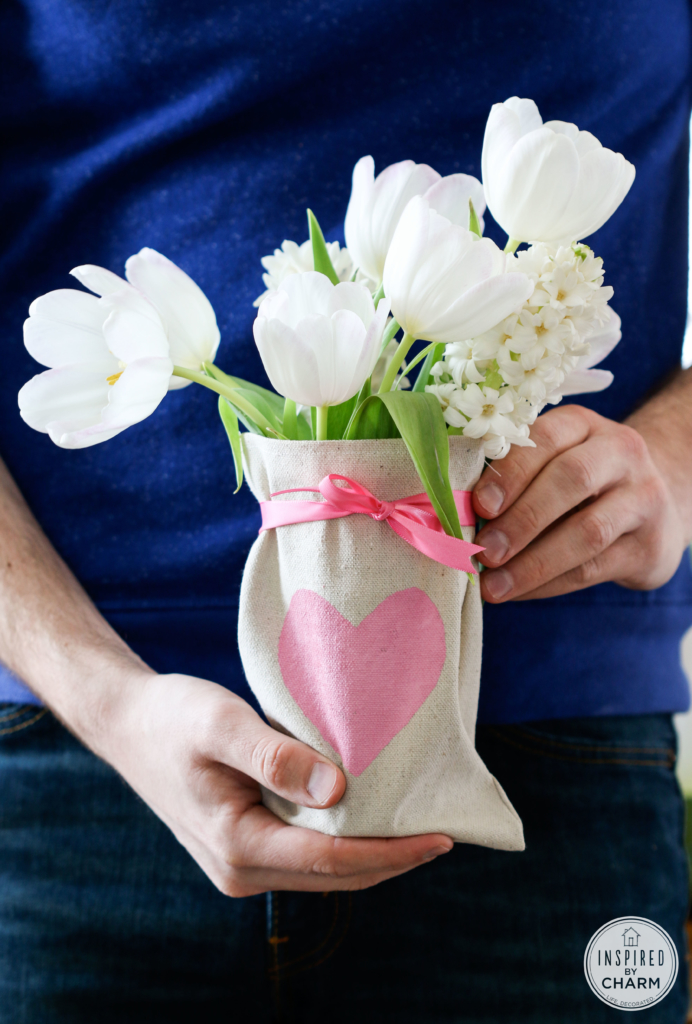
These bags also make a great vase cover. Here, I just slid a basic drinking glass inside a bag and added some water. A quick ribbon around the top and some inexpensive flowers make a beautiful and unique arrangement.
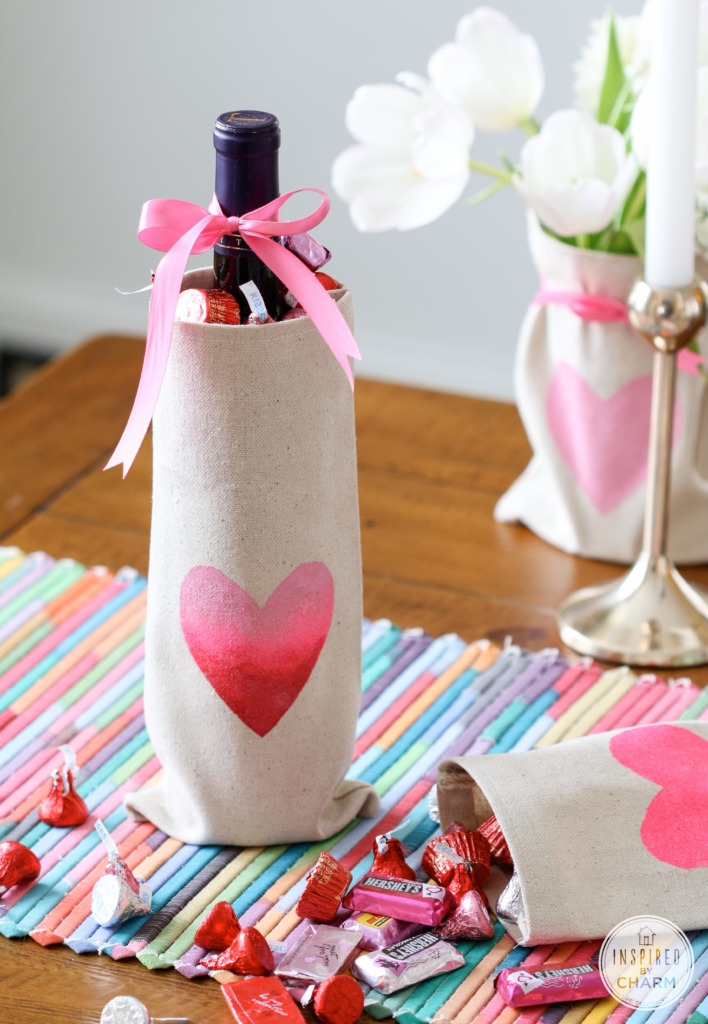
The longer bag worked perfectly for a wine bottle! A fun ribbon and some treats tucked into the top make this a delightful Valetine’s treat!
See what I mean? There are so many options.
And that “wraps” up another project here on IBC. Do you think you’ll give these bags a try?
These are TOO cute. I love the idea of using a drop cloth. I made a really simple tablecloth with them and it’s such a great fabric for projects. I think this would be a perfect treat bag for Henry-man’s birthday, too. But with tractors instead of hearts. Pinning.
Hey Kim! Yes, I love that idea. Seriously, drop cloth is the best. I want to use it for everything! I made a table runner once too. If you make the bags with tractors, I would LOVE to see them!
xo Michael
I love the vase idea! A couple of thrift store glasses, separate a bouquet, and you have yourself multiple valentines on a budget!
Perfection! That’s the way to do it!
xo Michael
Love these treat bags! Wondering if you could share the source for your pastel placemat? Sorry, it’s off the subject, but I love the colors for a project I’m doing this spring.
No problem Christine. I’m happy to! It’s from cb2.com – I got it just before Christmas.
Hope that helps!
xo Michael
Such a cute idea! I wish I would have saw this before I threw out my leftover drop cloth I had from another project.
I love drop cloths! I use them for all sorts of things too. Another fun use I can add to my list! I really love the gradient hearts especially. So cute!
These are really cute! Thanks for sharing the tutorial 🙂
Glad you like them! Thanks Terrie!
xo Michael
Adorable! I’m thinking these would be cute with other holiday stamps as well.
Totally! They’d work for any occasion.
xo Michael
I just love these, Michael! They can be so versatile and are definitely within my crafty comfort range! TFS!
Thank you Kris! Yes, this is a simple DIY. Enjoy!!
xo Michael
These are really creative Michael, I would have never thought of using a drop cloth to make something so sweet. Pinning!
xo, Tanya
Thanks Tanya – drop cloth works for so many fun craft projects!
xo Michael
These are super cute, Michael! LOVE the wine bag one especially. I’m a big fan of Valentine’s Day, so I’m crazy for anything hearts and chocolate and red wine. 🙂
Well, I pretty much covered it all then. 🙂 Thank you Deb!!
xo Michael