DIY Jack-O’-Lantern Garland
This Post May Contain Affiliate Links. Please Read Our Disclosure Policy
Learn how to make a DIY Jack-O’-Lantern Garland to decorate your home for Halloween. Download the free SVG to quickly cut the pattern using a paper cutting machine.

Jack-O’-Lantern Garland:
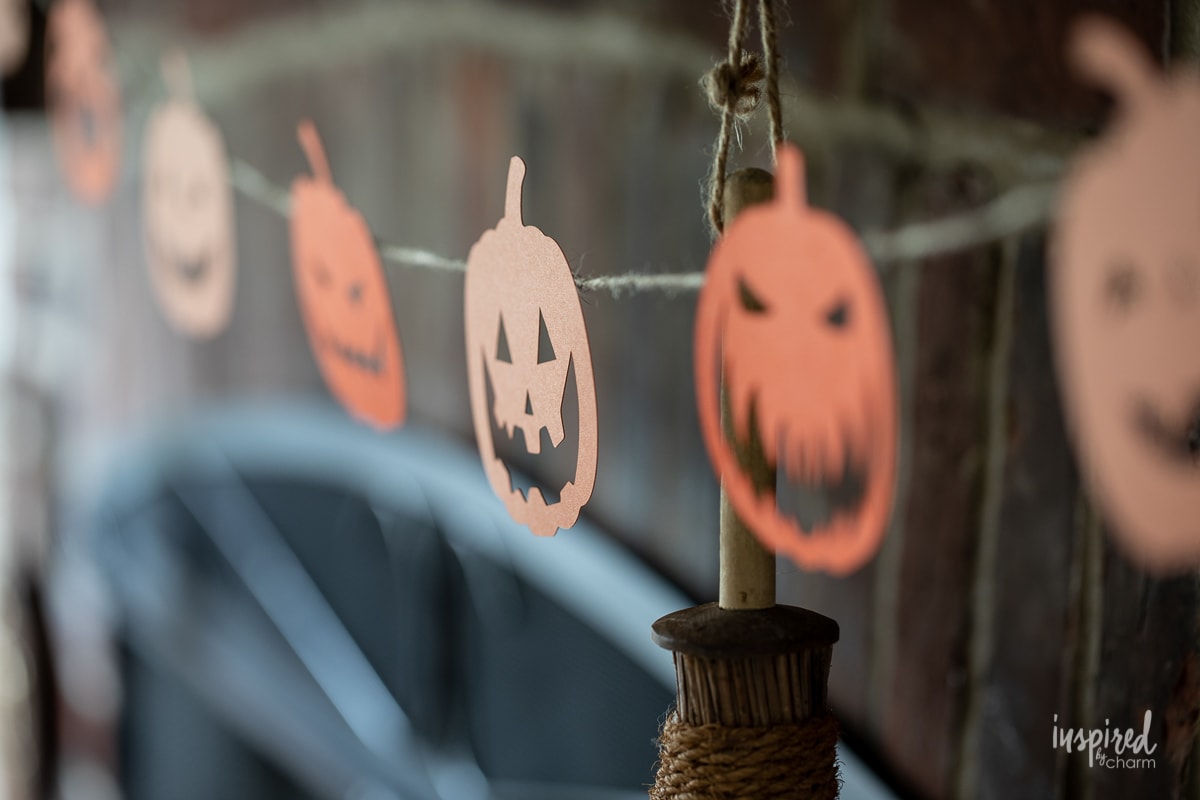
Yes, friends, we are crafting today. Crafting is good for the soul, plus the result can lead to beautiful seasonal home decor like this fun Jack-O’-Lantern Garland. Using my Brother ScanNCut paper cutting machine, I was able to whip up this garland in under 30 minutes I love projects like this. Big impact, little time!
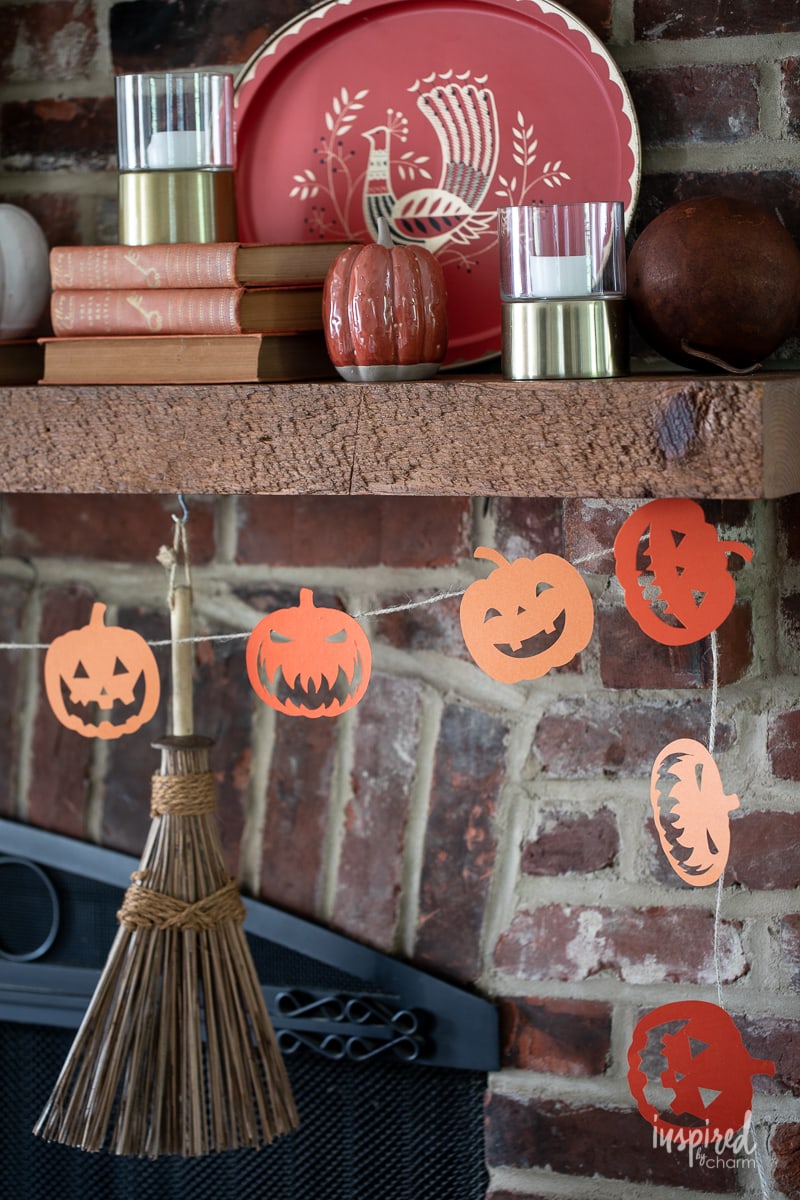
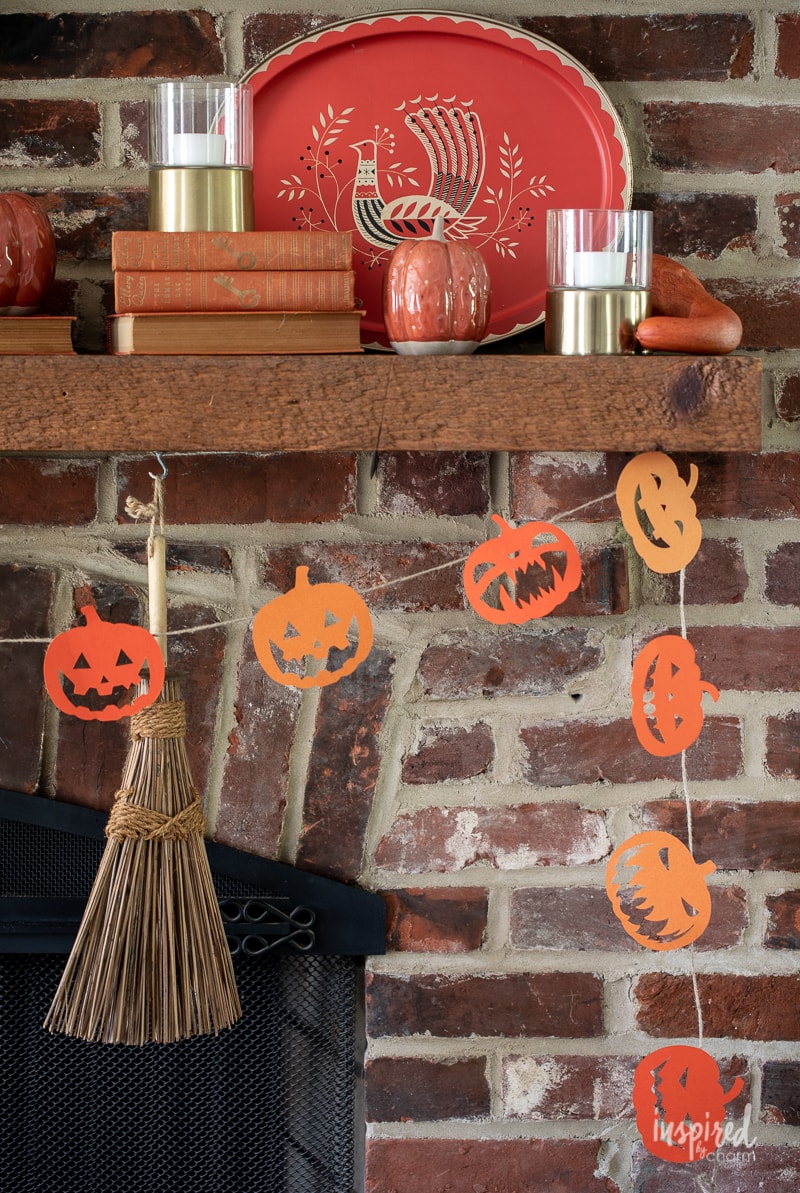
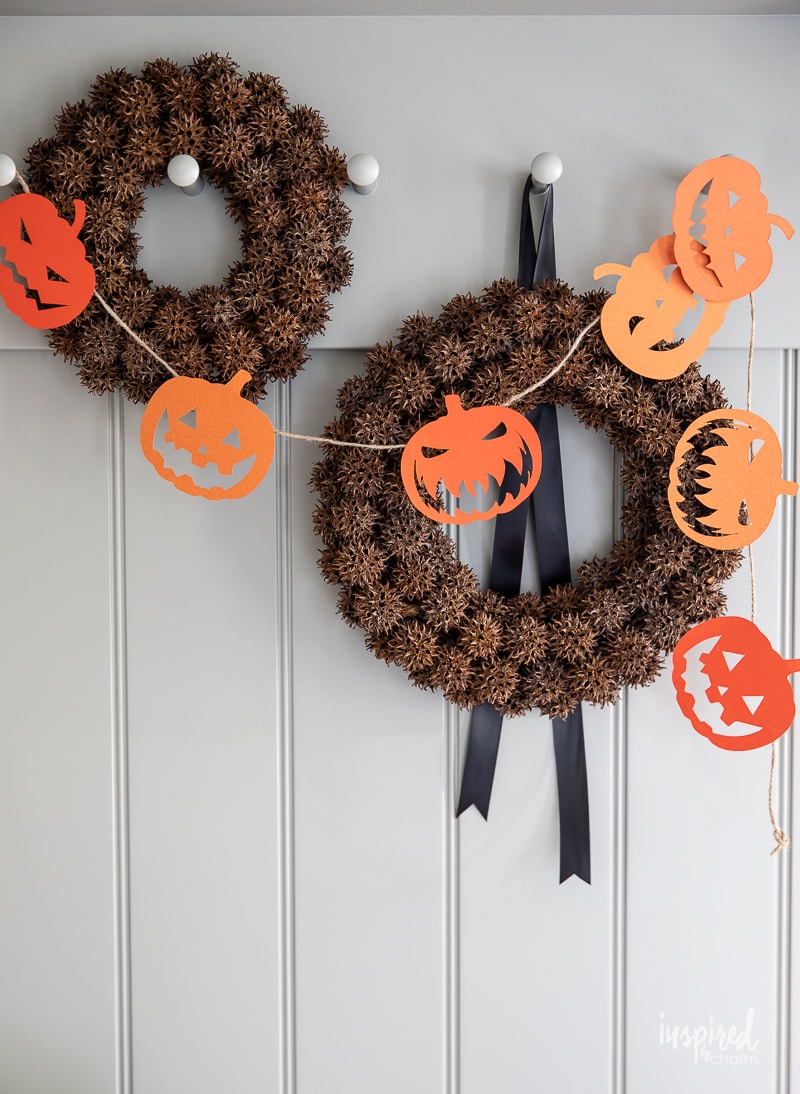
You can use this Jack-O’-Lantern Garland to adorn a mantel, door, or headboard. The garland would also be perfect for Halloween party decor!

I’m going to show you how to make this festive garland and share the SVG file as a free download so you can craft the garland using your cutting machine. (Although I love the Brother ScanNCut, this file should work with any cutting machine you may have.)
Sidenote: Brother just released an all-new machine, the ScanNCut SDX85. It’s a more affordable option if you’re looking to get a machine. I have this machine as well as the SDX125.
Let’s get started on this project!
How to Make Jack-O’-Lantern Garland:
For this project you will need:
- SVG File (Download details are below.)
- Paper cutting machine
- Craft paper in your choice of color
- Tape (or glue)
- Twine (or string)
Start by downloading the SVG file. Transfer the file to your cutting machine. (This procedure will vary for different machine brands and models.)
Jack-O’-Lantern SVG Download:
You can access the download in the IBC Printable Library, which can be found HERE.
If you’re new to Inspired by Charm, you can get access to this library by SUBSCRIBING HERE. Once you’ve subscribed, you will immediately receive an email that contains a link to this download.
If you’re already on the IBC Mailing List, you can find the password to access the library at the bottom of any email from Inspired by Charm.
Next, load the craft paper onto the cutting mat, insert the mat into the machine, and cut out the design.
💌 SAVE THIS POST / RECIPE!
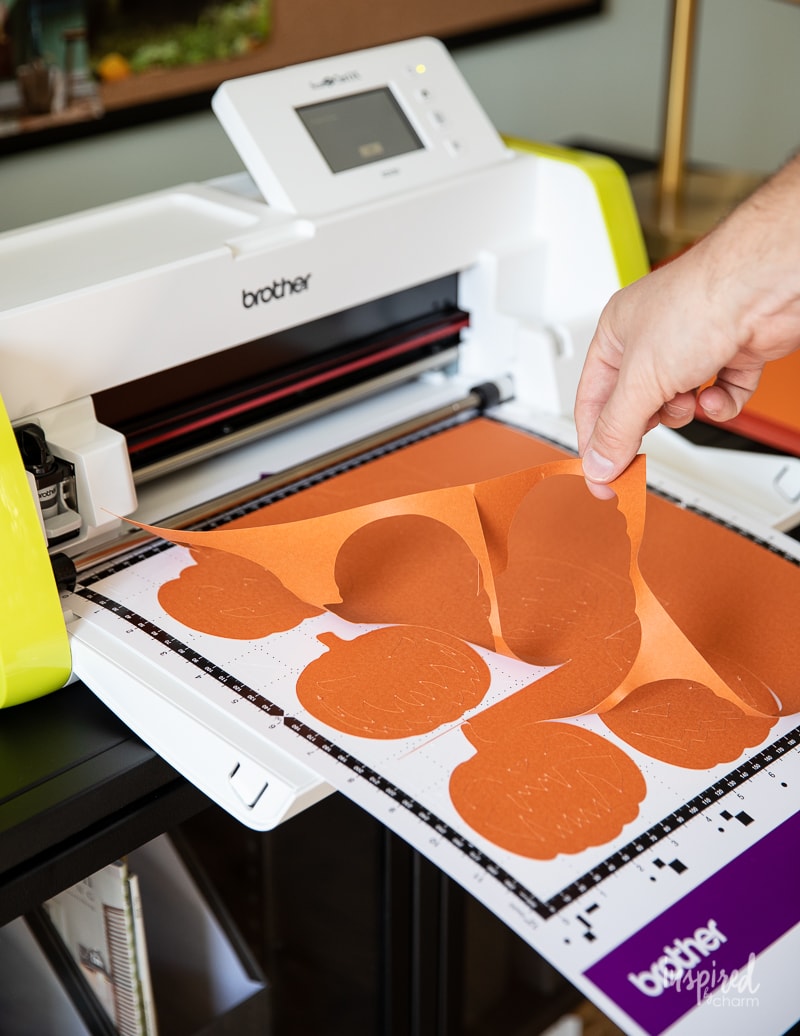
Remove the excess paper from the cutting mat and then remove the jack-o’-lanterns.
Next, attach the twine to the back of the paper jack-o’-lanterns using tape or glue.
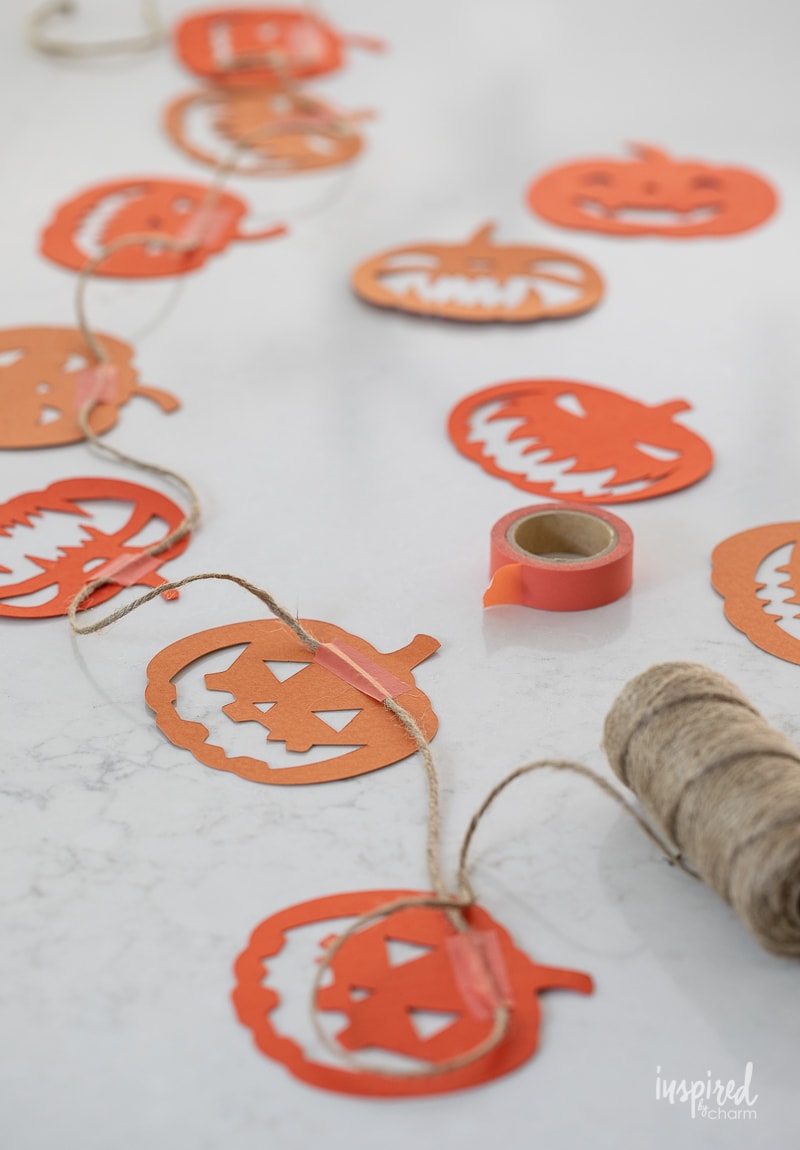
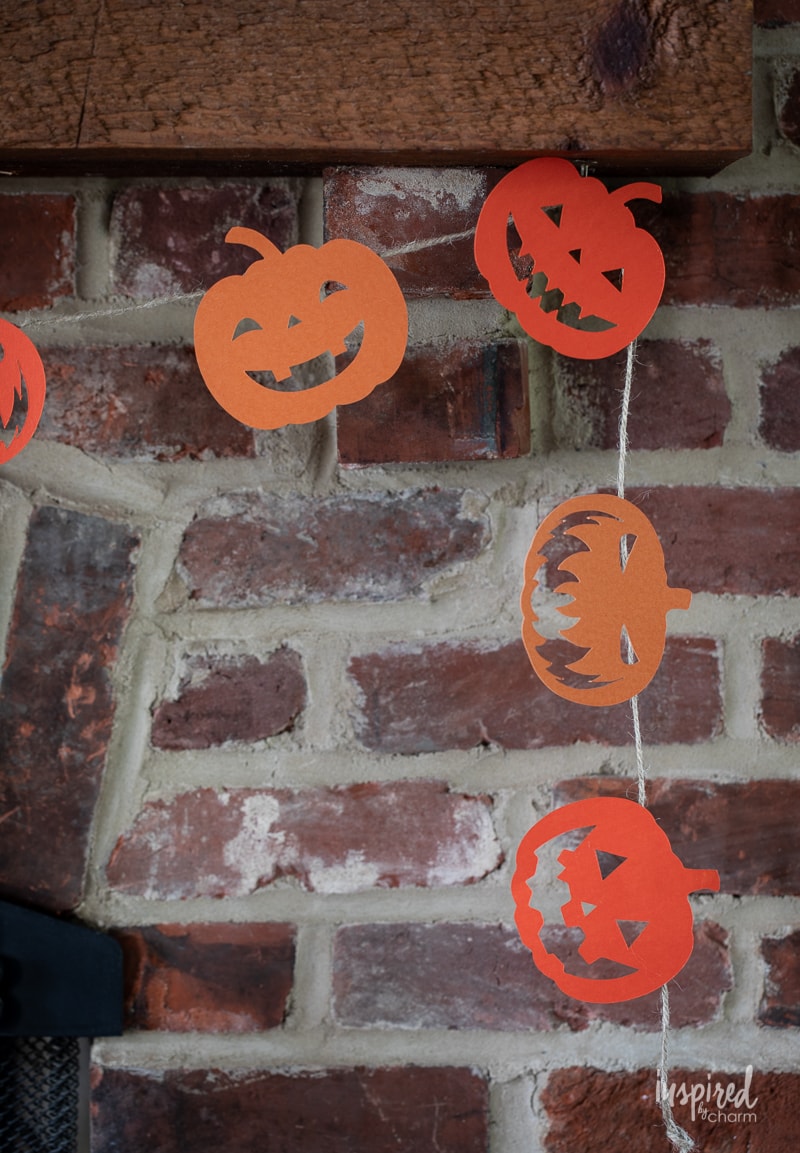
As you can see, I made jack-o’-lanterns from two different orange papers. I alternated the colors when attaching the jack-o’-lanterns.
(In my pictures, you can also probably tell that I used washi tape. This wasn’t as strong as I would have liked for this particular application. For a thicker twine, I would recommend hot glue or a stronger tape (maybe Scotch Magic Tape or another brand of cellophane tape).
And with that, the DIY Jack-O’-Lantern Garland was complete. I’d say it’s pretty spooktacular, wouldn’t you?
One of the many things I love about crafting is that there’s always room for artistic interpretation. Feel free to try different colors and types of paper to suit your style and decor. You can even attach the jack-o’-lanterns to a different type of string or use string lights instead of twine.
Make the final product work for you and your space. Get creative and enjoy the process!
Looking for more Halloween DIY Projects? Try these:
- Printable Halloween Recipe Cards
- Halloween Flower Arrangement
- Spider Cheeseballs
- Halloween Treat Buckets and Luminaries
- Chocolate Skull Cake
I hope you like this fun and easy DIY Jack-O’-Lantern Garland project. Give it a try and be sure to share your results with all of us on Instagram by tagging @inspiredbycharm.
Happy Crafting!
Want More from Inspired by Charm?
I’m so happy you are here! Are you looking for more ways to create your happy place? Be sure to join the IBC Mailing List so you never miss a thing. You can also find me on social media for daily updates.
Connect with Michael! Instagram // Facebook // Pinterest // Twitter
Too cute🎃
I love the two shades of orange and different facial expressions. Better then anything I saw on Etsy.
Thank you, Sherry!!
xo Michael