DIY Colorblock Tray
This Post May Contain Affiliate Links. Please Read Our Disclosure PolicyI was so glad to hear that lots of you are excited about 31 Days of Home. October should be an amazing month. Thanks to many of your ideas yesterday, my editorial calendar is already filling up.
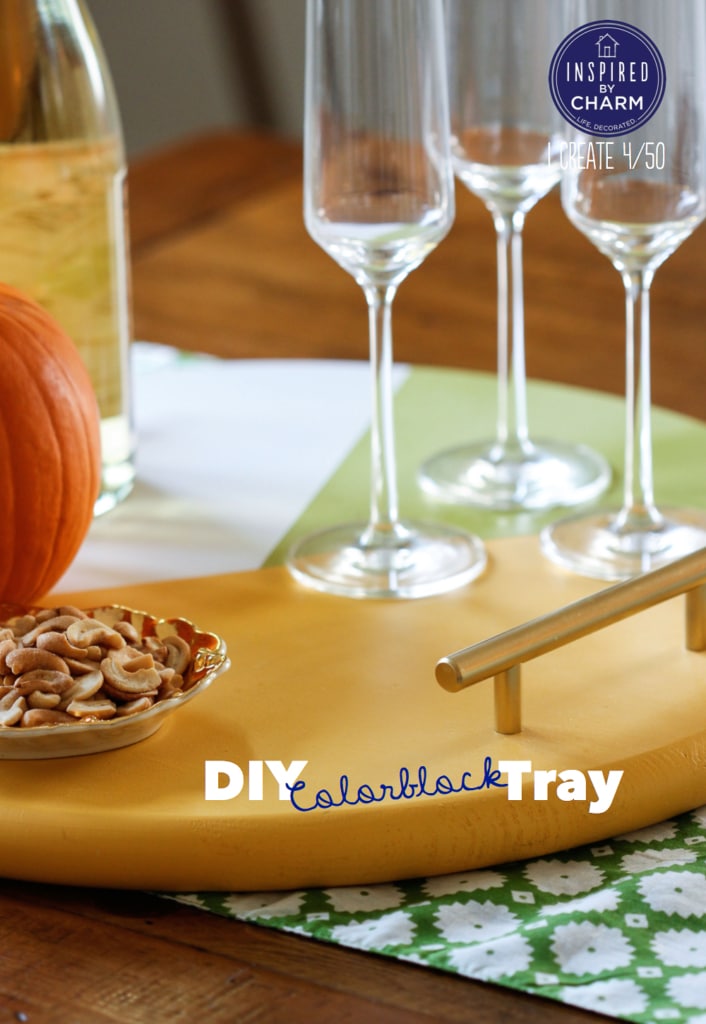
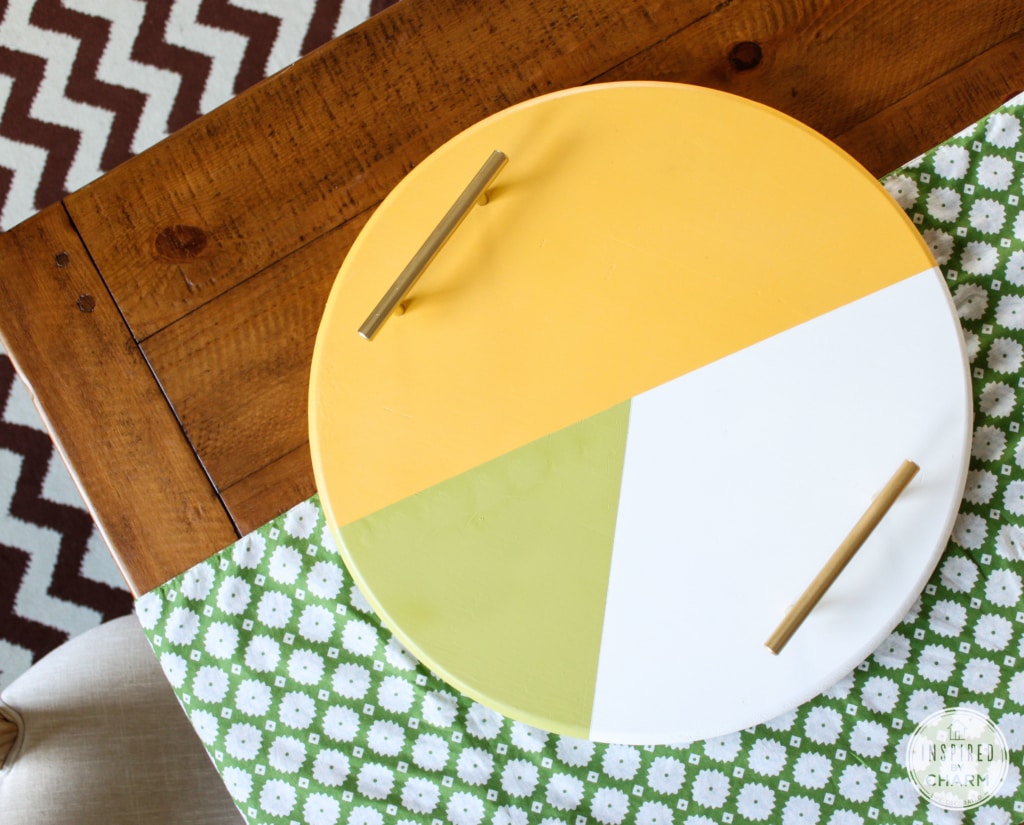
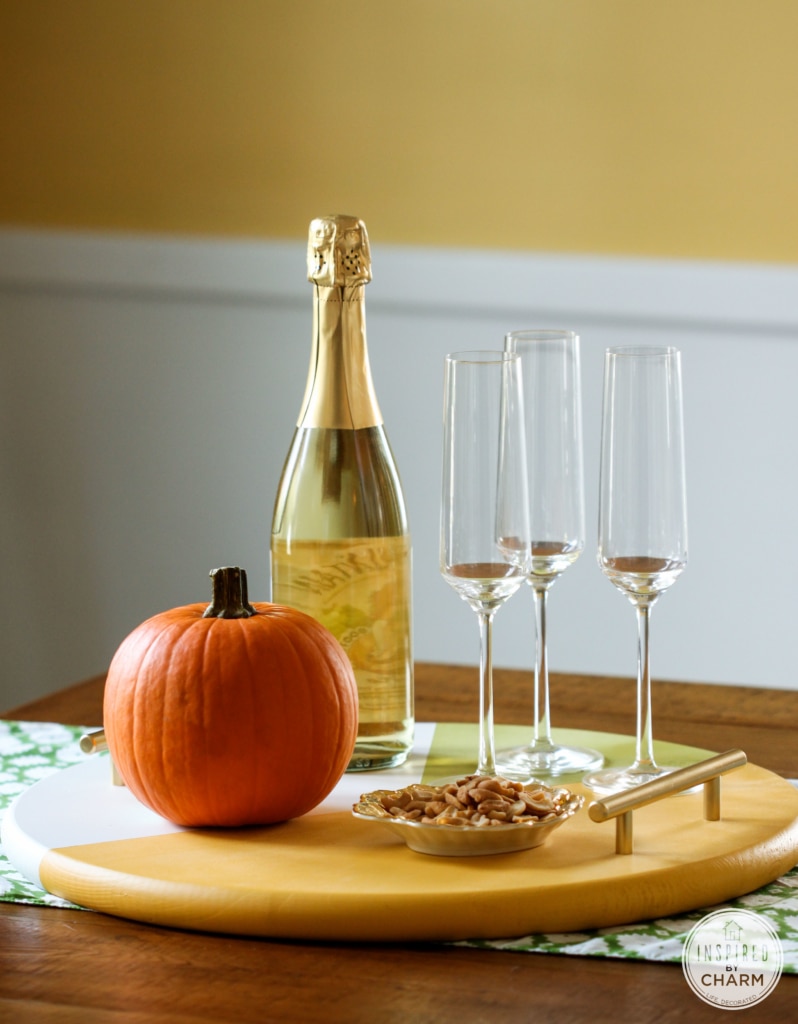
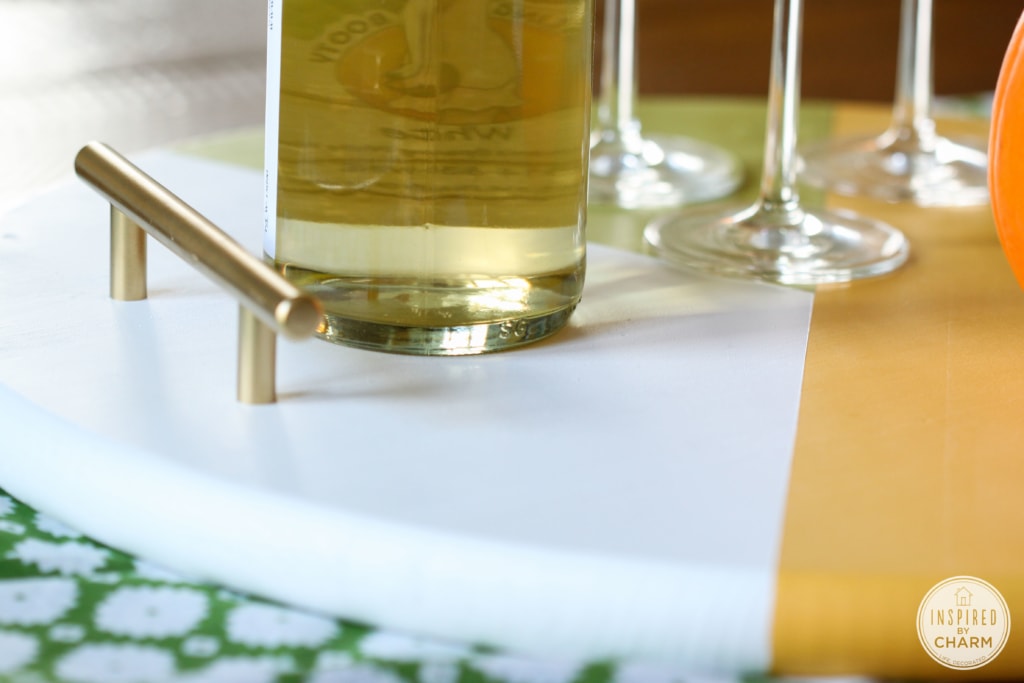
I am beyond thrilled with how it turned out. Not only am I obsessed with the orange and green combo, but the gold handles just take this piece over the top in the fabulousness department. Let me show you how easy it is to make.
DIY Colorblock Tray
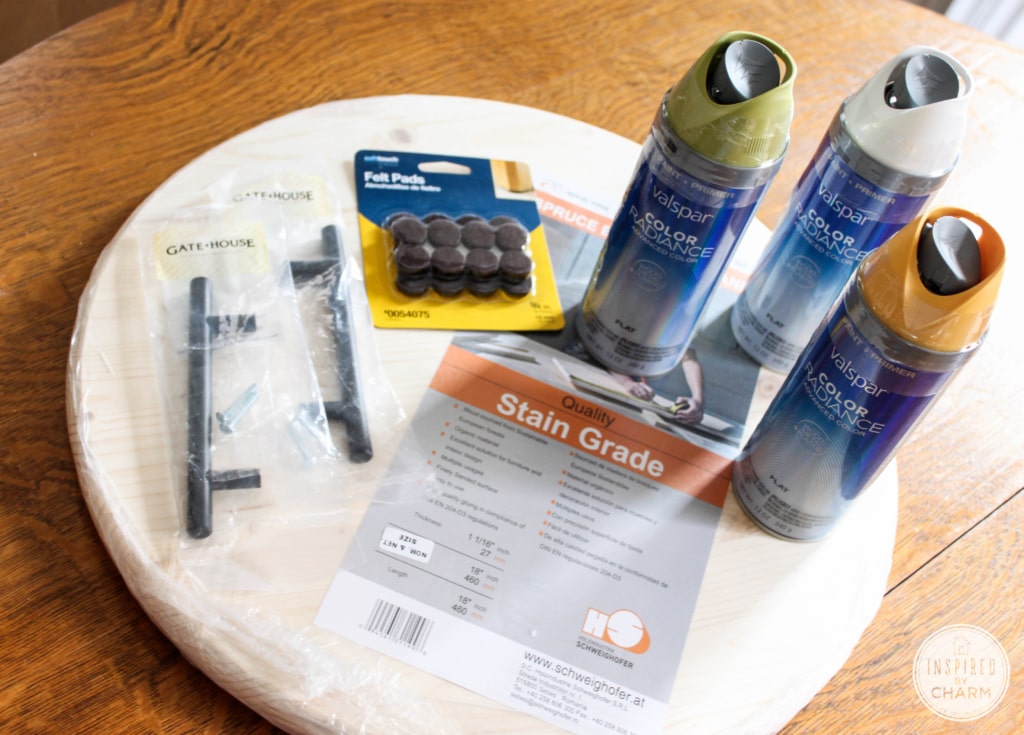
Here’s what you will need:
Large round wood disk
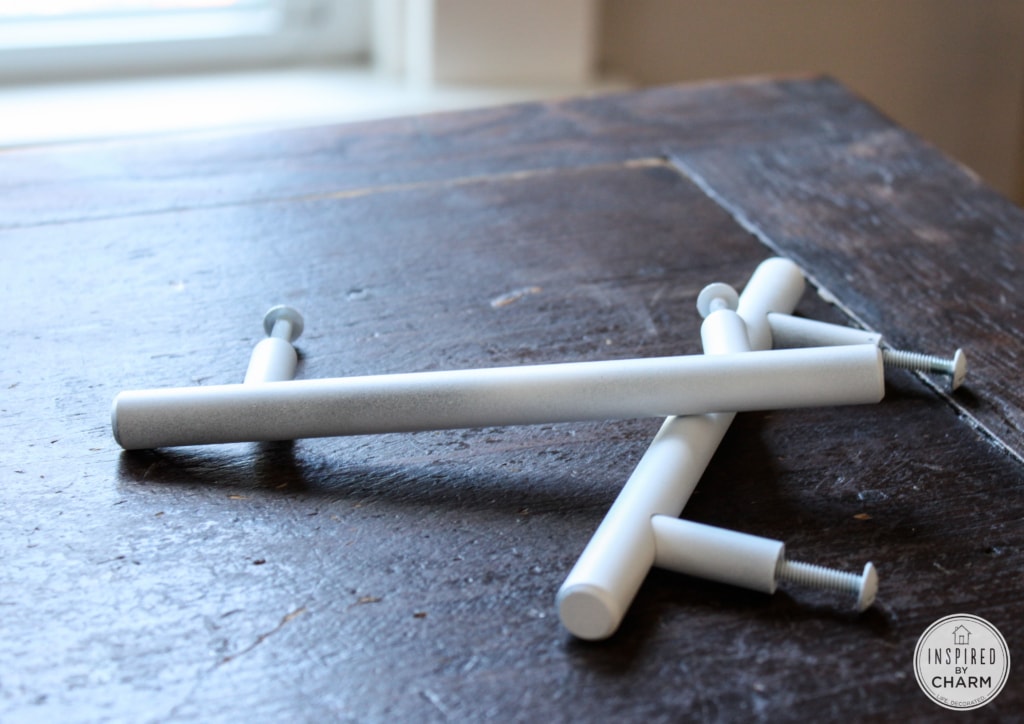
Two drawer pulls (to use as handles)
Spray paint (Primer, three colors of your choice and gold)
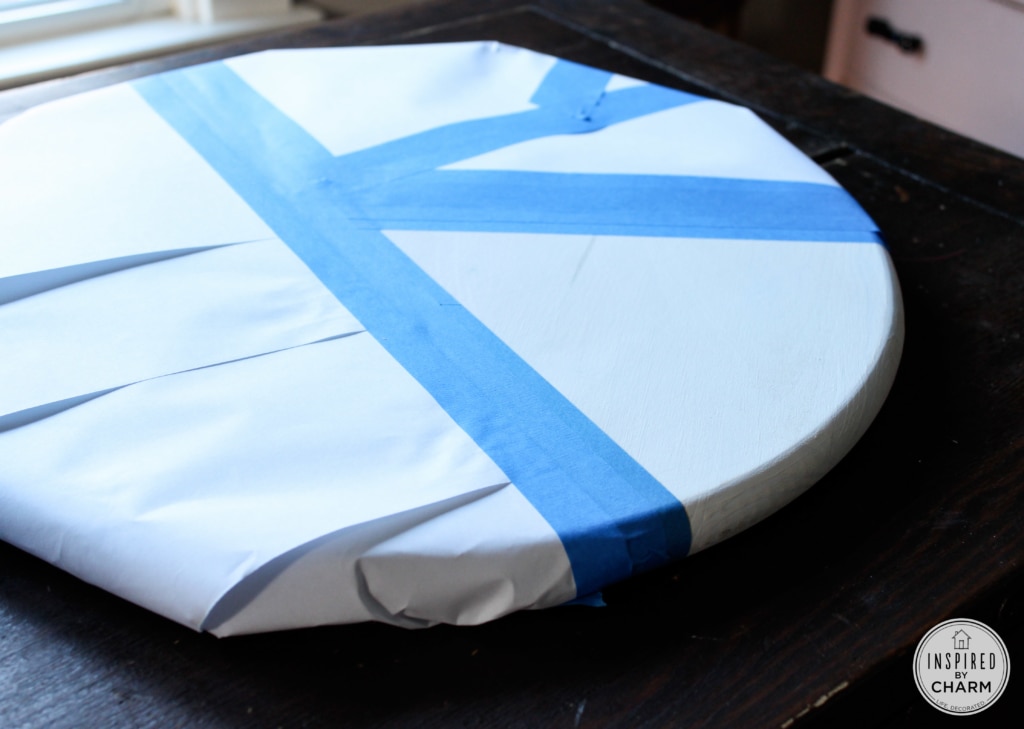
Painter’s tape
Handheld drill with drill bits
Felt pads
Measuring tape
Screw driver
Pencil
Let’s get creating!
First, give the wood disc a light sanding to remove any rough patches.
Next, spray both sides of the disc with primer. You’ll also want to coat the drawer pulls with primer if you have decided to paint them.
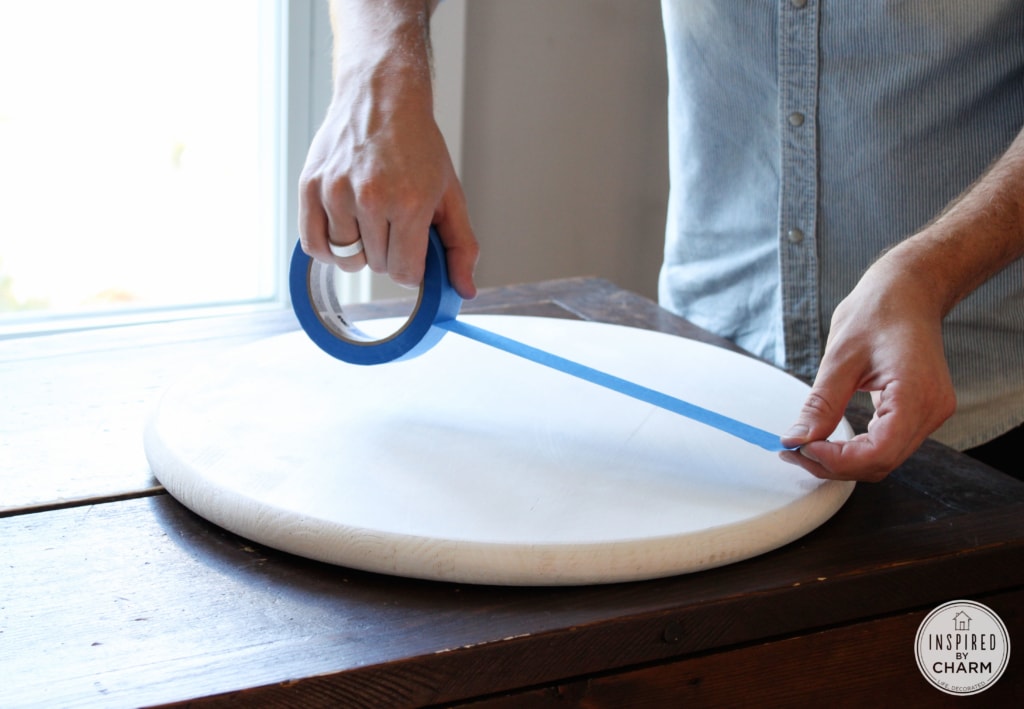
Once everything is dry, tape off the first section of the disc. Use scrap paper to cover any areas you do not want painted.
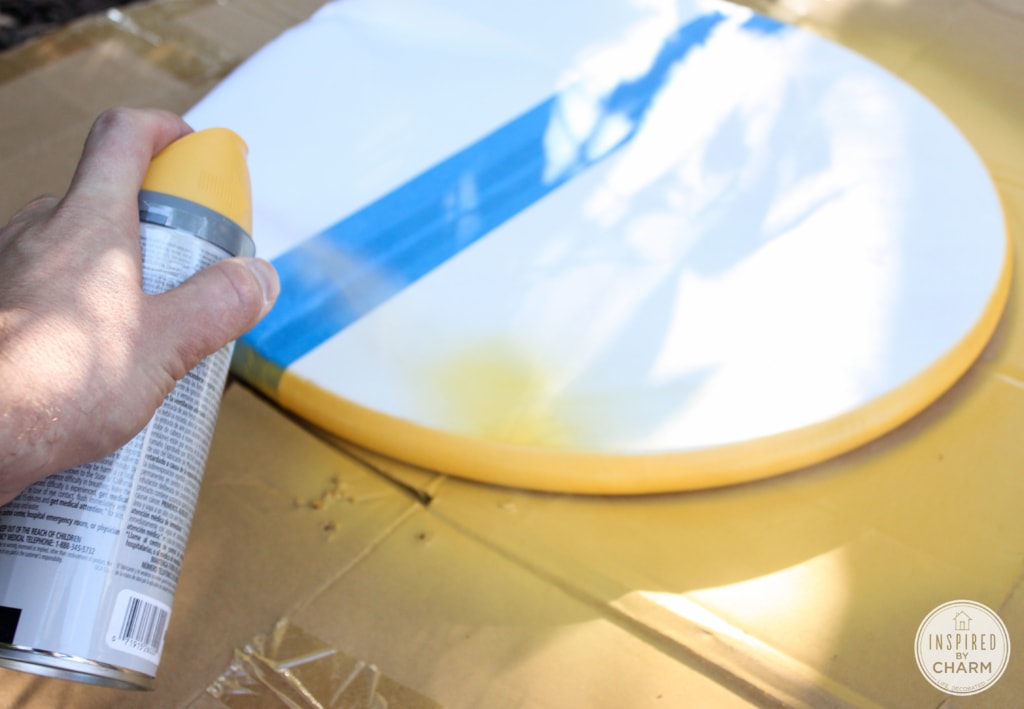
Then, start painting. When using spray paint, I recommend several very light coats instead of one heavy coat. This will make the drying process much quicker. Plus, you won’t have any issues with running paint.
💌 SAVE THIS POST / RECIPE!
Meanwhile, paint the drawer pulls gold (or the color you’ve chosen). To do this, I inserted a screw into each handle. Then, I tied a string to the screw and hung handle from a tree branch. This made the coverage quick and easy.
Once the first section of paint is dry on the disc, tape off the next one. Again, be sure to cover all of the other areas with paper to avoid any overspray.
Repeat this process for the final section of the tray.
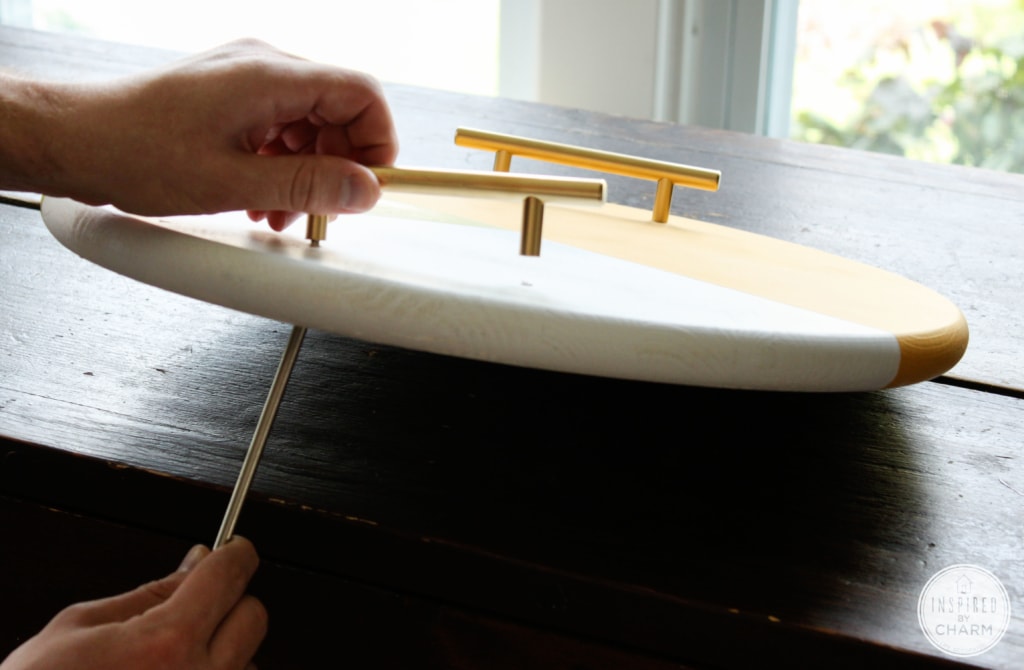
Once everything is completely dry, find the location on the tray where you’d like each of the handles. Use a measuring tape to space them out evenly. Mark the locations on the tray with a pencil. Then, using a drill, make holes big enough for the screws provided with the drawer pulls.
Attach the handles with a screwdriver.
Finally, add four felt pads to the bottom of the tray.
I love this project for so many reasons. First. It’s super simple – it just takes a little patience as you wait for the paint to dry. If you can, give yourself a few days to complete this to allow some of the paint to dry over night. This will prevent any paint peeling off with your tape.
Second, this project is completely customizable. You can choose any color or pattern that you like. Plus, you can have a blast playing around with different handles and finishes. You know how much I love gold these days so that was a no-brainer for me.
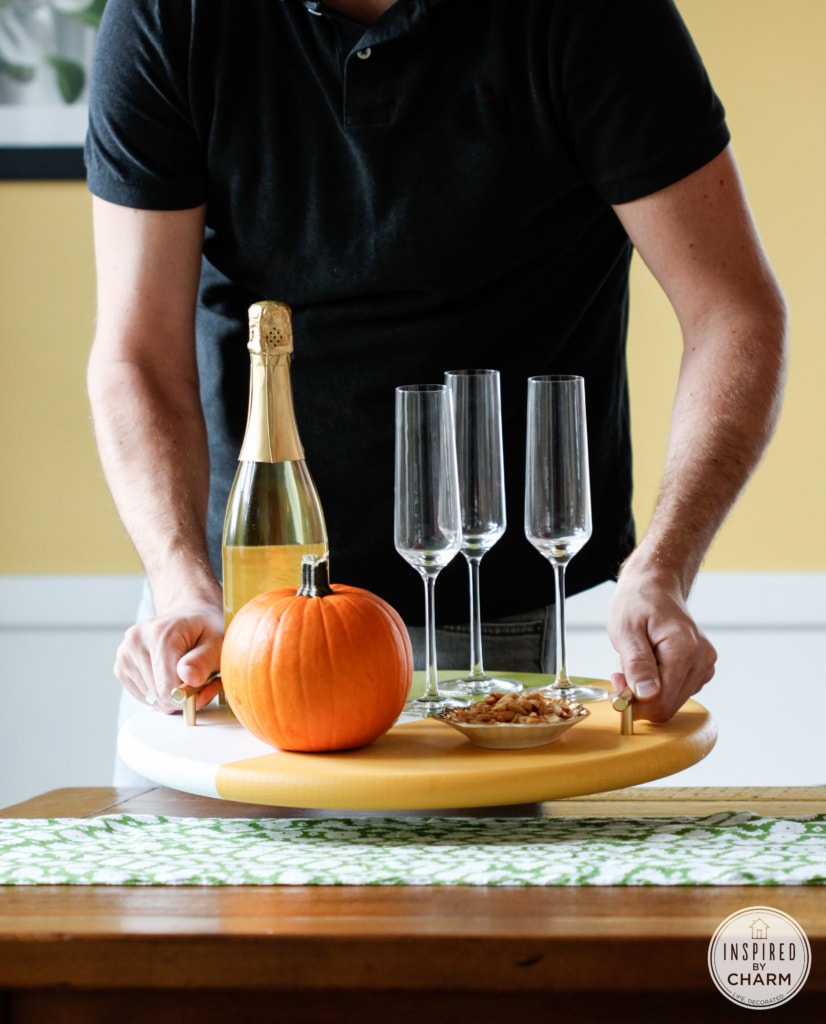
Lastly, this tray is extremely versatile. You can use it like I did as a beverage platter, set it on your coffee table to hold magazines, or even use it on your dinning room table as a centerpiece. The options are endless.
What do you think of my fun, new, and colorful tray?
You actually make it seem so easy with your presentation but I find this topic
to bbe actyually something which I think I would never understand.
It seems too complex and very broad for me. I’m looking forward for your next post, I’ll ttry
to get the hang of it!
The perfect project for my recent spray paint addiction! 🙂 Thanks.
Had to say hello once again! Saw you in the lineup… so happy you came over for a visit! Hope that awesome tray is hustling around some nice summer treats this fine weekend! 🙂
Found you in BHG’s November issue. What a great and simple project! You can even use this tray on a dresser to organize perfumes and jewelry and all that bling!
Yay! So glad you saw me there! Thanks so much. 🙂
xo Michael
LOVE THIS! Pinned in one of my secret boards, ’cause it WILL be a holiday gift. Maybe two. Thanks, as usual for the inspiration!
Yes, Barbara. These would make such great holiday gifts! Have fun making them.
xo Michael
This is so cute! I love it! Such a simple project as well. Now I am just trying to figure out if I could be able to use something like this at home (without turning it into clutter)
I hear you. That’s always my thought with craft and DIY projects. I try and figure out a few uses /places for something before I create it. Same goes with buying an antique. If I have a few options or ideas for it. It’s bound to work somewhere.
xo Michael
Very clever! The design is so chic! Nicely designed, M!
Thanks so much D. 🙂
xo Michael
Great tray Michael, and it looks so easy to do!
Kristi
Thanks! It certainly wasn’t too daunting.
xo Michael
Gosh! You did it again!! You are awesome!!! I love this tray!!! Now……. where do I find that piece of wood here in Mexico!! In a very small town!!!!! Need to start looking for woodshops around here. I have a few ideas now…………….. Let me tell you I am looking forward to the 31 days!!!!!!!!!! Way to start this month!! I have to go take care of my kiddos meanwhile. Tomorrow I will start the search 🙂
Aww. Thanks so much Giselle. Do you have a home improvement store in your area? They should have one, or be able to get you one. If not, I’m pretty sure you can buy anything online these days. Good luck!
xo Michael
This is seriously awesome. And EASY. I love easy so so much. Almost as much as I love gold handles.I can see my whipping these up for every single party. And downing the champs while I’m at it.
Thanks so much Shannon. And you could easily make these for every party for sure! The champagne is essential for sparking creative ideas. 😉
xo Michael
Your tray is a work of modern art! Thanks for sharing this doable project. Love your blog.
That’s quite the compliment! Thank you so very much!
xo Michael
Love it. Fun idea. I gotta start trying some of these ideas. This would actually make a great hostess gift. Oooh there’s another idea for your 31 days. Hostess/Host gifts you can make at home.
Yes! A hostess / host gift! It would be perfect. Even better if you brought it with a plate of cookies.
xo Michael
Love this and all of the possibility that goes along with it. Pinning!!
xo
You got it Claire! Thanks so much!
xo Michael
I LOVE it!!!! so creative and everyone can personalize it the way they want!!!
Yep! Exactly! Thanks. 🙂
xo Michael