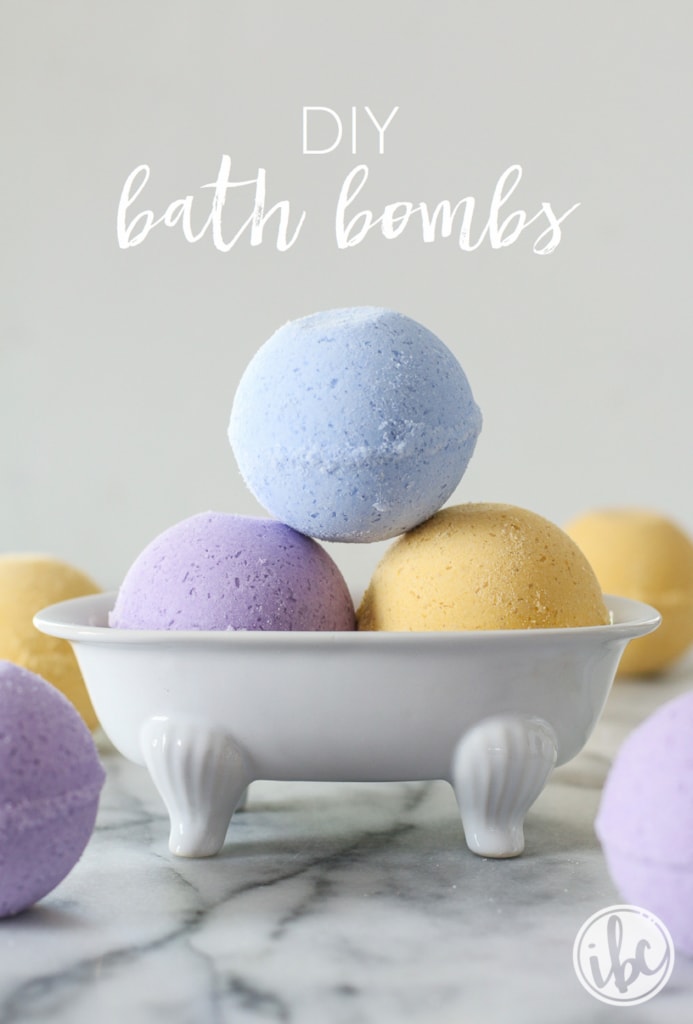
DIY Bath Bombs
This Post May Contain Affiliate Links. Please Read Our Disclosure Policy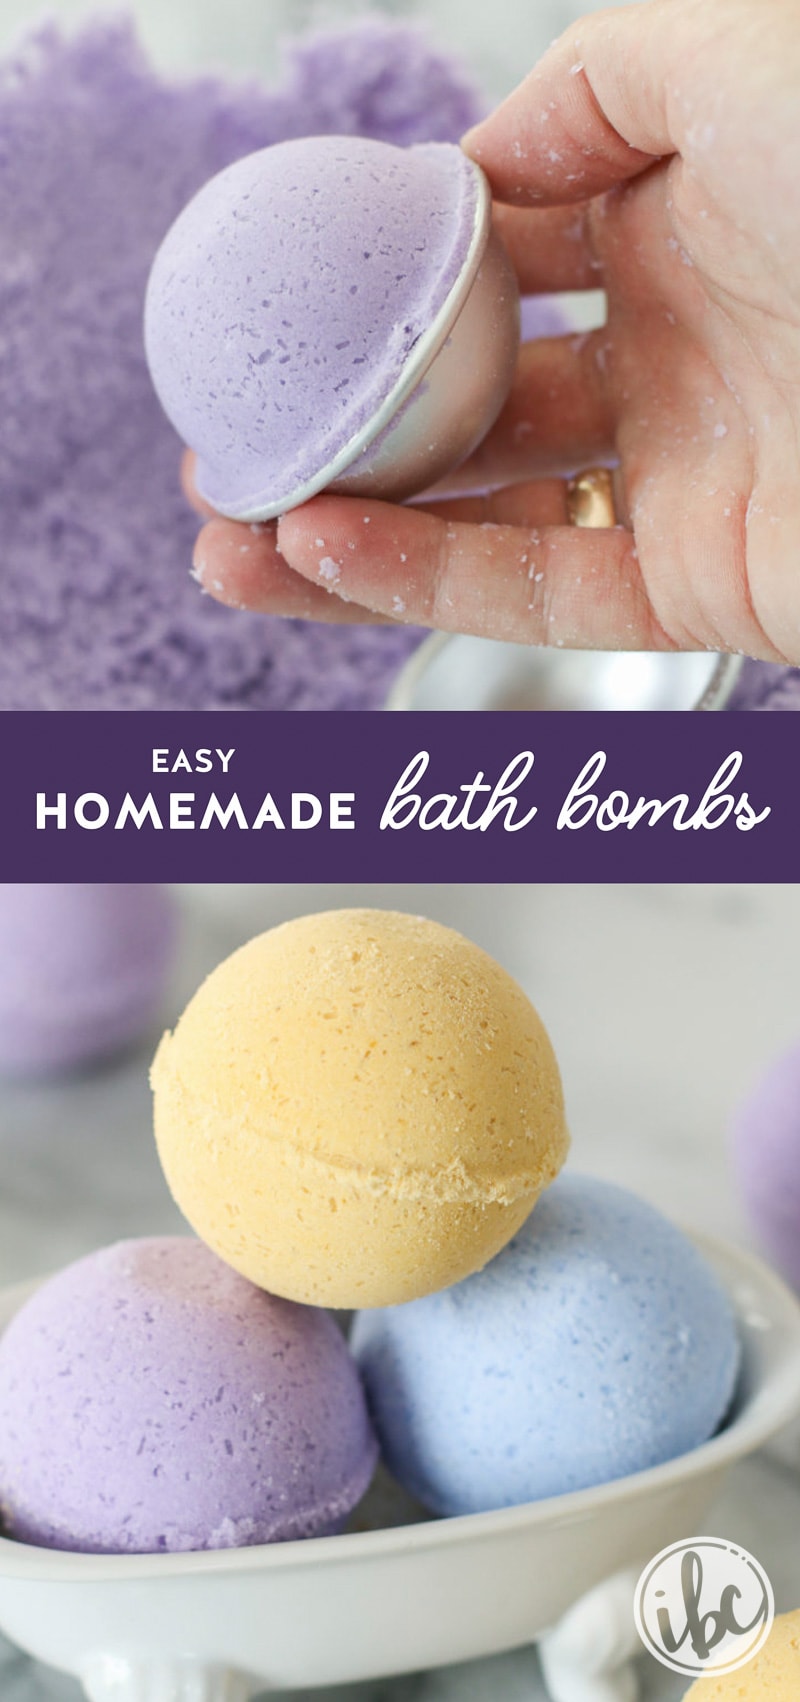
Luxurious and fragrant, make DIY bath bombs for any mood or season. This homemade bath bomb recipe never fails, and it’s super-easy to change it up with different scents.
Bath bombs DIY
Who else loves relaxing in a steamy bath with some fizzy bath bombs? There’s nothing like setting the mood with a glass of wine, some candles, and your favorite book or music.
To make the experience even more special, toss one of these DIY bath bombs into the water. The fizzy bubbles, essential oils, and beneficial minerals are a treat for the senses.
Today, I’m going to show you how you can create your own custom bath bombs at home. If you’re anything like me, maybe having these on hand will encourage you to decompress a bit more frequently.
Bring some relaxation into your home and create a spa-like experience whenever you need it. I’ll show you how to make your own DIY bath bombs with this easy tutorial.
If you’re feeling intimidated by this process, don’t be. These are so simple to make and really easy to customize. Let me show you.
Ingredients
First, gather all of your ingredients. I found everything online and linked things up below to make it easy for you. (This post contains affiliate links.)
- Baking soda: This helps add the fizz. Make sure it’s baking soda, not baking powder.
- Citric acid: It works with the baking soda (they neutralize each other) to create an incredible fizz.
- Epsom salt: There are powerfully relaxing properties in Epsom salts.
- Cornstarch: This helps all the ingredients stick together.
- Coloring pigment: Just for fun, colo can give you a visual clue about the scents.
- Almond oil: Incredibly beneficial for your skin, almond oil can help moisturize your entire body as you soak.
- Essential oils: Each oil has different properties. Choose the oils that match your needs, whether it’s relaxation, improved focus, or renewed energy.
- Bath bomb molds: Totally essential to give them the classic round shape!
How to make DIY bath bombs
You will find a full ingredient list and detailed instructions for these homemade bath bombs in a printable recipe card at the bottom of this post.
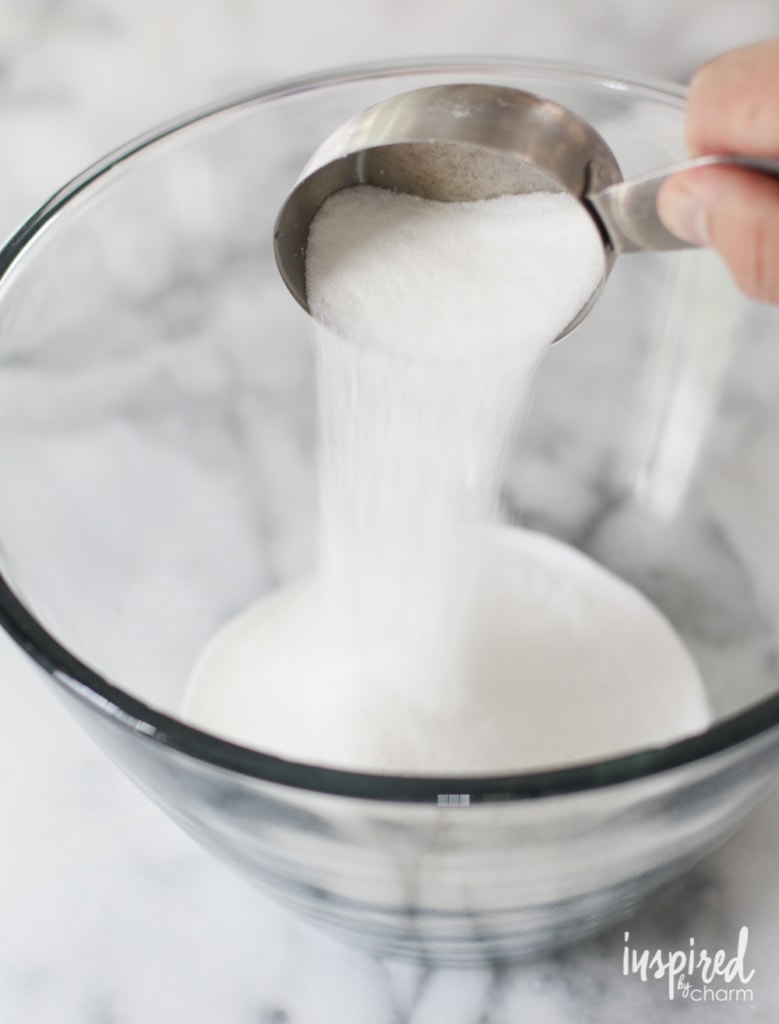
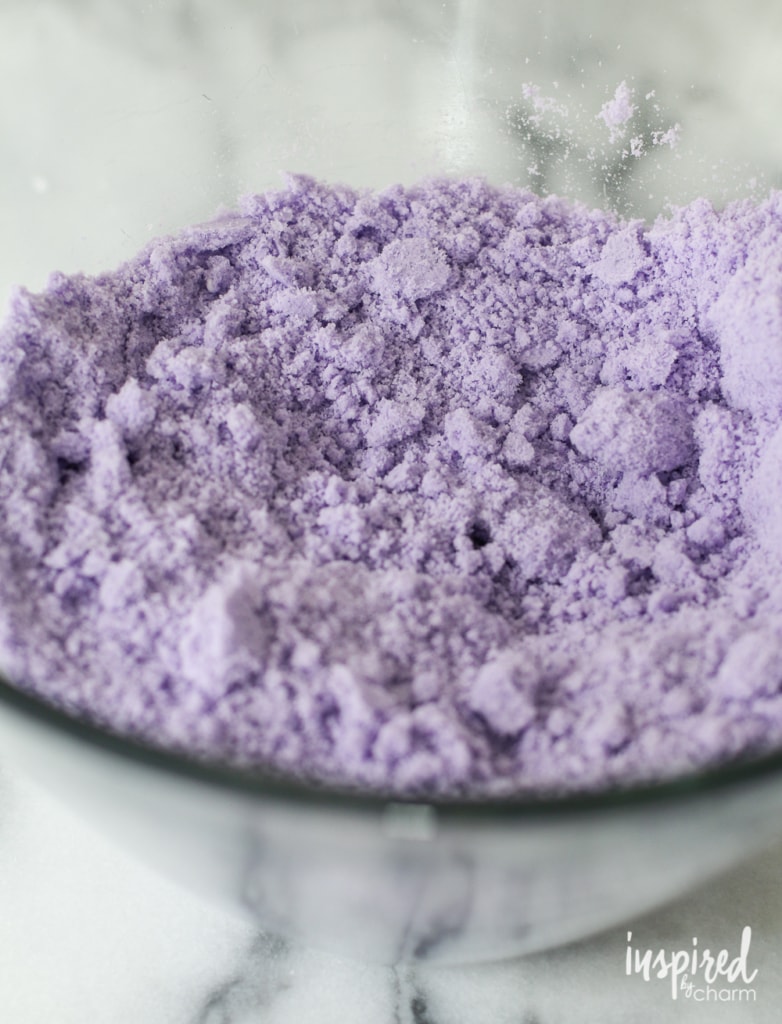
First, measure and whisk the dry ingredients in a large bowl.
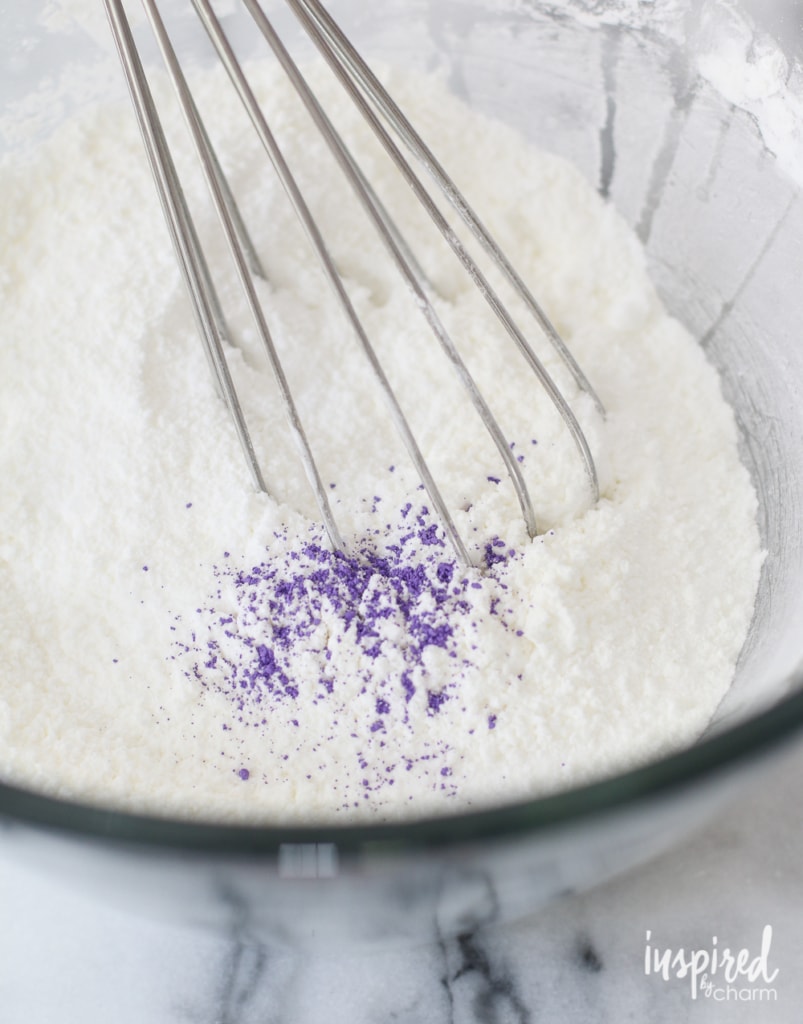
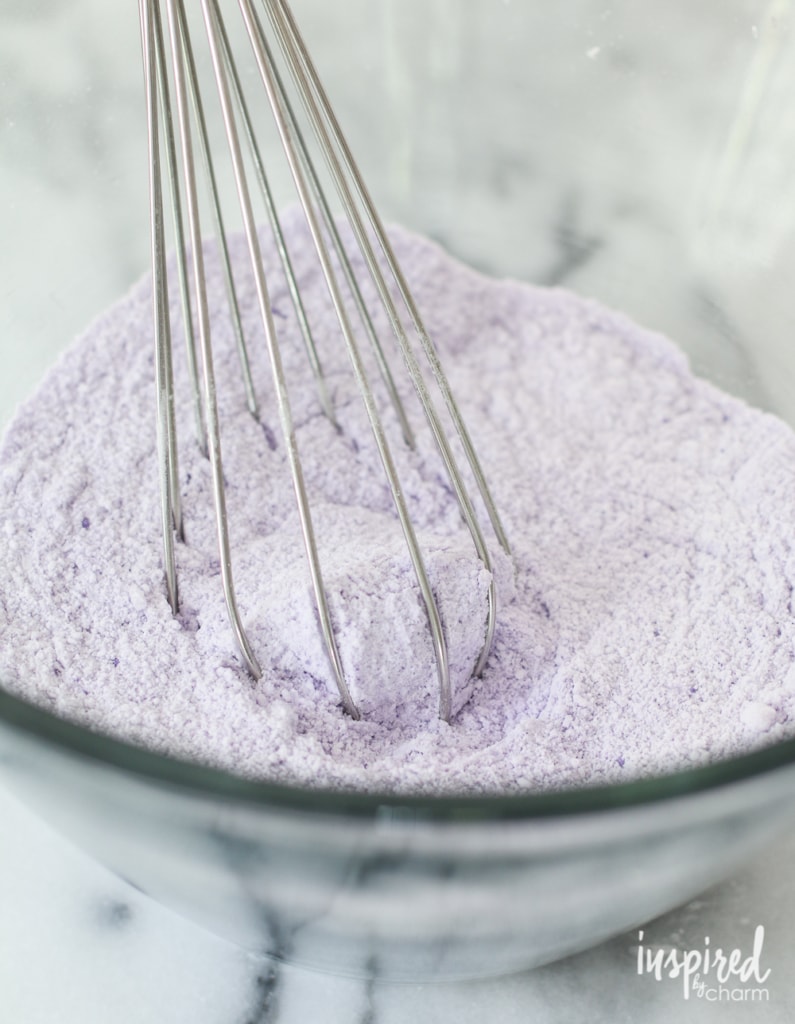
I used a coloring pigment for my DIY bath bombs. Since it’s a dry pigment, you’ll want to include that in this step. Add as little or as much as you’d like to achieve the color you prefer.
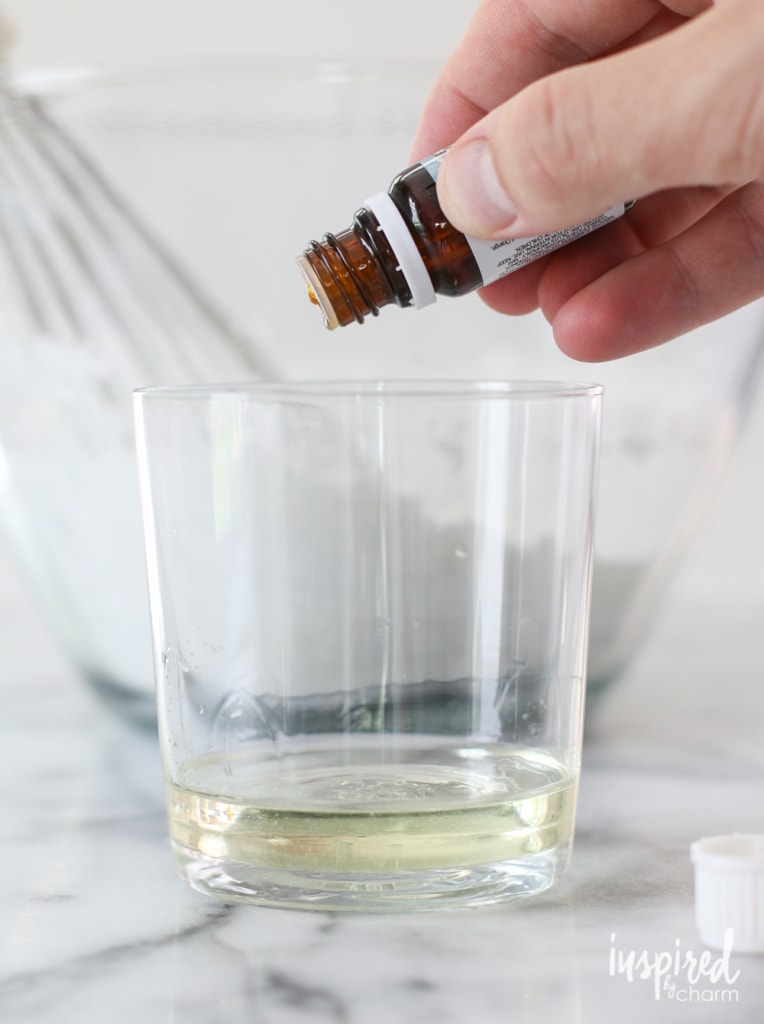
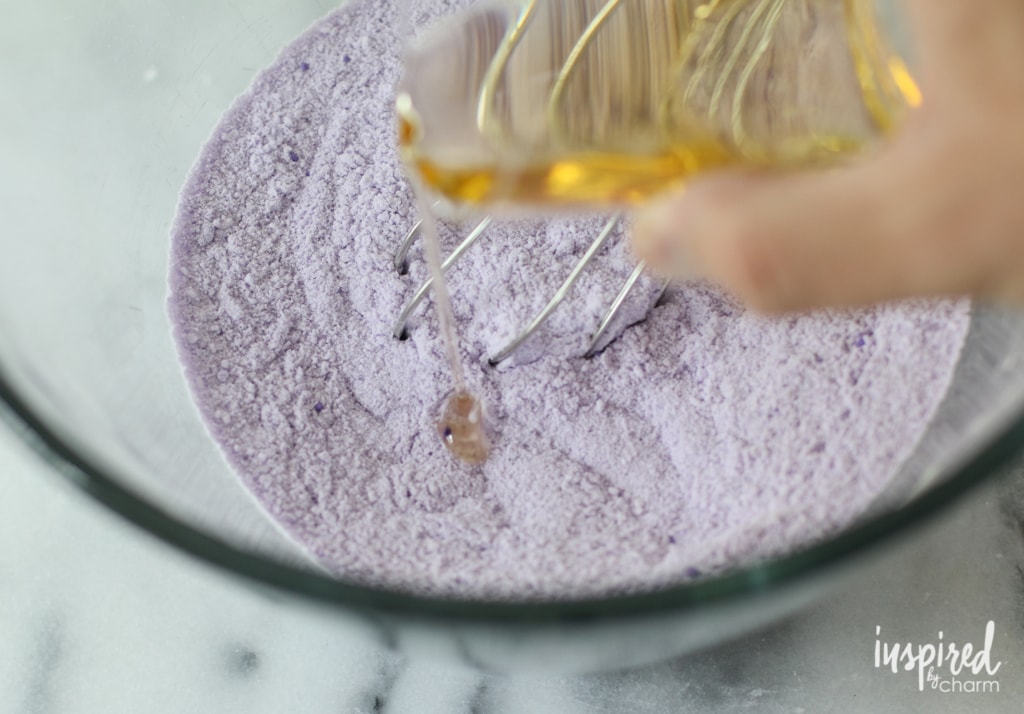
Next, in a small cup, mix together the wet ingredients. This is also where you’ll add the essential oils.
You can get essential oils almost anywhere these days. I recommend shopping for these in person so you can find a scent you like.
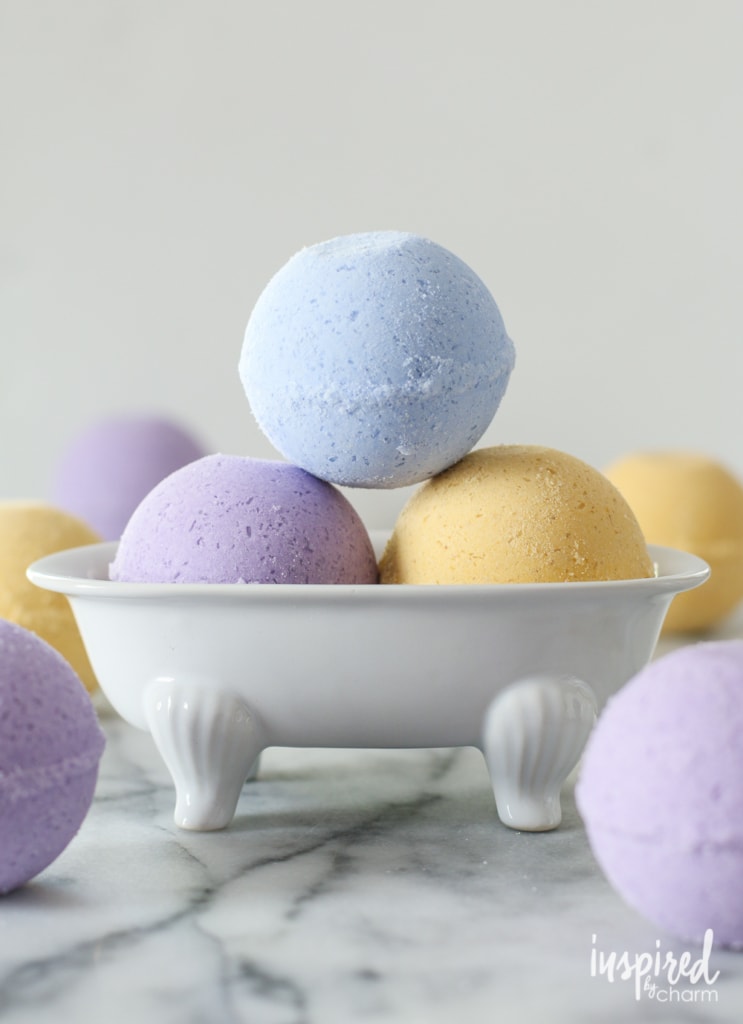
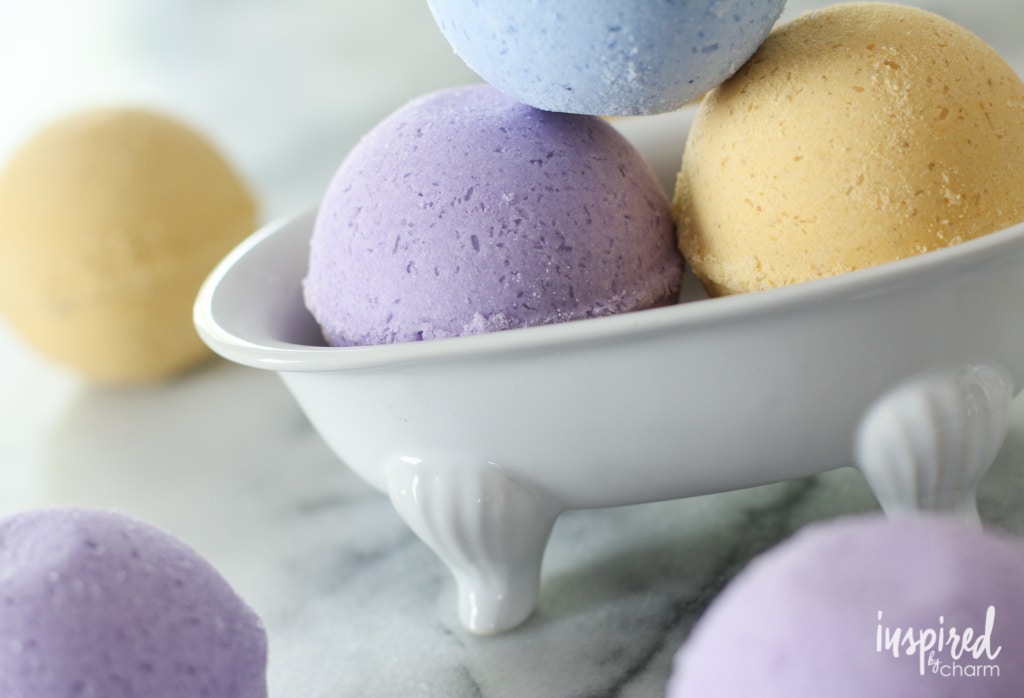
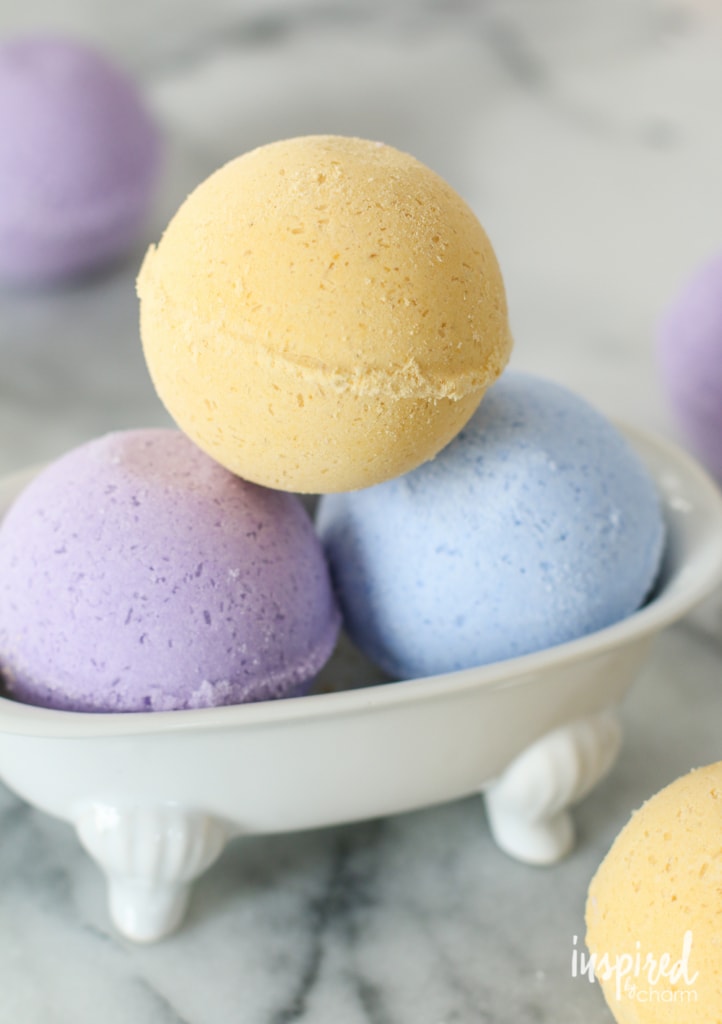
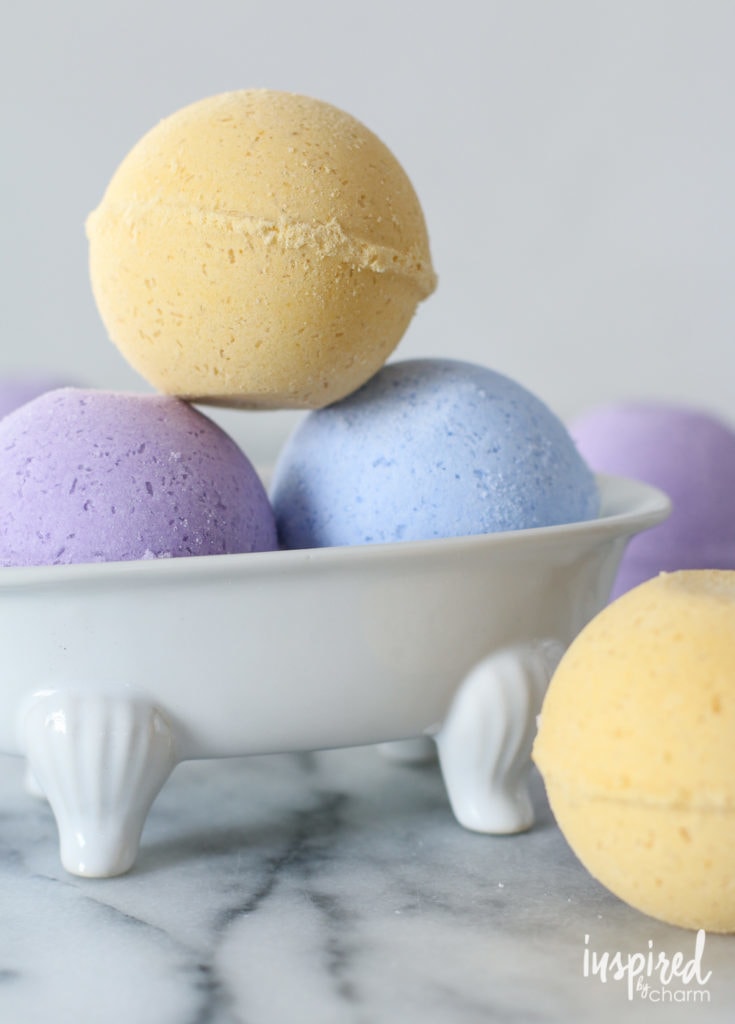
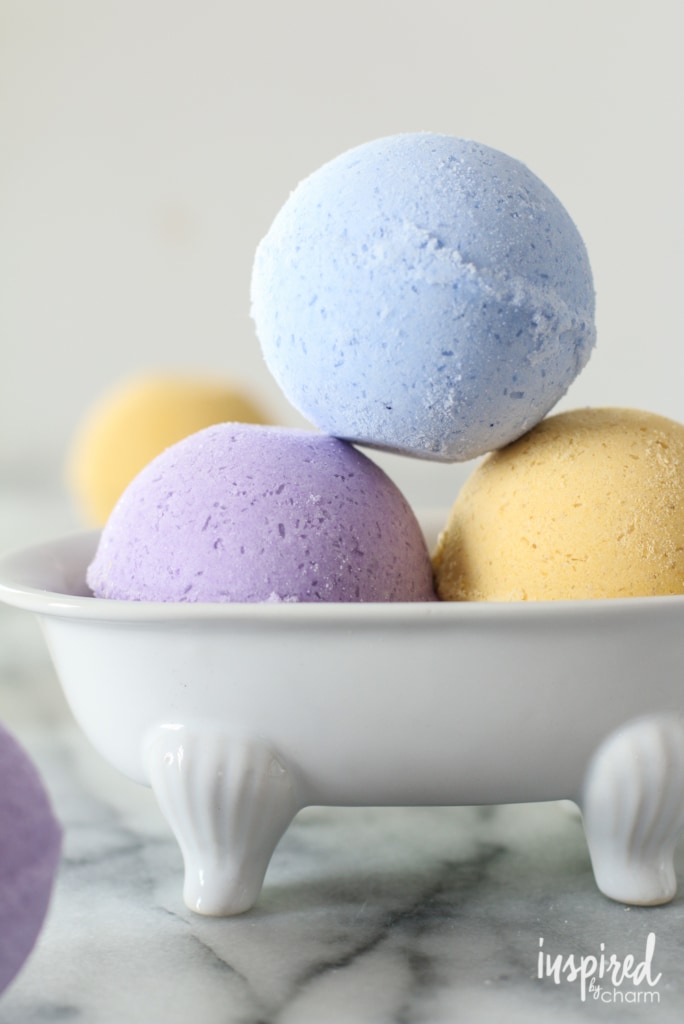
Also, pay attention to the benefit each oil offers. I made three different varieties. The purple bath bomb has an oil for stress relief, the blue prompts sleep, and the yellow promotes joy.
The next step is very important. You need to add the wet ingredients to the dry ingredients. You’ll want to do this very slowly, adding a few drops at a time while mixing.
The citric acid is what causes the bath bombs to fizz when it comes into contact with water. Adding the wet ingredients slowly minimizes this effect, allowing you to create the ball.
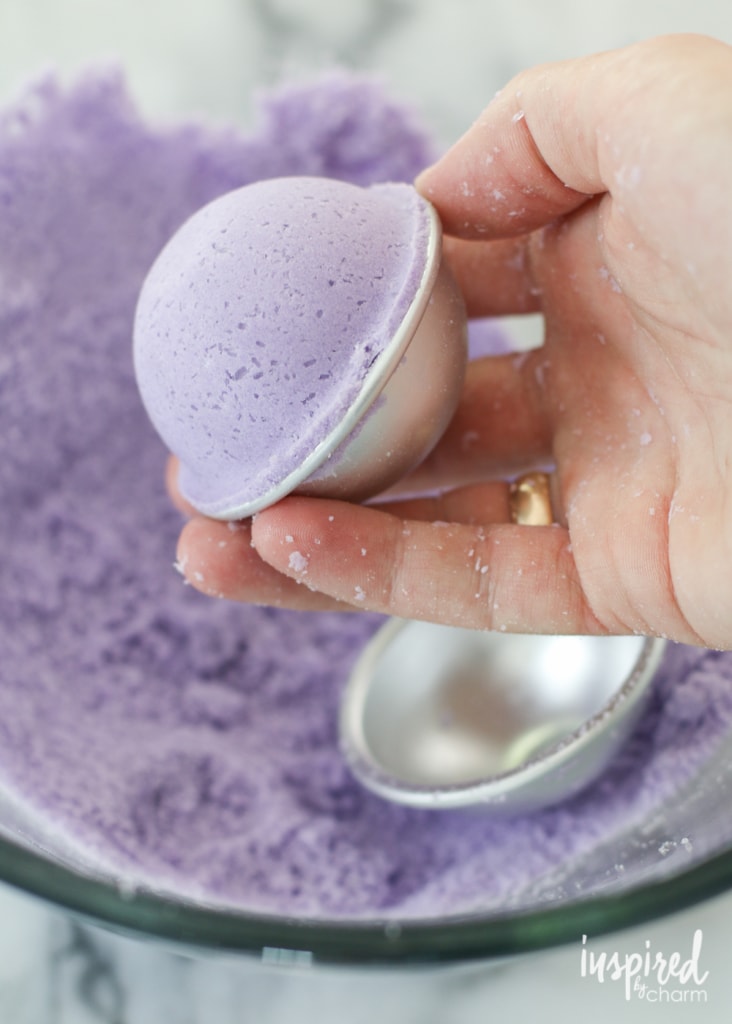
Once mixed, you’re ready to mold. I picked up these bath bomb molds to create a ball shape. However, you can use things like a cupcake pan or silicon mold to achieve different shapes and sizes.
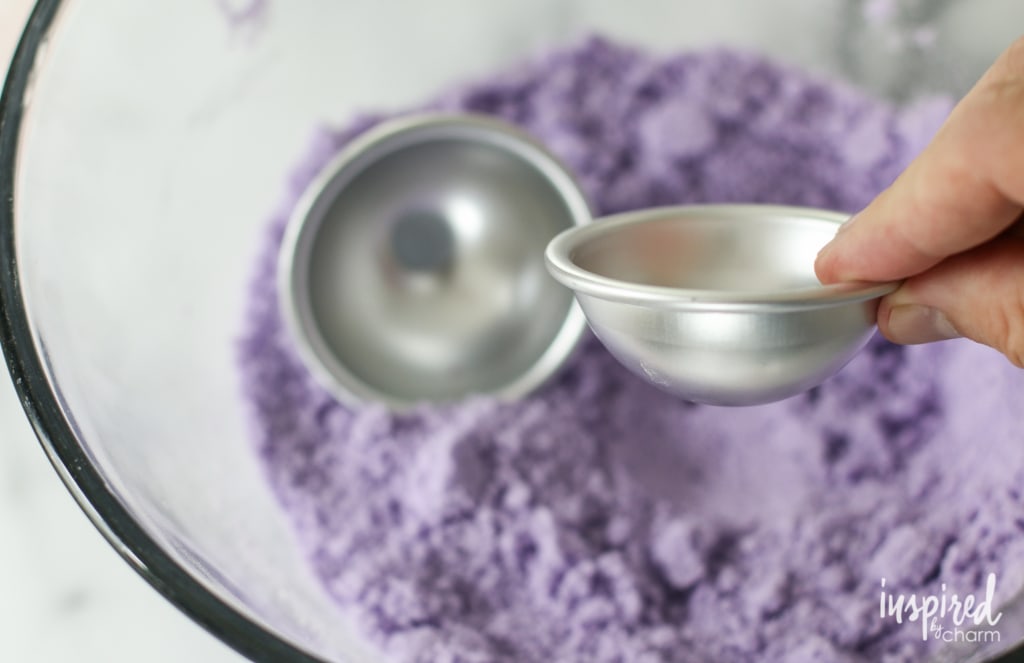

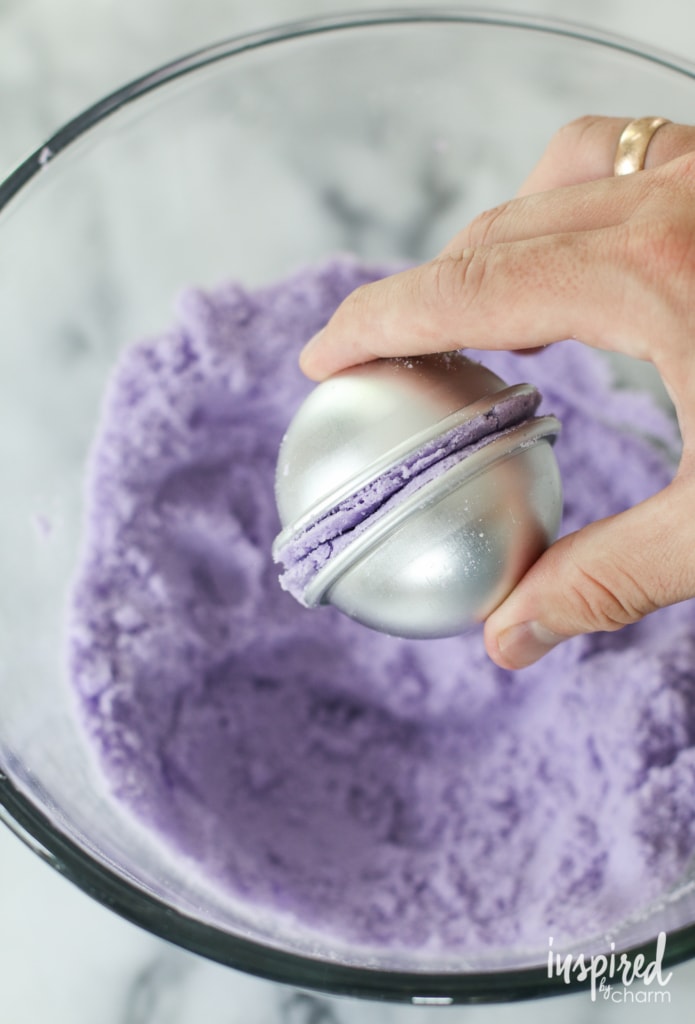
For this round mold, fill each half, packing it in slightly until it’s overflowing. Then, firmly press the halves together. Let the mold sit for one minute. Once set, tap the mold and pull it apart.
You’ll want to let the bath bombs dry for at least 24 hours before you create your own mini spa in your tub.
It’s that easy!
Frequently asked questions about making DIY bath bombs
Before we get to the printable recipe card, here are some questions people often ask about DIY bath bomb recipes. If you don’t see your question in this list, please leave it in the comments.
💌 SAVE THIS POST / RECIPE!
How long do homemade bath bombs Last?
I’d say you’d want to use these DIY Bath bombs within about 6 months. I liked to keep mine stored in a moisture-free clear glass jar. You’ll need to be very careful to not get moisture or water on them, as that will start the fizzing process!
Is it cheaper to make or buy bath bombs?
This depends on who you are buying them from and what ingredients you use. If you use pure essential oils, it might be more expensive to make your own if you compare them to bombs with artificial fragrances.
The real reason to make your own bath bombs is to control the ingredients to make body-nourishing and safe bath products you can trust. Plus, it’s fun!
Can bath bombs grow mold?
Yes, bath bombs can grow mold if they are exposed to moisture. Wrap your unused bath bombs tightly in tinfoil or keep them in an airtight container, and they will last longer.
That’s a wrap on DIY bath bombs!
If you have yet to make or even experience a bath bomb, I definitely recommend giving it a try. I know some people get intimated by making homemade bath bombs, and they might take a little practice.
A few of them might fall apart at first, but once you nail it, you’ll see how fun they are to make!
DIY bath bombs make thoughtful gifts too. Add them to a homemade spa gift basket with a bottle of wine and a couple of candles for the ultimate treat. Give someone the gift of relaxation – they’ll love it!
If you like this DIY project, you may enjoy these too:
- DIY Beeswax Candles
- Homemade Felt Ball Coasters
- Tassel Garland DIY
- No-Sew Burlap Table Runner
- DIY Vertical Herb Garden
DIY Bath Bomb Recipe:

DIY Bath Bombs
Ingredients
- 1 cup baking soda
- 1/2 cup citric acid
- 1/2 cup epsom salt
- 1/2 cup cornstarch
- coloring pigment optional
- 2 1/2 tablespoons almond oil or melted coconut oil
- 3/4 tablespoon water
- 12-15 drops essential oil
- Bath bomb molds
Instructions
- In a medium bowl, mix together all of the dry ingredients. Add as much or as little color pigment to achieve desired look. Whisk to combine.
- In a separate small bowl, mix together the wet ingredients.
- Add the wet ingredients to the dry ones very slowly. (This is very important; otherwise you will activate the citric acid which is used to create the fizzing affect.) Mix until combined, and the ingredients look like wet sand.
- Fill each half of the mold, packing the mixture in slightly until it’s overflowing. Press the halves together firmly. Let the filled mold sit for one minute. Lightly tap the mold and gently pull it apart to remove the bath bomb. Let the bath bombs dry for 24 hours before enjoying in the tub.
Your information is very interesting. Thank you for sharing
I have a similar post which cover ” 19 DIY BATH BOMBS SO EASY YOU’LL NEVER BUY ONE AGAIN”
These were fabulous! What a fun DIY. My family loved these homemade bath bombs. Thank you!
Thanks for sharing such a nice and simple step by step recipe. I am definitely going to make these bath bombs.
I absolutely love to make my own bath bombs! I like that you can control the ingredients you choose to put into them. I am definitely going to make these amazing bath bombs. I use Himalayan bath salt and really like it, so I am thinking about using it instead of Epsom salt. I have heard so much about Himalayan salt benefits for the skin and body.
Could you mix everything together except add the citic acid last? I wonder if that will be better this way mixing would be faster and you would lose any fix.
I just discovered your blog a few months ago. My daughter and I made these bath bombs for Christmas presents & they were a big hit. We used green food coloring & peppermint oil and pressed into a baking pan with shapes of Christmas trees, stars, & snowmen. They turned out really cute! Thank you for the recipe and tips:)
I’m wondering if this is ok to use in a jacuzzi tub.
As long as you can drain the water when you are done, I would assume it would be okay.
xo Michael
I’ve used these in a Jacuzzi before, it’s a really fun idea, but I agree with Michael, in which it does need to be cleaned out afterwards.
Thanks for sharing this! I want to get all of the supplies and make these immediately! They look like lots of fun to make with the added benefit of destressing!
These look sooo pretty! Makes me wonder if you ground up your epsom salt before adding it. I’ve seen other recipes that look very textured and rough while your bombs look so smooth and effortless. ❤️❤️❤️
Your bath bomb recipe worked great! Made some with my 7 year old for her science fair project. (Best science fair project I have done – at least the best smelling one!)
Thanks for the links to amazon as well!
None of the other bath bomb recipes worked that I tried, and then I did this one, and it worked so well! Very nice bath bombs. I made 6 of them with this mixture.
This is a good recipe. USE IT!!
I love this recipe as well! My only question is “how do you get the bath bomb from leaving a line of colour in the bath tub after draining the water”?
You just cant. I used cosmetic pigments and they really leave a line of color. After that I tried using food coloring and they are great. They do change the water color but the bath tub is clean. I would try some food coloring if I were you.
Just wondering how many this recipe yields? I am wanting to make them for Christmas but don’t know how much ingredients I need for the amount I want to do.
Hi Michael,
Your bath bombs are so cute and super pretty! I’m excited to try out this recipe. Also I just HAD to mention you on my blog http://www.thebeautyinfoprovider.com . Drop by soon? See you!
How many bombs does this make? I only have two bombs molds at home and I do not want to waste the ingredients. Thanks!
I forget the exact number, however you just use the mold to form them. So you can make many with one mold.
xo Michael
Hi, just wanted to double check that if we use coconut oil, it doesn’t have to be fractionated coconut oil, just normal coconut oil melted? Thanks!
Instead of using water which will cause premature fizzing, only use the oil mixture. You can add a bit more oil to make mixture consistency of wet sand. Also, if you leave bath bomb in its mold to dry for 24 hrs, it will help keep it hard for longer. I’ve noticed when using water in mixture, bath bomb tends to crumble more easily
How much oil do you use then? do you replace the 3/4 tablespoon with oil so it is 3/4 tablespoon of oil plus the oil in the recipe?
Hello! How many bath bombs does one batch make and can I use food coloring drops instead of pigment?
I would advise to use the pigment as the drops will add extra liquid which will affect the recipe.
xo Michael
Yes, you can use crystal colorants from Oregon Trail Soapers Supply or food coloring.
Nice!
Can I use avocado oil in place of the almond oil?
I’m not sure. I recommend the almond oil.
xo Michael
I used coconut oil, the solid sort. The mixture felt like wet sand & even mixing by hand & using food coloring, 2 drops for half a batch, my hands weren’t stained. Finding pigments at a last moments notice – not in this area. I wonder in colored chalk…yet the chalk…. well best for me to follow FOLLOW directions, I can lead myself astray! This IS easy, heck it didn’t take long. UNLESS you have a fan on blowing cornstarch, I made a fun mess…..Thank you for your ideas & I will be around for more!
Hi! I made 8 smaller bath bombs yesterday, running around town like a freak in search of citric acid. I thought it was some scientific additive, ha ha! Anyhow although I used a different recipe which lacked the Epsom salts & switched pigments for food coloring, we shall see. I also purchased a silicone mold for ice in shape of citrus wedgies, so that batch was a lemony euc. I made purple for the lavender & cannot wait to try! I saw above that the citric makes bubbly foamies so maybe I’ll package some for my grandies! Hmm ….thinking that those lemony ones would be perfect for the flea ridden fur-kid! I love it! thank you.
You can use any oil you choose, but with avocado oil which has a stronger scent, you may want to add more essential oil to overpower the smell of the oil….unless you prefer the avocado scent 🙂
How many estimated bath bombs can be made for all the ingredients you linked in amazon?
i made the bath bombs for the first time and am having trouble getting them out of the mold. Should i have used a little bit of coconut oil to season the molds first?
Hmmm. I didn’t. Tapping them very lightly on the counter worked for me.
xo Michael
I had the same issue! I also had issues with the bath bomb splitting in the middle when trying to get them out. But then I took them out and sprayed a little more water and now they are indenting and not drying right- so added too much water. What’s the trick?! I was fighting my bath bombs….
Same problem