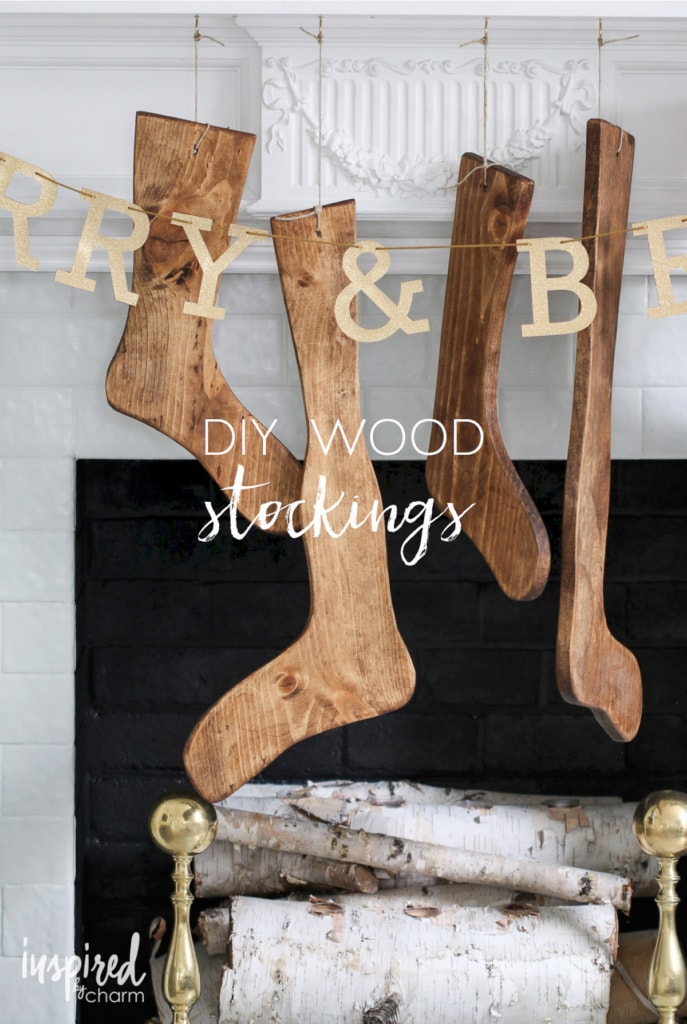
DIY Wood Stockings
This Post May Contain Affiliate Links. Please Read Our Disclosure PolicyGrab your jigsaw and safety glasses. It’s Day 3 of the 12 Days of Christmas here on IBC.
From baking to decorating to sawdust making, I’m covering it all this holiday season. Today we are breaking out the power tools to create a unique, yet truly festive addition to your holiday mantel.

In years past, I’ve seen fellow bloggers and designers use vintage wood sock forms as “stockings” to adorn their fireplaces. I always loved how those looked. So I did some digging and found a few wood sock forms on online. Unfortunately they cost more than I wanted to spend. They also didn’t quite have the look I was after. I was disappointed, but decided to use this bump in the road as a DIY challenge.
I’d never used a jigsaw before, but I figured, why not make my own “vintage” sock forms. And that’s what I did.
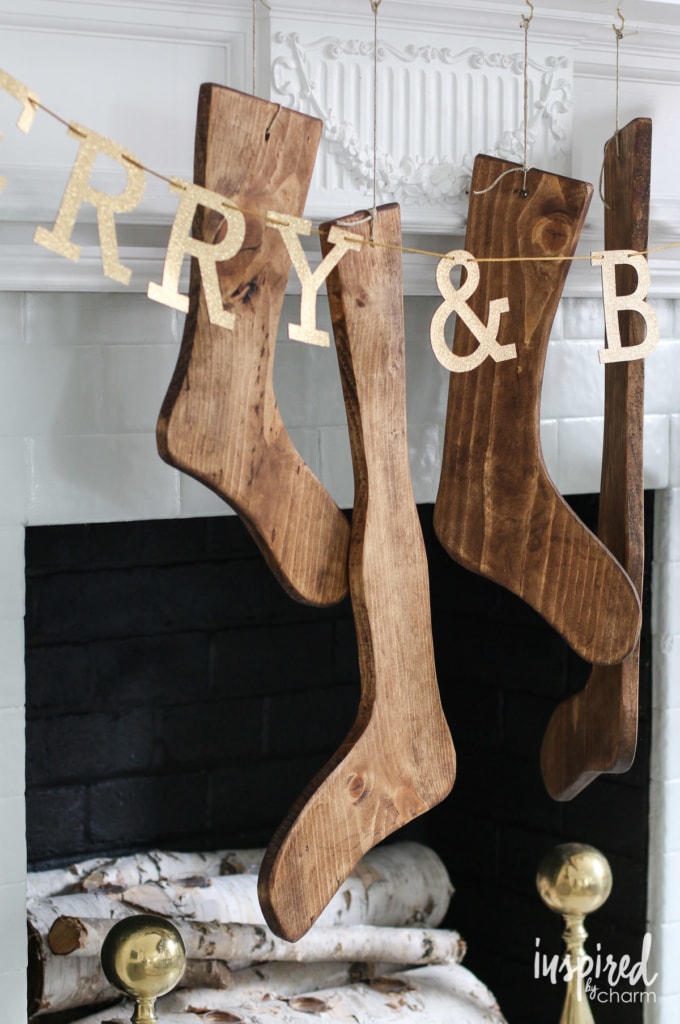
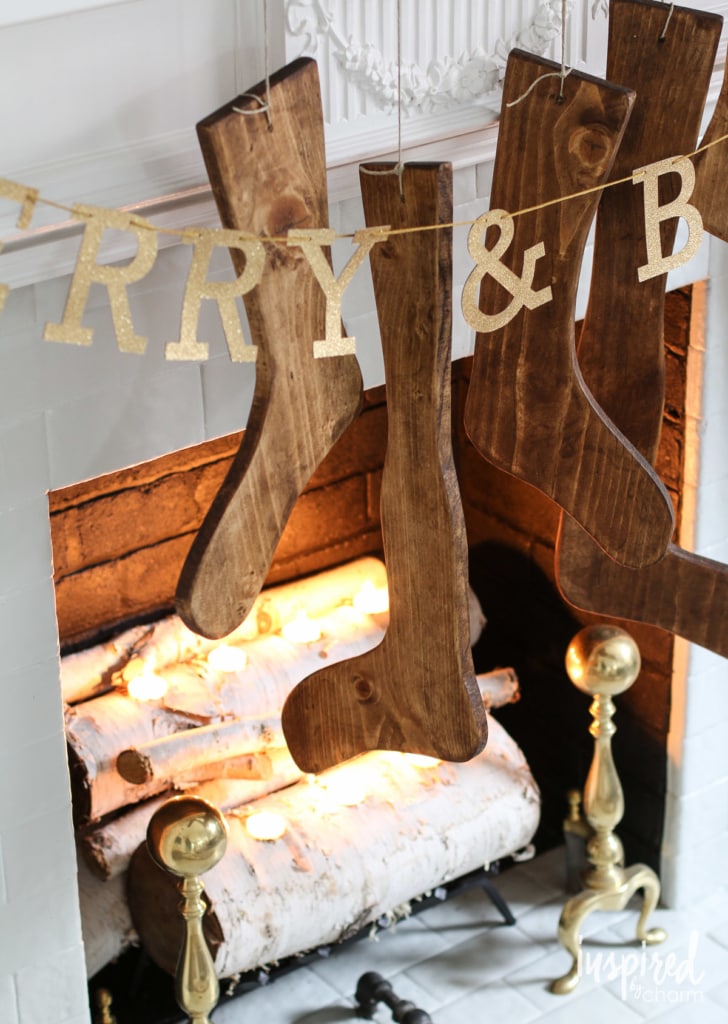
Pretty cool and authentic looking, right?
I couldn’t be happier with how they turned out. After a quick trip to Lowe’s to buy my tools and supplies, I had a totally unique and personal way to decorate my fireplace for Christmas.
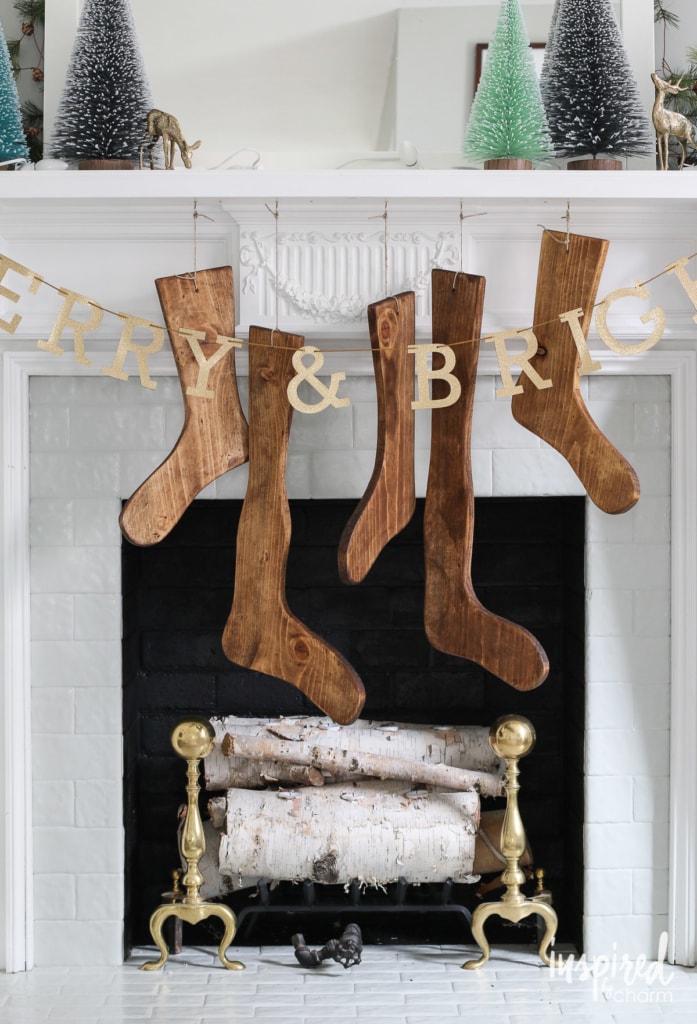
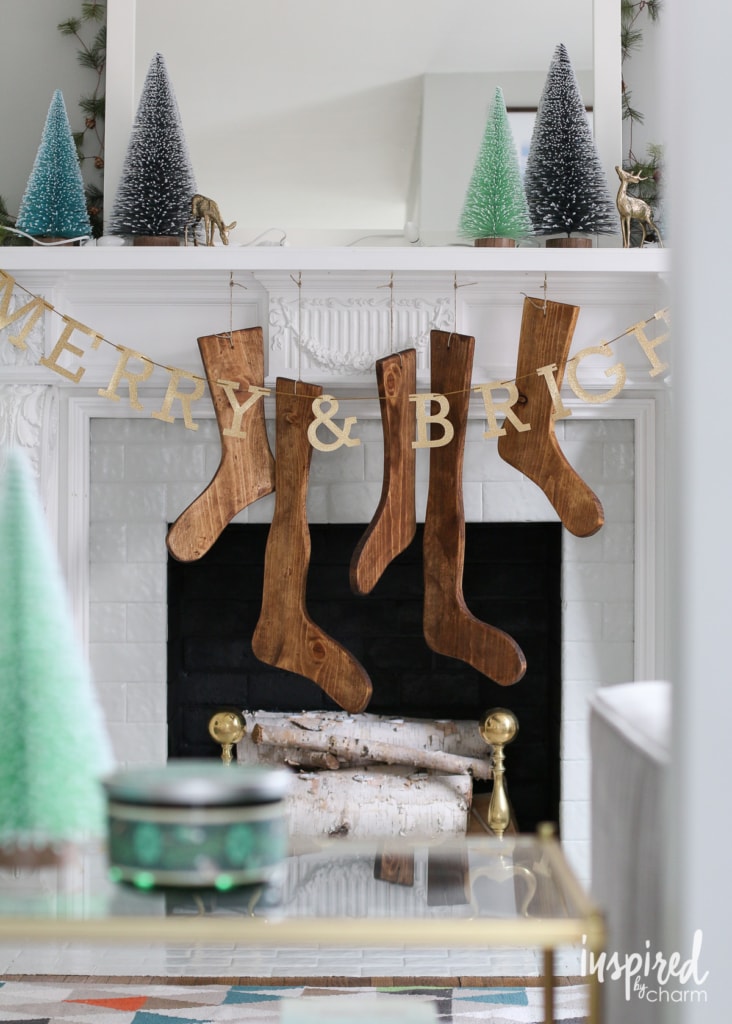
Because my Holiday Home Tour hasn’t happened yet (It goes live tomorrow.), I’m trying not to reveal my entire mantel / living room decor. However, what I love most about these DIY Wood Stockings is the vintage element they add to the space. They also feel right at home with my wood floors and wood topped coffee table.
In case you’re interested in making your own wood stockings, I thought I’d walk you through the steps I followed.
First, here’s what you will need:
1″ x 12″ x 4′ pine boards
Jigsaw
Orbital sander
Drill and drill bit
Wood stain (I used Minwax Provincial.)
Finishing wax
Cotton rags
Latex gloves
Twine
Pencil
Safety glasses
Let’s get started.
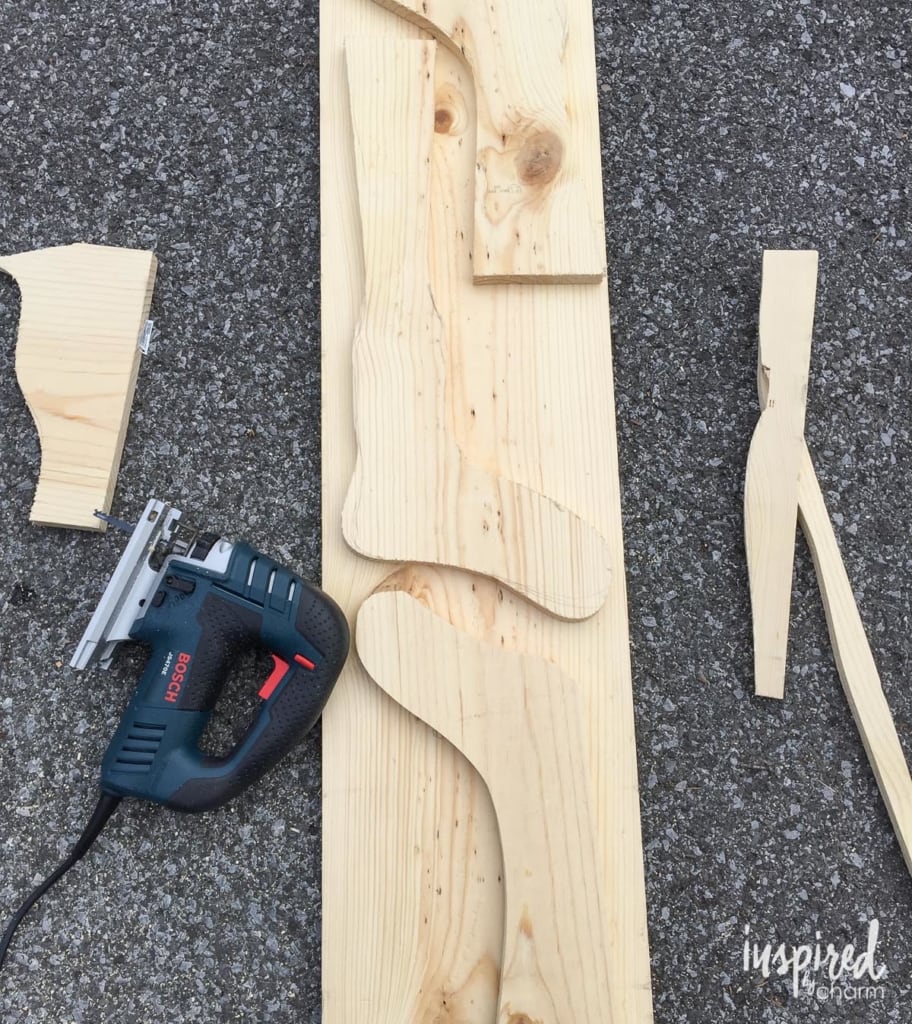
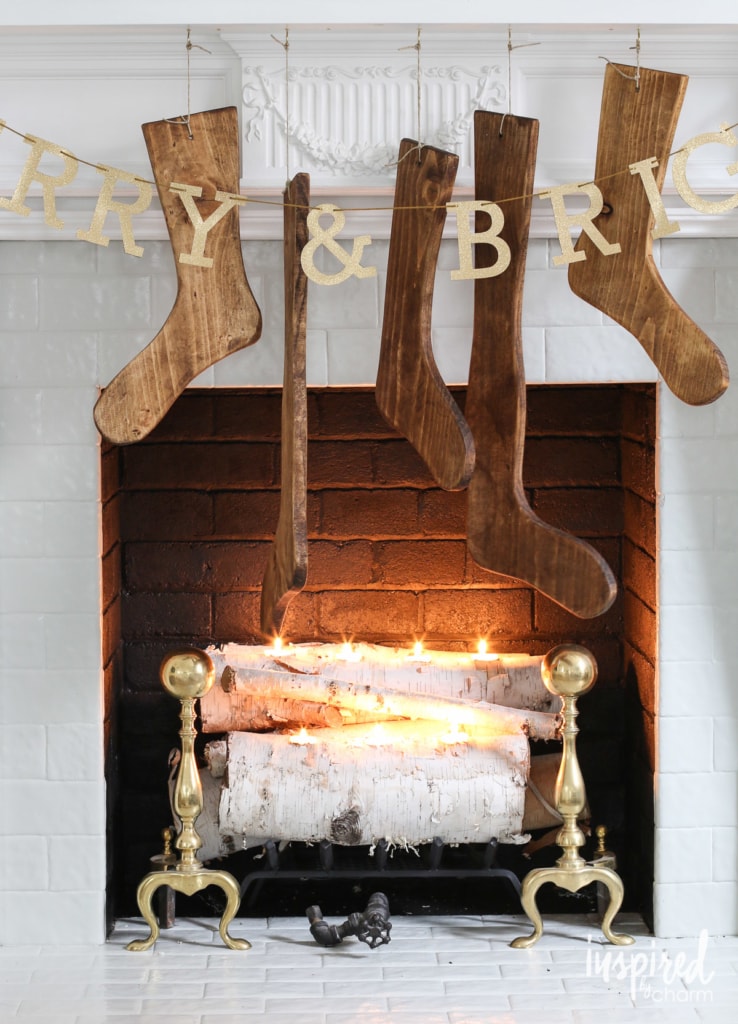
Using a pencil, draw your sock forms onto the wood. I just freehanded mine. Model your stockings after mine or search for images of vintage sock forms online. My stockings range in length from 15 to 26 inches. (Also, once you have a couple cut out, you can trace them onto another board to create more. That’s what I did. I varied the tracing slightly so they were all a bit different.)

Next, with your jigsaw, cut out the stockings. (Please follow all of the safety precautions listed in the operation manual of your particular jigsaw.)
Now drill a hole in the top of each stocking about 1 1/2 inches from the top. (You’ll use this hole to hang your finished stocking.)
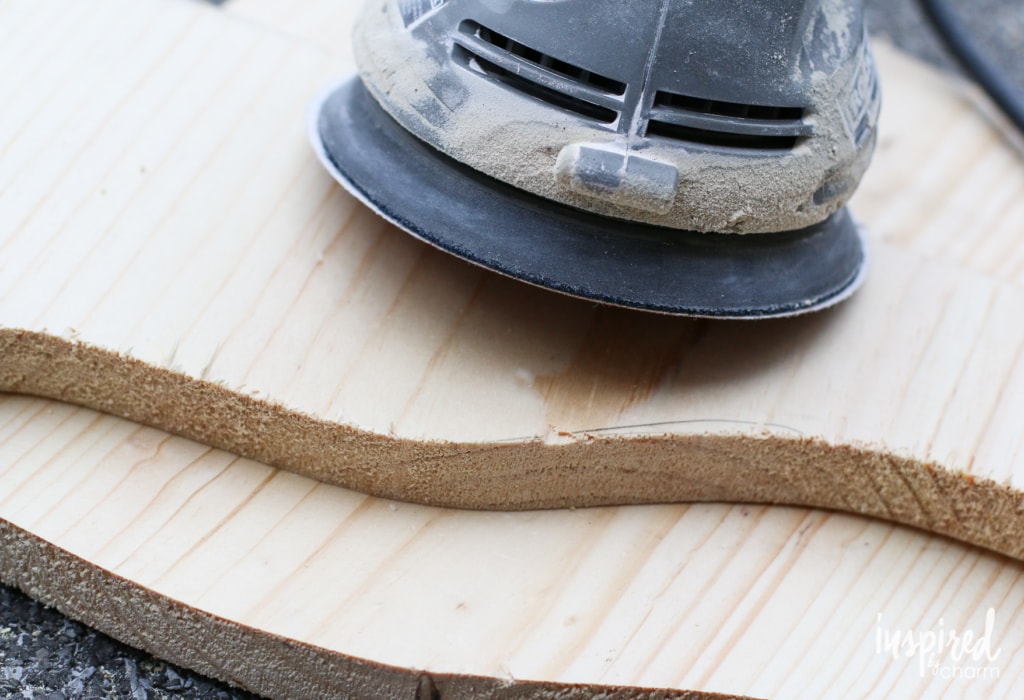
Once your forms are cut and drilled, use an orbital sander to remove any pencil lines and smooth the edges. I sanded my edges so they had a softer, rounded look. Remove all dust after sanding.
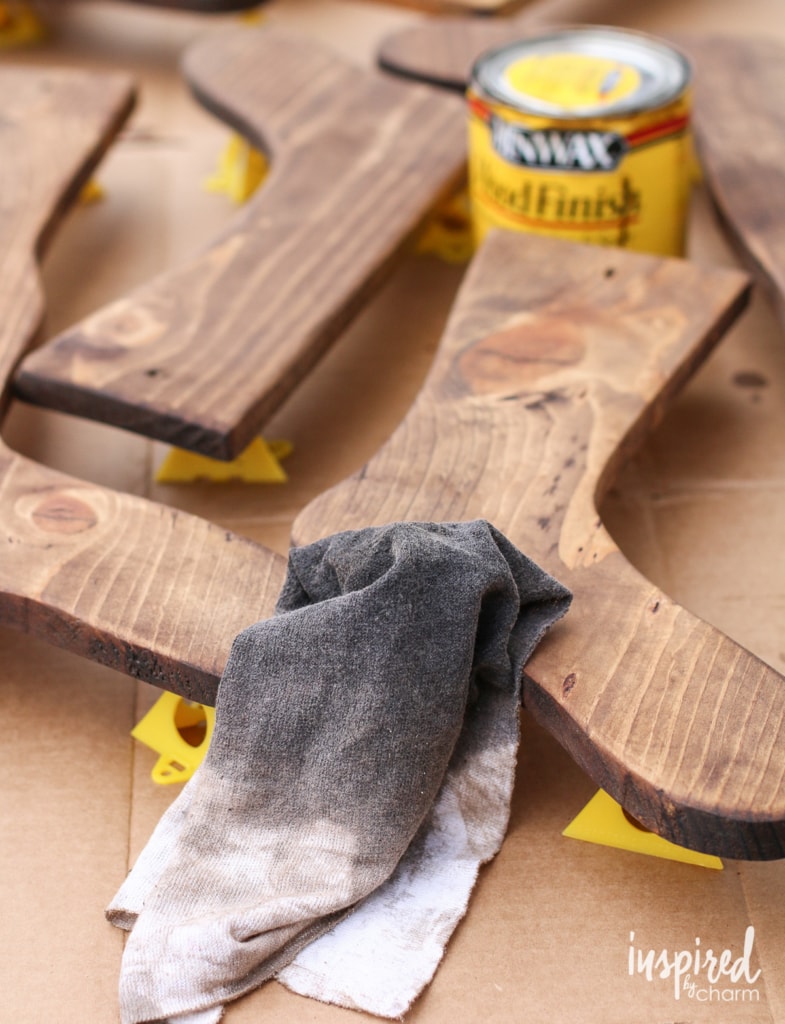
Now it’s time to stain. Wearing a pair of latex gloves, apply the stain to the wood using a lint-free cotton rag. Wipe off any excess. Allow the stain to dry completely.
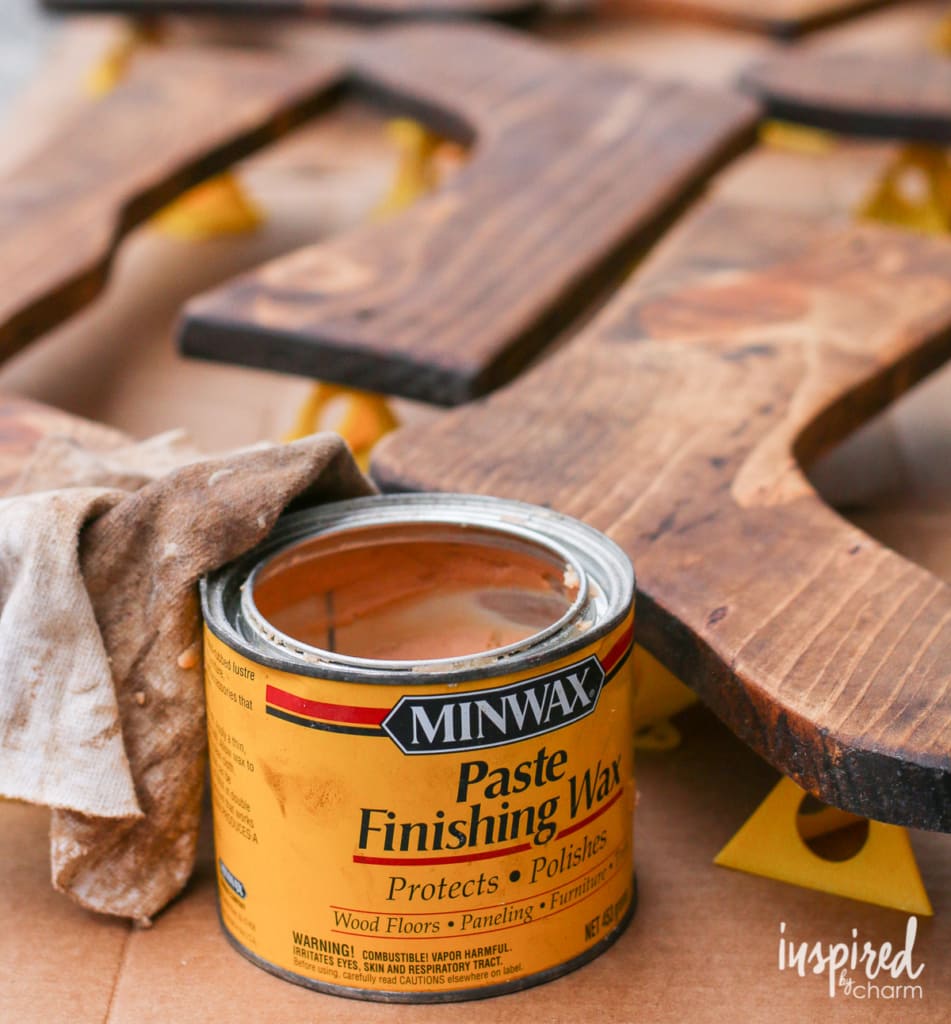
The next step is sealing your project with a finishing wax. Again with gloved hands, use a lint-free cotton rag and work the finishing wax into the wood in a circular motion. Wipe off any excess wax with a rag. Allow the wax to dry completely. Overnight is best.
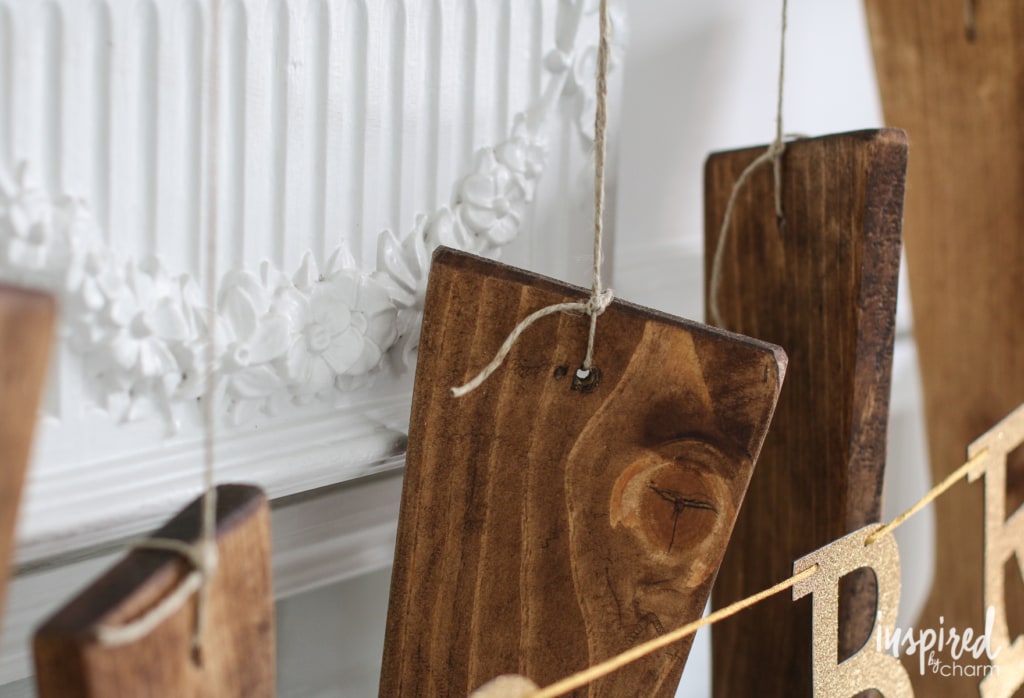
Finally, run some twine or string through the hole you drilled earlier, and your new “vintage” stocking is ready to hang.
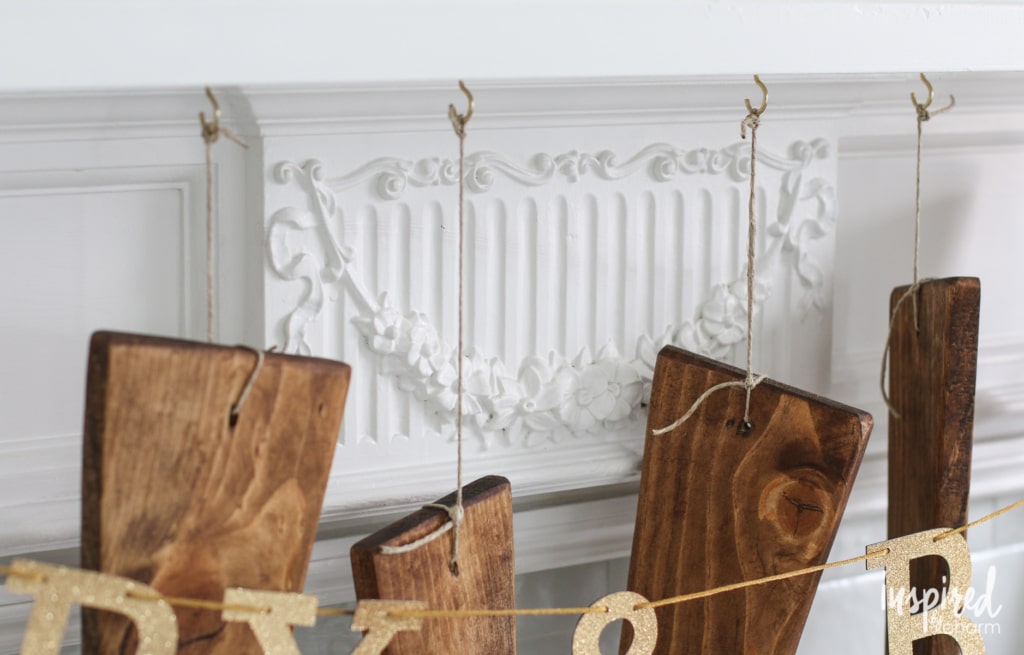
I used small gold hooks drilled into the bottom of my mantel to hang my wood stockings. However, you can use whatever method works best for you.
A few more things about the stockings:
I decided to use stain because I was going for a rustic vintage feel. However, if you want a crisp, bold look, you could certainly paint the sock forms.
Also, you don’t need a mantel to hang these. I think one of these wood socks would look great hanging from a coat hook, banister, or even a dresser or bookcase. The options are endless.
Regardless of how you choose to display your stockings, this is a fun project that’s great for a beginning woodworker / DIYer.
I hope you enjoyed this project as much as I did. Please join me back here tomorrow as I show you around my home for my second annual Holiday Home Tour. See you then!
Your blog is absolutely charming and beautiful. I love this stockings to much. So excited to check out more of your blog. Merry Christmas.
I made some of these with 1/4″ plywood to imitate stocking stretchers last year and I love them! I do love how yours from pine though. Think I need to make some more. New to your blog, I’m so excited to be here! 😉
Yay! Welcome, Michele! Thanks.
xo Michael
I totally thought these were “found” in all of your other home tour pictures – I LOVE that I can make some too, lol! Such a fun project!!!
What a cool idea! Love the look of the stained wood next to the white fireplace!
Beautiful Project! Where did you find those letters for the MERRY & BRIGHT?
Great project!
Wow, these are awesome!!! I have been looking for vintage ones for years and would never have thought to make my own. I will definitely be making these soon:). Great job on the stockings and your holiday home tour, so colorful and creative! Have a great weekend and take care, Tara
Love, love, love these Michael! They look amazing. I am ready to put on my geeky safety glasses and get started. So fun. Happy Holidays.
well, these are adorable! I love their cheekiness.
This is such a great project! I love it! I can’t wait to see your home tour!!
Thanks so much!!
xo Michael
Ok that’s adorable! Pity I can’t enter the competition as I’m outside North America, but honestly I’d probably make a huge mess of it anyway! 😛
These look SO very cool!!! I am afraid I’d cut my arm off haha.I”m not very handy, but would love to give these a try!
Joey
Totally love them Michael!! Soo cute!
You did a beautiful job on these, Michael! Especially for it being a first time jigsaw project! You always inspire me to be more creative! 🙂