DIY Multiple Taper Candleholder
This Post May Contain Affiliate Links. Please Read Our Disclosure PolicyHappy Monday, everyone! I hope you had a fabulous weekend! I have a fun project to share with you today.
Have you seen the new Nate Berkus collection at Target? As always, the collection is full of fabulous pieces. One accessory that immediately caught my eye was this Gold Multiple Taper Candleholder. I love it and decided to challenge myself by making one of my own.
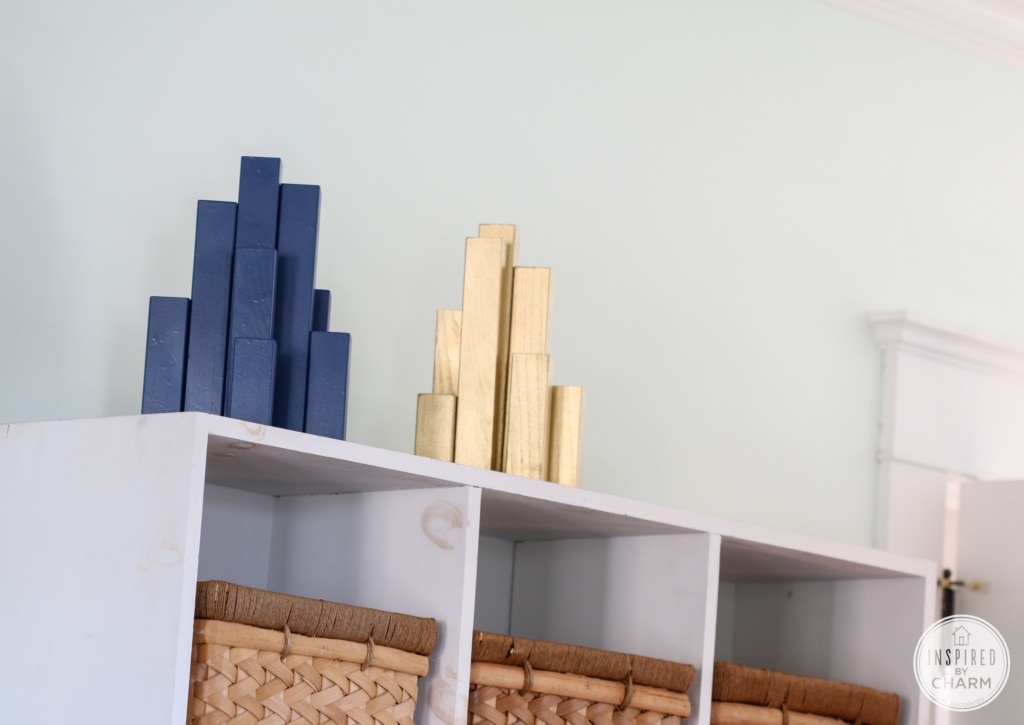
In fact, I made two of them – one in gold and one in deep blue. I think they turned out pretty well. What do you think?
They were actually quite easy to make. Let me show you how.
For this project you will need (for one holder):
3 wood parson legs (I found mine at Lowe’s.
spray paint (color and primer)
E6000 glue
miter saw
orbit sander
drill
7/8 inch boring bit
ruler
pencil
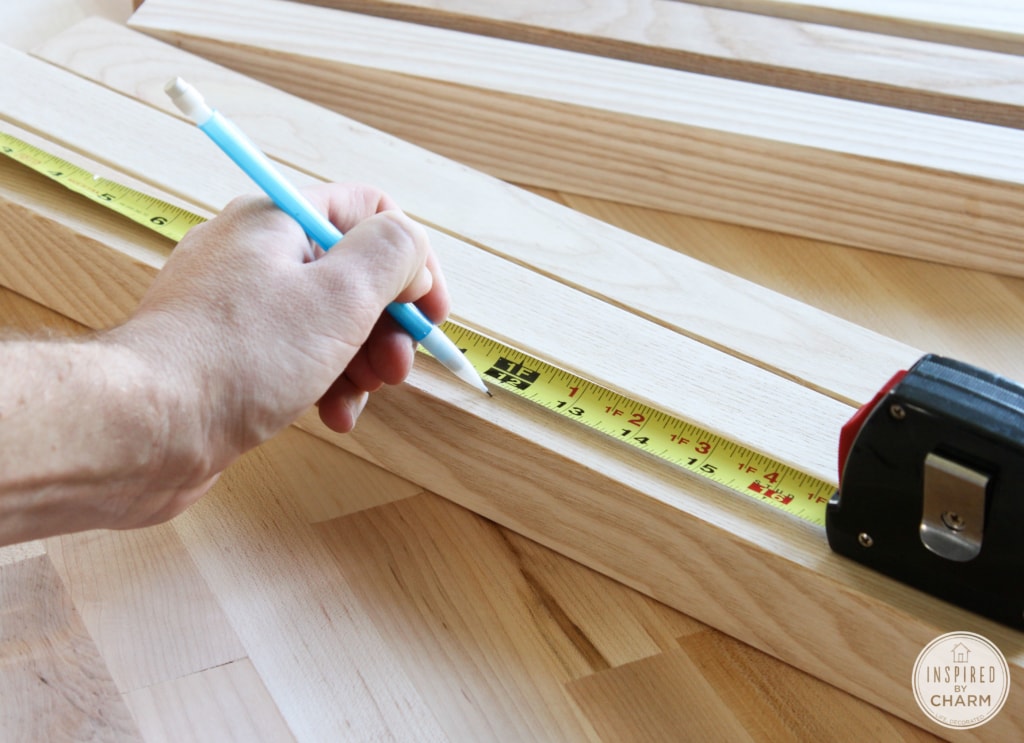
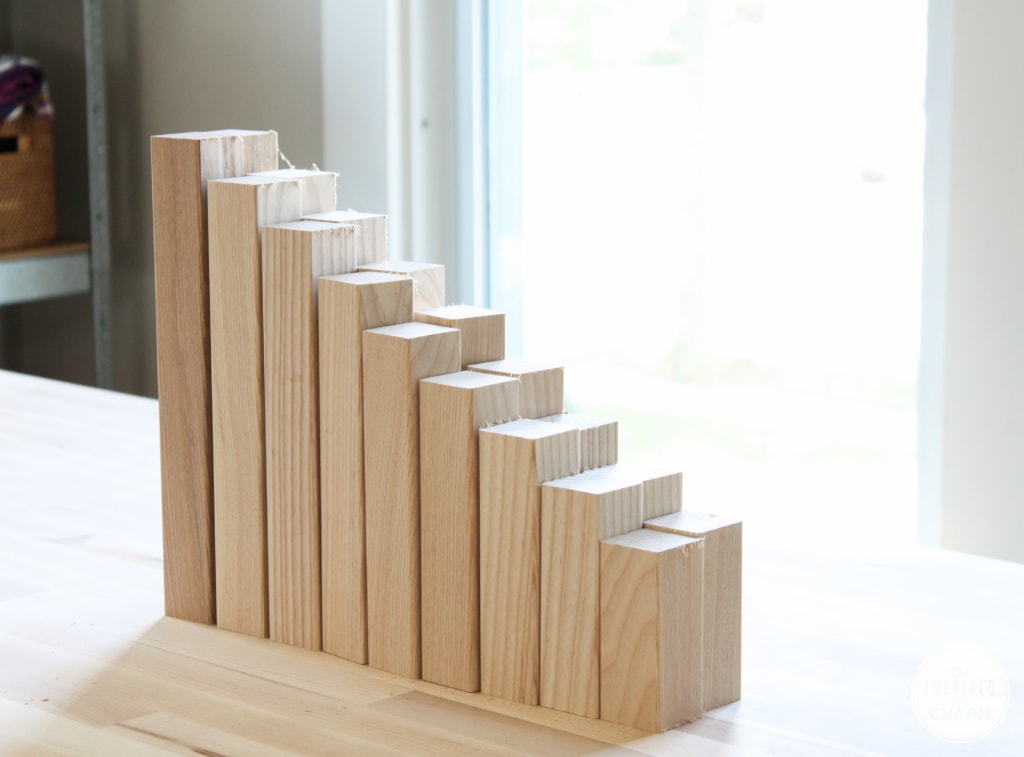
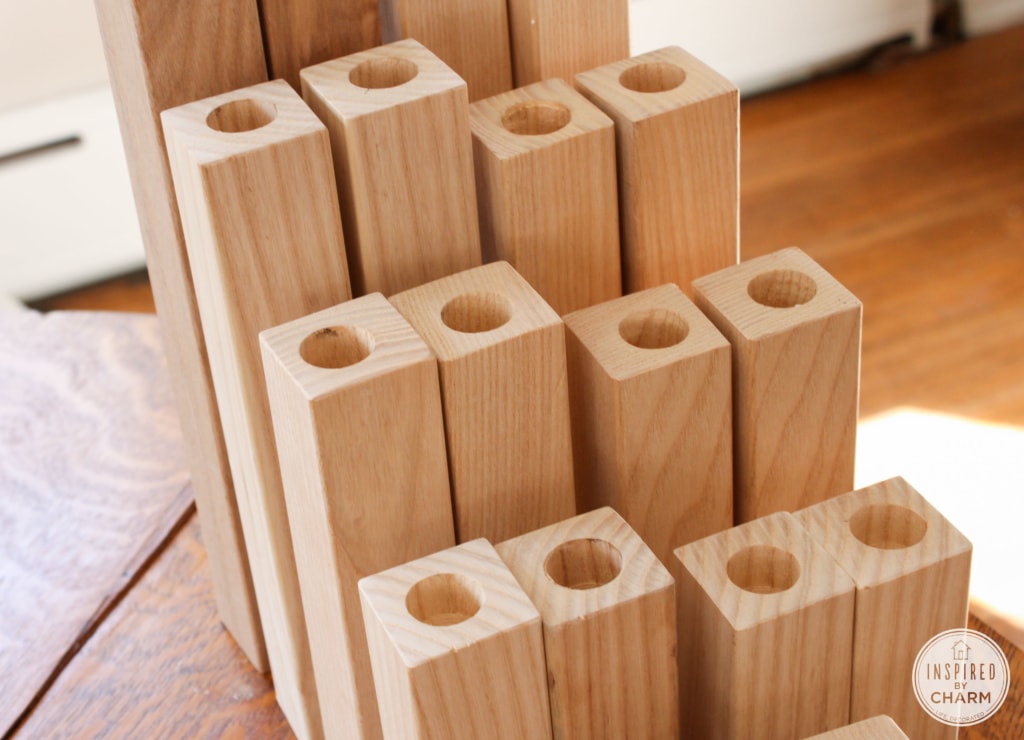
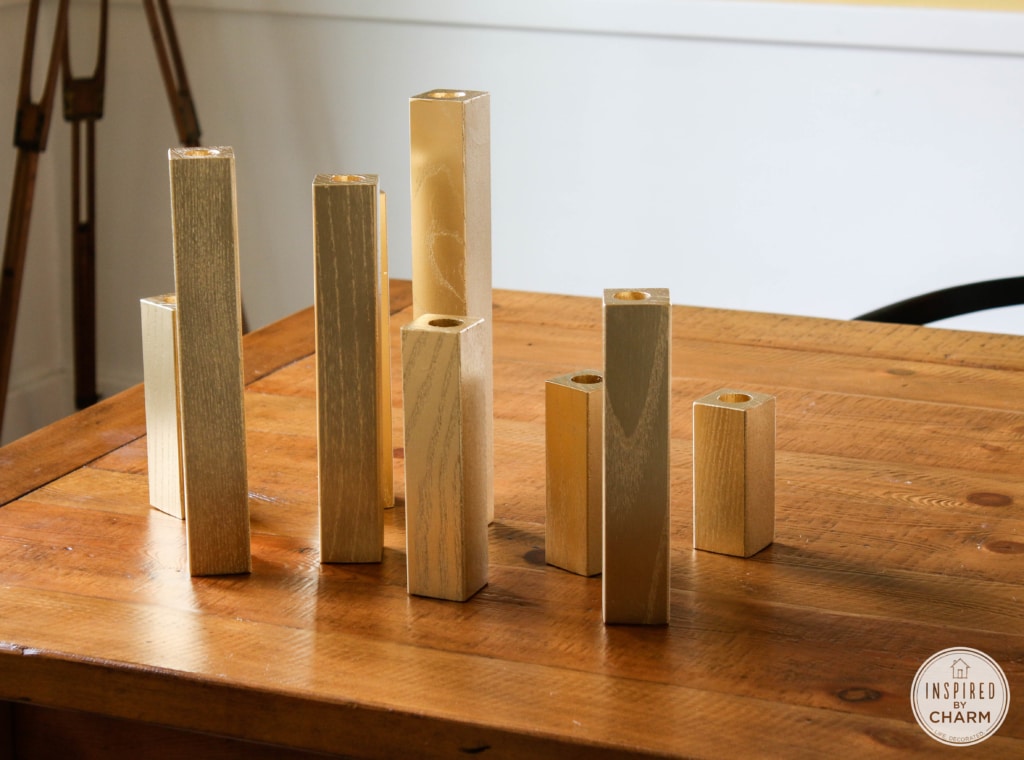
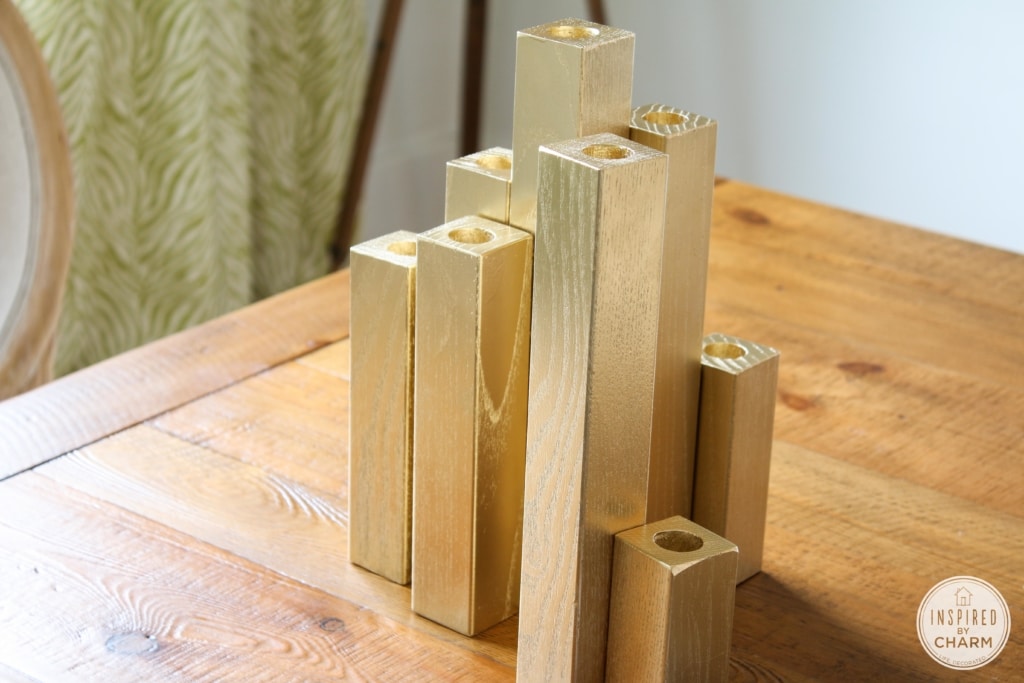
The first step is to cut your wood. I cut nine pieces out of the three wood legs. The tallest piece will be 12 inches. For each subsequent piece, just subtract one inch. The shortest piece will be 4 inches.
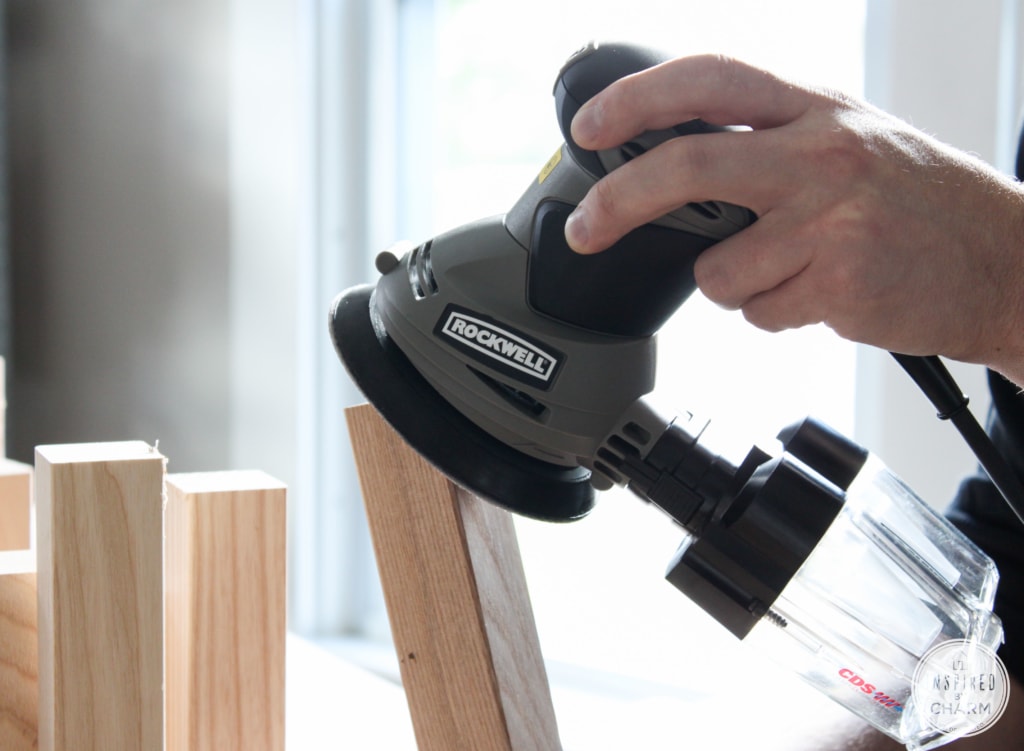
Once the pieces are cut, sand them to eliminate any rough edges. I used this Rockwell Orbit Sander which made the job super quick and easy.
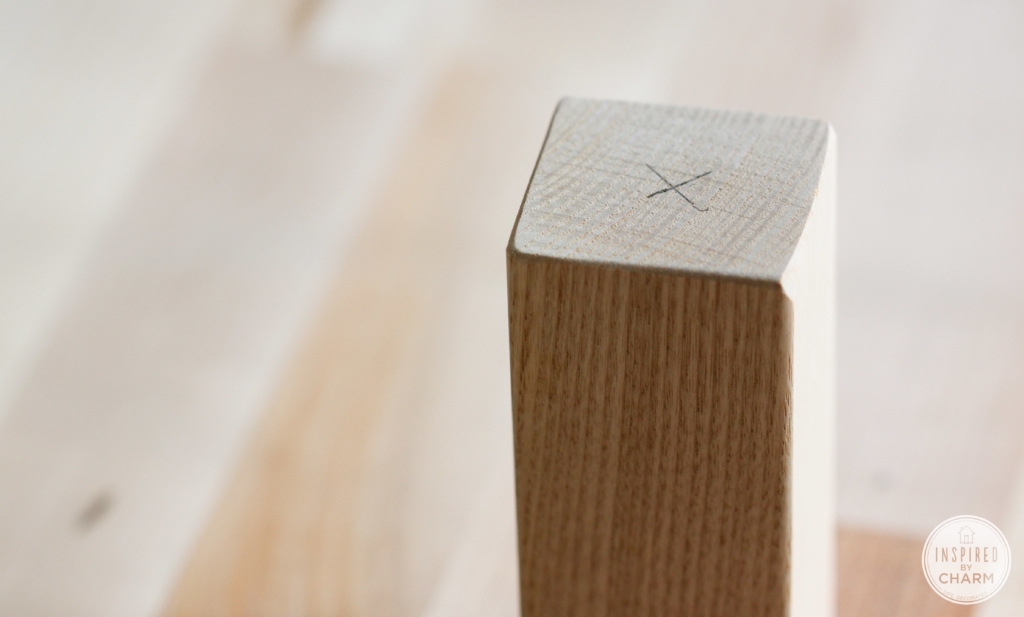
Next, drill a hole in each piece of wood for the candle. Begin by finding the center on each piece. To do this I used a gift card (A ruler would work, too) and set it on the block diagonally from corner to corner. I drew a short line in the center. I repeated this step on the opposite corners.
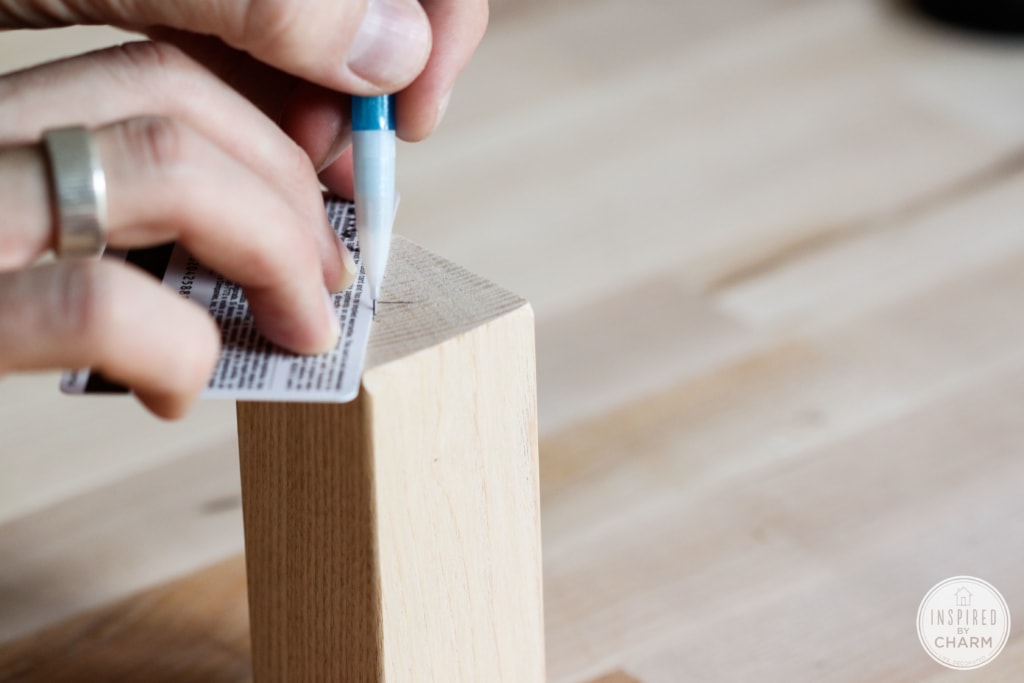
The point where the lines cross in the “X” is the center of the wood.
Then, use a drill and bit to cut holes in the wood. When drilling, be sure to secure the wood in a vise or grip. Drill about 3/4 inch into the wood. If the holes are rough, give them another quick sanding.
Next, spray the wood with primer. Wood tends to suck up paint, so I think this is an important step. It makes the color go on a lot easier.
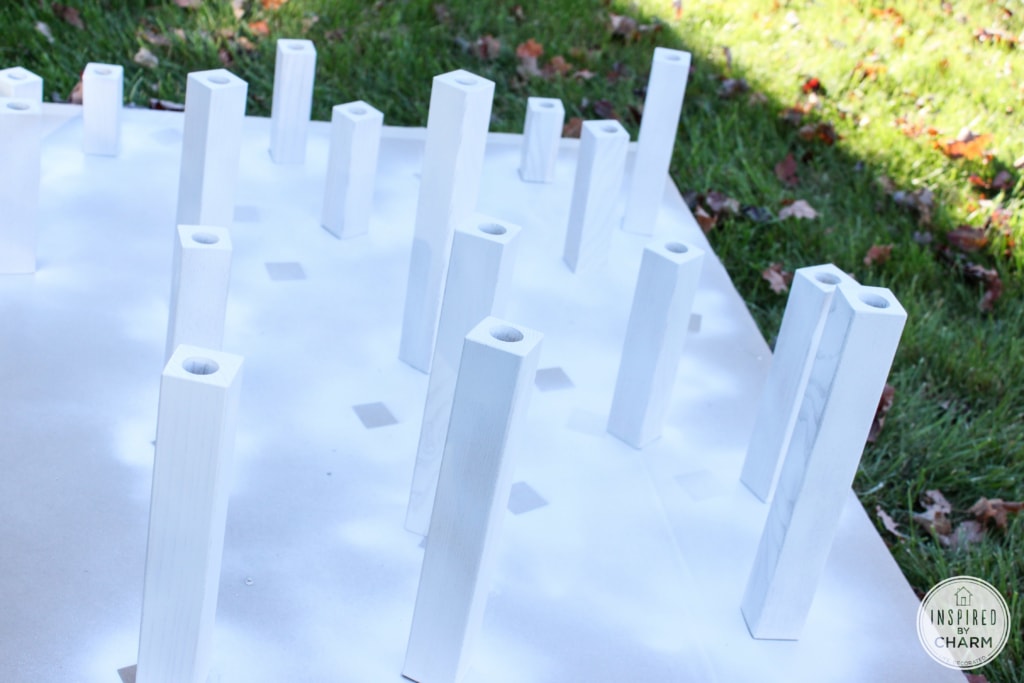
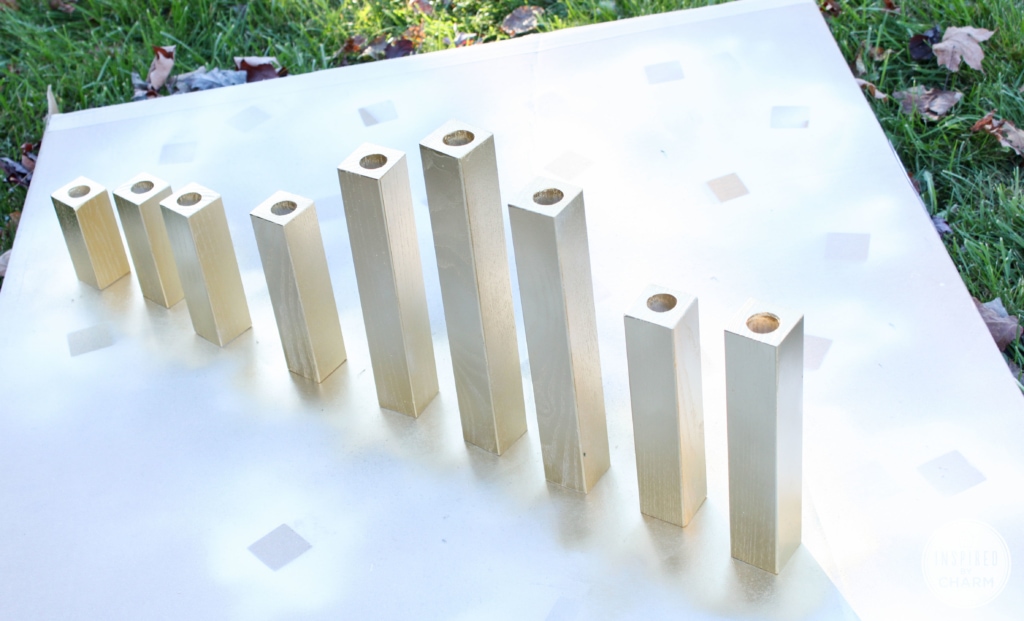
Once primed, spray with your color. I used gold and oxford blue.
Take your time with this process. You don’t want any paint runs in your final products. It will take a little longer, but do multiple thin coats until the wood is completely covered.
💌 SAVE THIS POST / RECIPE!
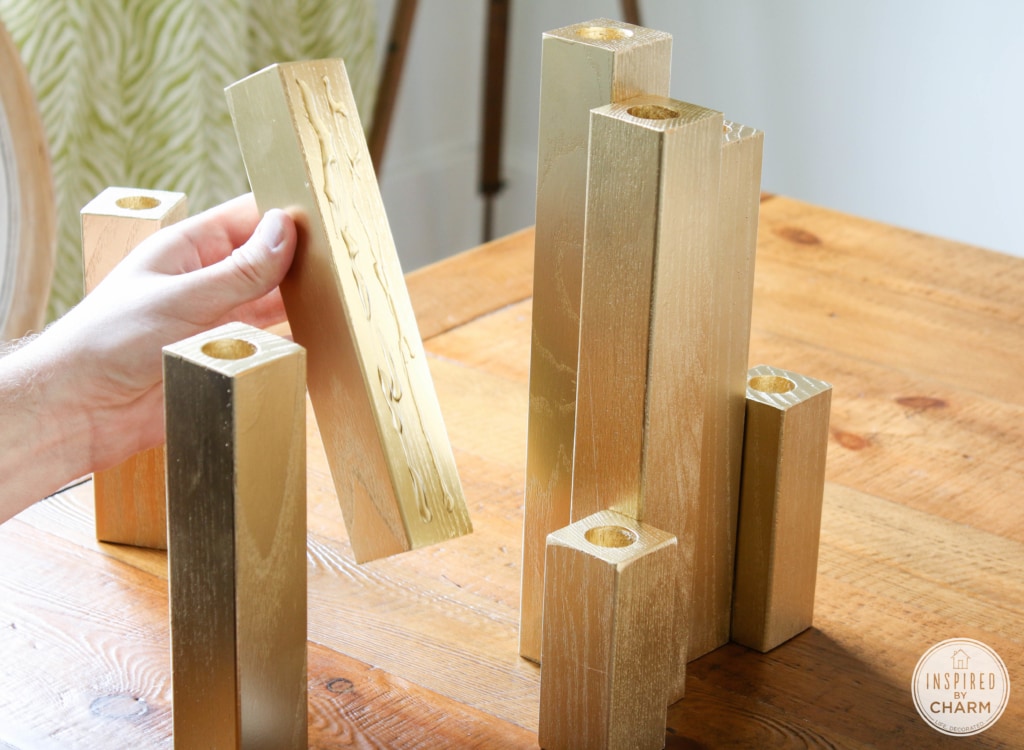
Once everything is painted and completely dry, it’s time to glue them together.
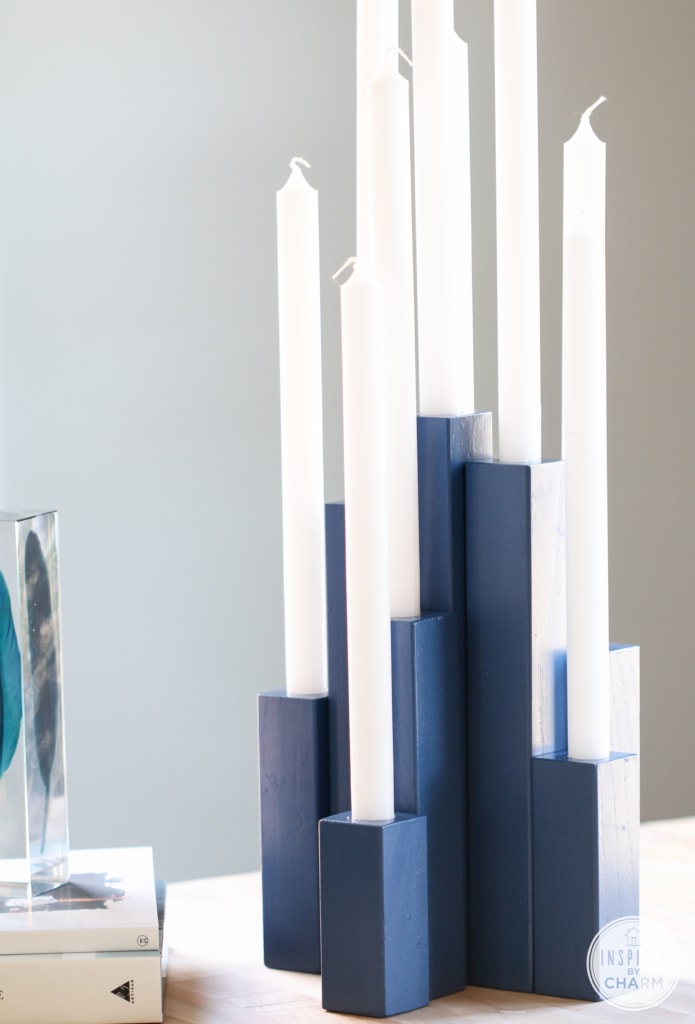
Start by organizing the blocks in a way that is appealing to the eye. Start with the tallest at the center and work your way out. It took me some time, but after playing around with them a bit, I came up with a configuration that I like. Both candleholders have a different order, so there is really no “right way” to do this. Just keep playing until you are pleased with the layout.
Next, glue the pieces today. I used E6000. This was the first time I used this glue, and I was amazed at how well it worked. I think these wood pieces are stuck together for life.
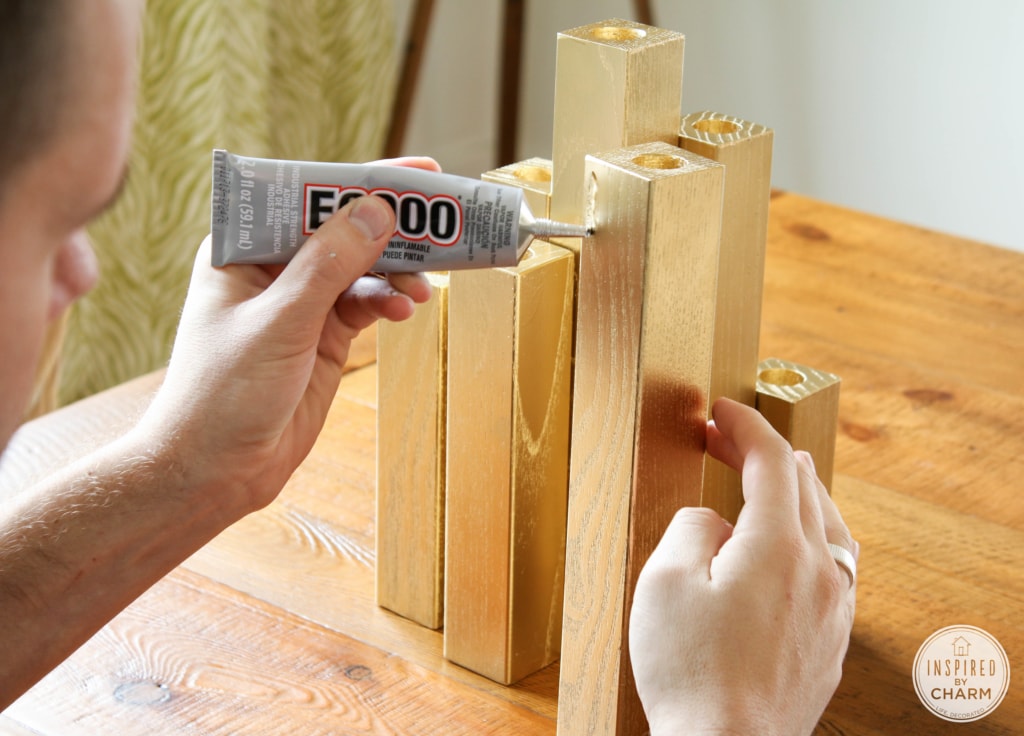
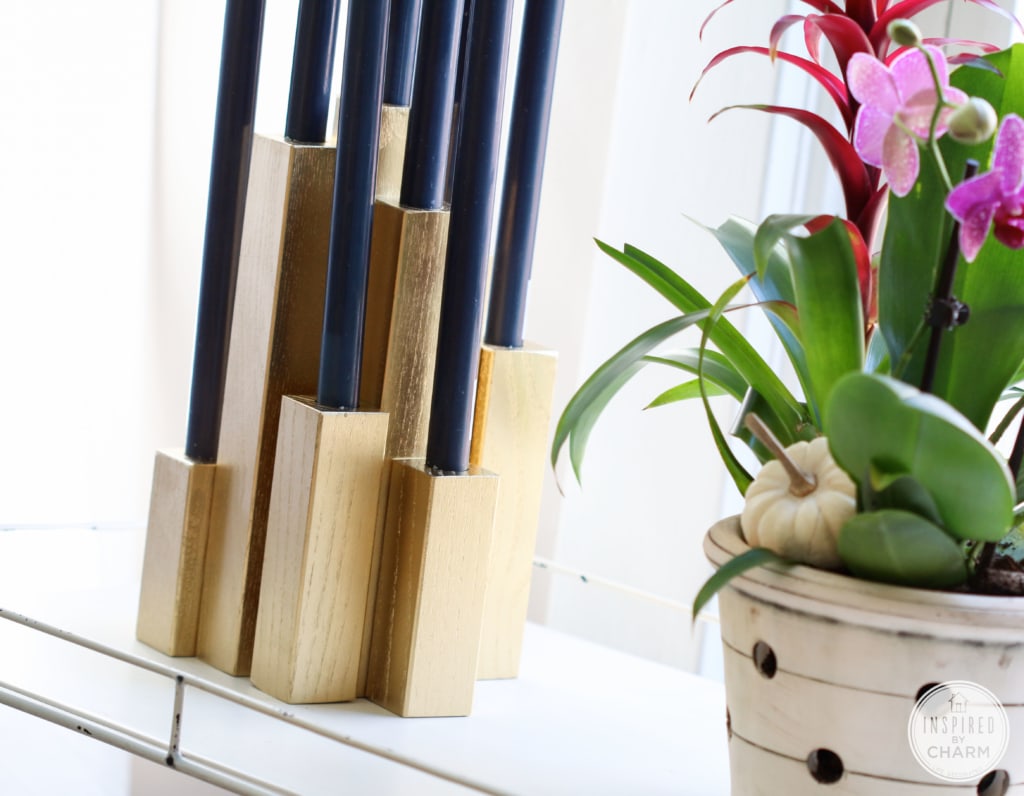
Apply a strip of glue to one piece and adhere it to another. Work around the piece until everything is glued together. I placed a few of my pieces off-center to create interest so I only put glue on a portion of the wood block. It held just as well.
I recommend leaving this set overnight for a really tight hold. After that, your Multiple Taper Candleholder is complete!
Let’s take a look at the blue one first. I paired this one with white candlesticks.
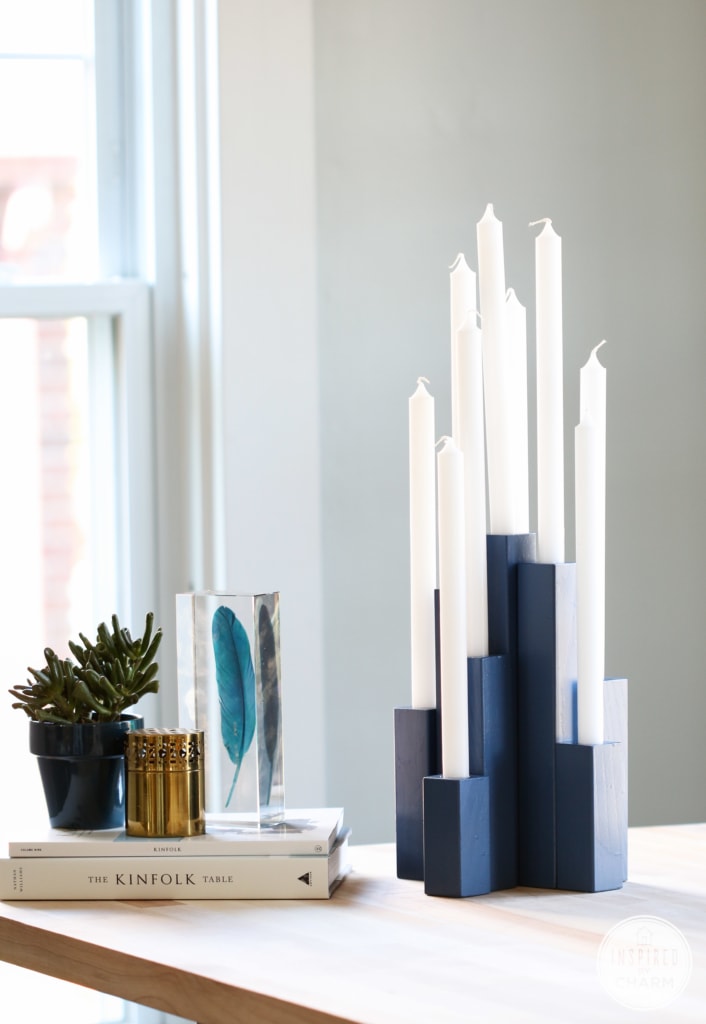
Originally I had planned to do one with various shades of pink and orange, but I didn’t like how that looked, so I opted for this deep blue color. I’m so glad I did! Plus, I think this will look better in my house.
I don’t really own a lot of things in a deep blue color, but I really like how it turned out. I’m pushing my color comfort zone a little bit.
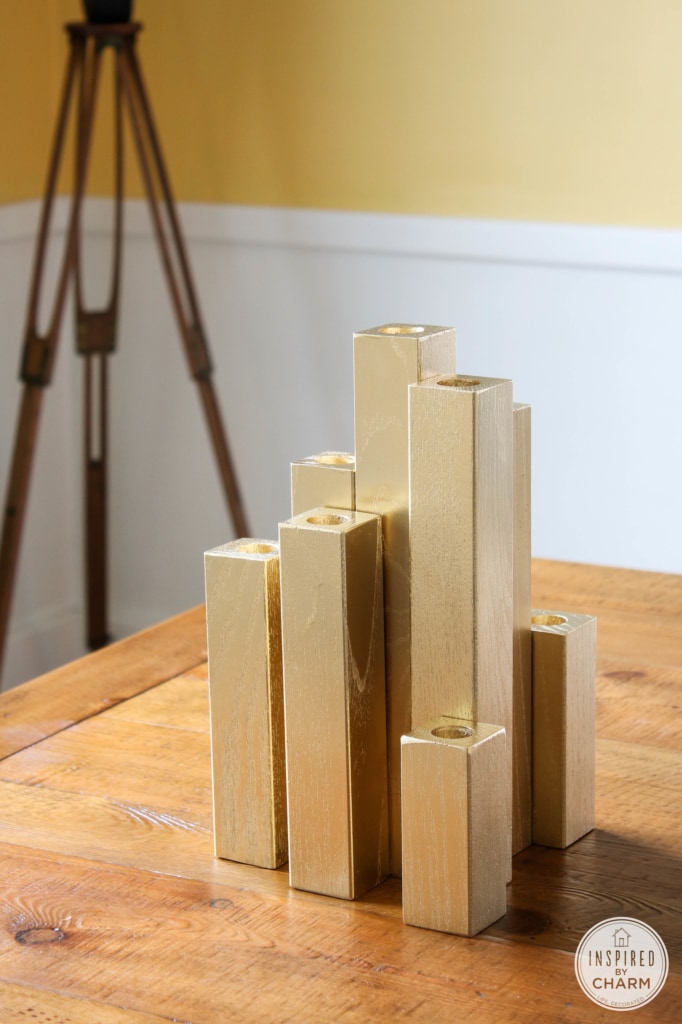
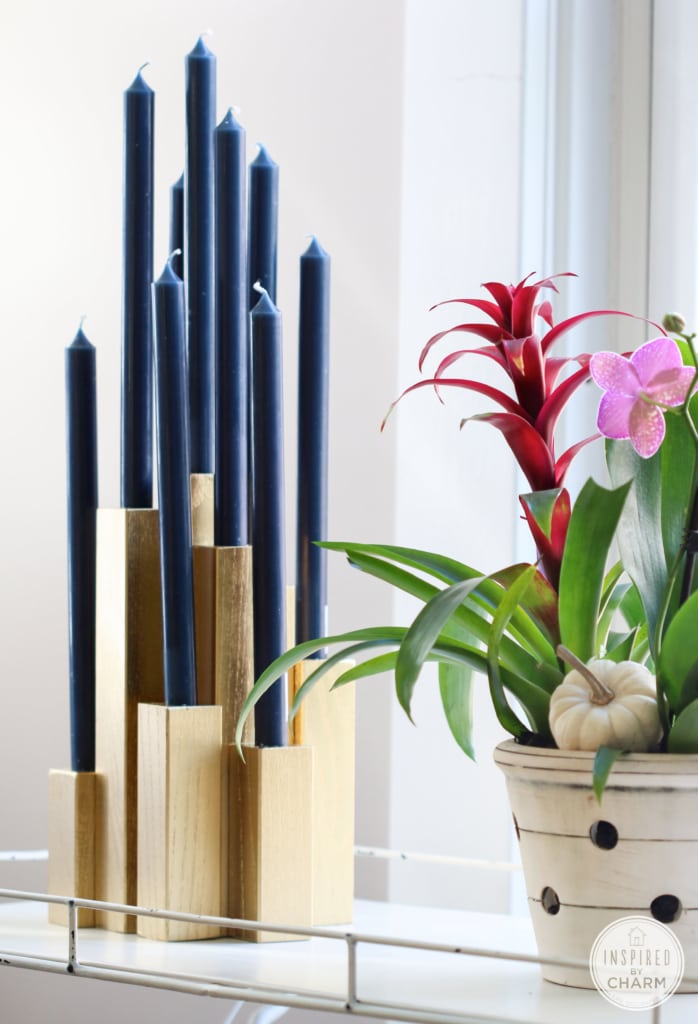
However, as you may have guessed, the gold one is my favorite.
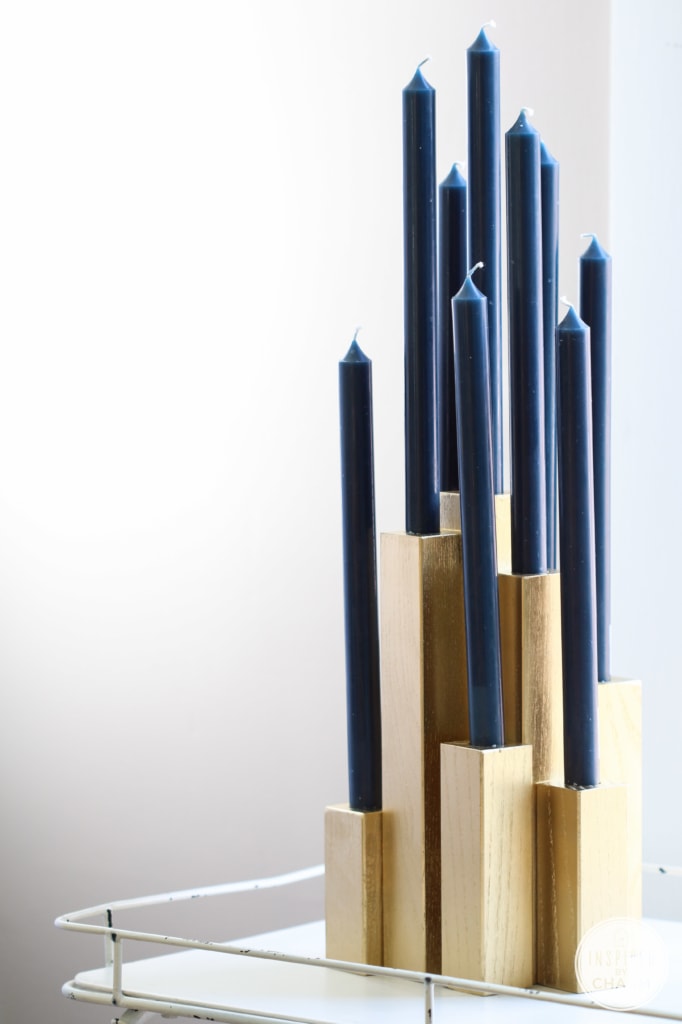
I had some blue candles and I think they work really well in this piece. The spray paint I used is Rust-Oleum American Accents Bright Metallic in Gold. This is probably my favorite gold spray paint. It’s almost a matte gold, but there is still a hint of reflectiveness. It’s perfection.
Can you imagine how great this will be during the holidays with red candles? Or maybe even a bright pink!
I will light this at some point and show you how it looks. I just needed these candles for another photo shoot, so I couldn’t burn them yet. I’m also so happy that both of these look pretty amazing in my office. They are currently sitting candle-less on a shelf until I can find the perfect spot for them.
While my buddy Nate gave me the inspiration, I think I could give him a run for his money with my version. What do you think?
how do i buy one of the candle holders that are glued together. the one in blue but would prefer one in black.
Ron
Michael,
This candleholder reminds me of a city with lights where the woods are the tall buildings.
Love the gold combination 😉
I agree how it is hard to find what you are looking for when out shopping. A little diy and you have what you need for the perfect look. I love how these can be used as a piece of art or candle holders. Simply made too.
Absolutely beautiful 🙂 I can’t wait to try & make some. I’m thinking they may make wonderful table placing’s for my daughters upcoming wedding. Thank you for posting them!!!
I can’t wait to try this idea. One question: how well do the higher candles stand up (literally!) to the heat of the lower candles so near them? Will they begin to warp and bend if burned for too long?
I’m not sure yet. I actually haven’t burned them. When I do though, I will share an update here on the blog and this post.
xo Michael
Beautiful colors, i just painted my bedside tables a similar blue. I love how sculptural the candle holder appears. Great job Michael!
Love it!
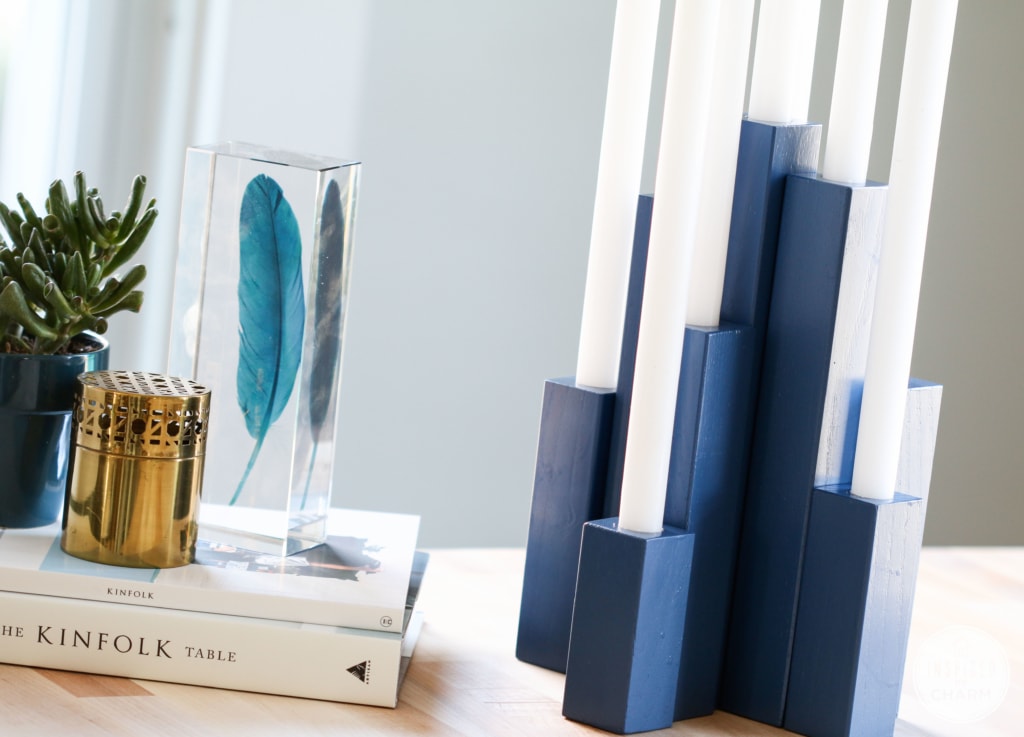
Where did you buy that blue feather you put next to the deep blue candleholder?
It is really cute!
It’s from the Threshold Collection at Target! I love it!
xo Michael
These candleholders are awesome! I have to say, I like your version better than the original!
Awww! So sweet Brynne. Thank you! 🙂
xo Michael
Hooray for power sanders! Your candleholders are bursting with design fun. Thanks, Michael!!!
You got it! Glad you like the design. I really like how they turned out.
xo Michael
Absolutely love this. I’m so stealing it. 🙂
Steal away friend! Glad you love the project. 🙂
xo Michael
A smashing DIY, Mr – well done! 🙂
I’m glad to have your approval Mr. Bazaar! Thank you!
xo Michael
Love it!
Thank you! 🙂
xo Michael
I am in love with the blue! It’s one of my favorite shades. I’ve always been drawn to it. Great idea and turned out magnificent!
Brenda
Thanks a million Brenda! I’m so glad I gave the blue a try!
xo Michael
I love your project and I love the woodgrain. I think the candelabras turned out great!
I wanted to ask how you liked using the Rockwell sander. Does it do a good job of containing the dust? I have been using a mouse but it leaves dust everywhere. I have many projects lined up and with colder weather coming it would be nice to be able to do some projects indoors without flinging sawdust everywhere.
I am remodeling my office along with you (I am supposed to be painting the ceiling right now but I am dragging my feet.) I recently found your blog and love your inspiration. Thanks for the honest photos when everything isn’t perfect, it makes you seem more human and relatable.
I hope that you do some more video chat, perhaps as host. it was fun watching the Red Envelope party.
Thank Janet!
The Rockwell sander worked wonderfully. I had an older one from a different company. This on works so much better and smoother. Big improvement! I think there is going to be dust with any sanders, but it does do a good job at containing some of it.
And best of luck with your office! Painting the ceilings is the worst. So glad you liked the video! I’m hoping to do more in the future!
xo Michael
I am really into the gold right now but I have to tell you the blue is stunning. Back in the mid to late 90s I had an entire Christmas tree dedicated to gold and deep blue – stars, suns, etc. I think I still have that tub and am now so inspired to bust it out. Thanks Michael! Pinning, of course. xo
I agree. I was surprised how much I liked the blue myself. Thanks so much for all the love Claire!
xo Michael
I love it! As much as I love and admire Nate Berkus, I like your version a bit better. The contrast in heights seems more dramatic and varied in yours. Awesome job.
I completely agree. Except I think yours is a TON better!! 🙂
Awww! Thanks Lisa! Let’s keep that between you and I. Nate doesn’t need to know. 😉
xo Michael
That is quite the compliment (but I totally agree – haha!) Thanks so much Amy!
xo Michael
LOVE this!!
Thanks Amanda!
xo Michael
As a Notre Dame grad, I’m loving these blue and gold colors. 🙂 Will have to try this project next time I’m home at my parents.
Yes! That would be perfect! Good luck with the project!