Front Yard Landscaping: The After
This Post May Contain Affiliate Links. Please Read Our Disclosure PolicyAnother big project at Bayberry House is complete.
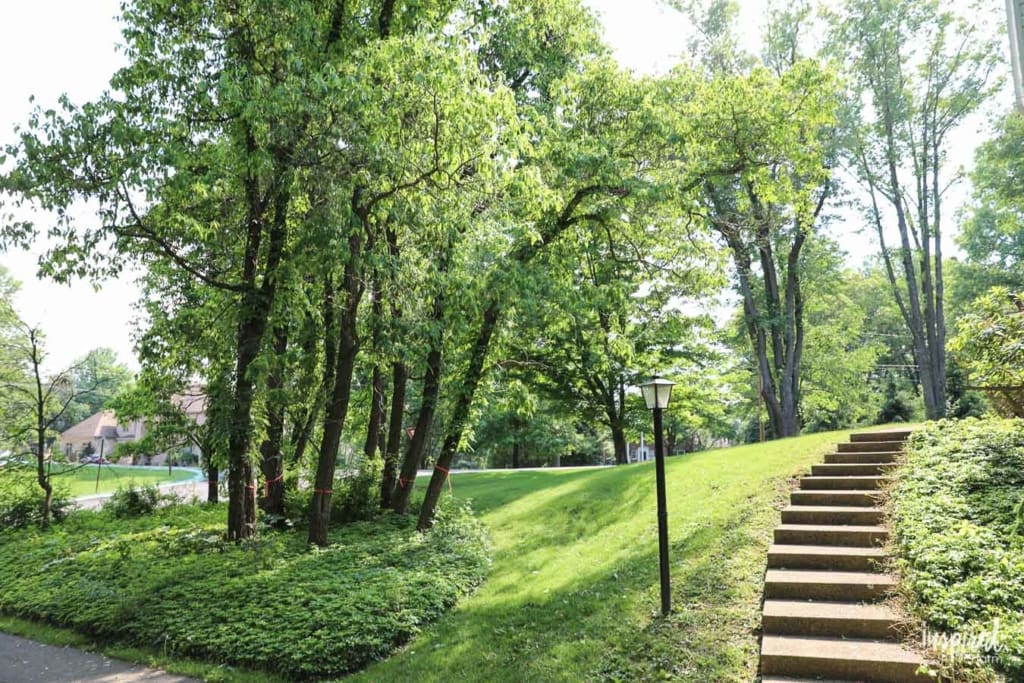
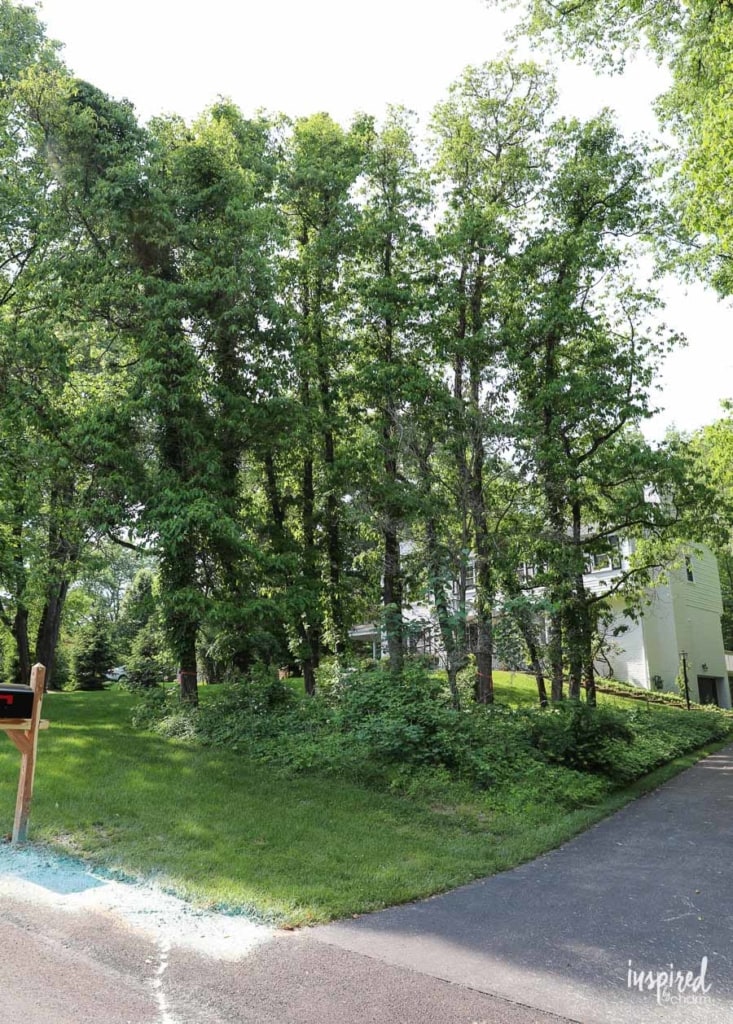
As I mentioned last week, after having a grove of dead and ugly trees removed, my new front yard landscaping was installed and grass was planted. Let me walk you through the process and show you the results!
Before we do that, however, I must tell you how disappointed I was with the landscaper’s execution of the design. While the overall design and plant selection were great, the installation process and lack of attention to detail was a hot mess. I won’t go into more detail here, but I will be looking for a different landscaper in the future.
As I mentioned in my 2019 Bayberry House Project list, I want to tackle a landscaping project every year, so it’s important that I get a landscaper who does quality work. This might slow the progress in my yard a bit, but I’m pressing on.
With that out of the way, back to the progress!
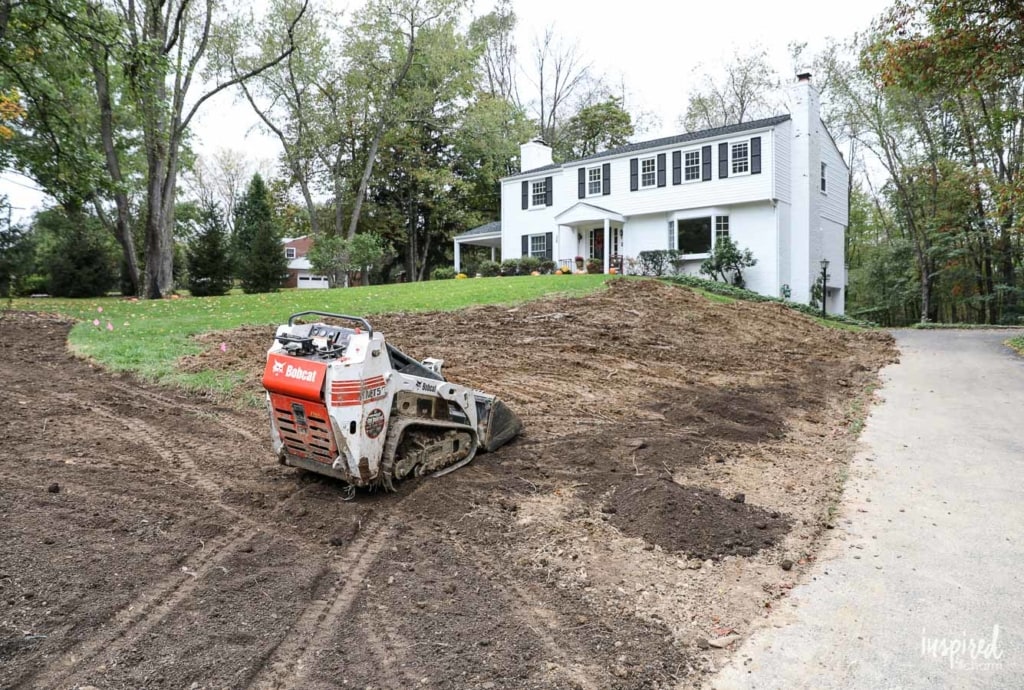
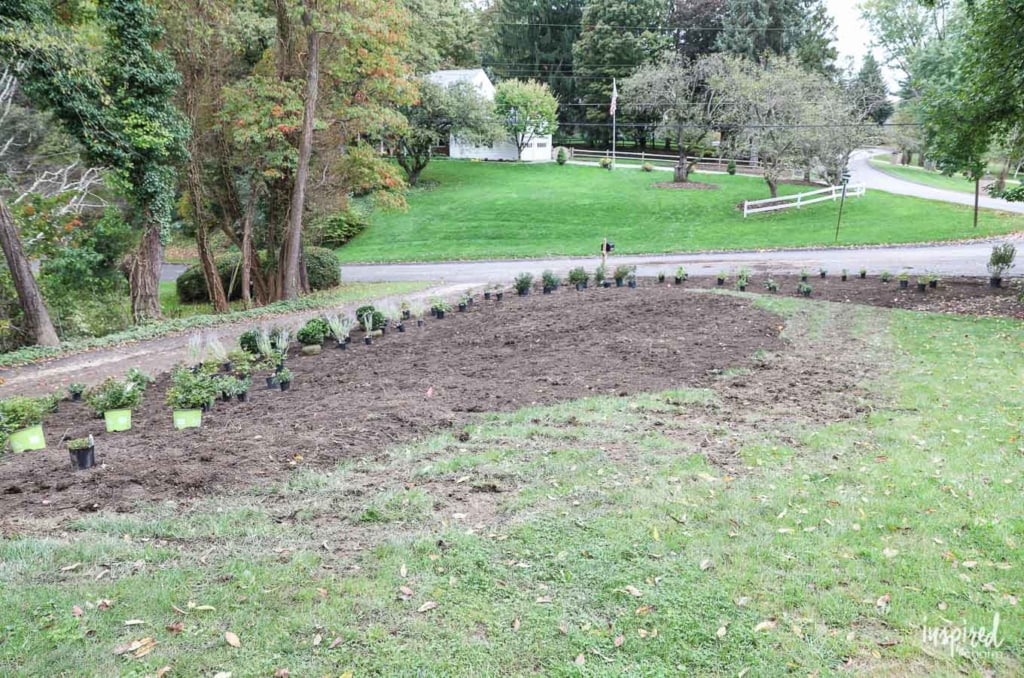
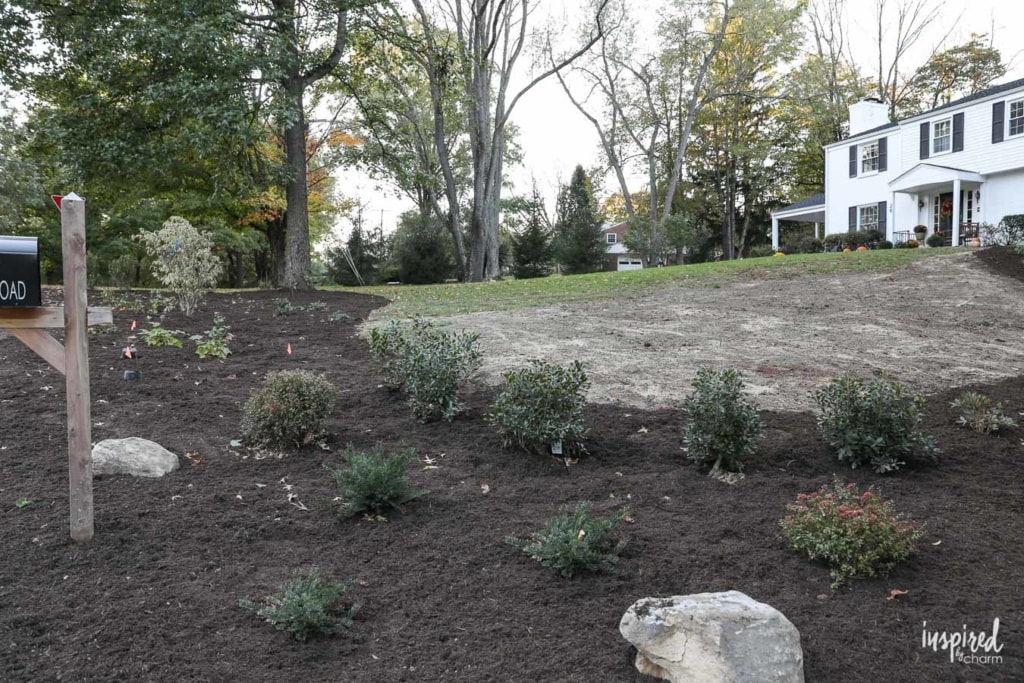
Although different elevations aren’t always noticeable in photos, the planting bed where the trees had been had a fairly large hill on the front of it closest to the road. The landscaper’s first step was to knock out that hill and create a level surface for the new planting beds.

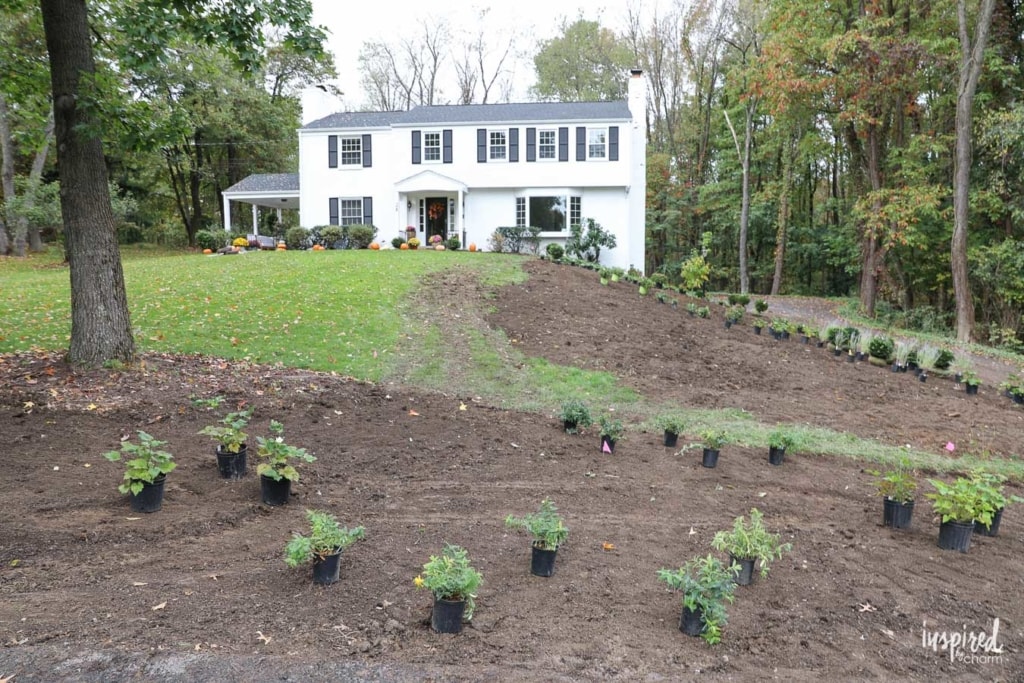
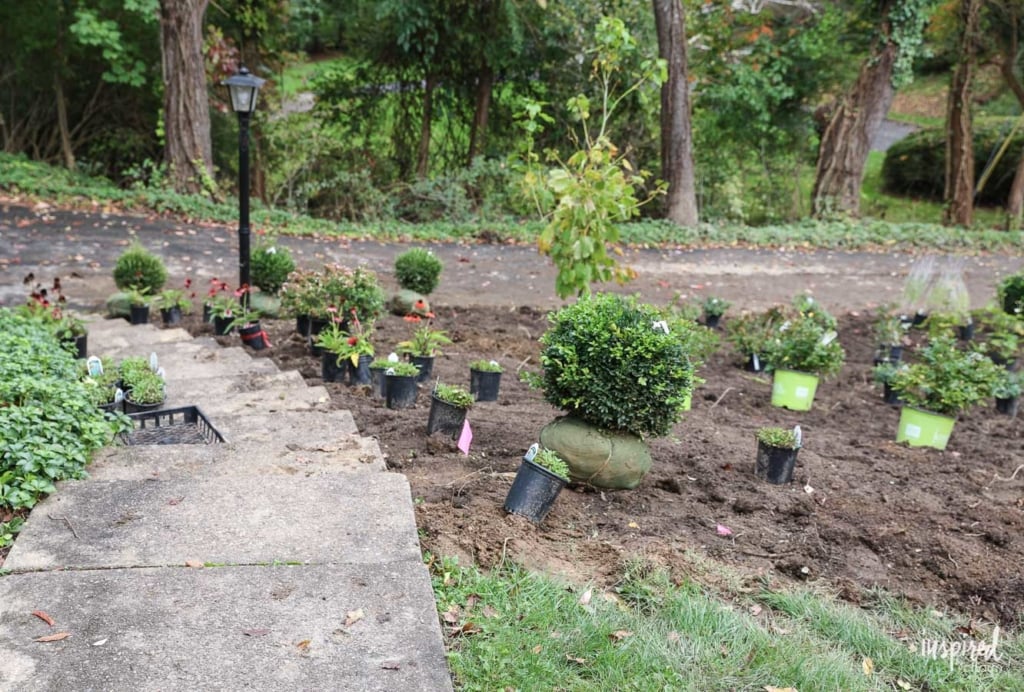
After that, the shape of the planting bed was laid out and topsoil was added. Then almost 150 shrubs and perennials were brought in. Yes, 150!
Here’s a look at the design plan and list of plants for those of you who are interested.
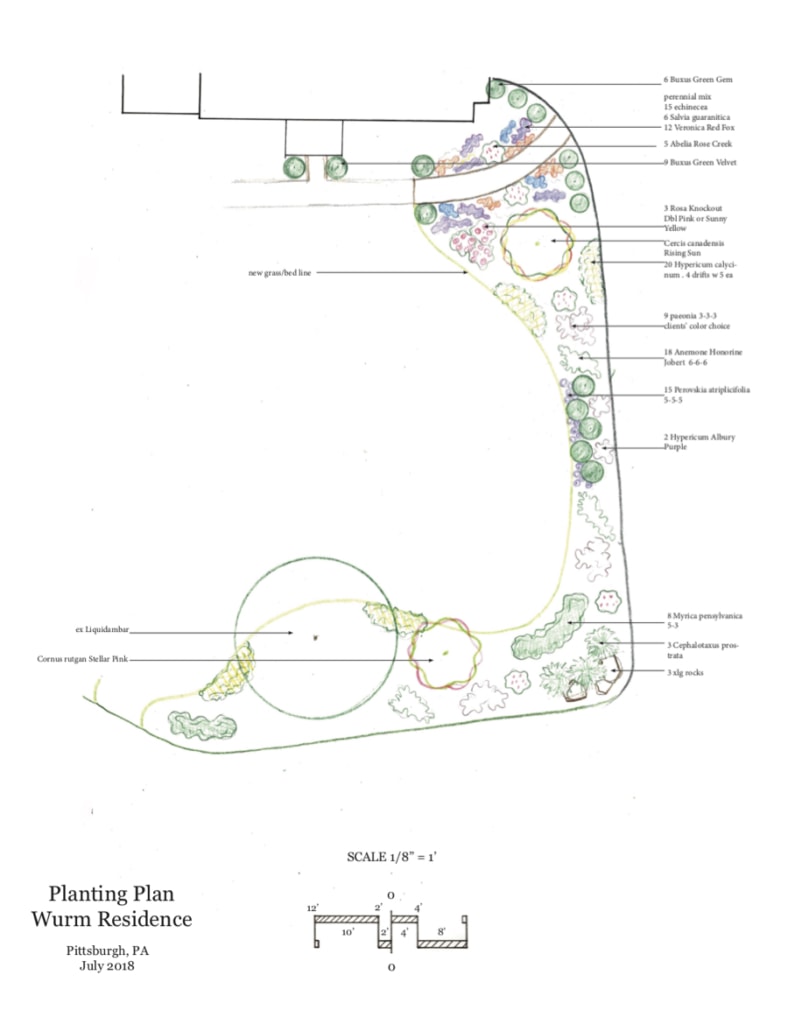
(There are two changes from this design plan. Both feature trees are different. The Cercis Canadensis Rising Run is now a Striped Maple and the Cornus Rutgan Steller Pink is now a Cornus Kousa Wolf Eyes.)
As I’ve mentioned, this area of Pittsburgh has a rather large deer population. It’s important to take that into account when selecting plantings.
Some of the new plants are attractive to deer, but they will get netting around them in the winter for protection.
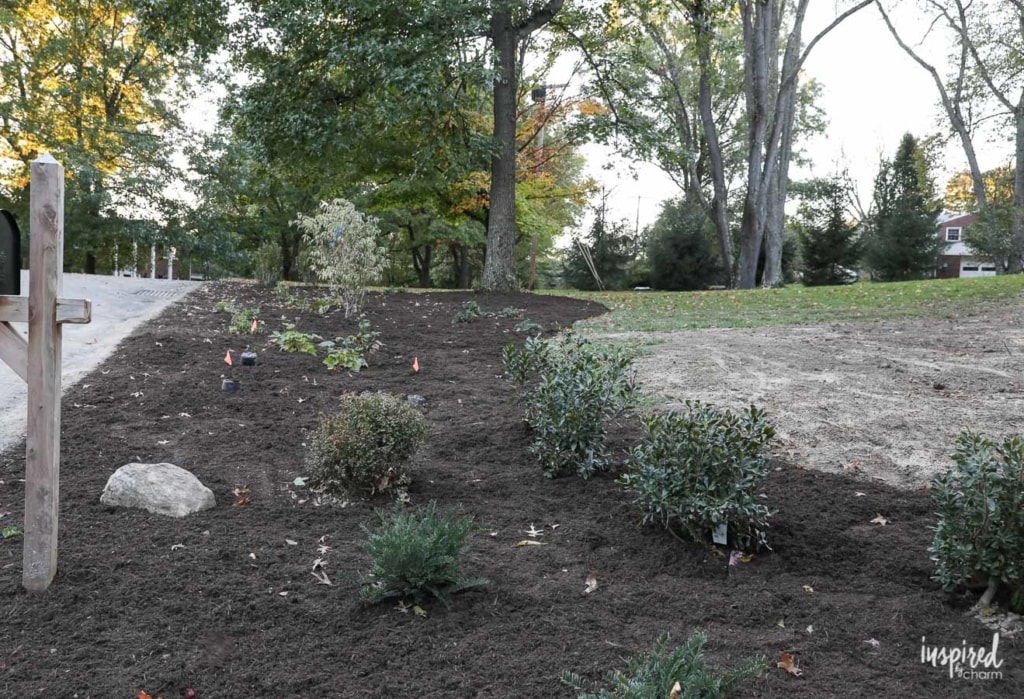
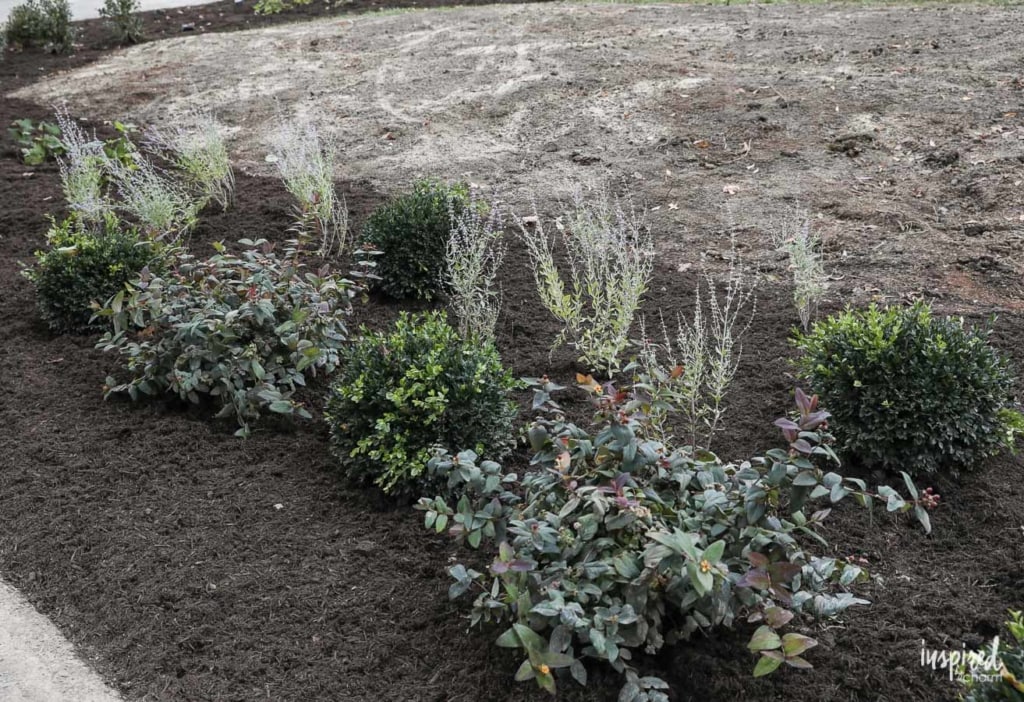
Using the design plan as a guide, all of the shrubs, trees, and perennials were placed and then planted.
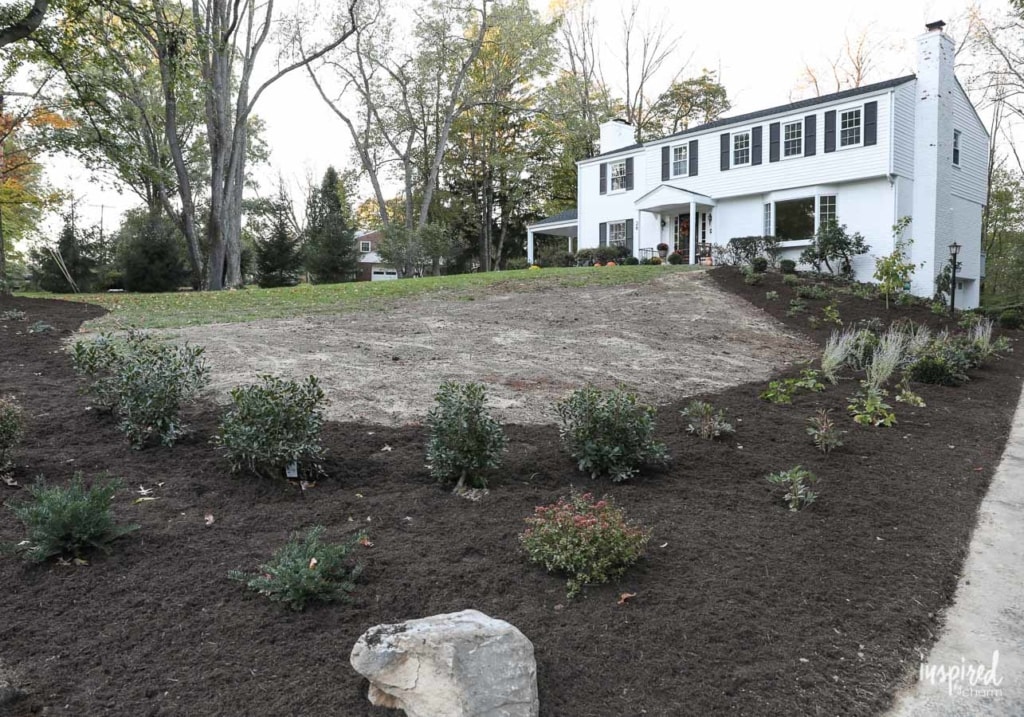
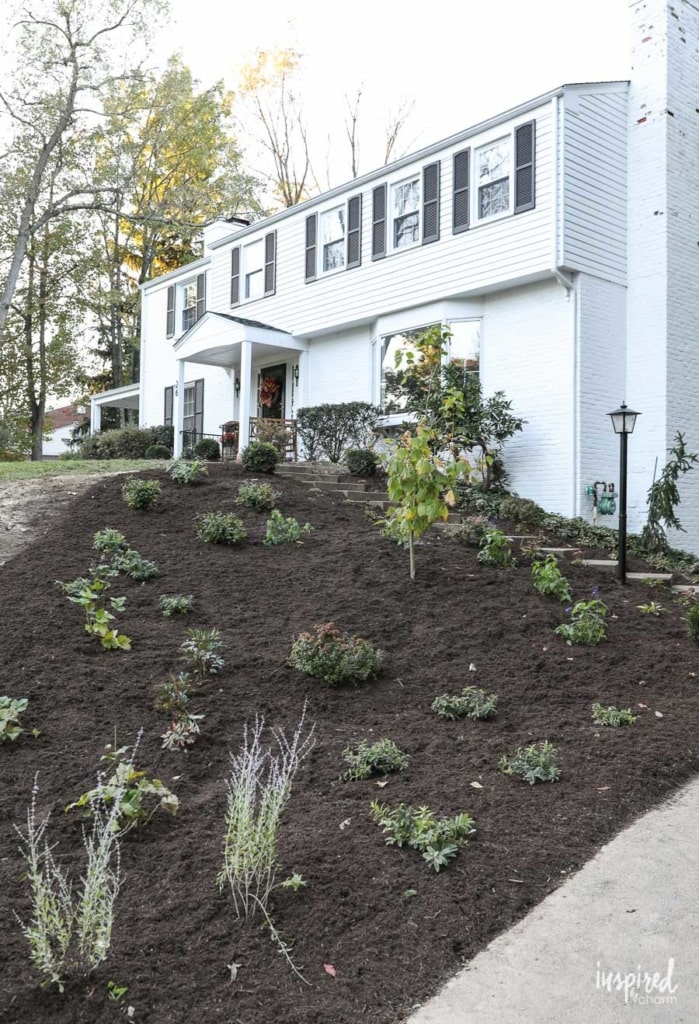
After being mulched and seeded with grass, this front yard landscaping project is complete!
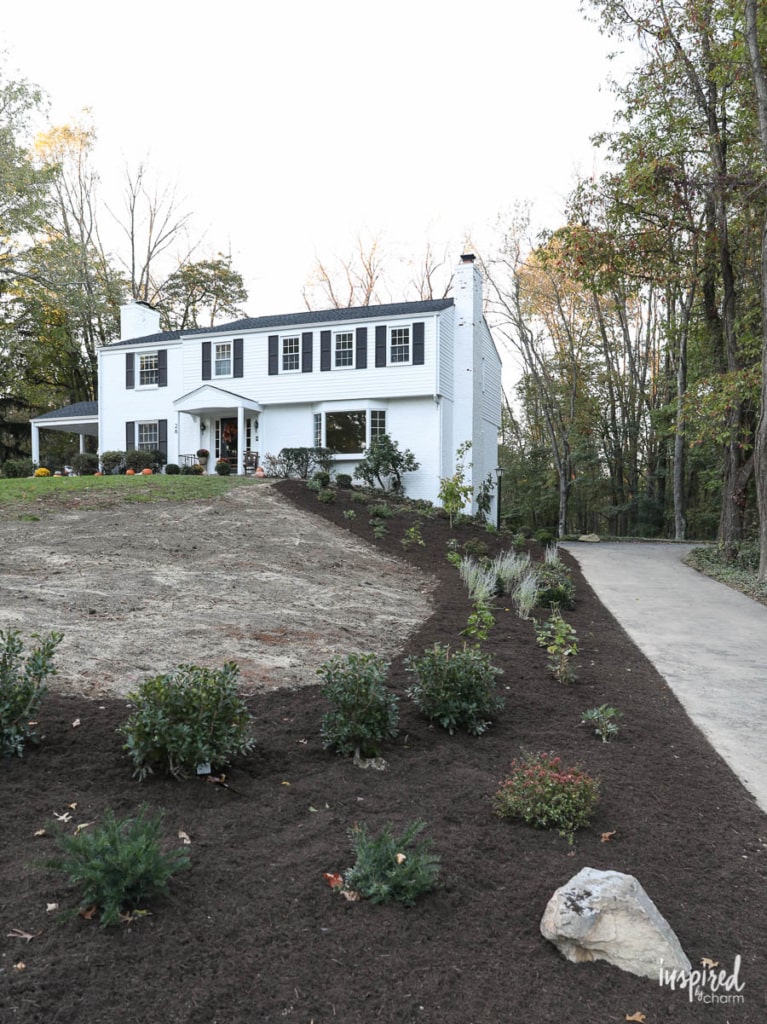
As you might have surmised, all of this activity took place in the fall. Surprisingly, most of the plants hadn’t gone dormant yet, so there is still plenty of green in the photos. I plan to photograph this area again in the spring and summer so you can see how the garden and plantings look at different times of the year.
💌 SAVE THIS POST / RECIPE!
Also, when I took these photos, 3 or 4 plants were missing for one reason or another and the grass has not grown.. Once they were finally planted and the grass started to appear, everything else went dormant, so I didn’t bother to take more pictures.
As I said, I’ll circle back with more photos after winter, if you are interested.
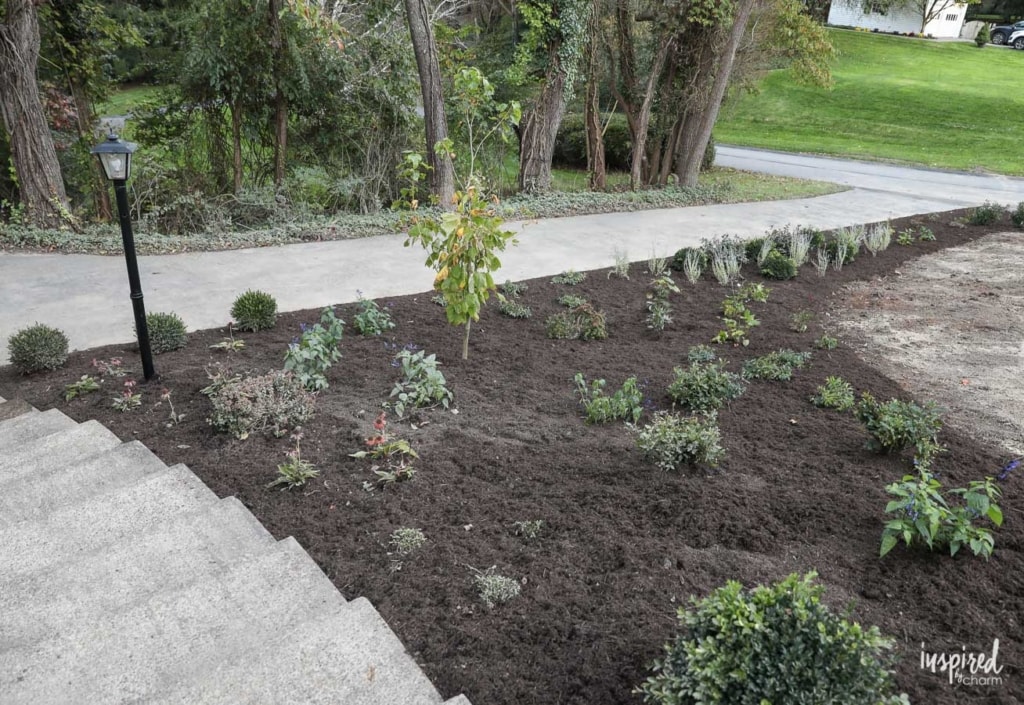
I am so in love with all of the new plantings and how they make the landscape look much more intentional and cared for.
Speaking of plantings, here are a few of my favorites:
– Peonies (Paeonia): There are nine peony bushes in two different varieties. Of course, they aren’t blooming now, but I do hope to see a few flowers this summer.
– Hypericum Albury: You might recognize this bush since its branches are often used in floral arrangements. You can also buy hypericum in the grocery store with fresh flowers.
– Striped Maple Tree (Acer pennsylvanicum): This is the tree closest to the house. Its leaves and bark are so beautiful.
– Roses (Rosa Knockout): Adding roses is a bit of a test, as they are not deer resistant. However, I thought it was worth a shot. We’ll see how they do!
– Allium: In case you’re not familiar with them, these look like big purple lollipops. These were planted as bulbs, so I’m looking forward to seeing them bloom in the years to come.
– Bayberry (Myrica Pensylvanica): Yes, in a nod to the name of my home (“Bayberry House“), I added a few of these bushes. There are two varieties: one is standard and one is a dwarf variety. I love that their leaves are great for cutting. (If you’ll remember, I used some in my winter tablescape!)
I like all of the plants that were selected, but these were some I’m especially excited about!
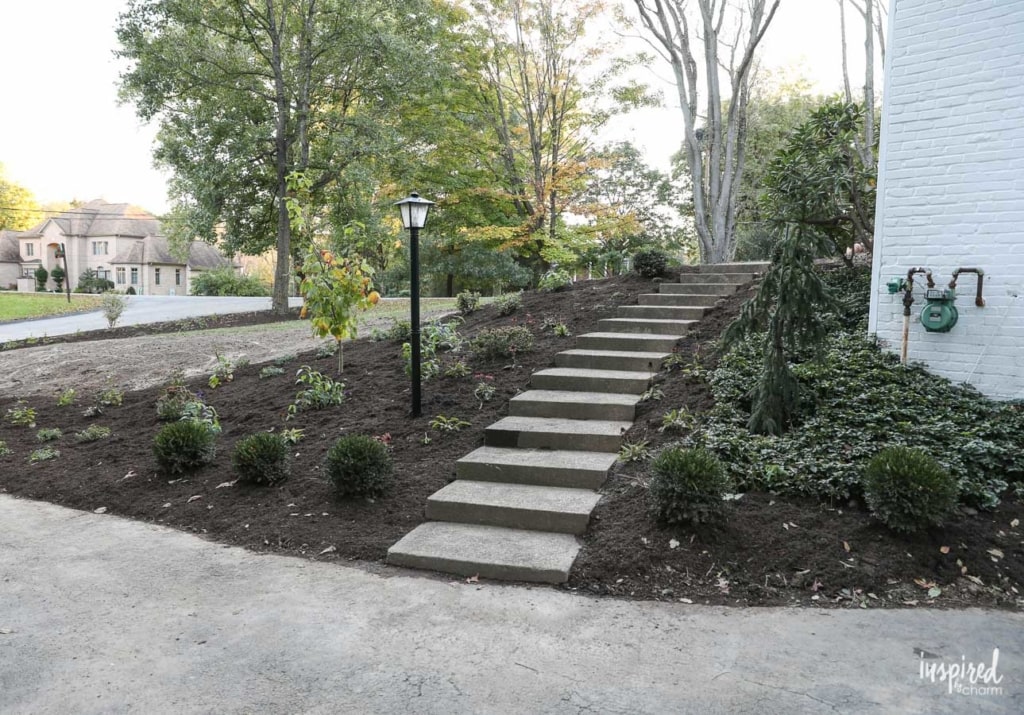
As you can probably tell, this is just a small section of my yard. In time, I would like to extend this bed around the left side of the house and clean up the opposite side of the driveway to give the landscape a cohesive look. I also plan to eventually replace the shrubs in front of the house.
These outdoor landscaping projects are truly exciting for me! I’m looking forward to tackling a portion every year and seeing it all come back to life over time. Sometimes I think if I had it do it all over again, landscape architecture or working with plants would have been a good career path for me.
And before we wrap this all up, here’s a quick look at the before and after:
BEFORE:
AFTER:
I’m loving it and SO excited to see it in the spring with that dirt patch as grass.
I hope you enjoyed seeing this project come together and picked up an idea or two for your own landscaping adventures.
That looks like a difficult yard with the slopes, and I’m impressed with how it turned out! I’m excited to see how it looks in the spring! We’ve been working on our yard (just got a new fence put in this week!) and it’s no where as big or gorgeous as your yard but I’m excited.
Gorgeous, gorgeous! Can’t wait to see those peonies in bloom!!
This plan should have worked out well for you and the lawn must look great once the grass grow with these plants..
Great inspiration for all the gardeners.
Note: please add me to your emailing list
I’m so impressed M! It’s looking SO good!
I’m inspired to reach out for help with my own yard… I’ve never utilized a landscaper, just worked with trial and error with what’s already there. Motivated and looking forward to seeing how this all moves along! I’d love to see an update in summer!