DIY Picture Ledges in my Art Studio
This Post May Contain Affiliate Links. Please Read Our Disclosure Policy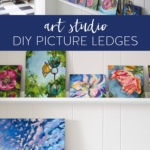
Need an inexpensive and stylish way to display art, decor, and more? Then create these easy and affordable DIY picture ledges in just a few hours!
Let’s Make Some Picture Ledges:
Welcome back! In this post, we are heading down into my basement art studio so I can show you the picture ledges that I built and installed.
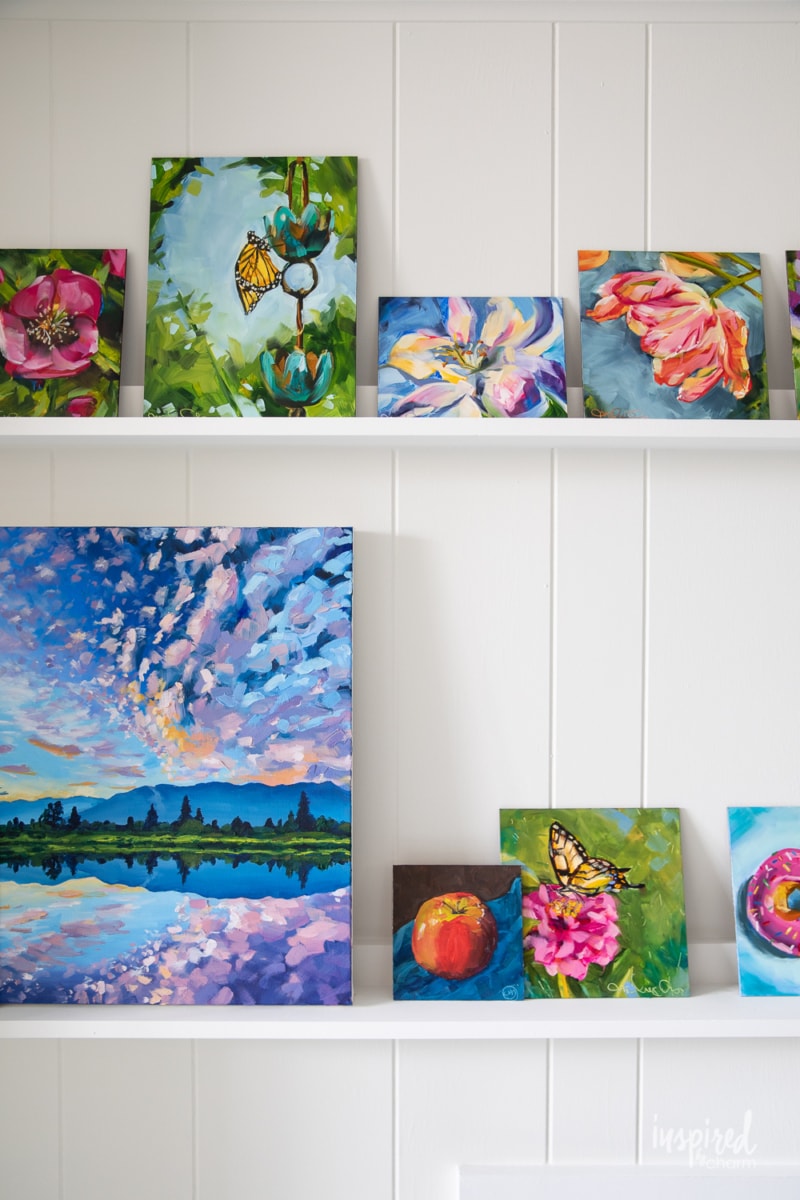
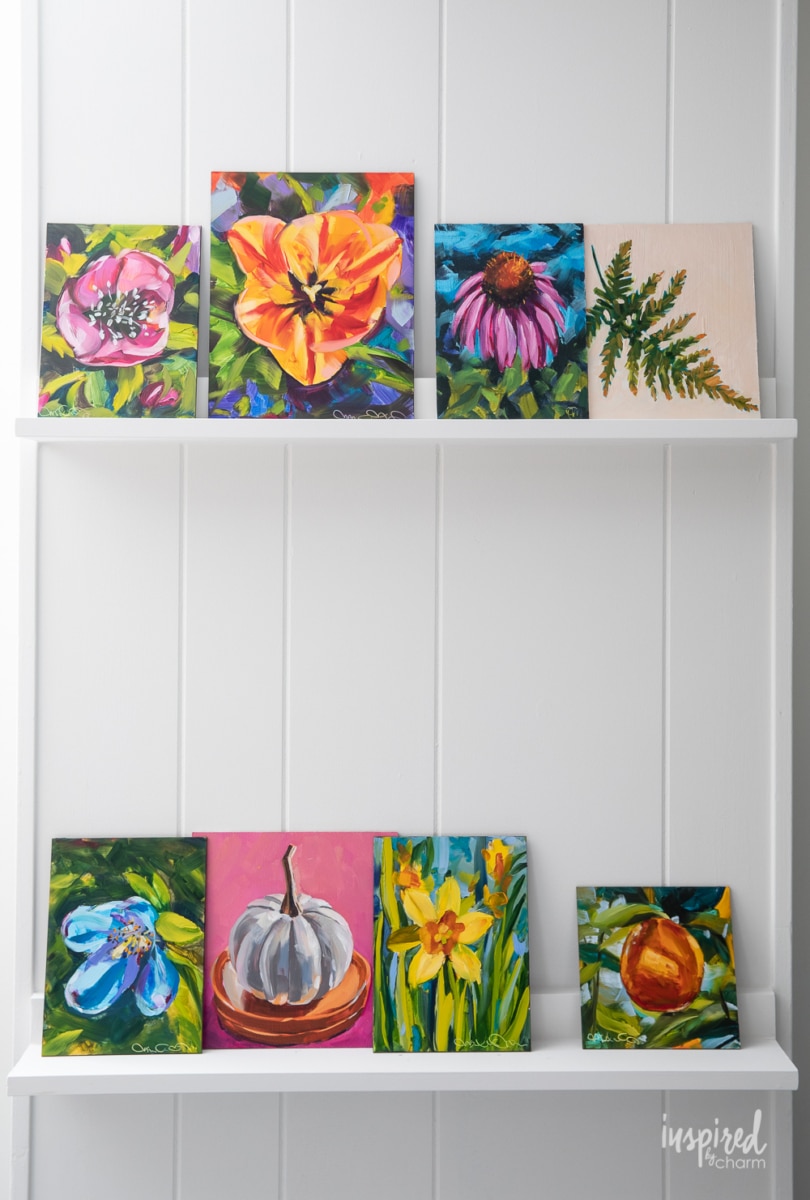
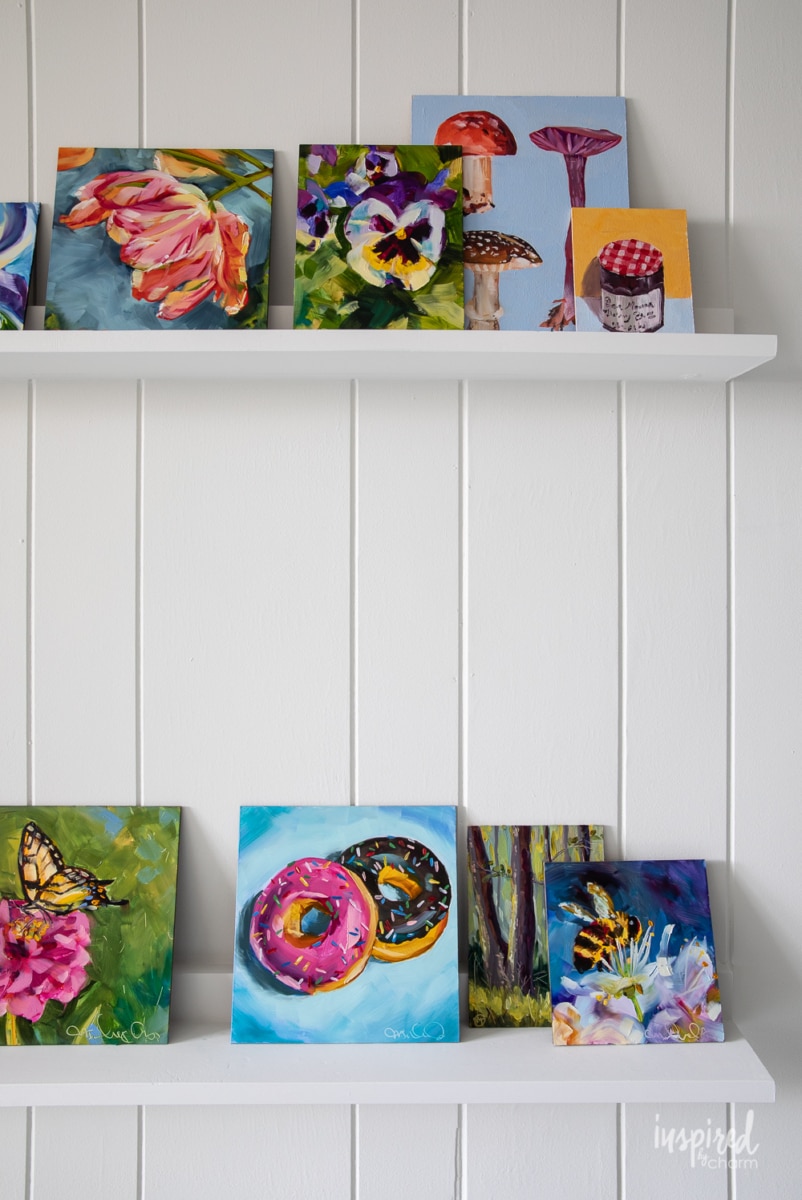
If you’re a long-time IBC follower, you might remember the DIY Picture Ledges that I made for my previous home. (You can see them HERE if you missed it.) I love a picture ledge because it’s an easy way to decorate a wall. You can use these ledges for artwork, family photos, small collections, decorative objects, etc.
Follow My Art On Instagram:
If you have any interest in following along with my art journey, seeing more of my work, and getting a behind-the-scenes look into my studio, you can follow me on instagram at @michaelwurmjr. This is a new account dedicated solely to my art. I would love to have you join me.

I wanted to add a few of these picture ledges to my art studio in order to have a place to display my artwork and have an area to let my oil paintings dry.
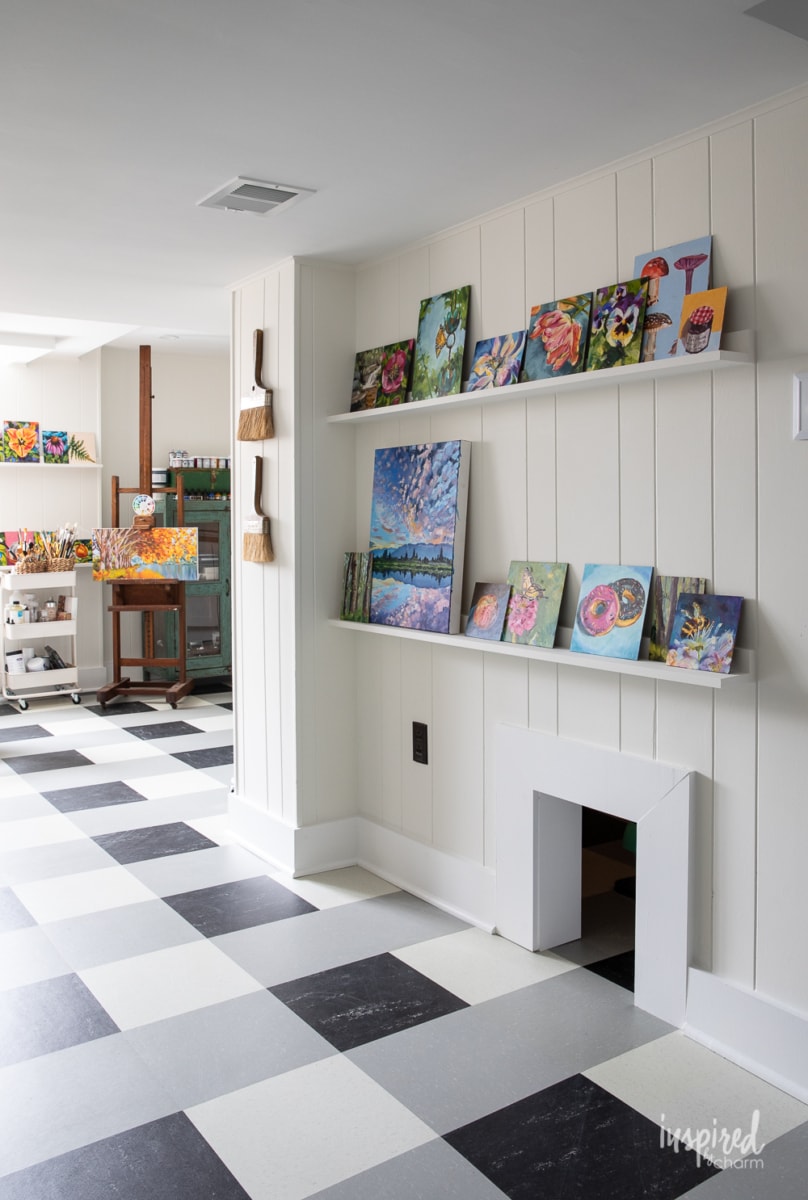
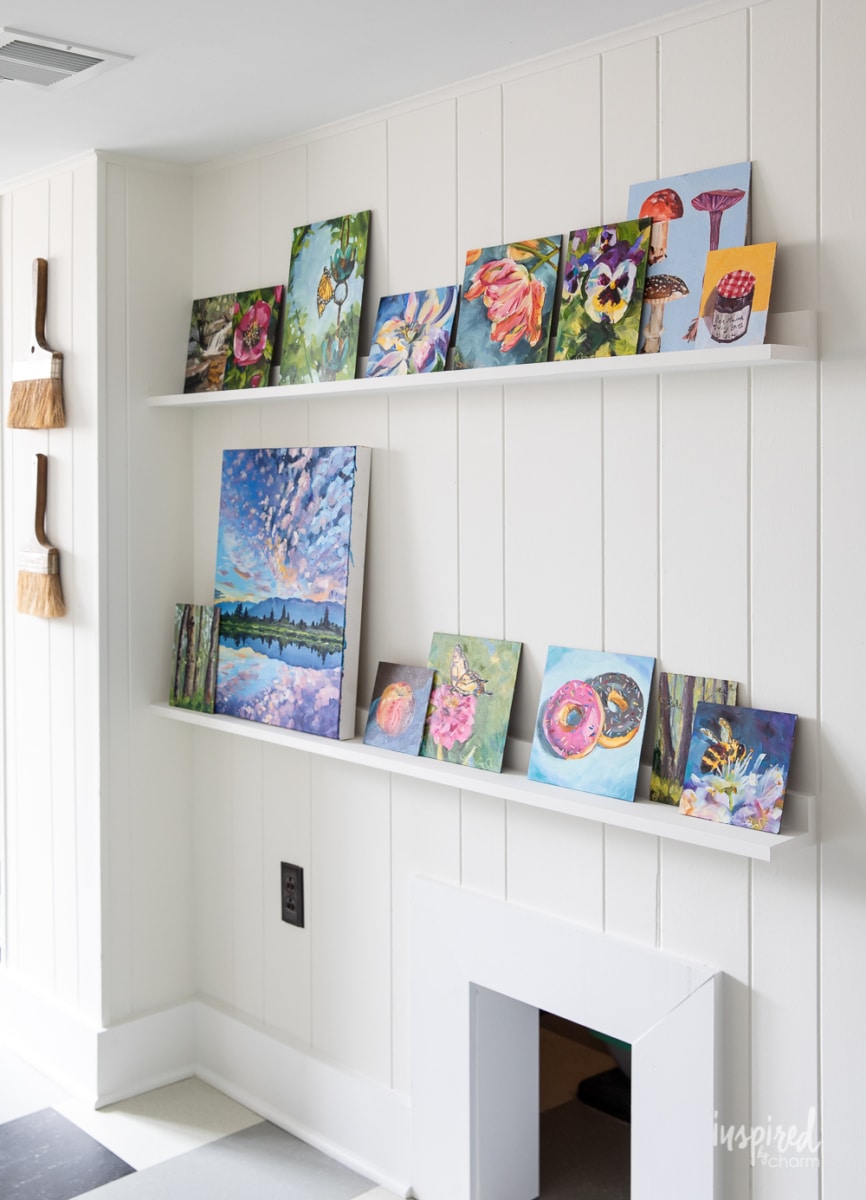
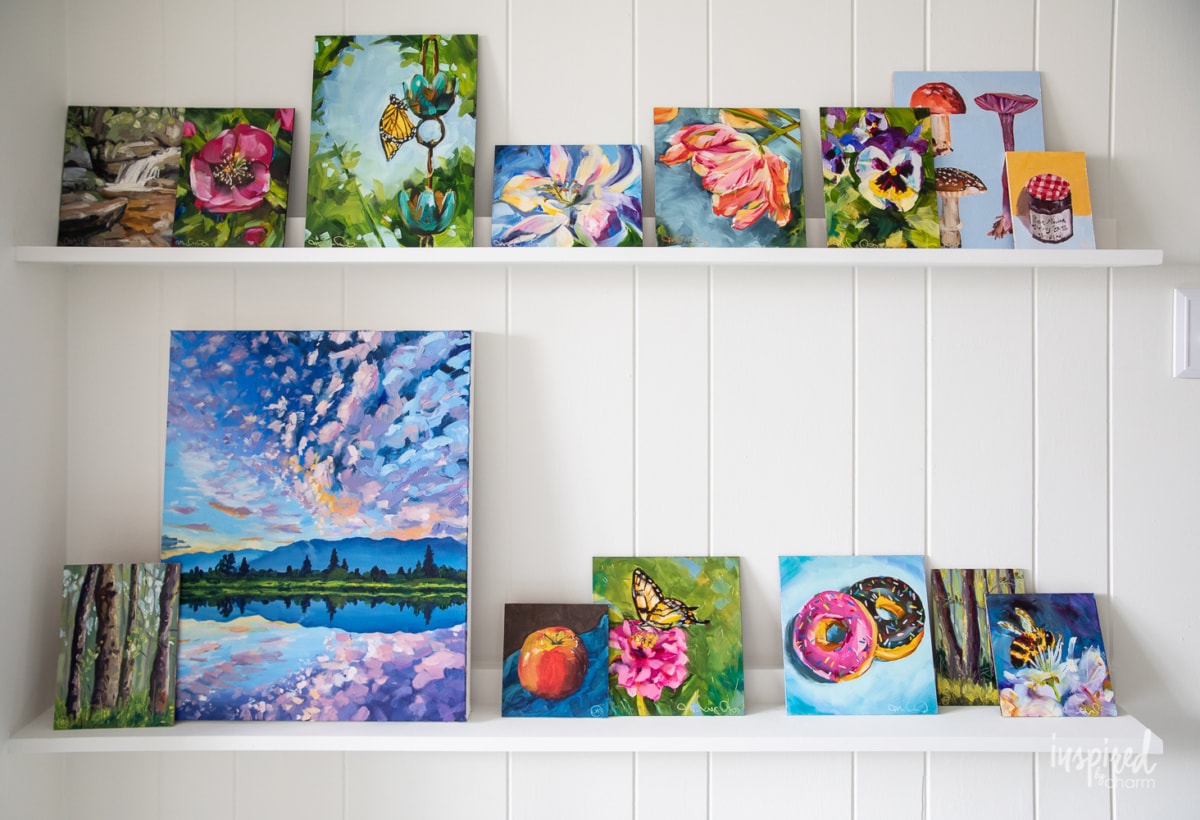
I have a large wall space that runs along my staircase that’s the perfect place for these shelves. Since the picture ledges are pretty shallow, they don’t take up much space while still serving their intended purpose.
With these ledges installed, I can quickly swap out my artwork and a few decorations in seconds. There’s no need for additional holes in the wall, just set them and forget them!
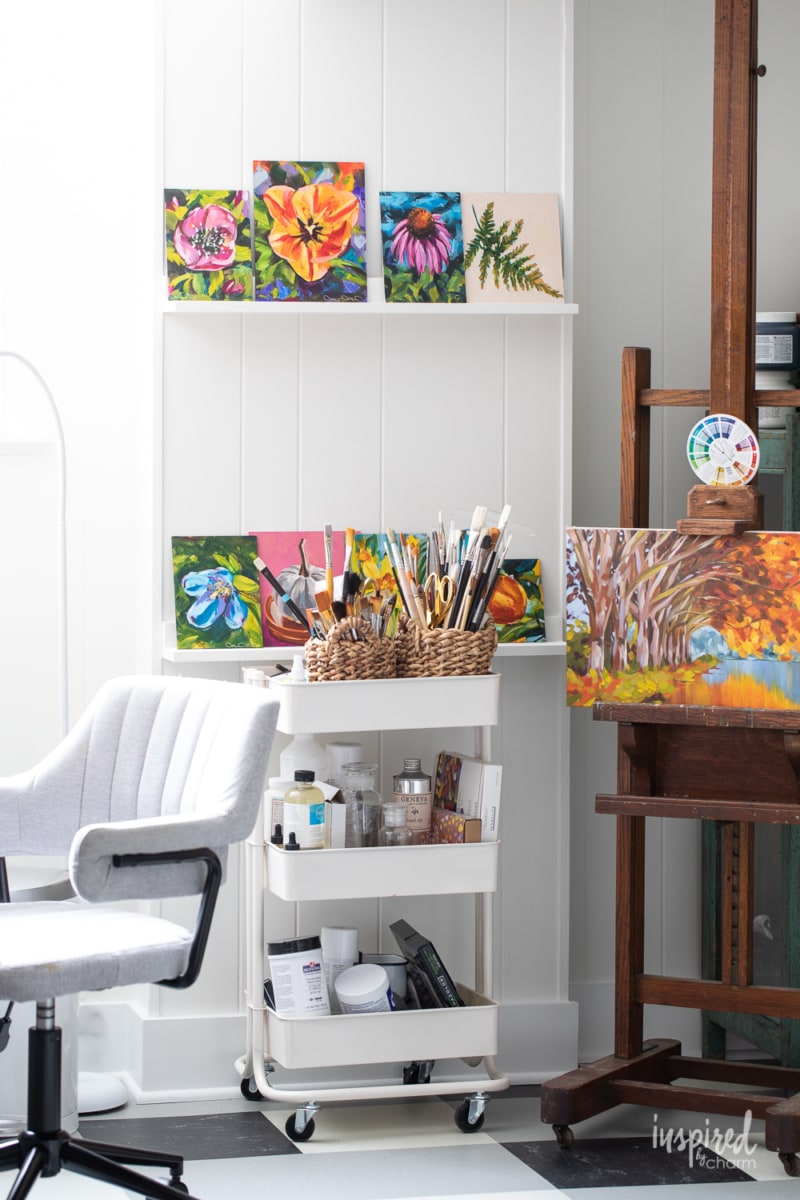
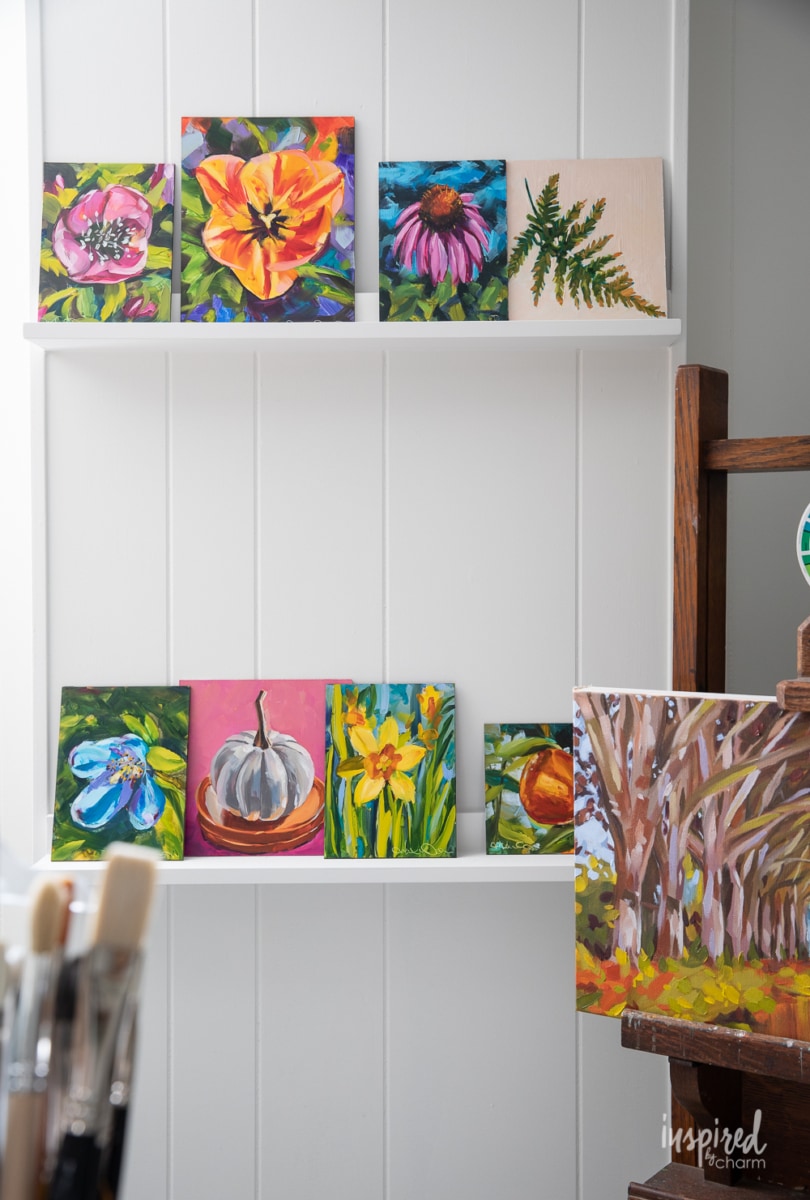
This was the only area where I intended to put these ledges. However, once they were cut, I realized I had two leftover pieces that would fit perfectly on a wall area near my desk. I decided to use these “leftovers” here for even more display/storage space.
Pretty amazing, right? And, they are really easy and inexpensive to install.
Affordable Design Idea:
One of my favorite things about this project is the cost savings. Online home decor retailers sell these for $80 to $150. That means it could have been an expense of over $400 (plus shipping) for me to create these four shelves. I spent $40 on the wood and the rest of the materials I had on hand. That’s a huge savings.
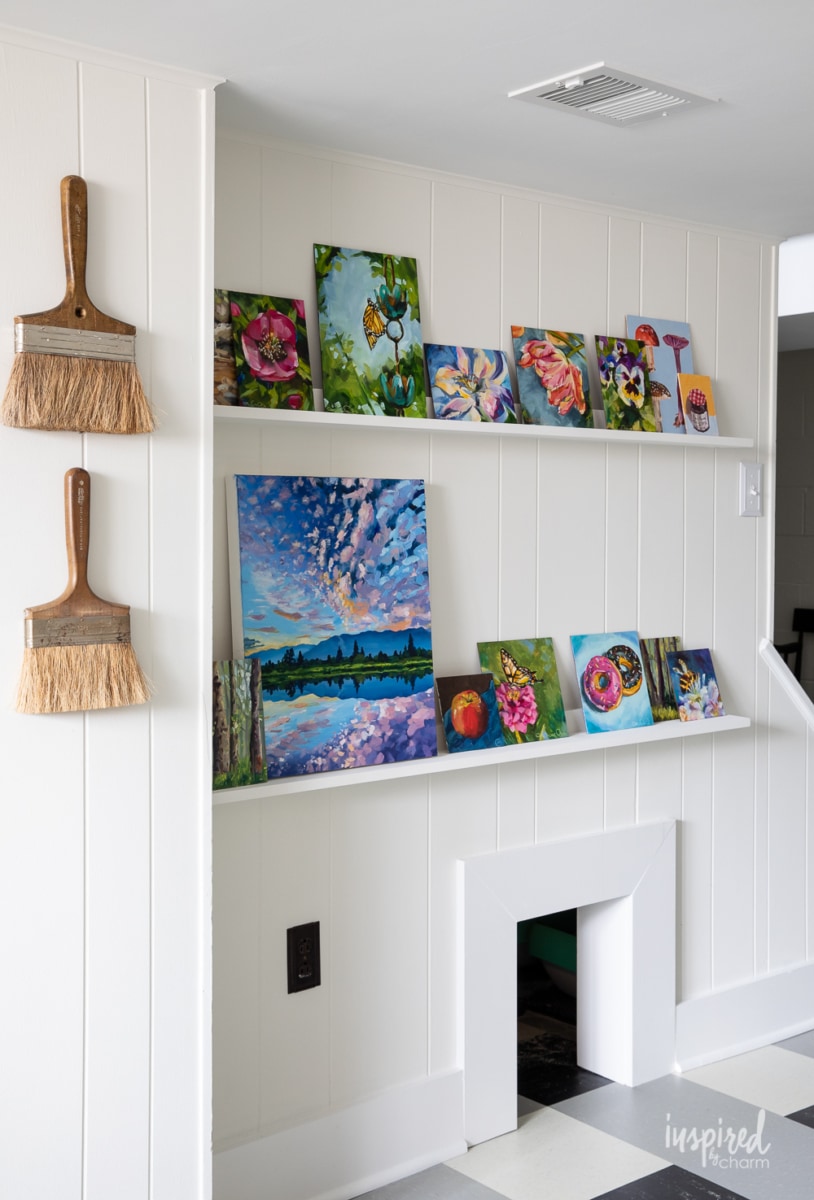
And because I know someone will ask, the little opening under these ledges is where I have my cat’s litter boxes. There’s a full sized door on the other side of the staircase that allows me to access them. It’s a pretty great set-up.
Design Note:
I always wanted to mention that a lot of picture ledges typically have a third piece of wood placed on the front to create a little lip. You are certainly welcome to do this, but for my purposes, I didn’t find the lip necessary.
The shelves that I made for my previous home were designed the same as these current ones and I never had issues with things sliding off. And, personally, I prefer the simplified look.
💌 SAVE THIS POST / RECIPE!
Okay, with all that being said, let’s get into the project!
How to Make Picture Ledges
I didn’t photograph a step-by-step process for you. However, this project is really simple, so I’m certain that my instructions should suffice. However, if you do have questions, please leave them in the comment section below and I’ll do my best to clarify my directions if needed.
Materials:
- 1 x 3 wood board*
- 1 x 6 wood board*
- wood glue
- clamps
- nail gun (or hammer and nails)
- tape measure
- pencil
- circular saw or hand saw
- level
- paint or stain
Materials Note:
- You can start by cutting your boards to length or assembling the shelves (either way will work). I personally find it easier to assemble first, and then cut to length. This will help you achieve nice even edges.
- To assemble, add a bead of wood glue near the bottom of the wide side of your 1×3 board, then set the narrow side of your 1×6 onto the bead of glue. (See photo reference below.)
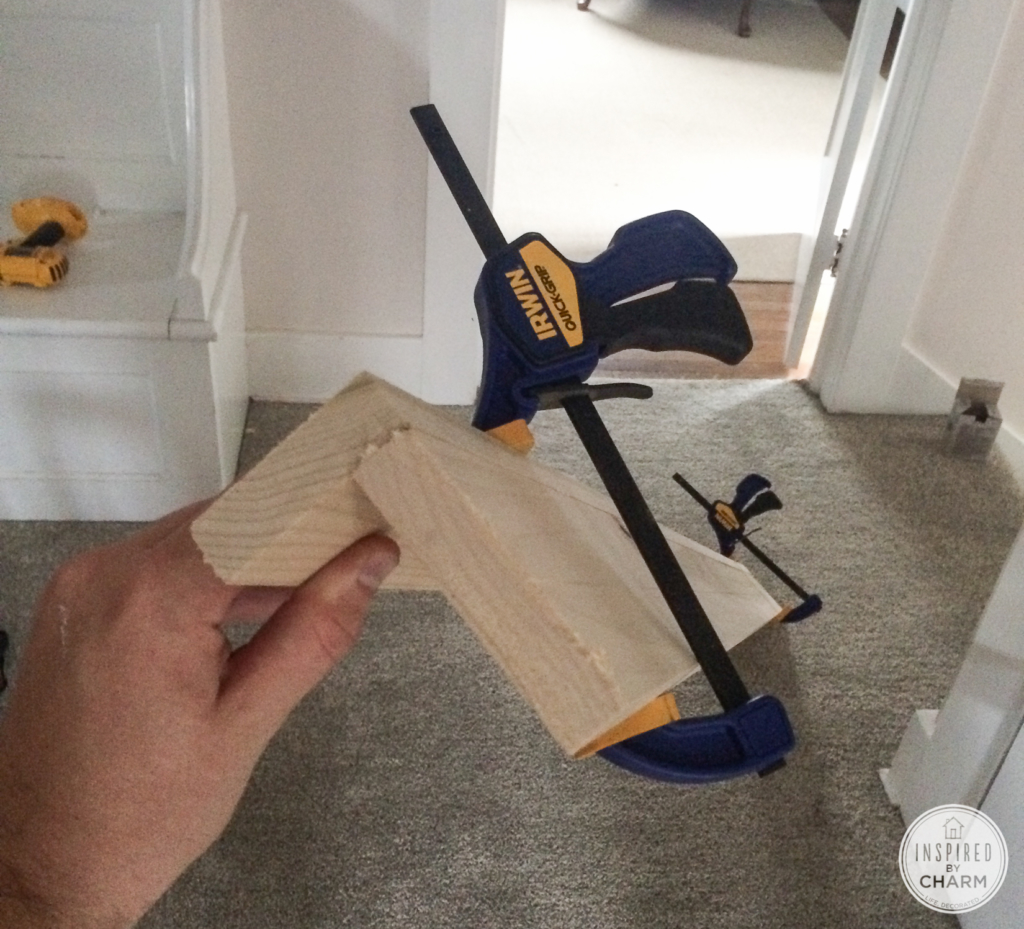
- Use clamps to hold into place. Then, with a nail gun (or hammer and nails) secure the two boards together. Nail from the back of your 1×3 board.
- Let the glue cure for a few hours before proceeding.
- Cut your board/ledge to length.
- Find the studs in your wall and mark those onto your ledge. Pre-drill holes where you marked the stud locations on the board.
- Attach the ledge to the wall with screws.
- Protect your work with a primer and paint or a stain and protective finish. I used wood primer paint, then painted the ledges the same color as my walls (Sherwin Williams Alabaster SW 7008 Emerald Interior – Flat).
- Allow the paint or protective finish to dry according to the package directions.
- Style!
Your DIY Picture Ledges are Complete!
And that’s it. In regards to hands-on time, these DIY picture ledges come together in just a couple of hours. It’s a really simple project that can create a huge impact in your home.
I hope you’ll give them a try! Happy DIYing!
Great post! Beautiful and practical shelves and your artwork is so fun and colorful! 😍 Also thanks for sharing the paint color of your walls, I was wondering. Your space works together beautifully!
Do you think these shelves would support a large canvas like a 30×40 inch? Also, do you recommend anchoring the shelves to the wall? (I’m sorry if I missed that in the reading.)
Thank you!! 😊
The entire work is amazing. I love it. Thanks for sharing.
This entire project is so dramatic from beginning to end. I love absolutely everything about it. Your work is so cheerful and inspiring. I can’t wait to get the info about owning a M. Wurm original.
Michael- I love the idea of simple ledges… so very useful… and changeable. Your are work and studio are looking fabulouse.
I laughed at your Cat box door. When I saw the photo, I wondered if that was what the hole in the wall was for, as I have one just like it in my basement! Certainly solves the location problem 😉
Love all the beautiful bright cheerful colors against the white. I can not believe this is the same lower level! Have you finished the whole remodel? Really looking forward to a before and after of the completed project. It really is an amazing change.
You are so gifted! Your art work and your ledges and your entire home is gorgeous! I love your blog and your beautiful creative spirit! God has gifted you in so many areas! 😇 thank you for all you do!! Have a blessed Easter!!
Your studio has come together so beautifully! The picture ledge with your artwork — WOW!
Thank you so much, Michelle!!
xo Michael
Can’t help being curious, what is the hole in the wall under your neat shelves? Love this, love your posts, thanks.
D
I was wondering that as well.
Deanne and Carol, I mentioned in the post above. I have my cats litter boxes under the stairs. This is how they get in and out. It’s such a perfect set-up!
xo Michael
What a great idea! Functional as well as pretty.
Thank you, Marla! They have been so handy!
xo Michael
Loved getting a peek at your studio, it looks amazing! And your artwork is coming along so nicely. I hope you’re very proud of your work, it looks lovely! I especially like the flowers. 🙂
You are so kind! This means so much to me! Thank you!
xo Michael