DIY Dot Table Runner
This Post May Contain Affiliate Links. Please Read Our Disclosure PolicyI made something. – It’s been a while, I know. And if felt really good. Several of you mentioned in my Reader Survey that you wanted to see some more projects and DIY things, so here you go. I actually have a bigger plan to bring you more posts like this, but we will talk about that on another day.
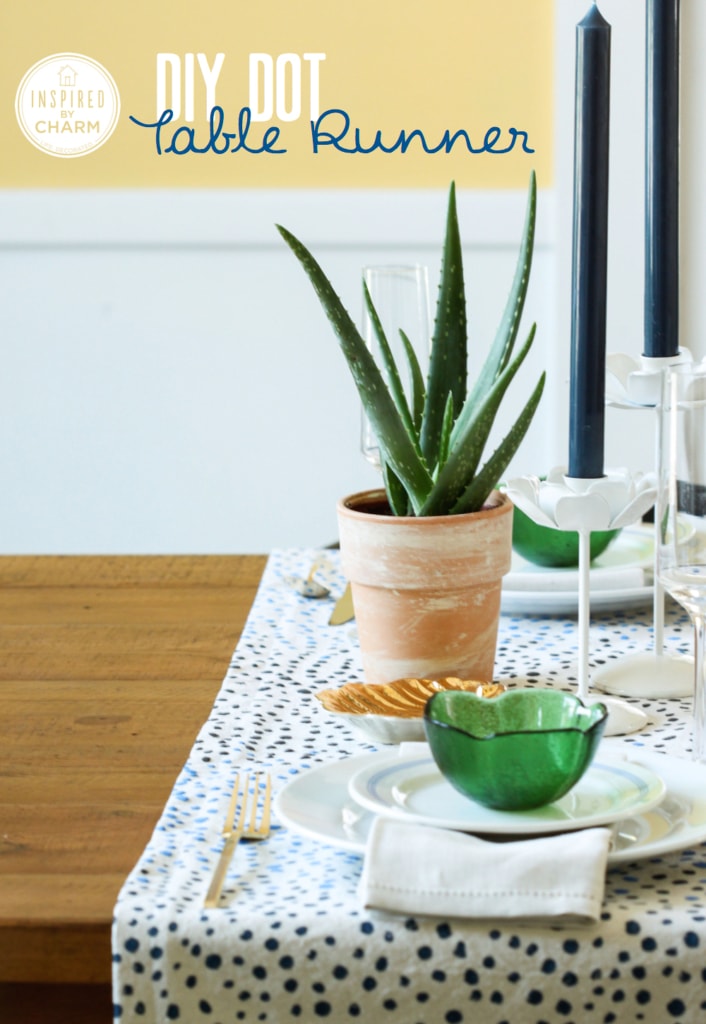
Today, I wanted to show you how I made this polka-dot-gradient-inspired table runner.
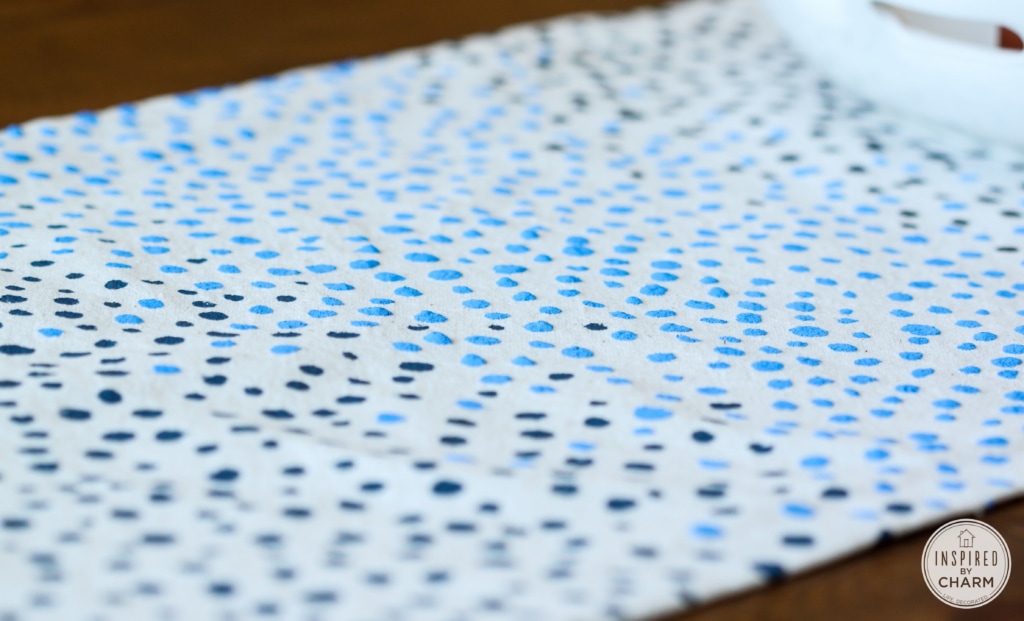
About a month ago, I saw a piece of fabric on Instagram that had these small, imperfect, almost leopard-print dots on it. I’ve also been really attracted to darker blues lately. (I blame this girl.) So, with all of this running through my brain, I decided to make a table runner. I’m so pleased with how it turned out. I will forever love anything with a dot print, plus it ended up having an accidental gradient effect which I just adore.
I intended to make two of these, but I ran out of paint. Once I get back to the store, I’ll be making another.
As I mentioned last month, I recently joined the Lowe’s Creative Ideas Blogger Network. I thought this would be a perfect project to share this month so let me show you how it came together.
DIY Dot Table Runner
If you want to make this project, here are some things you’ll need:
canvas drop cloth (from Lowe’s)
fabric paint
paint brushes
scissors
tape measure
iron
ironing board
sewing machine
thread
I had everything on hand with the exception of the drop cloth and fabric paint. I picked up the drop cloth at Lowe’s.


First, you’ll want to wash and dry the drop cloth. Then measure your table and cut the drop cloth to the size you’d like. Be sure to leave an extra 1 – 1 1/2 inches on all sides for the seam allowance. I used a runner I already had to determine the size. My finished runner is 16 x 52″. Therefore, I cut the drop cloth so it was 19 x 55″

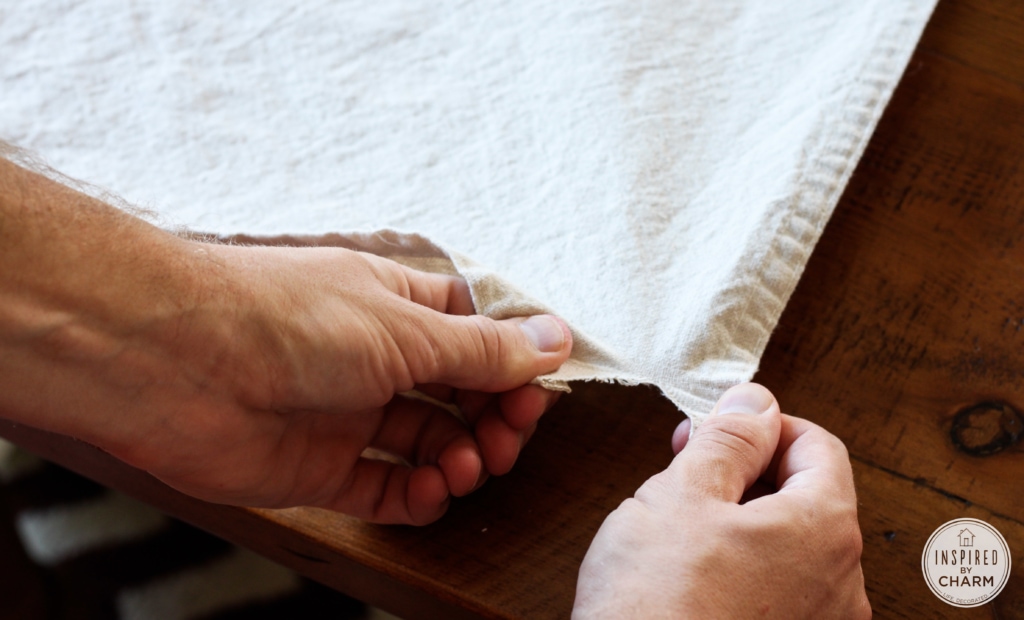
Drop cloth is pretty amazing because it tears in straight lines. Feel free to cut out your runner, but you can also make a small cut with your scissors and then simply tear the fabric. It makes a perfectly straight line (and also helps to relieve any aggression you may be feeling).

Once your runner is cut out, give it a quick iron. This will make painting a whole lot easier.
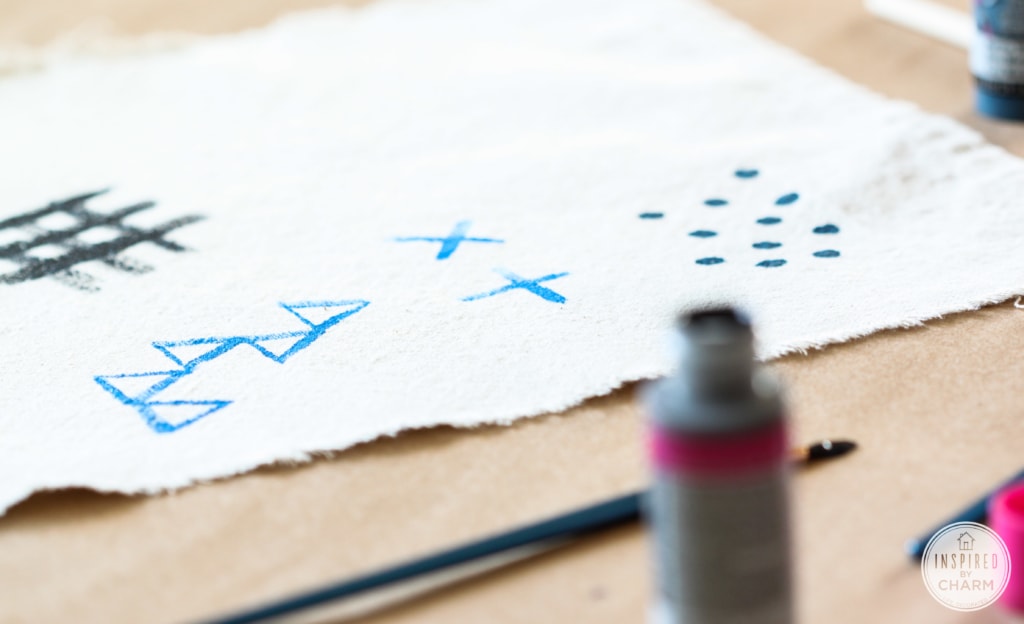
Now you’re ready to paint. I recommend using a scrap piece of drop cloth to find the right brush, choose your colors, and perfect your pattern. Get comfortable with the paint, then move to your runner. I knew I wanted to do dots, but I tried out a few other patterns just for fun.
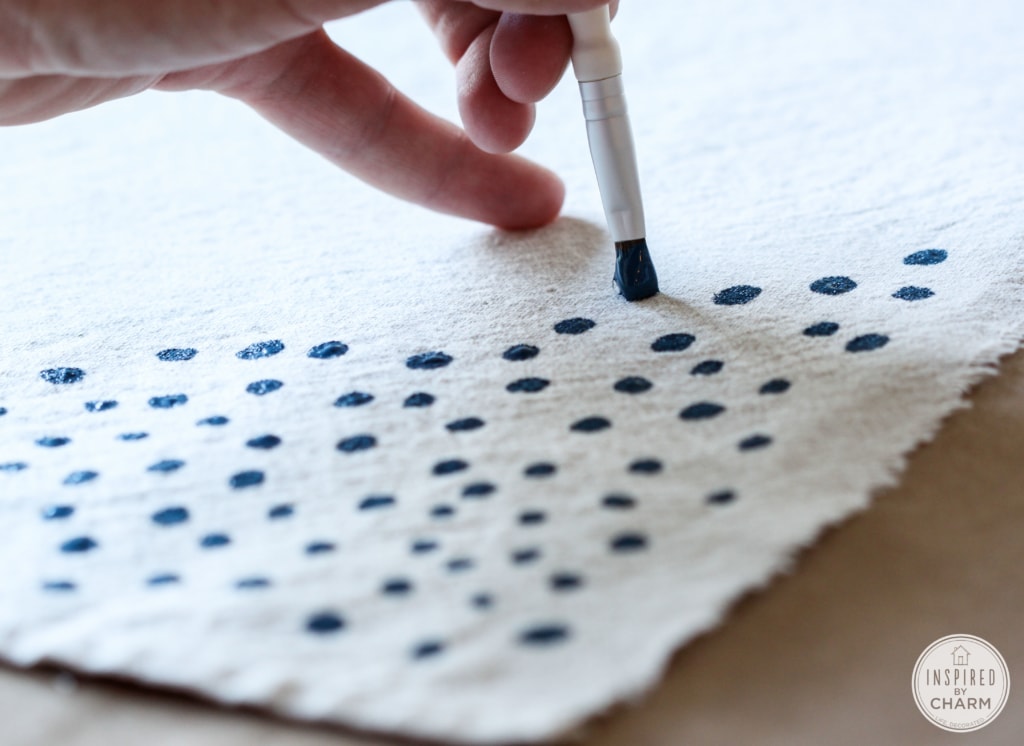
Once you are ready, start painting! My original plan was to do the whole runner in the darker blue color, but once I got started, I quickly realized one bottle of paint wasn’t going to be enough to cover the whole runner. This is how the gradient effect happened. Since I knew, I wouldn’t have enough, I decided to use all three colors. I did a little measuring and determined that I would start with the navy blue, fade into royal blue and then gray, go back to royal, and finish with the navy. Since there were five sections of color, I divided 55 (the length of the runner) by 5. This meant that each color section would be 11 inches. Make sense?
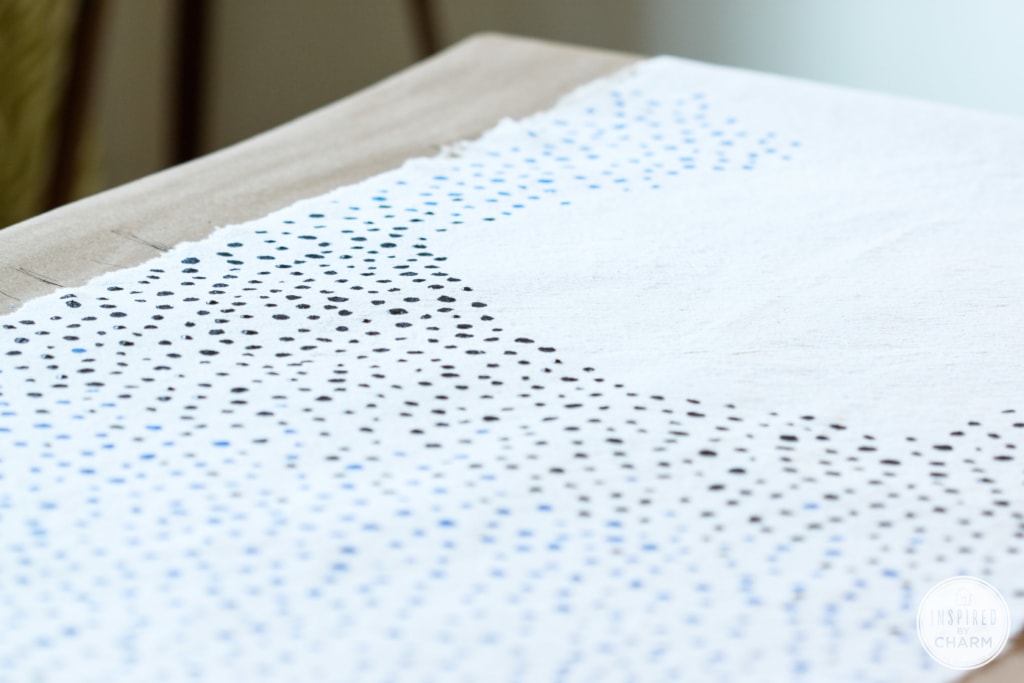
Not having enough of the darker blue paint and having to use the other colors was serendipitous. I’m just ecstatic about the final look!

💌 SAVE THIS POST / RECIPE!
So, this is where things get a little tedious. It took me about two hours to paint the entire runner. To be honest, I actually enjoyed the process. It gave me time to relax and rest my brain. I recommend turning on the TV or your iPad and catching up on your favorite shows. Parks and Recreation was an obvious choice for me! Treat yo self!
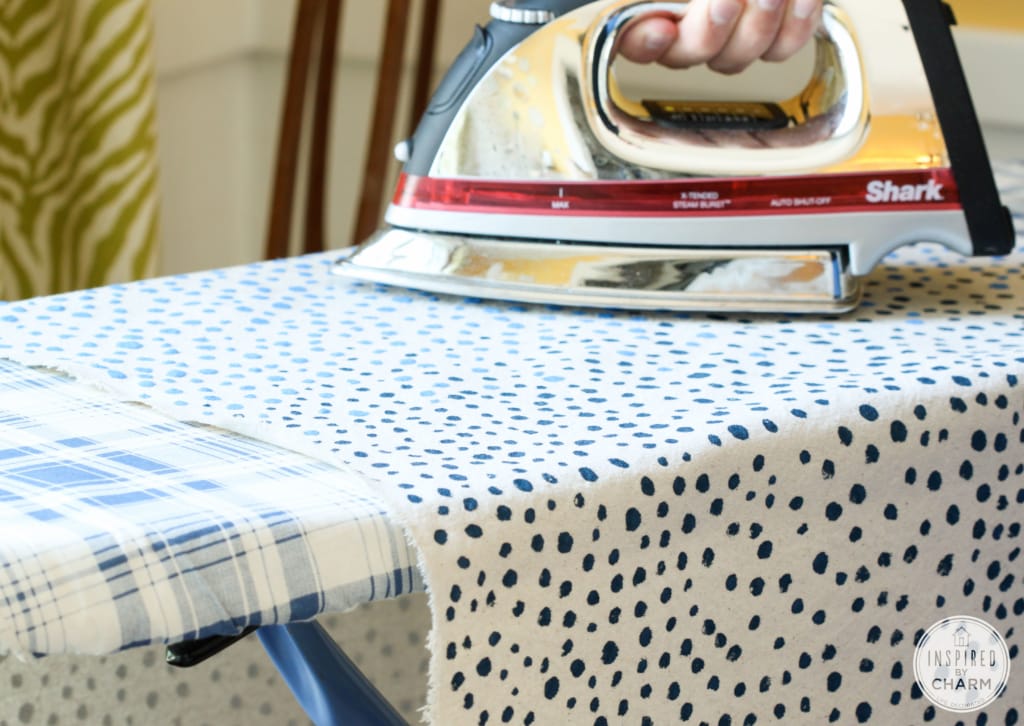
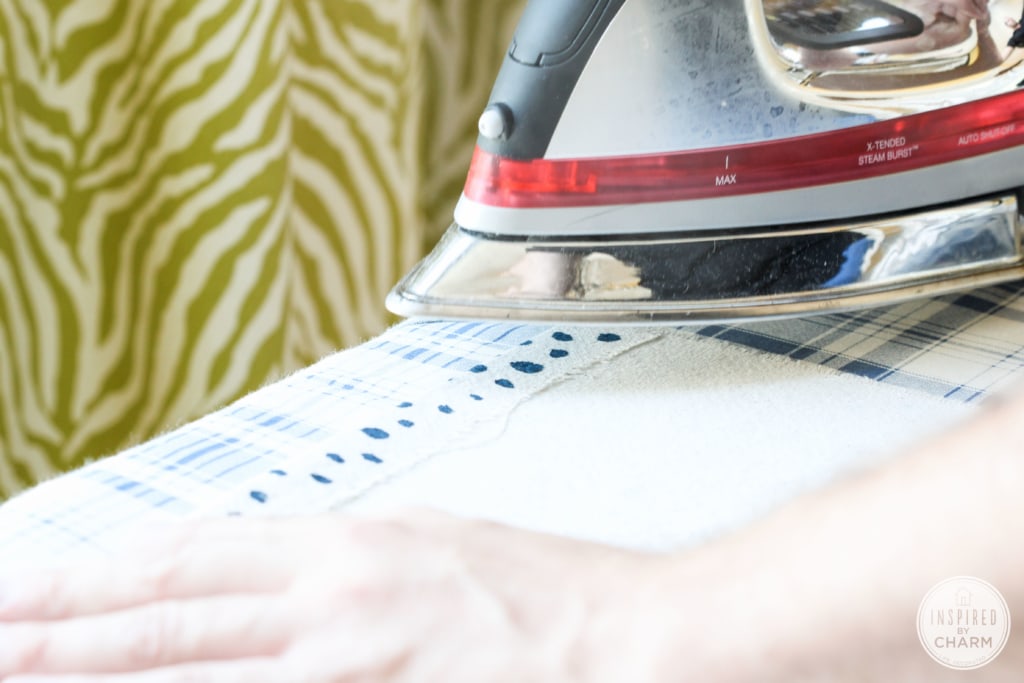
After you’ve finished painting, follow the directions on your particular fabric paint to make sure the color is set. The brand of paint I used indicated that it should dry for four hours. Then with an iron set on steam, I held the iron about 1/2 inches above the painted surface until the paint looked textured.
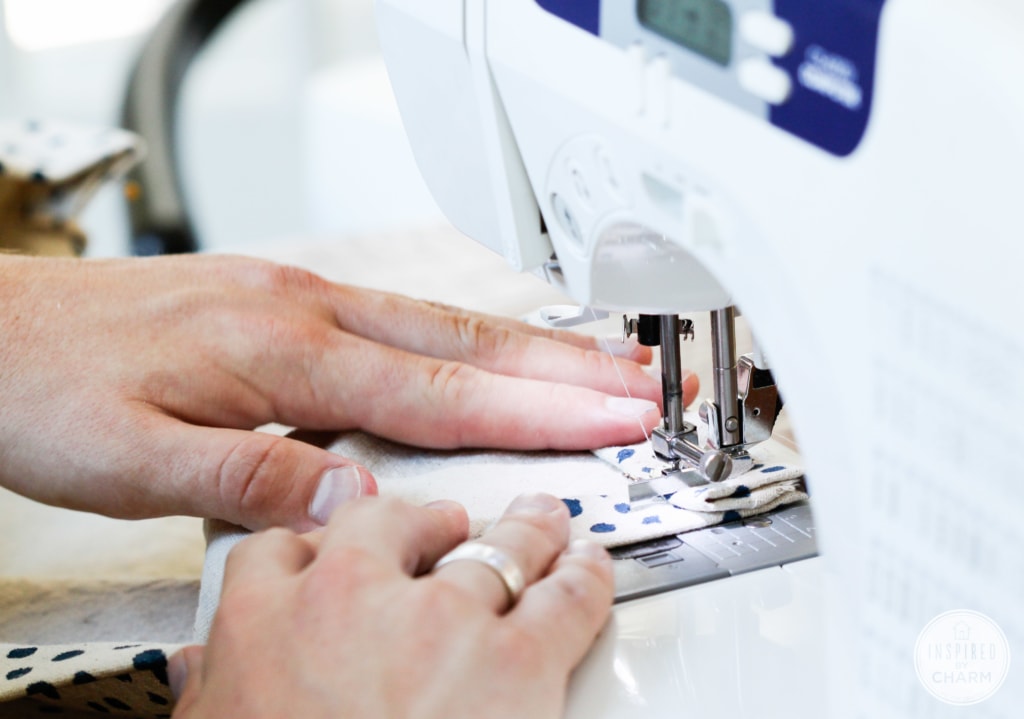
Now, it’s time to sew the edges. If you don’t have a sewing machine or don’t know how to sew, I assume you could use Stitch Witchery to get the same effect. (Also, I’m not a professional seamstress, so I apologize if I’m not doing this 100% correctly. I just did what worked.)
With your fabric painted side down, starting with the shorter side, fold the fabric over 3/4 of an inch. Iron along the seam.
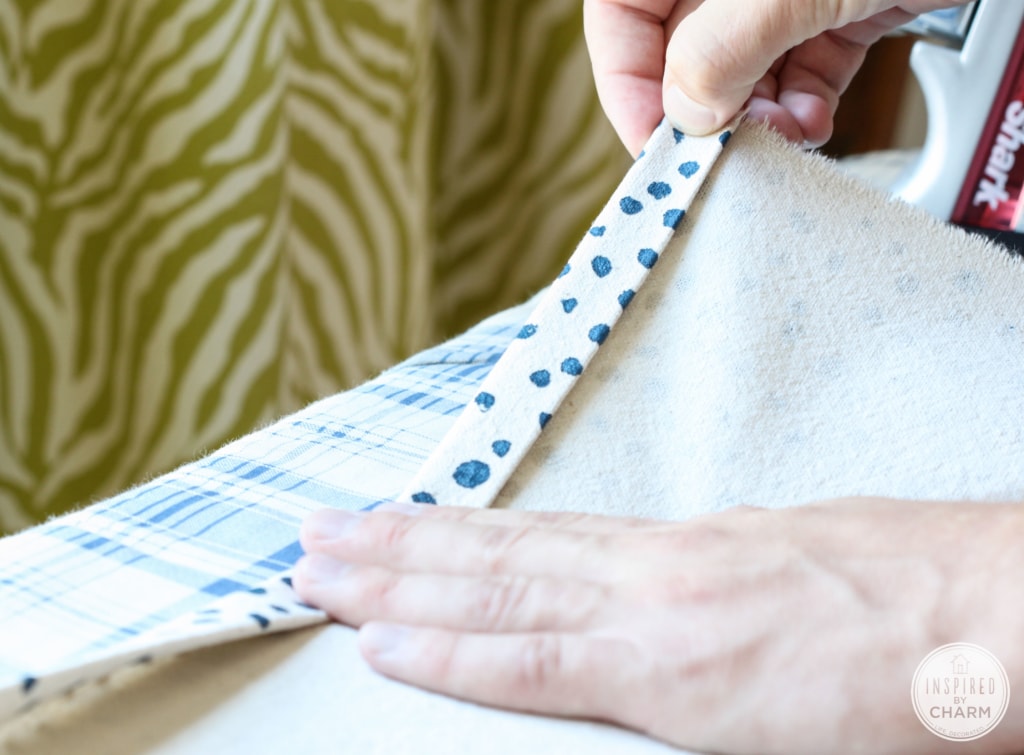
Then fold over another 3/4 of an inch. Again, iron along the seam. Even though no one will see it, this will give you a clean edge on the underside of your runner. Do the same thing on the opposite side. Then, repeat these steps for the longer sides.
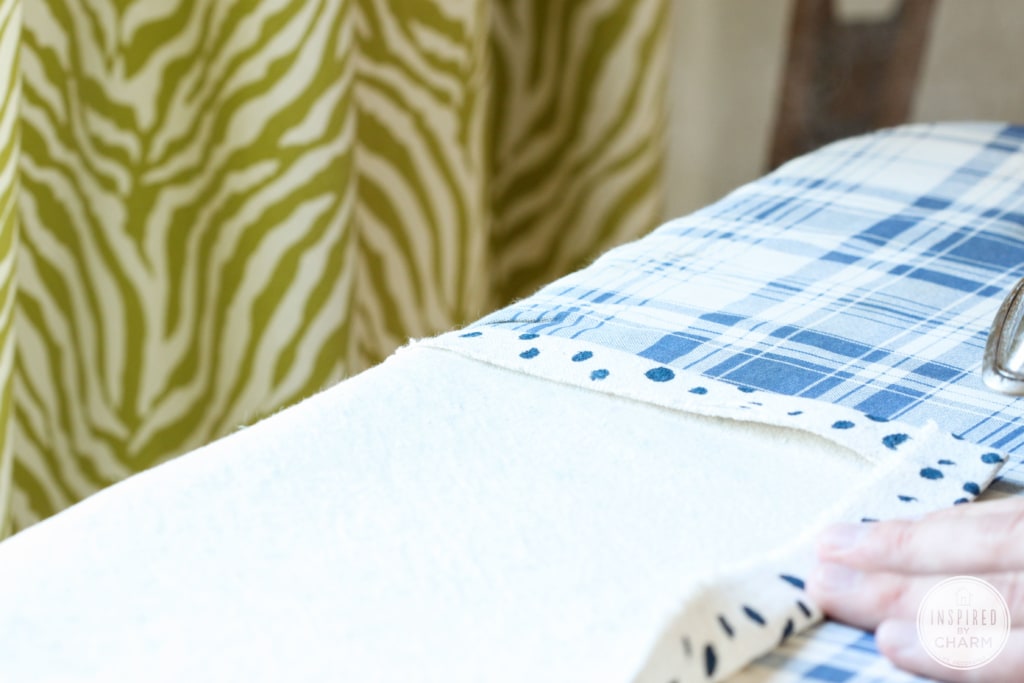
Your corners are going to be a little thicker, and this is where I probably should have done something different, but that doesn’t really bother me because it’s not really noticeable in the completed piece.
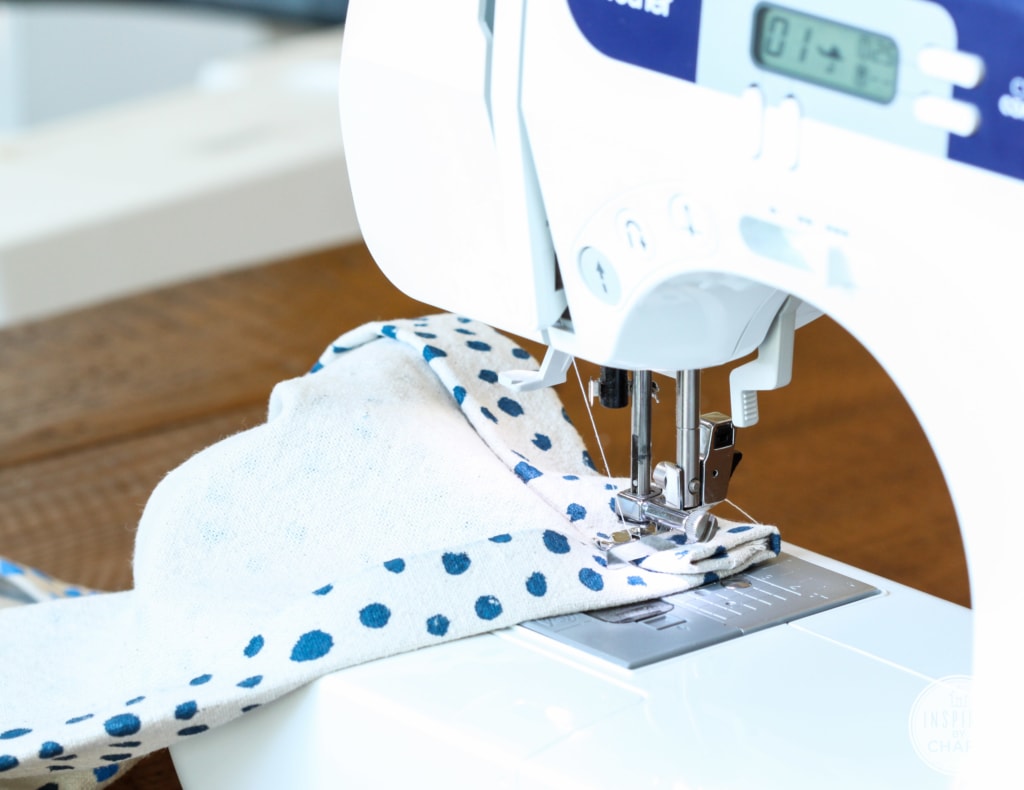
Then with your sewing machine, sew all around the runner.
If needed, cut off any loose threads and give it another quick iron (paint side down). Your runner is now complete!
What do you think?
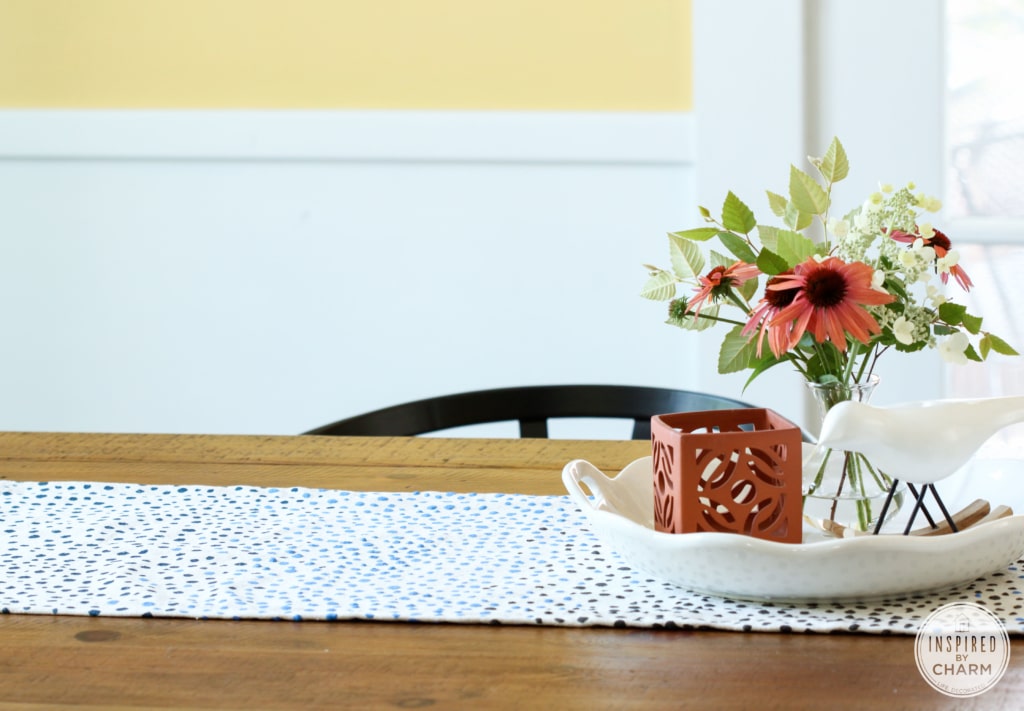
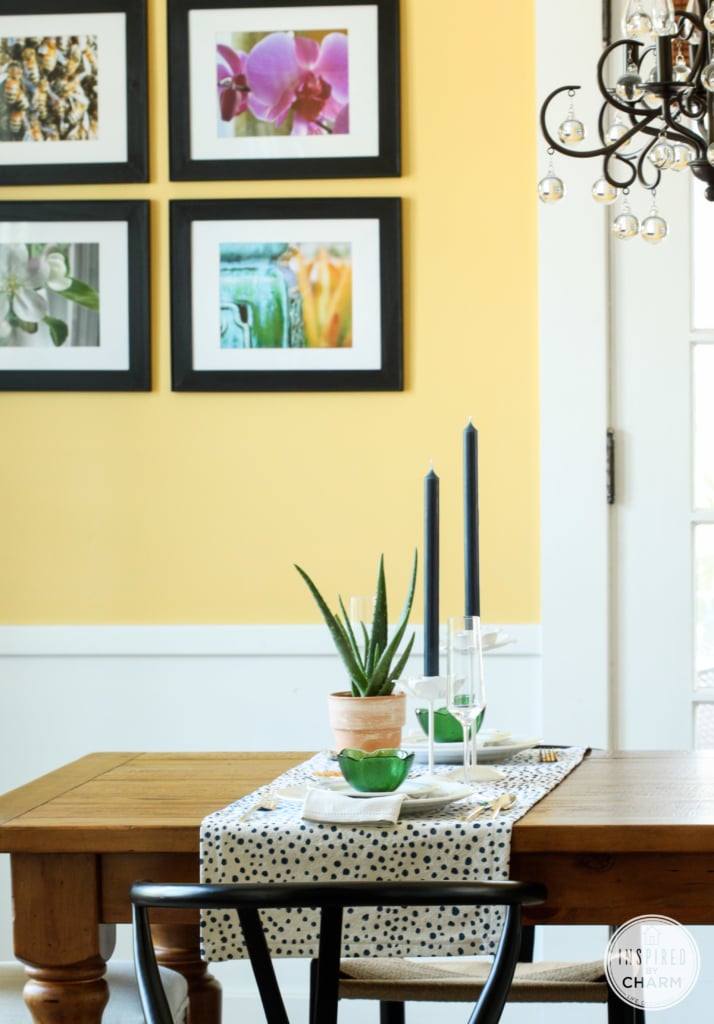
I love runners this size because you can use them in two different ways. First, it can be a super cute runner lengthwise down the center of the table. This is a great look for everyday. Personally, I don’t leave my table set with plates and glassware.
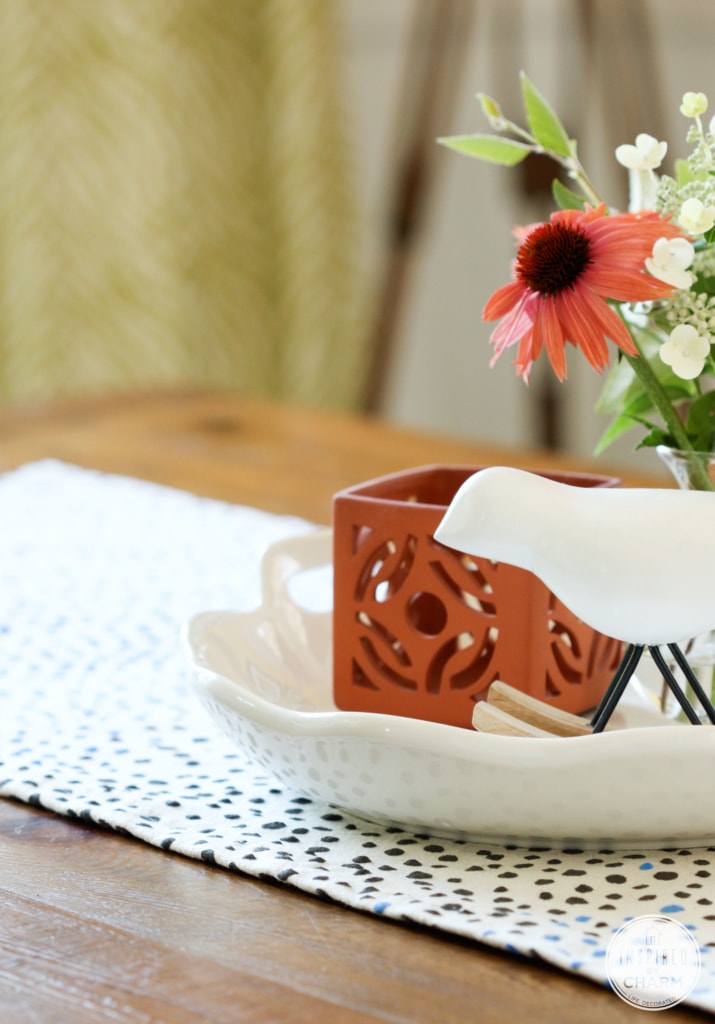
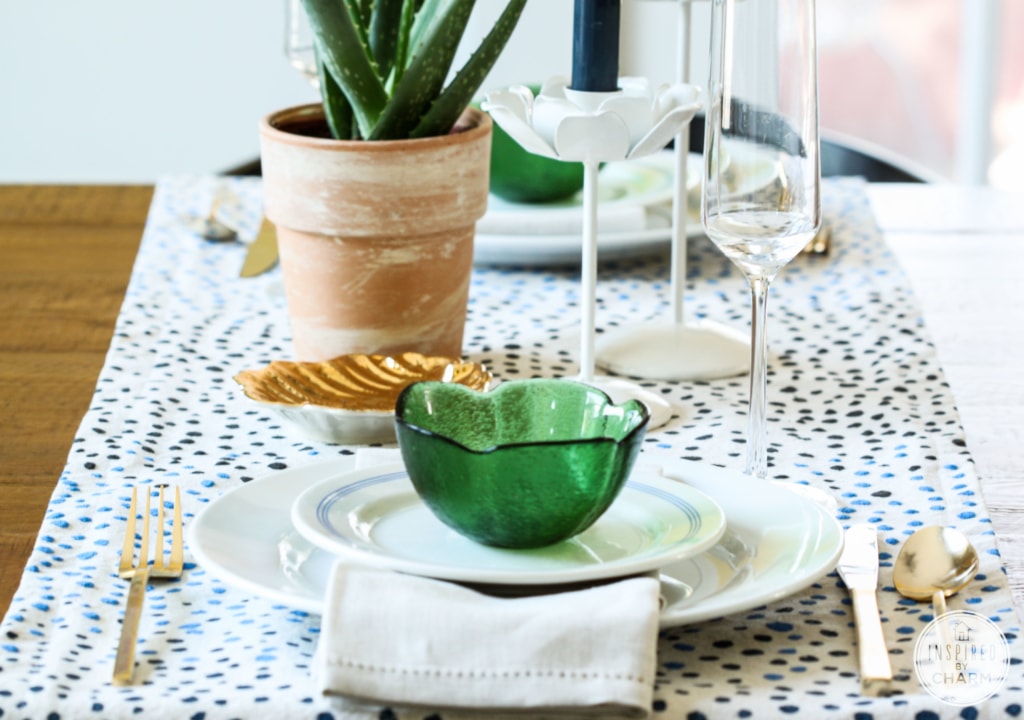
Second, you can turn the runner and use it in the opposite direction on your table. Now, the runner becomes a functional piece serving as a placemat. It makes a really pretty table setting. Totally cute, right? I prefer it this way.
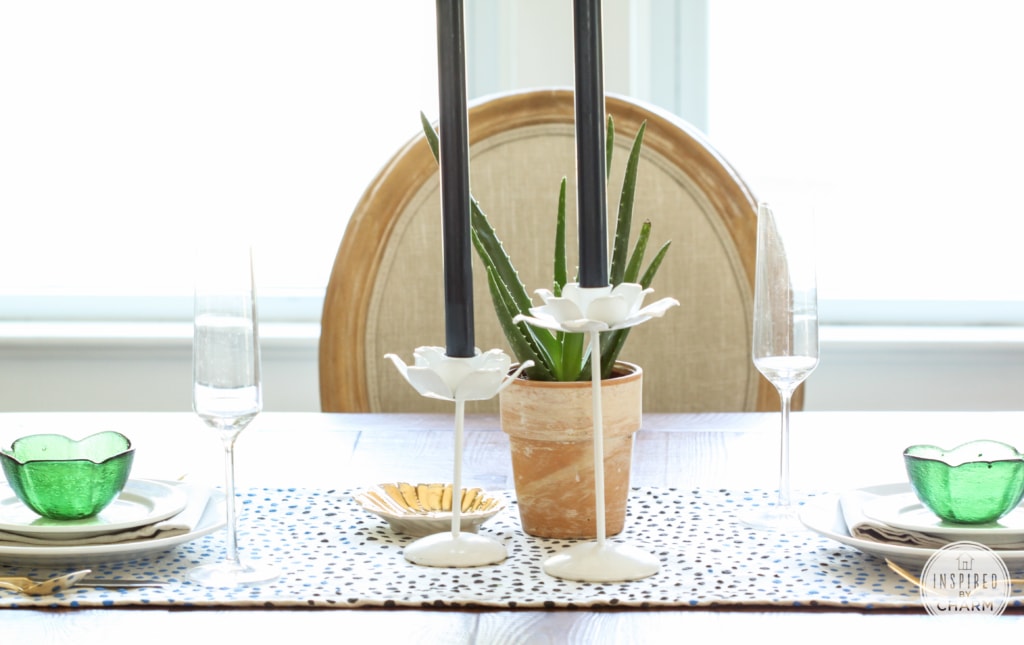
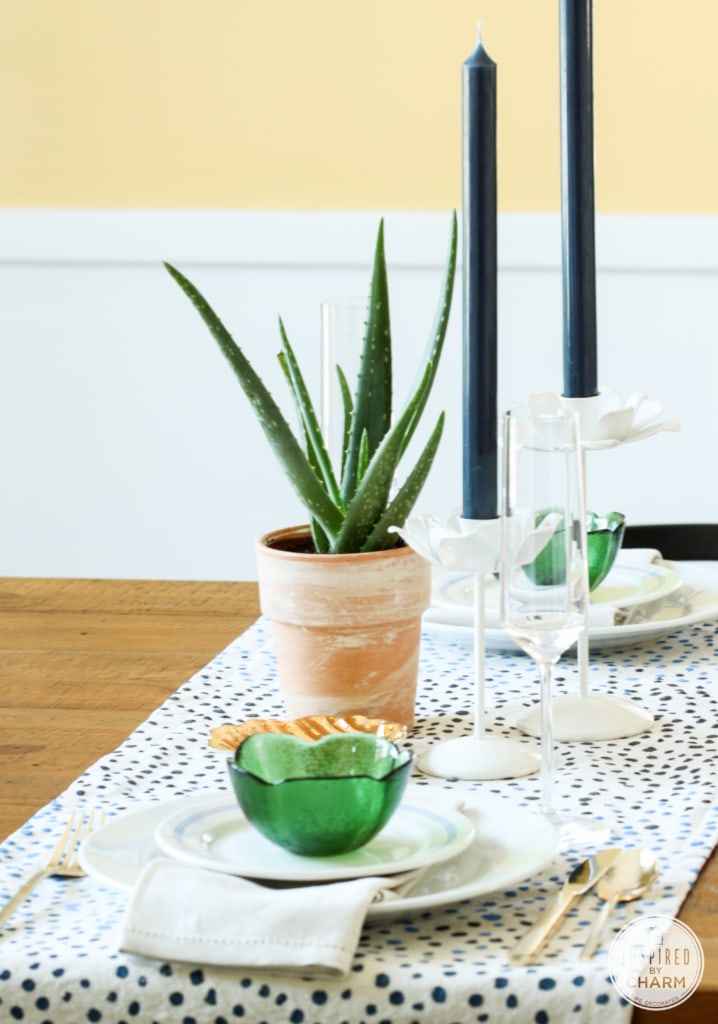
Paired with some green and gold, it looks super chic and contemporary while remaining kind of fun and wild. Love that! The aloe plant is also from Lowe’s. They’ve had the coolest indoor plants lately. Isn’t that pot awesome, too?
I really love a project like this because when it’s complete, you have something totally unique and homemade. Plus, when your guests ooh and aah over it and ask you where you bought it, you can tell them that you made it! Things don’t get much better than that.
So, what do you think of my new DIY Dot Table Runner? Will you be making one for your home?
Where did you get the gold polka dot burlap. I can’t find it anywhere.
It’s from JoAnn Fabrics. I got it last year. Not sure if they are selling it again this year.
xo Michael
Michael –
This is the first time I’ve seen your blog (I found my way from Best of DIY) and oooh I love it! You’ve done a great job and this project is so fun! I’m going to go get comfortable and read the rest of your blog 😉
God bless you,
Margaret
Hmm it seems like your blog ate my first comment
(it was extremely long) so I guess I’ll just sum it up what I submitted and say, I’m thoroughly enjoying your blog.
I as well am an aspiring blog blogger but I’m still new to everything. Do you have any helpful hints for beginner blog writers? I’d definitely appreciate it.
Oh no! Sorry about your long comment. Eek! Thanks for all the love.
I guess the greatest advice is to be your 100% authentic self. Ya know? No need to copy what’s out there, be your awesome self, take risk, etc. Hope that helps.
xo Michael
Hi Michael,
I just found your site and am really inspired! This is a very cute Table Runner & You did a GREAT job!
I just purchased Muslin but think my next one will be the Drop Cloth. 🙂 Very awesome!!
Great tutorial too!
Thanks for sharing …
Trina
You are very welcome Trina! Thank you so much!
xo Michael
sometime can you talk about how you get so many photos with you in them, like your hands, and they are in focus. Do you set up a tripod and timer? use a remote? or do you have someone helping you with your photos? would love to see a behind the scenes of a blog post
Great idea Mindy – I’ve been meaning to do this. If you check out my Instagram feed – I sometimes do behind the scene things. http://www.instagram.com/inspiredbycharm
xo Michael
This is really pretty!!! I love the shades of blue! Such a cool project!!!
Cute project! I LOVE that you are left-handed! (Me too!)
I’m on the loving polka dots train with you. Just as you swayed me to purchase those lovely polka dot napkins when they went on clearance, I’m going to have to give this one a try too!
I love the gradient effect, really pretty 🙂
This looks so much fun to do. I will make one after I get moved. I love it! Thank you for sharing.
love your website/pins! You could sew 2 pieces together and do a totally different color on the back side so it’s reversible.
Really cute idea! Love it! Thanks for sharing the how to’s.