DIY Picture Ledge
This Post May Contain Affiliate Links. Please Read Our Disclosure Policy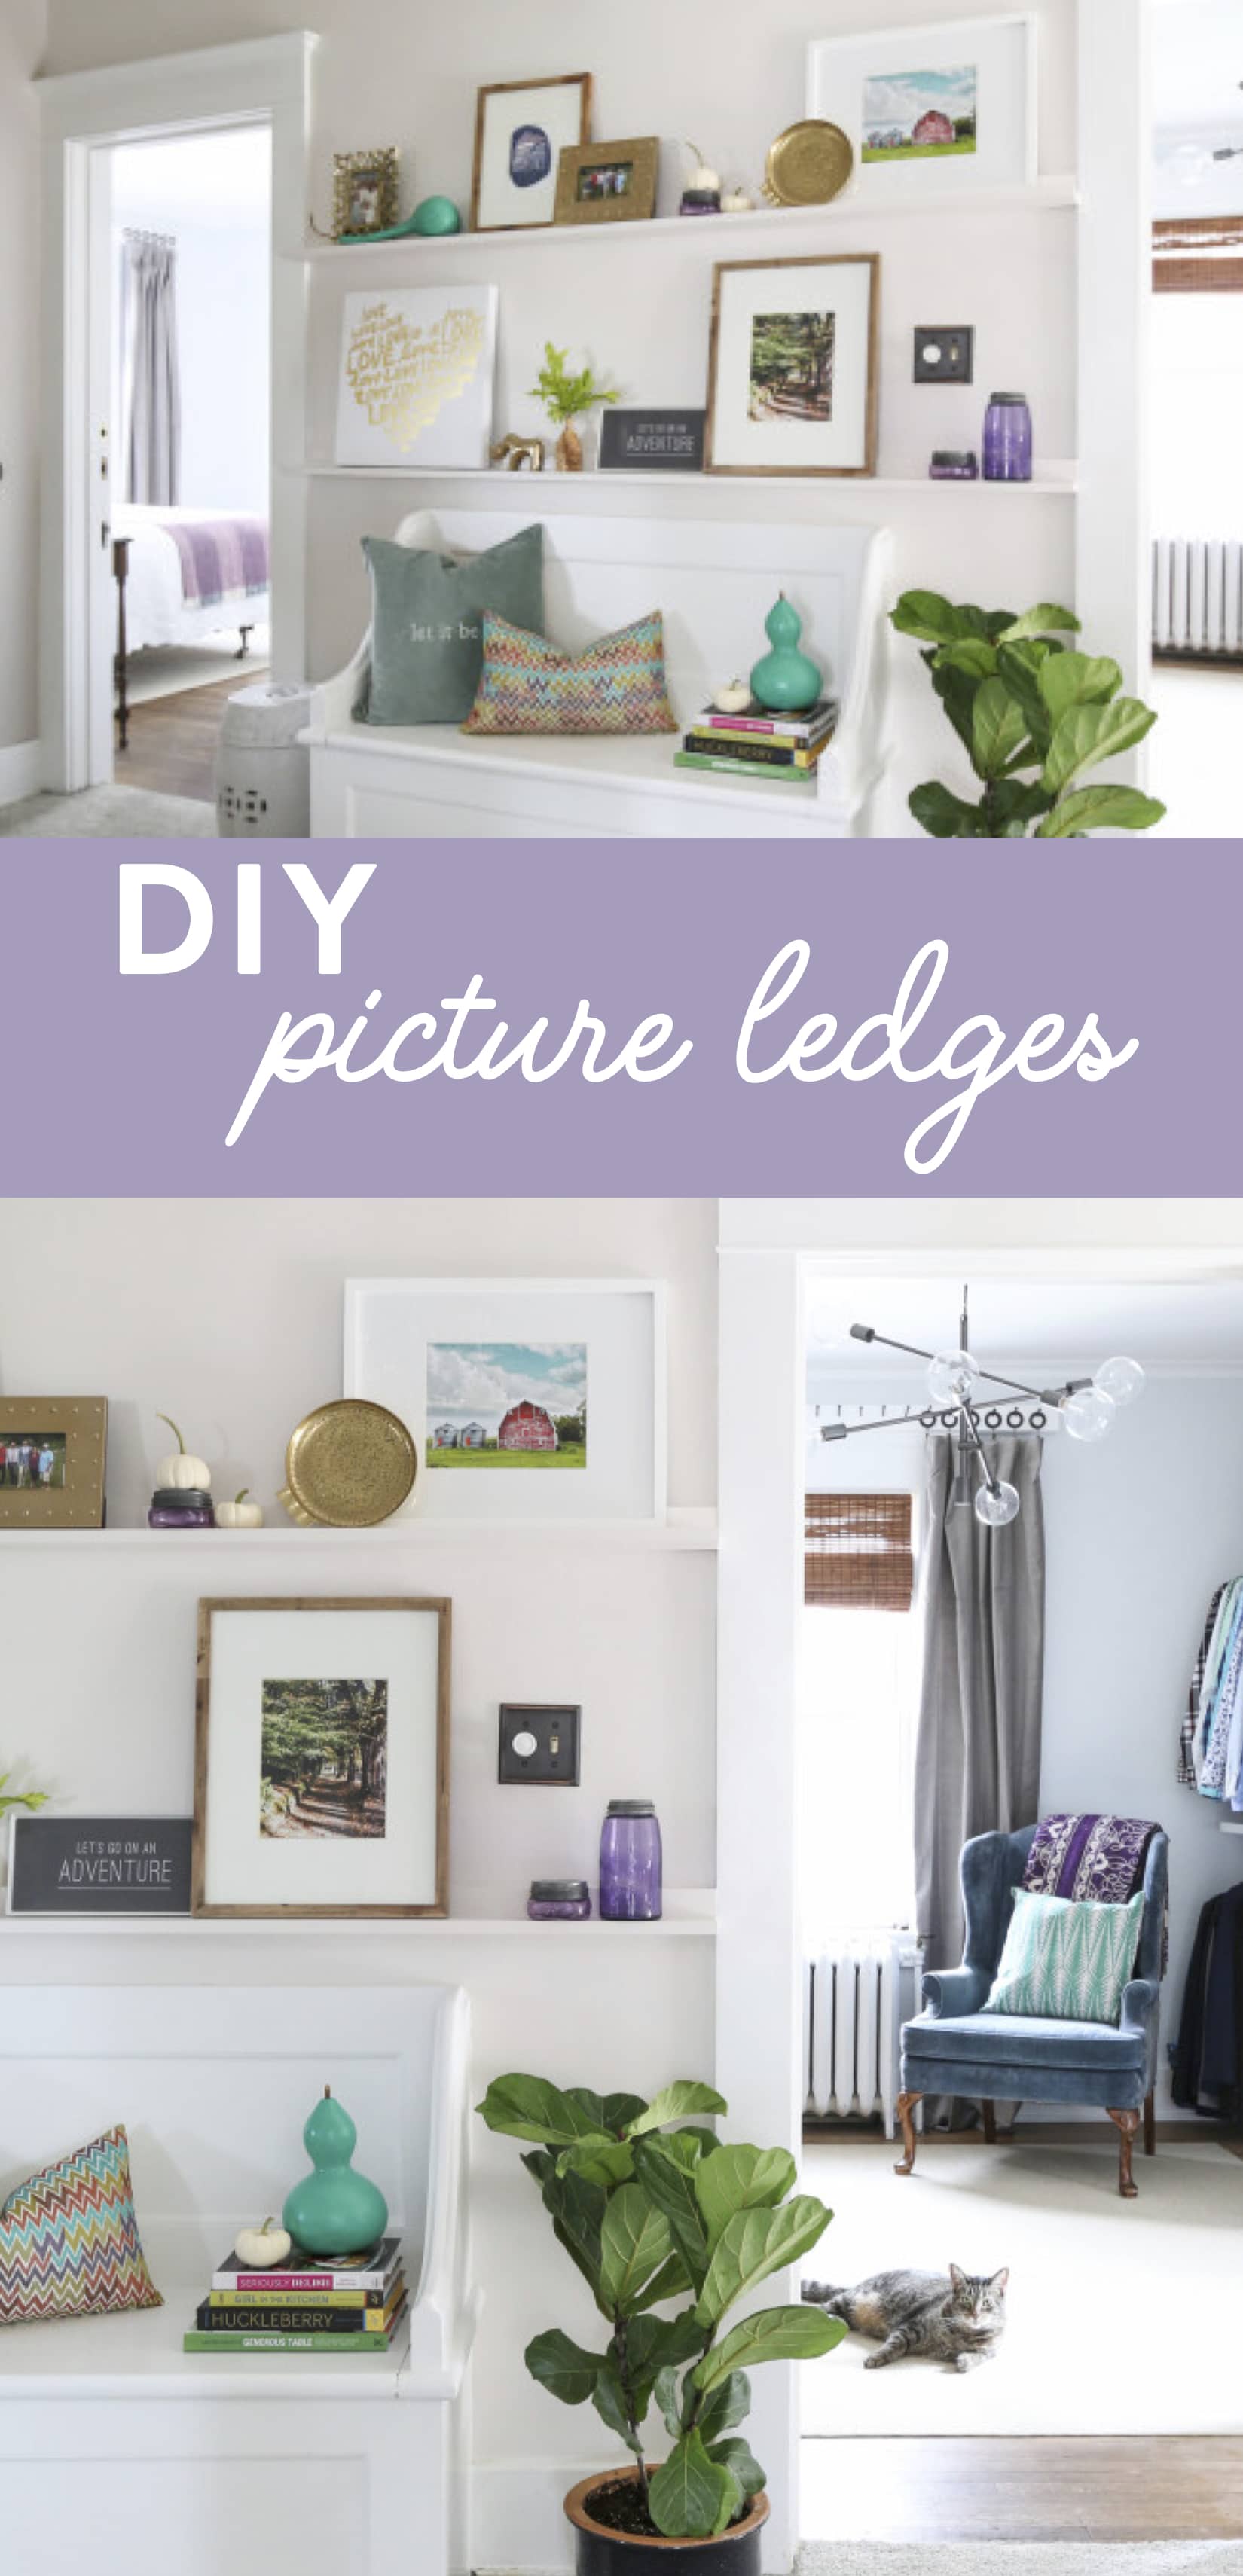
This DIY Picture Ledge tutorial is a quick and inexpensive project anyone can tackle. Picture ledges are an easy way to decorate a wall with ease and style!
Howdy, friends! Today I’m back with a quick and inexpensive DIY project: DIY Picture Ledge.
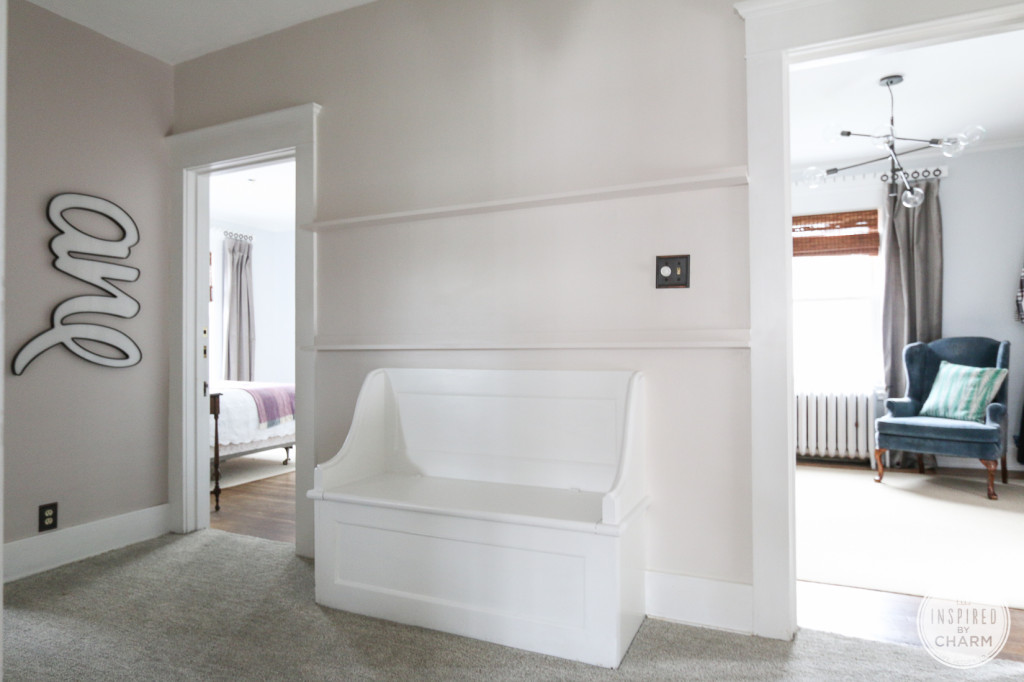
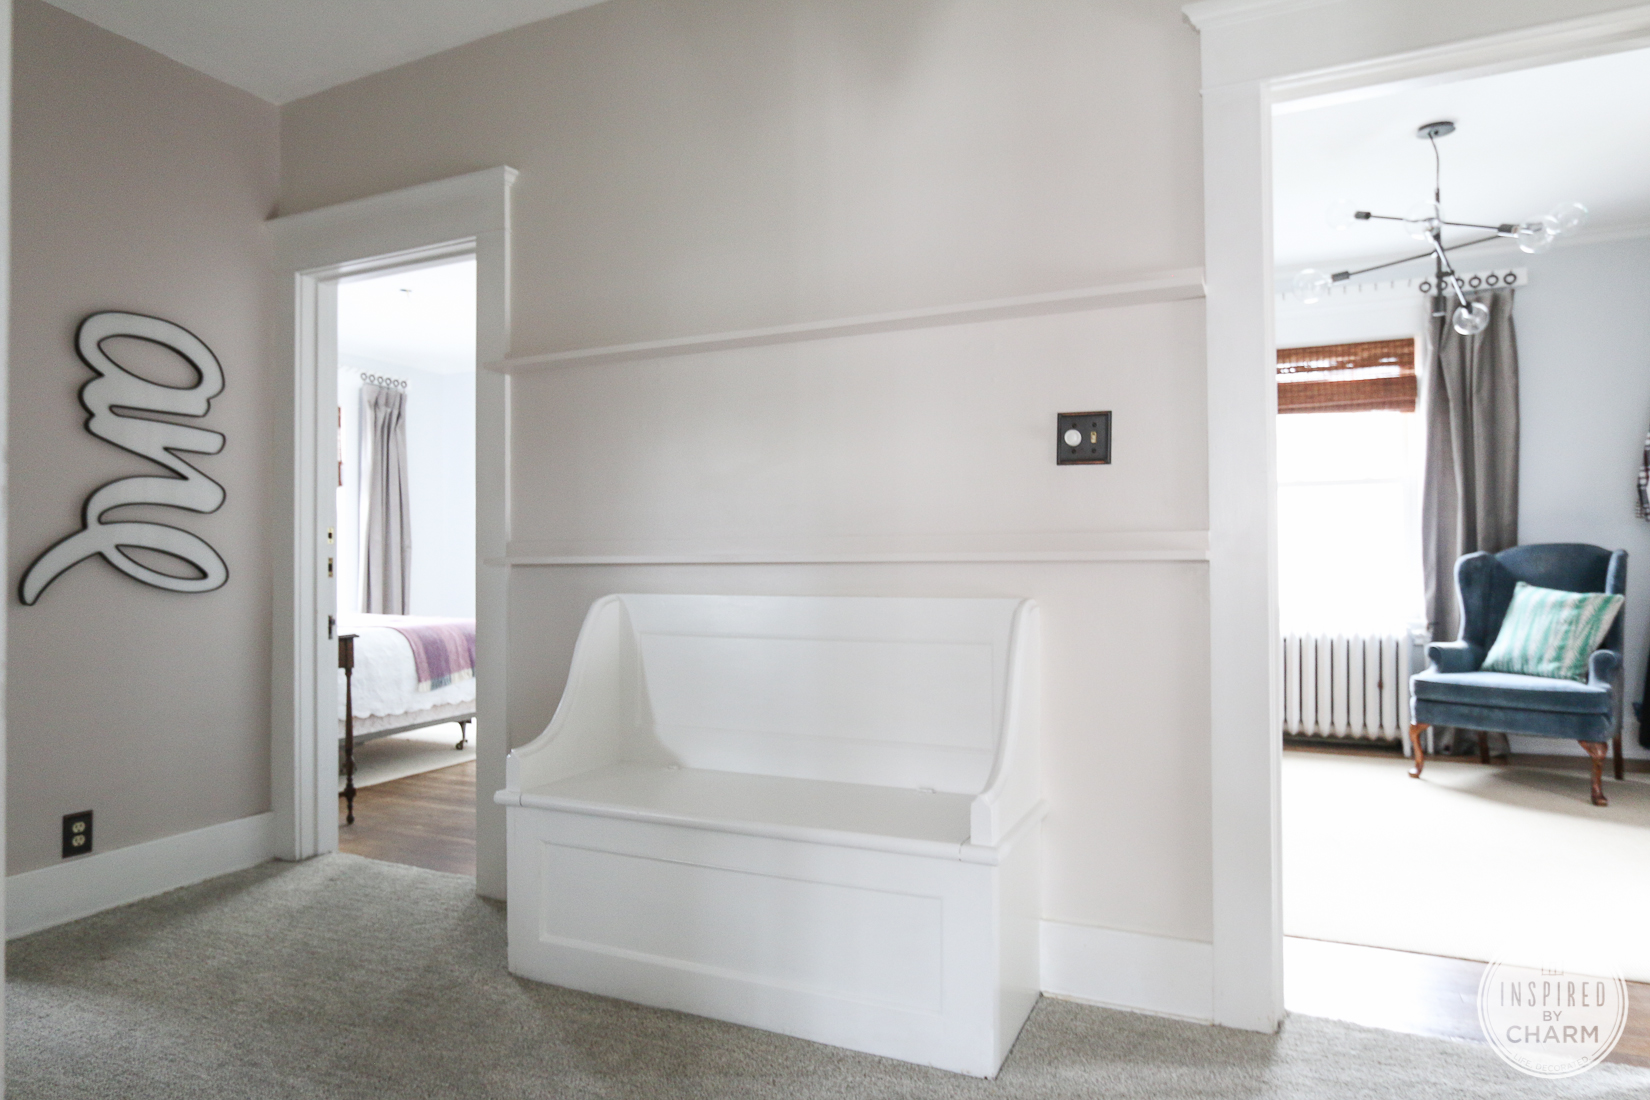
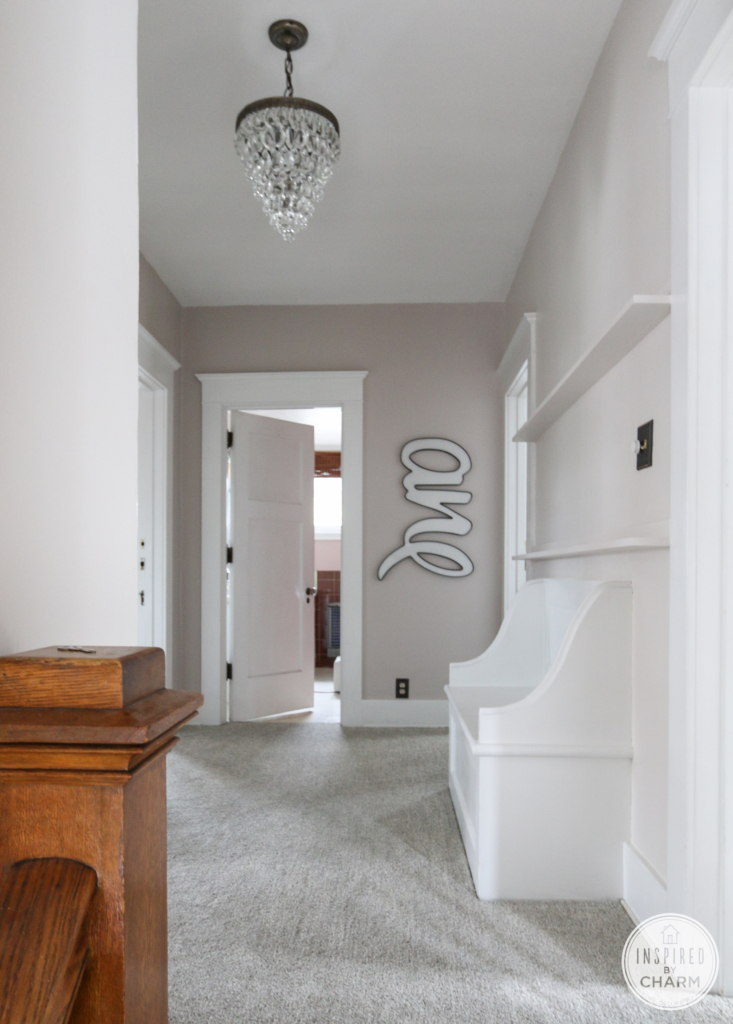
But first, a bit of its backstory. A while ago, I hung a shelf in my upstairs hallway. I used some old corbels and a piece of wood for the shelf. Here’s what it looked like.

Not terrible, right? Still, it never worked for me. Maybe it was because the shelf stuck out too far or it was too high (The placement height was due to the built-in bench below.), but I always found it impossible to style.
It was dark and awkward and has been bothering me for quite some time. (I should also mention that the bench is built-in. It actually used to be a laundry shoot.)
Then about a month ago, I stumbled across the image of these picture ledges below via Pottery Barn.

Anyway, I fell in love with this picture ledge idea and thought it was something I could easily DIY.
How to Make a DIY Picture Ledge:
So, I headed out to the home improvement store, picked up 2 – 1x3x8 and 2- 1x6x8 pine boards. I cut them to length and then glued and nailed them together.
I did this project late at night and only snapped one photo with my phone. My apologies. However, it’s literally just gluing and screwing two boards together. Super simple.
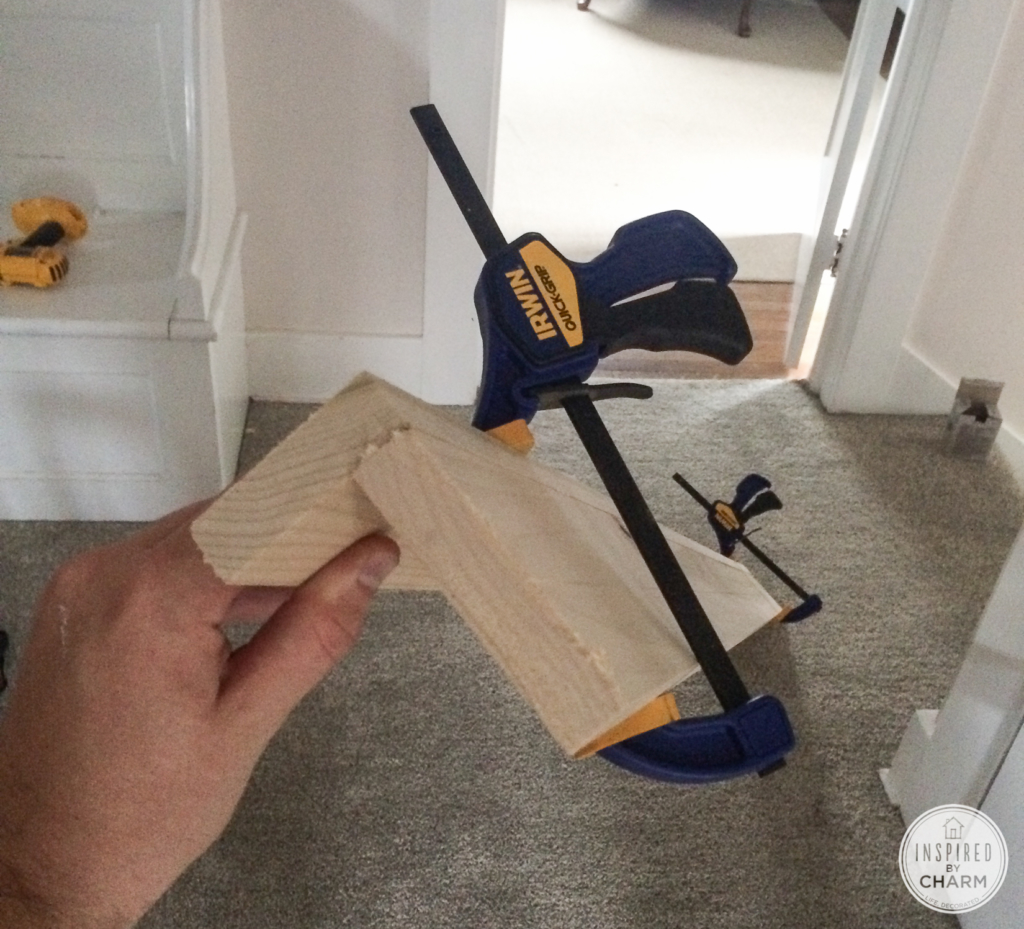
After that, I pre-drilled some holes and screwed the picture ledge to the wall. I then painted them the same color (Sherwin Williams Gauzy White) as the wall. And that was it.
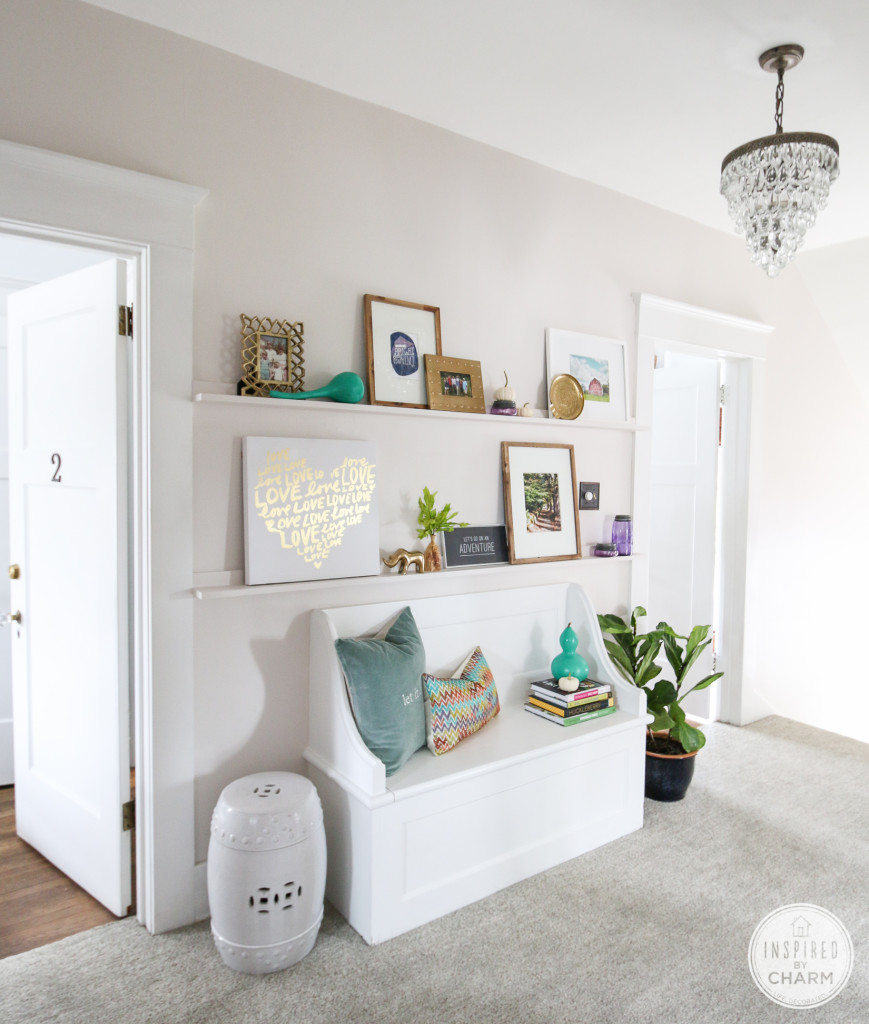
Ta da. New picture ledges! I paid about $25 for the boards. The rest of the materials were things I had on hand. Love these kind of projects.
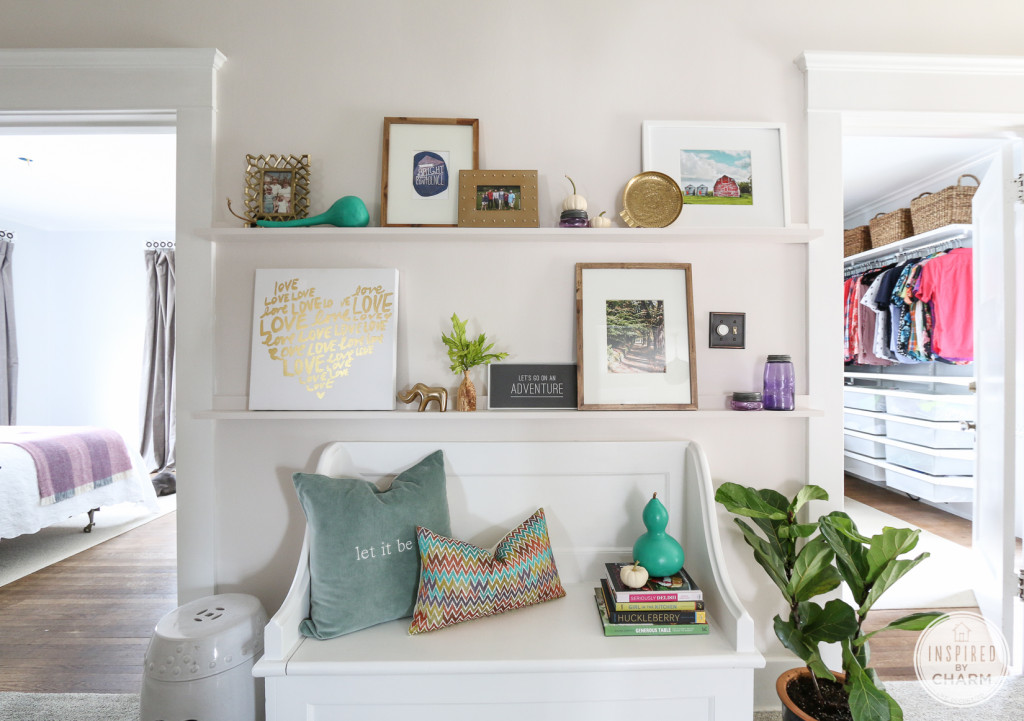
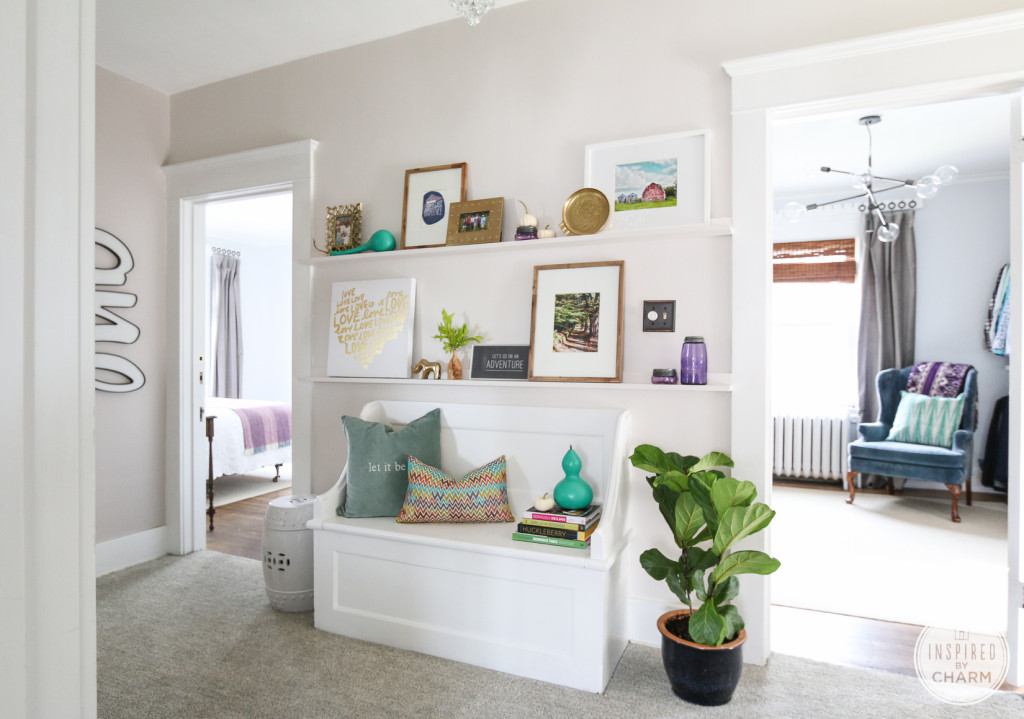
While it’s looking better already, I clearly needed a few accessories to make this space come alive and feel a bit more like home.
How to Style a Picture Ledge:
I didn’t have a plan for what I was going to put on the new pictures ledges. I want them to come together over time so they have a collected look like the inspiration image.
So, I sourced my house for a few items and brought in a couple new things to come up with a cohesive and colorful look for the time being.
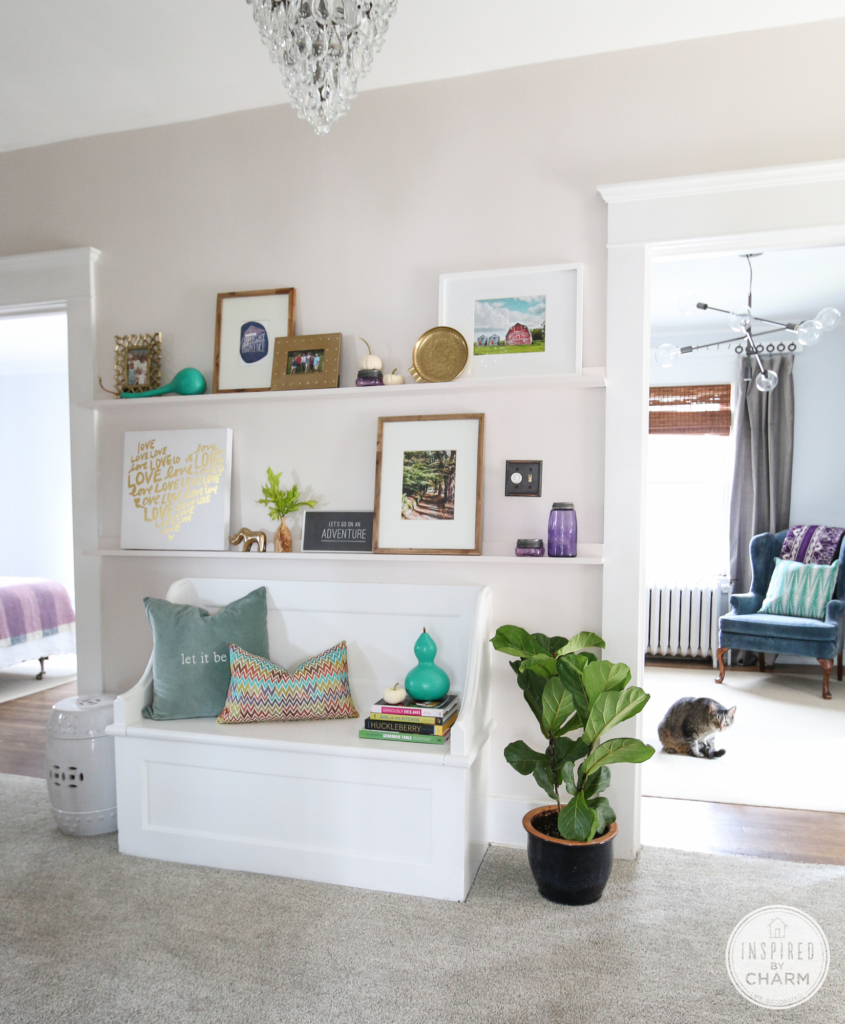
Pretty cute, right?

Picture Ledge:
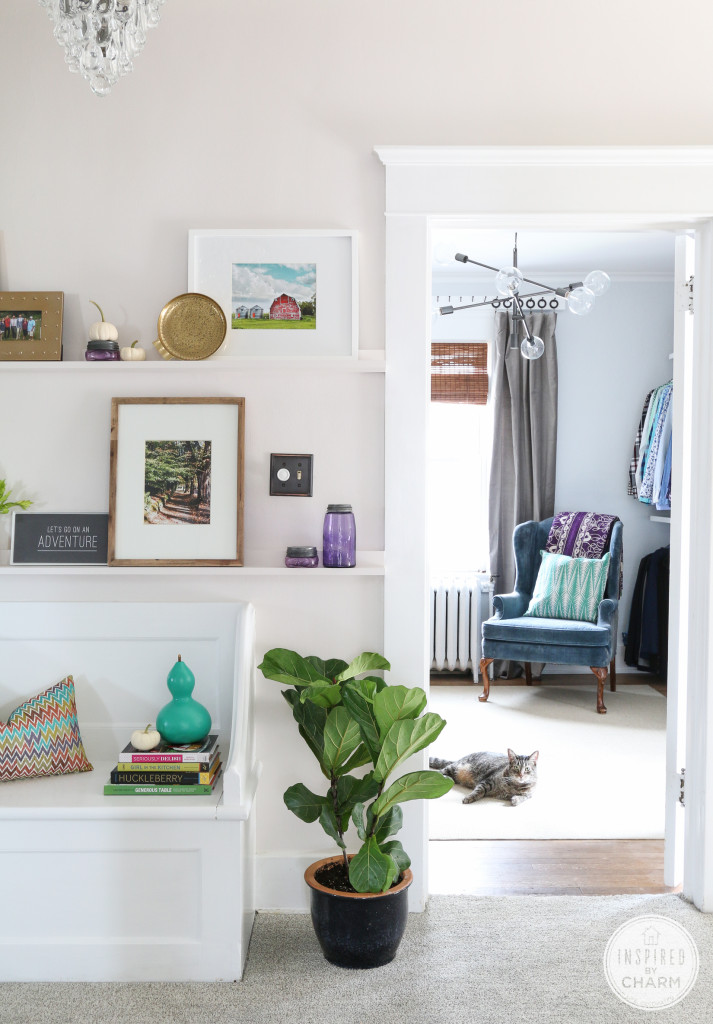
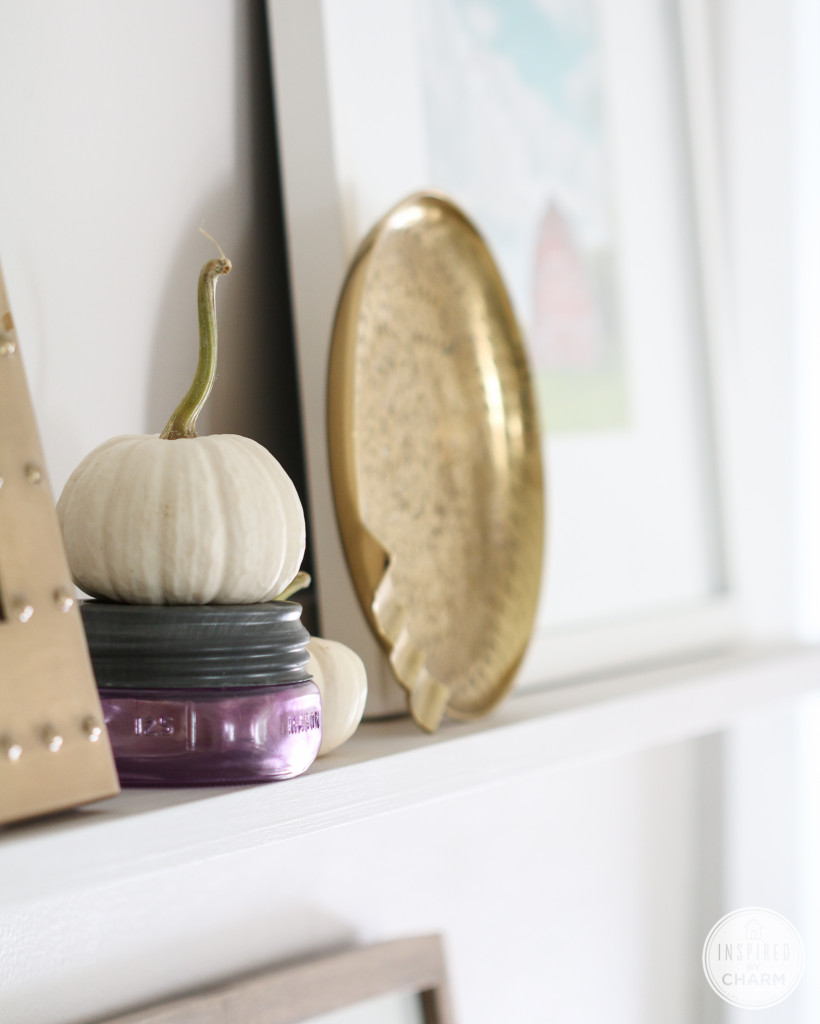
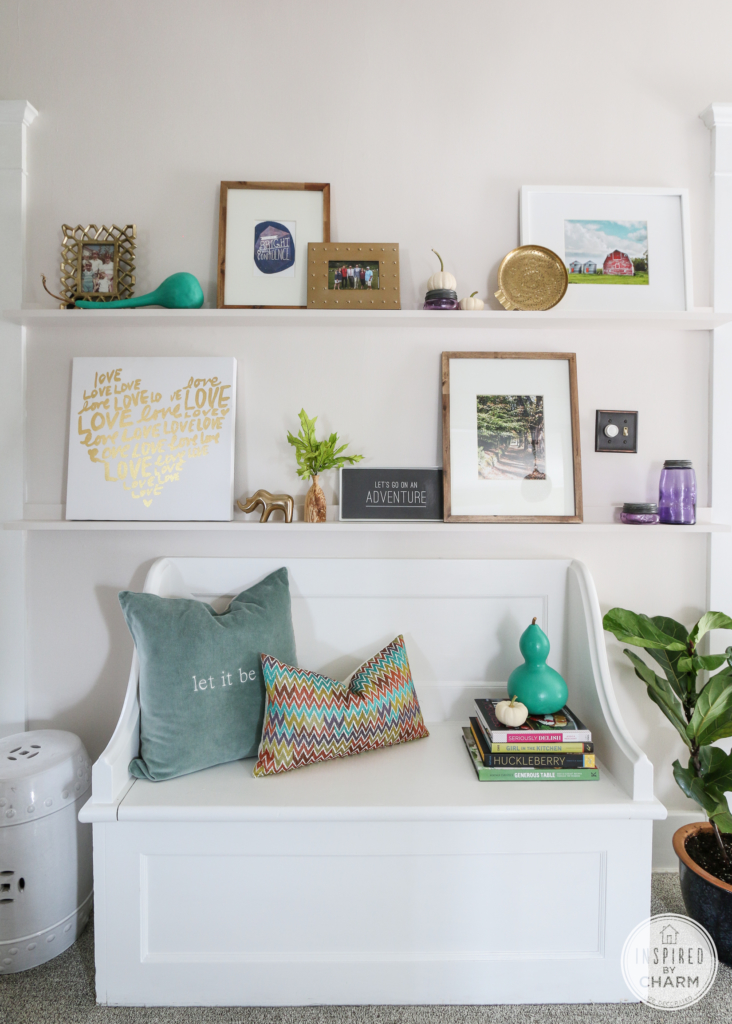
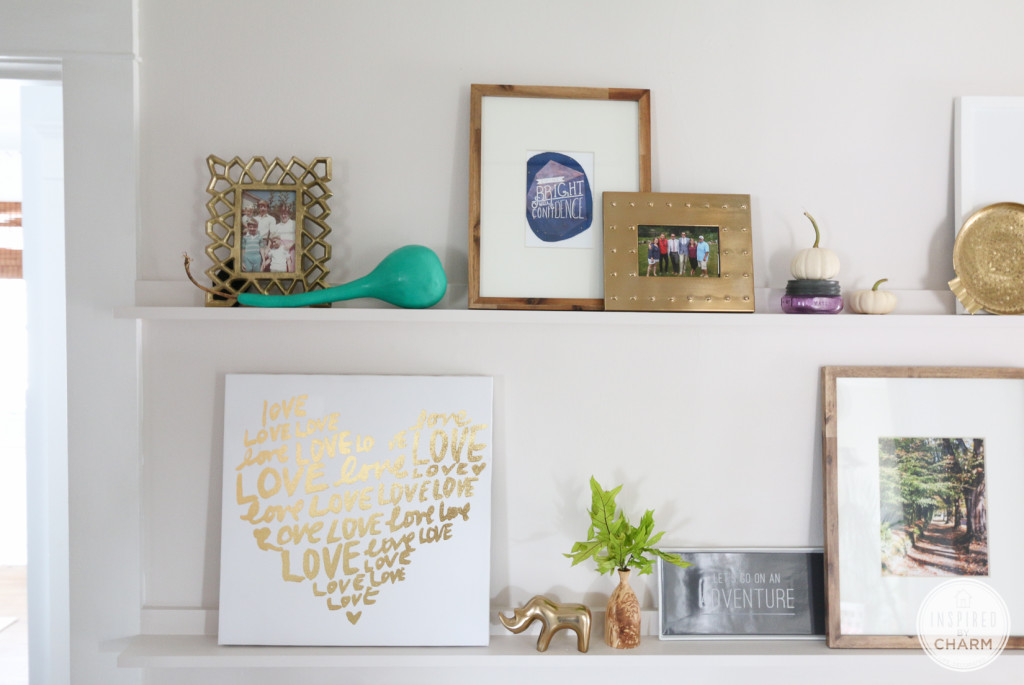
These vintage amethyst mason jars, which I had just found on eBay, were the jumping off point for the display. (I actually bought them for the little shelf in my basement stairwell, so they might not stay here.) Anyway. Moving on.
💌 SAVE THIS POST / RECIPE!
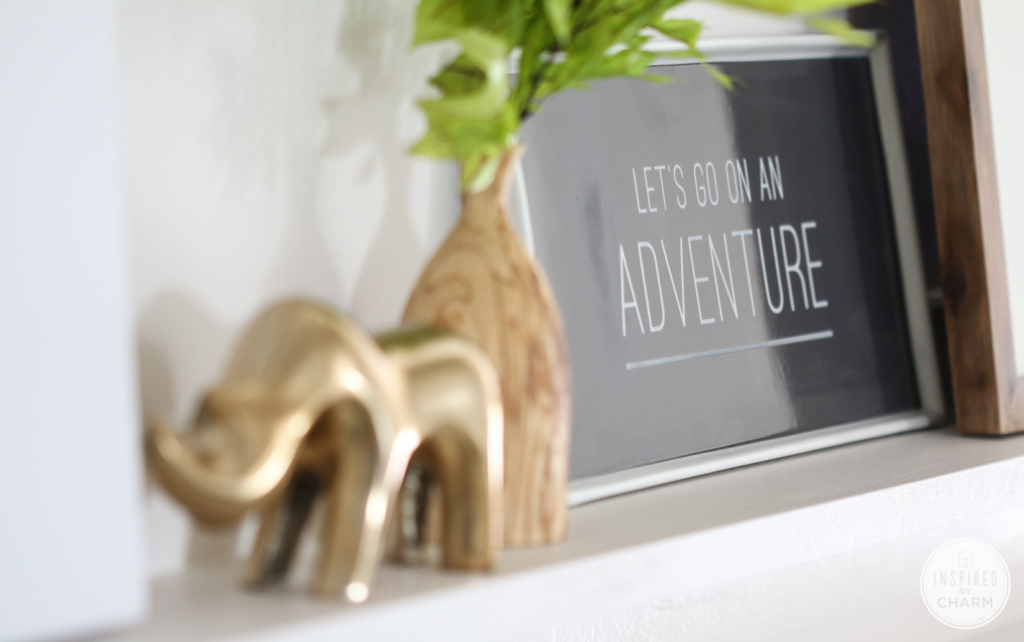
Of course, gold and brass made an appearance as I have WAY too many of these accessories.
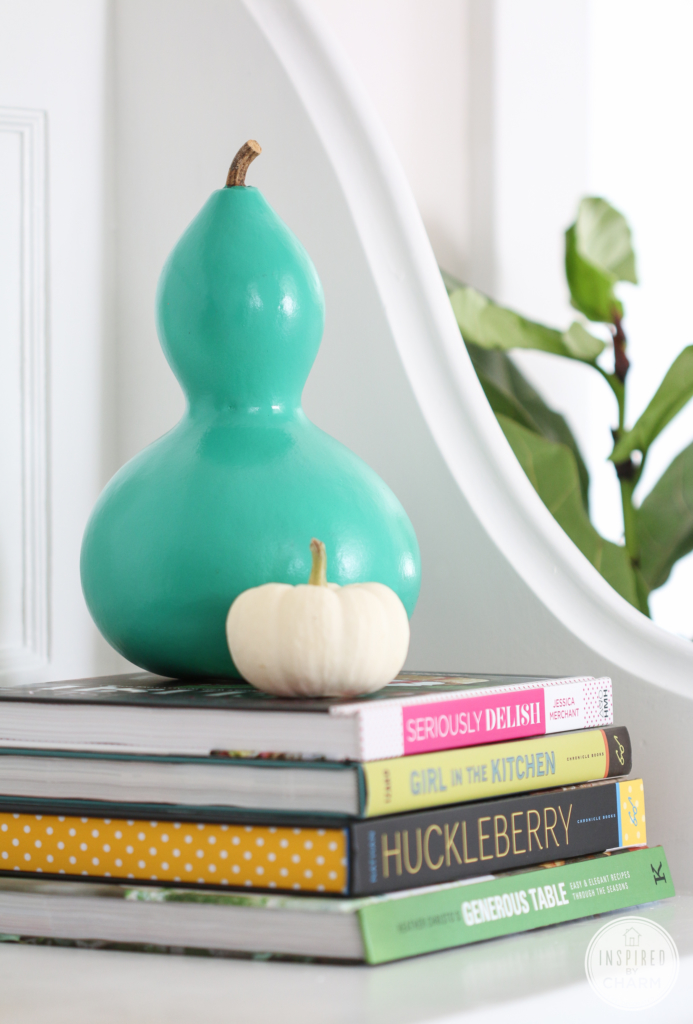
I also included a touch of fall. Remember those gourds I painted the other day? I’m happy to say they found a home and are adding a fun pop of color.
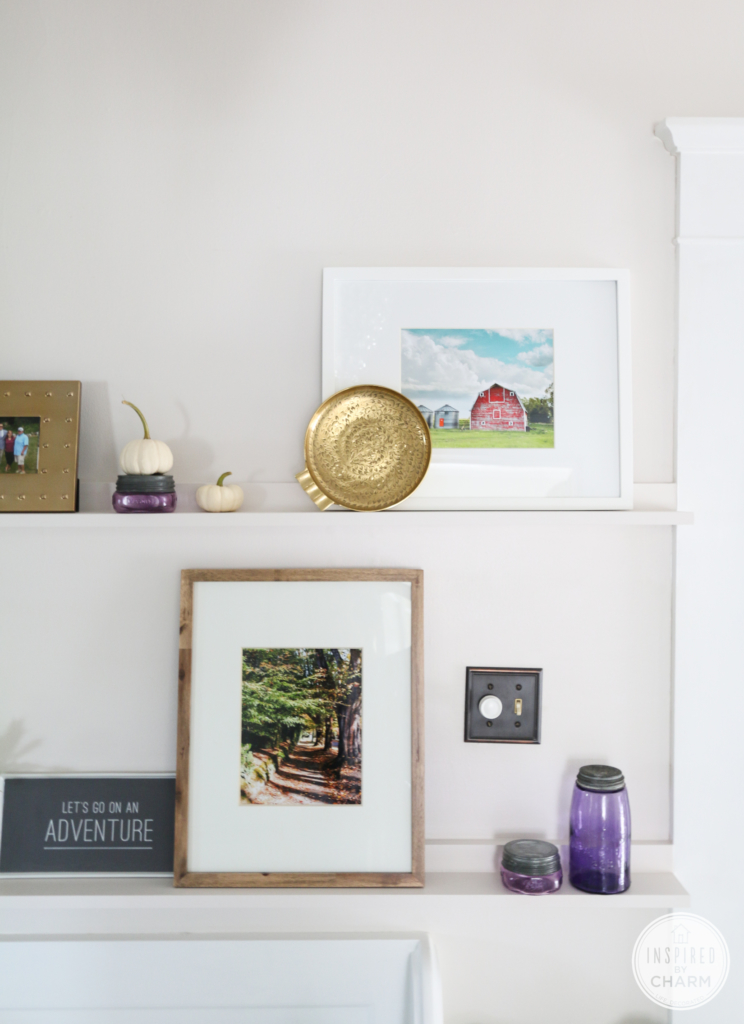
Yes, that’s one of Annie Baily’s photographs (the same artist in my wanderlust gallery wall). I’m obsessed with the colors of this print. Her photographs are amazing.
Other than that, most of the frames are from Target. The patterned pillow and “love” heart print came from HomeGoods and the “let it be” pillow and “Let’s go on an adventure” plate are from RedEnvelope.
I bought the wood vase when I was in Ireland this past summer. And the round brass ashtray was purchased at Goodwill.
I’m also considering a little table or stool in front of the bench. I love these sheepskin stools from Nate Berkus’s new collection, and I think one of those in front would look so perfect.
Once I get a few permanent pieces for this space, I’m going to hang some pictures on the wall just above the ledge to allow to me to layer things a bit more like the inspiration picture.
While it’s nowhere near complete, I think the whole picture ledge display came together nicely. Now, if I could just make a little progress on my bedroom, I’d be a happy guy.
And for those of you who are curious, here are two labeled images to help explain the layout of my upstairs.
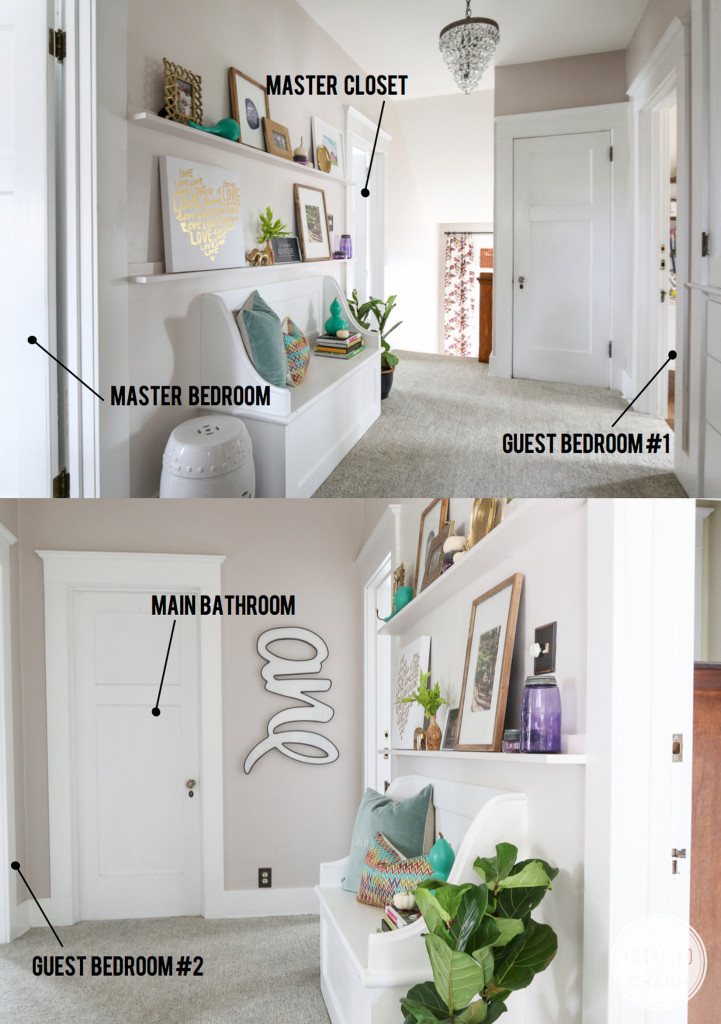
There’s one bedroom that you’ve never seen here on the blog. That is one of next projects on my list. Other than the bathrooms, it’s the only room that I haven’t yet repainted.
So, that’s my latest DIY / decorating adventure. What do you think of this project? Do you have a place in your home for a DIY Picture Ledge?
Love your shelves and styling. You are so very talented! I have a wall in my kitchen that is calling for something like this:) Thanks for the inspiration!
Love this wall! So serene but colourful at the same time if that’s possible…lol. I think it is styled perfectly. But I would nix the stool in front of the bench. As gorgeous as that stool is it will block the flow from the stairs to the bathroom and bedrooms. That’s just my two cents!
That looks absolutely wonderful. You know it makes that spot seem like a destination rather than a pass through. Love it!
Can you please come decorate my partner and I’s new apartment!? We only live in Southern California… Come on, road trip! lol I looooove that bench you have in your pictures; it’s perfect!
I’ve always wanted to visit Southern California, so this is more tempting then you might think. Haha!
xo Michael
Um, hello? Amethyst mason jars??!? How did I not know about these??? Seriously, I read a bajillion blogs, magazines, Pinterest etc. and I have never seen them before…. Now? I need one in my life. (My husband thanks you for another obsession….). Also, those shelves are awesomesauce! I love me a picture ledge. They are so darn easy to make aren’t they? I made one for our family room and I keep trying to find other places to put them. I love how you styled them too. Gorgeous!
Catherine if you can’t find any vintage ones I literally just saw amethyst colored ones and amber colored jars at JoAnn crafts!!!
Oh, thank you!! I just looked on ebay and had sticker shock…. 🙂
Thanks for chiming in Anna!
So, the amethyst jars are actually the blue jars that have been colored buy over exposure to the sun. (I believe.) So they are rare and can be expensive. If you have time and can watch eBay carefully (and bid at the right time) you can get a deal. My large jar was $25 plus shipping. Which was pretty good considering how much they sell for.
Hope that helps! (and glad you love the shelves!)
xo Michael
They look so great there and I love the way you styled them 🙂 Looking forward to meeting you next week for BHG! xoxo Kristin
Yay!! I’m so excited for the trip and to meet you (and everyone) as well. 🙂
xo Michael
Looks amazing! Those shelves would be sturdy enough to put my sons baseball trophys on, you think?
Erika – I think it depends how heavy the trophies are, but I would think so. You could add some some small L-shaped braces to the two pieces of wood to ensure they stay together, and then just paint over them to hide them. Once the trophies were on the shelves, you wouldn’t even notice them.
xo Michael
Hi Michael,
I love your picture ledges. My husband built some for me years ago but he used crown molding & lots of trim. I liked it back then but I’ve been craving something simpler. Yours are perfect.
When you painted them, did you use the same finish as the wall color or did you go with a higher sheen?
Thanks,
Mary
Thanks Mary! Yep, I just used the same paint that I used to paint the walls which is a satin finish.
xo Michael
They look so fabulous! I’m totally inspired to do something similar in a very skinny hallway we have. That would be the perfect fit 🙂
AMAZING!!!!!! You are AMAZING!!!! I have to find a spot in my home to do this. Love that your sweet kitty was in the pictures.
Love the shelves! Beautiful! I’ve been dying to try out my new Kreg jig… I wonder if it would be useful for a shelf project like this.
At any rate, beautiful styling and photos as always! Your blog is a favorite of mine!
Emily – I think it totally would! When I was looking at other tutorials for ledges, I seen a few people using their Kreg jigs.
xo Michael
I love, love your new shelves! They work so well with the built in bench…they look like they’ve been there forever 🙂 Love your home!
Thank you! I’m glad I finally found a solution for this space.
xo Michael
That looks fantastic! I love how your shelves are painted the same color as the wall. That is a great idea and would work really well in a tight space. Thank you for sharing.
Thank you so much for sharing this. I have used some IKEA picture rails but custom made ones like this are far better. I will definitely be making some.
I love it! I’m already trying to find a place to put those shelves in my own house. The painted gourds came out great as well. Thank you for the inspiration.
I love it!!!! I have been trying to figure out shelves in a bedroom and wanted something unique. I’m impressed with the Huckleberry cookbook, isn’t it great! I already made the bread on the cover, tomorrow the Lemon Cornmeal Muffins with Lemon Glaze.
Amazing! They match your house so well. Thanks for the inspiration. Also, I’m obsessed with that colorful pillow! Finding it so hard to find pillows I love nowadays.
I hear you on the pillows! I have a tough time too! Good luck though and keep searching. You’ll find something perfect.
xo Michael
Love it!
You made a great job!
Love the colour white on your wall!
Love It!!!!!
Looks fantastic! You have beautiful accessories. I like the painted gourds, too. Thanks again for the inspiration!
Thanks so much Whitney! I just did a post on the gourds if you are interested: https://inspiredbycharm.com/2014/09/colorful-painted-gourds-for-fall.html
xo Michael