DIY Painted Wood Serving Tray
This Post May Contain Affiliate Links. Please Read Our Disclosure Policy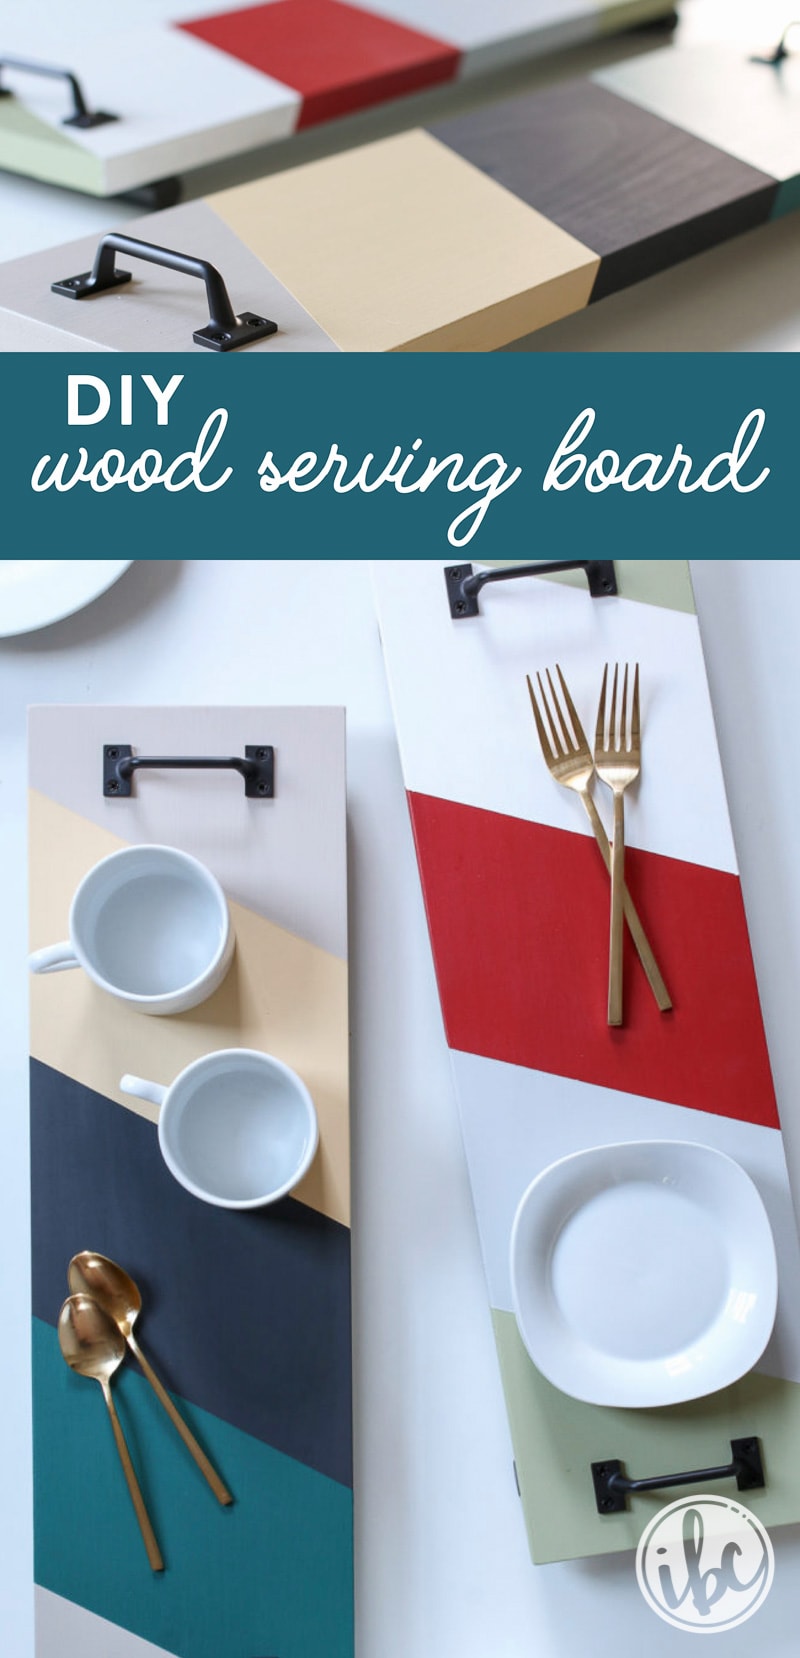
This DIY Painted Wood Serving Tray will add color, function, and style to your home and entertaining endeavors. Change up the color and pattern to match your style and decor for a tray that’s uniquely you!
Whether you’re hosting a large dinner party or just entertaining a friend for cocktails on the porch, it’s always nice to have a helping hand. A wood serving tray can make moving food and drinks to and from the kitchen so much easier.
Even though you can certainly pick up a plain ol’ serving tray at the store, who wants that? Today I’m going to teach you how to make your own colorful DIY Painted Wood Serving Tray.

Maybe it’s just me, but serving something on a tray, regardless of what it is, makes it special. Somehow it seems fancier and more luxurious. Not to mention that the tray allows you carry twelve drinks instead of two.
Thinking about my own experiences, I got to work. With some nautical color inspiration, I gathered paint together and made a quick trip to the hardware store for supplies.
After an afternoon of painting and a little assembly, I had two new trays ready for entertaining. Here’s what I came up with.
DIY Painted Wood Serving Tray:
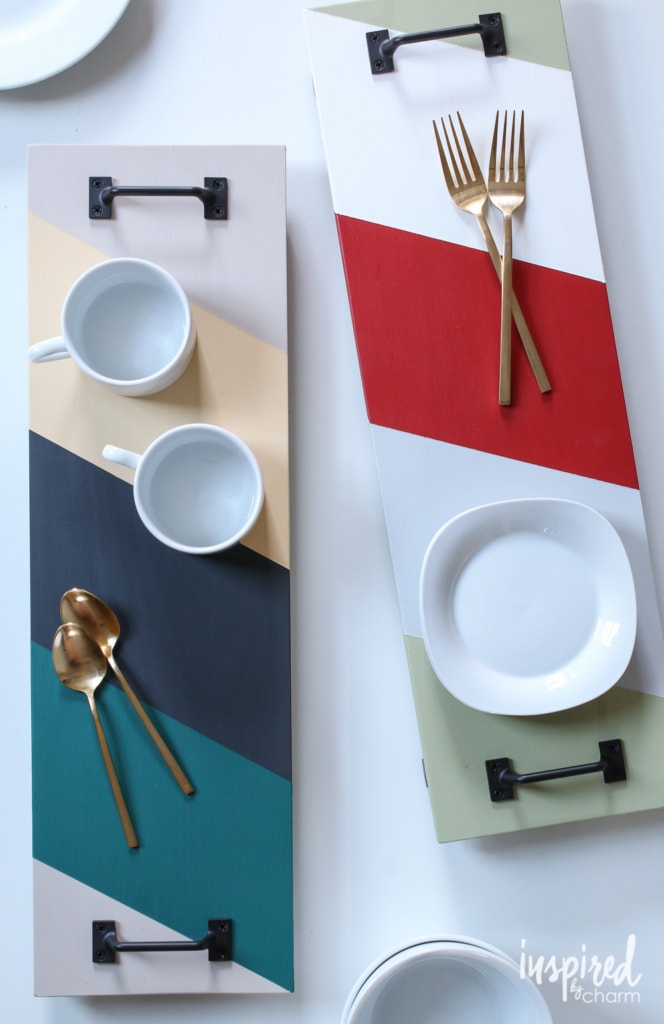
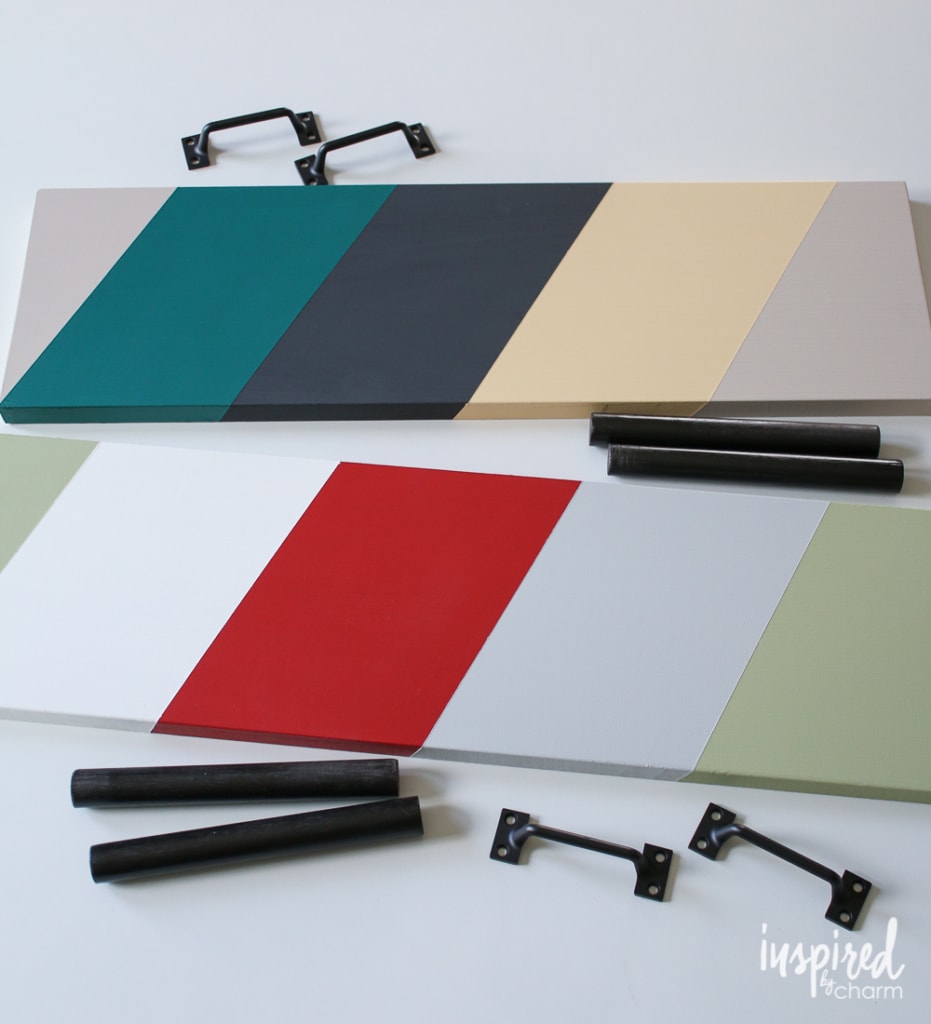
I opted for a simple tray that’s easy to put together. But then went bold with graphic design. Boat sails inspired the color and pattern.
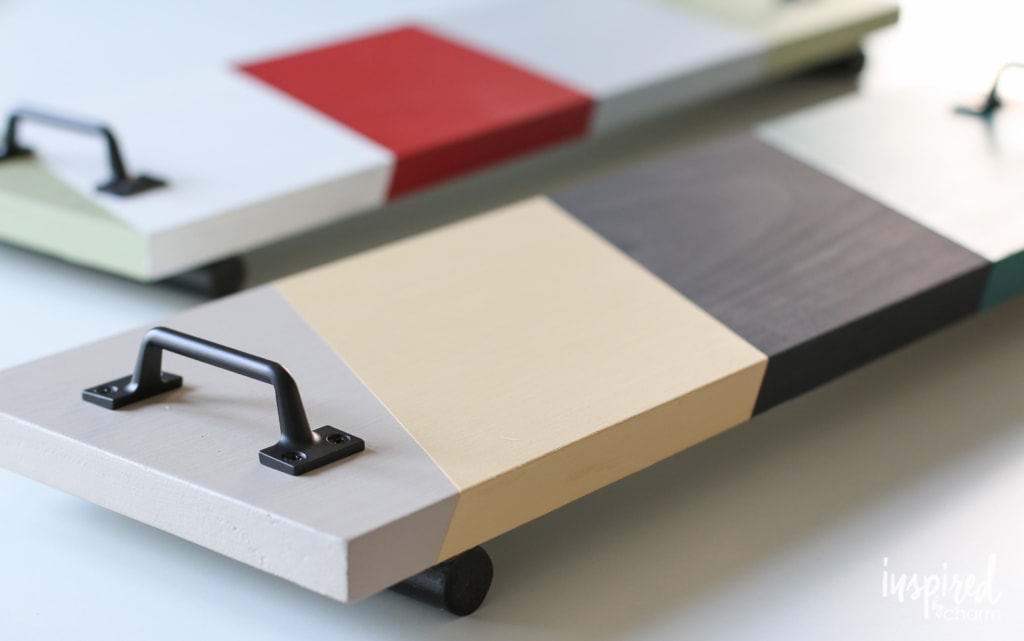
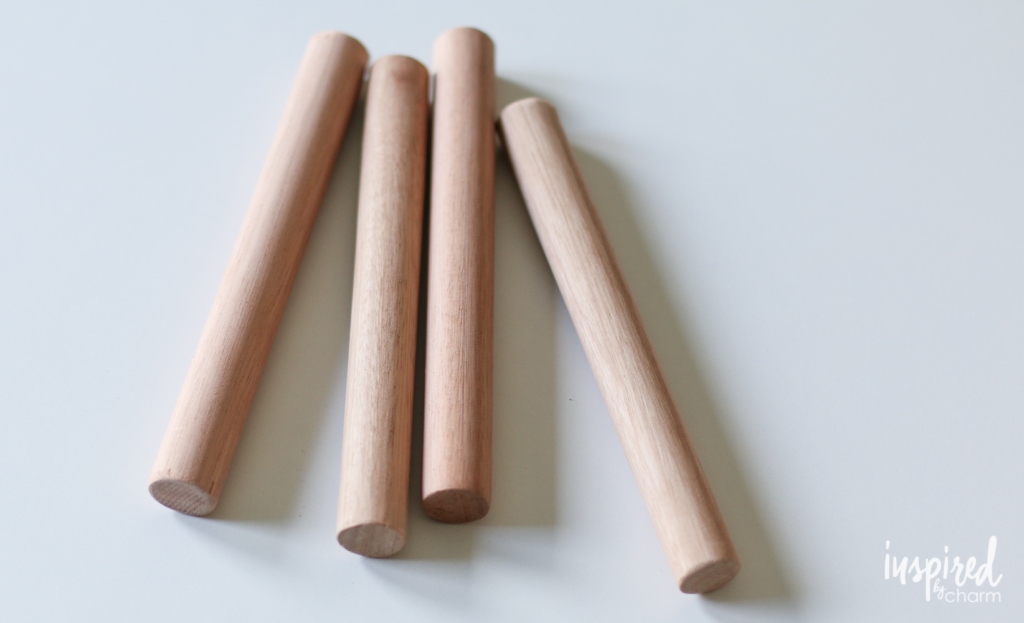
To give the tray an unexpected touch, I used dowel rods to create feet.
I love these new trays. Now, I just need to find someone who will deliver a cocktail to me. Ha!
Let me show you how I made them.

How To Make a Wood Serving Tray:
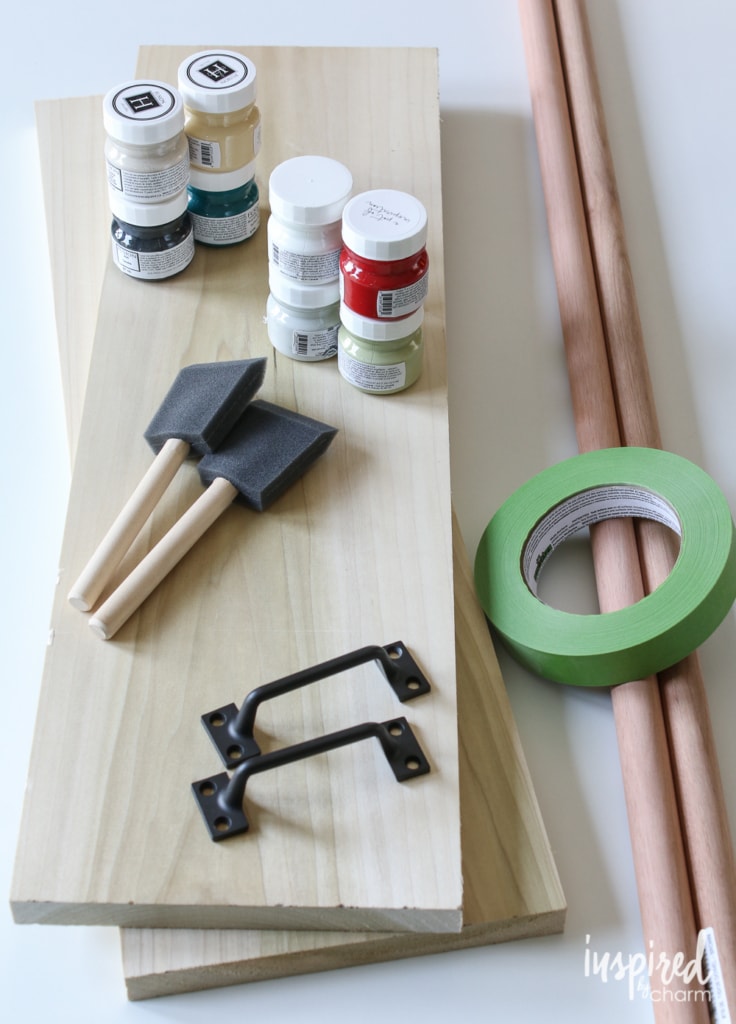
To make one tray, you will need:
1 board (12 x 8 x 1″ – I found mine precut to these dimensions.)
1 dowel rod (3/4-inch diameter)
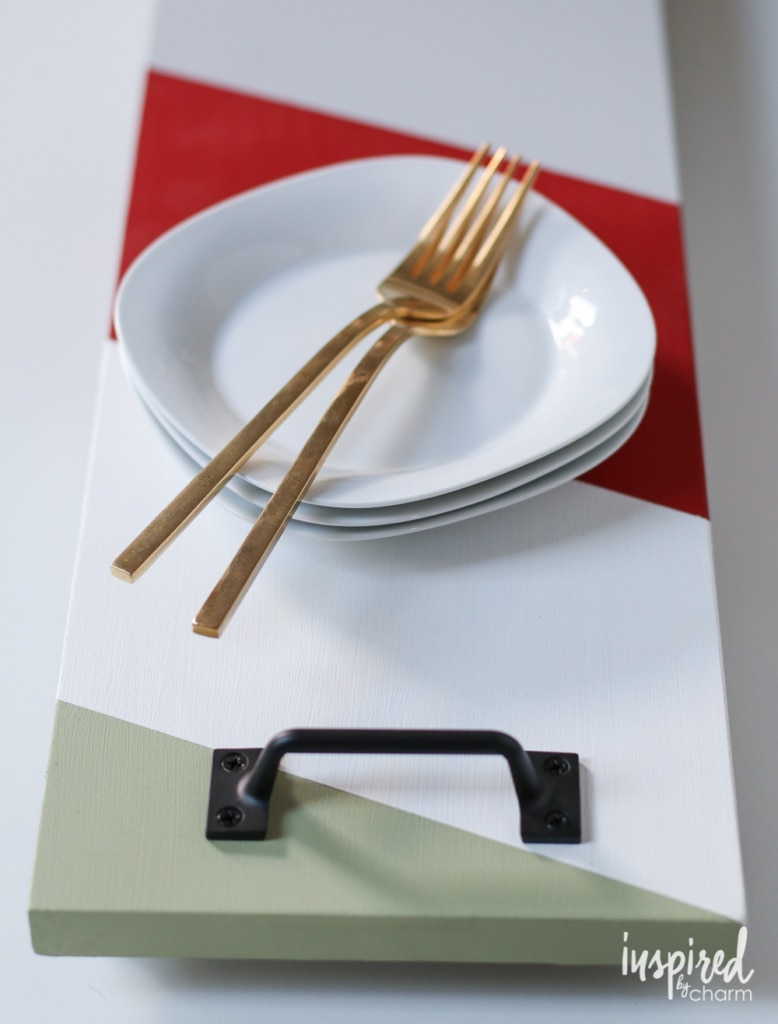
Two handles
Screws (Those that a included with the handles, plus 4 more of the same type, but 1 1/4″ long.)
Painter’s table
Fusion Mineral Paint
Paint brush
Drill and bits
Thick-gel super glue
Ruler
Pencil
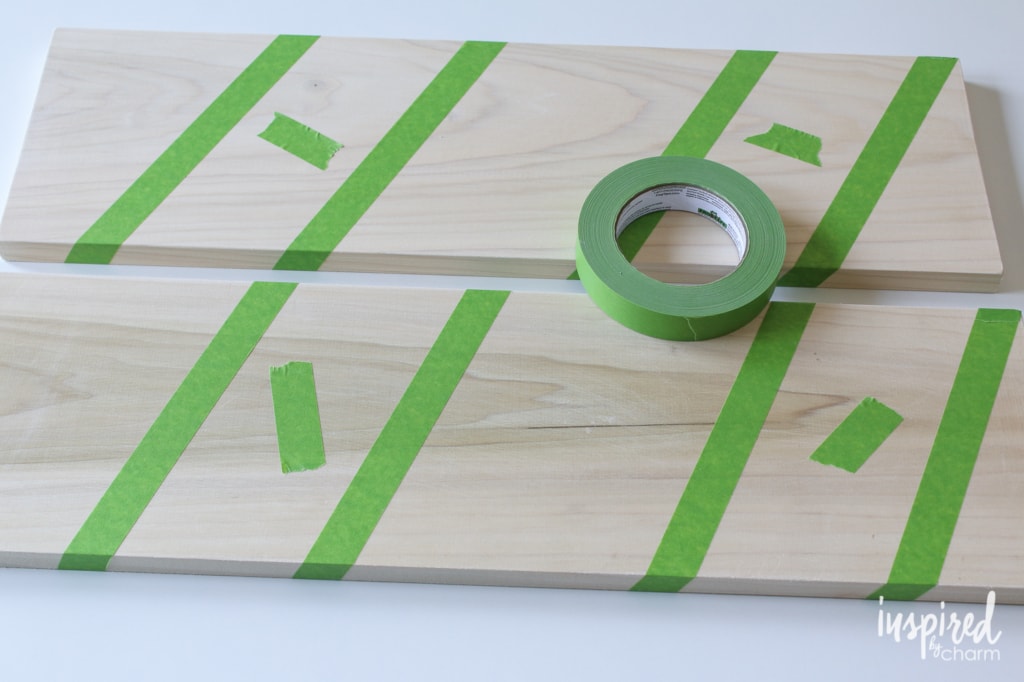
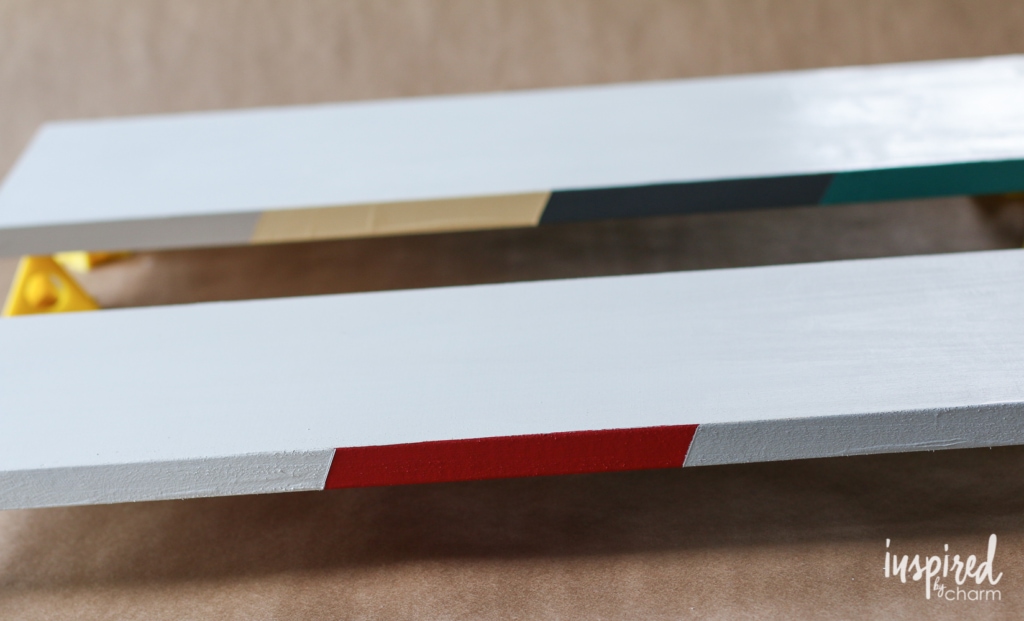
To begin, paint your wood board. I recommend Fusion Mineral Paint. It requires no primer or sealer and comes in a variety of awesome colors. I used a simple diagonal pattern that I marked off with painters tape. If you’re using four colors like I did, you can paint with two of the colors first. Allow them to dry, tape again, and the finish off with your second two colors.
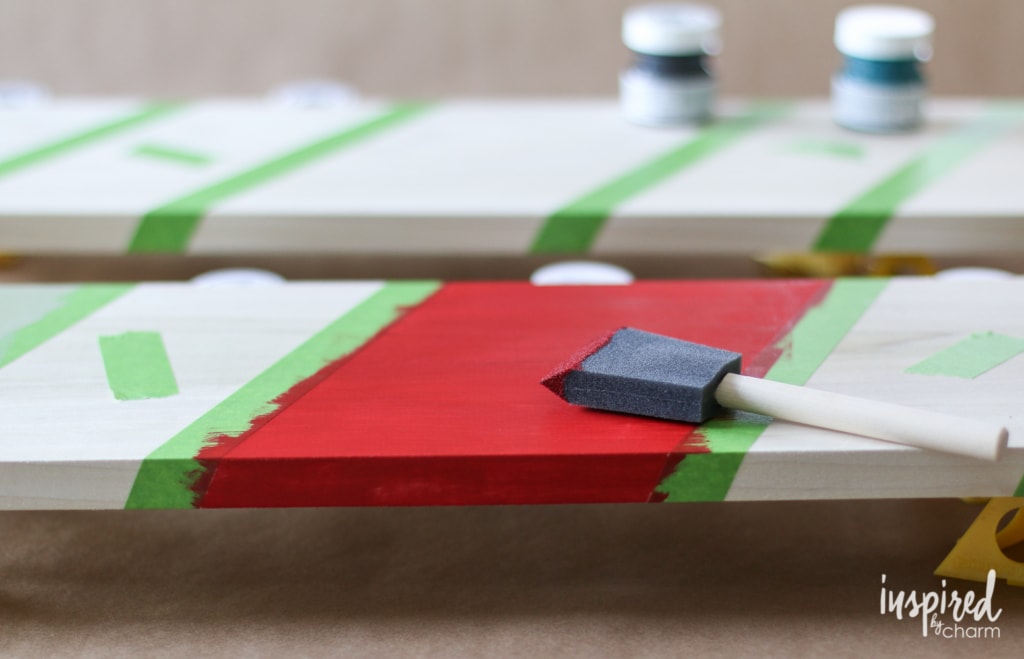
I painted the top and sides this way. For the bottom, I just used an off-white.
While the paint is drying, cut your dowel rods to the width of your board (8-inches). Then paint them. I used black to match my handles.
Once everything is dry, you’re ready to assemble.
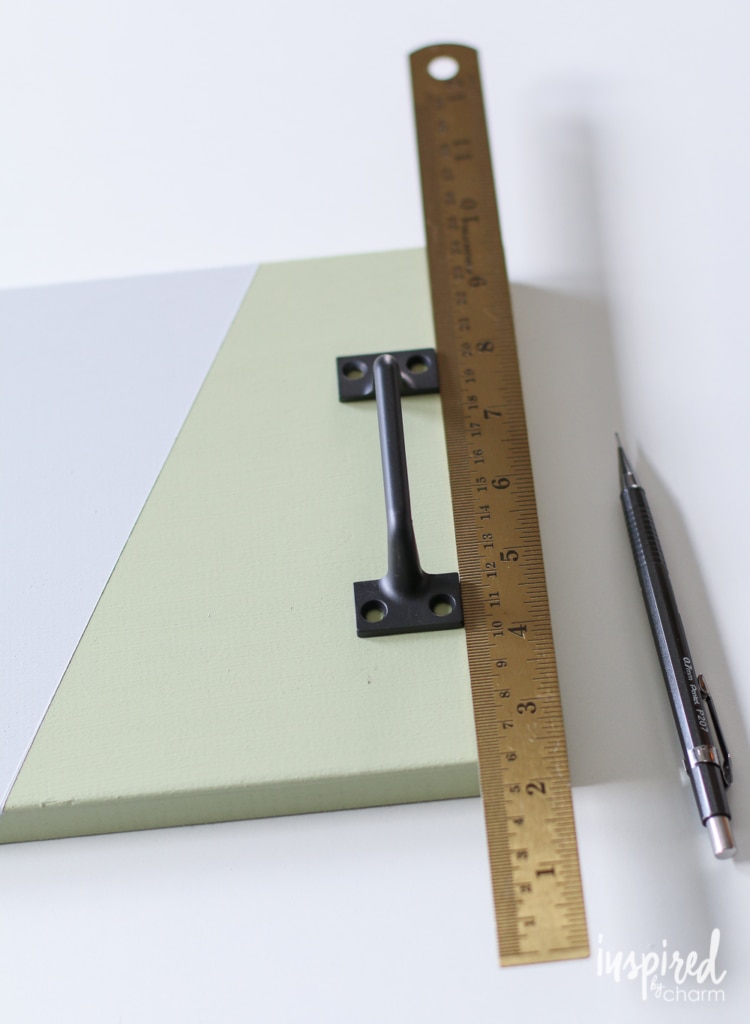
Use a ruler to determine the location of your handles. Place the handles on the top of the tray and mark through the screw hole with a pencil.
💌 SAVE THIS POST / RECIPE!
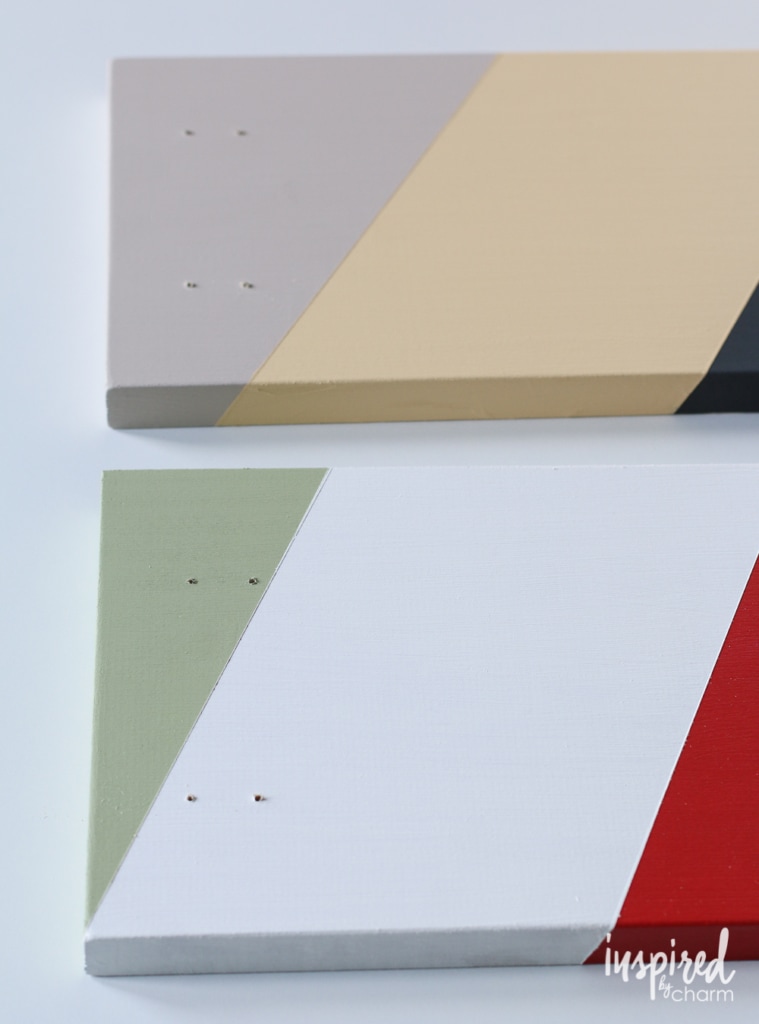
Predrill the screw holes where you made the marks. If you’re using a handle that has four holes (like mine), drill all of the way through the board for the two holes that face the center of the board and only about halfway though for the holes at the edge of the board.
Once your holes are drilled, flip the board over. Using a ruler to keep a straight line, add a thin bead of super glue across the width of the board where you’ve predrilled the holes.
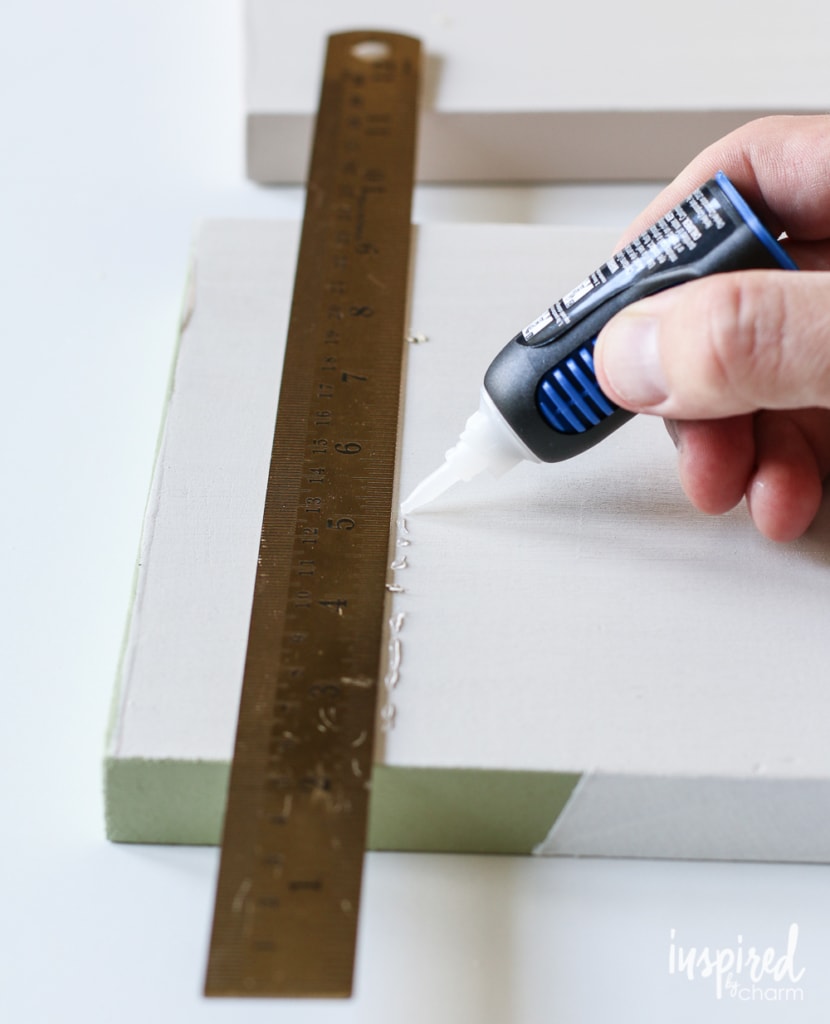
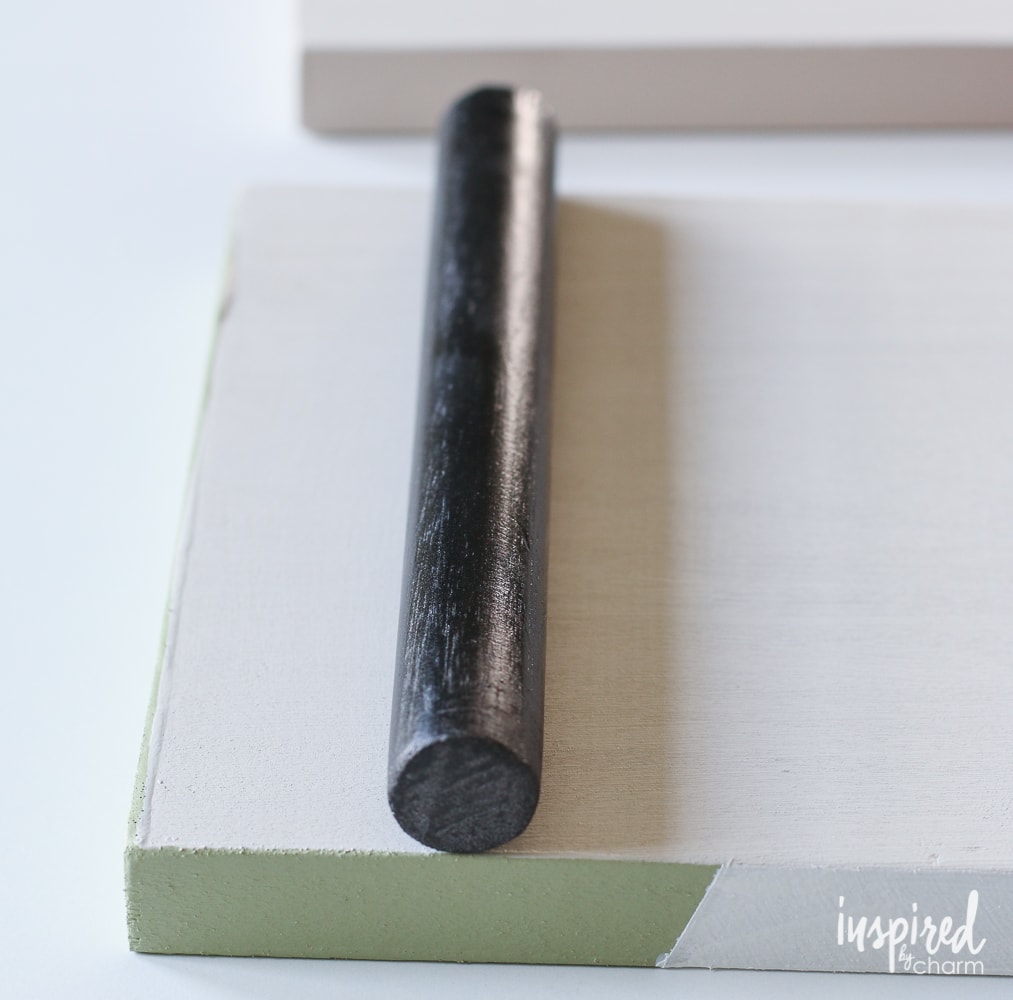
Then, place your painted dowel on the super glue. Repeat on the other side. Allow both to dry.
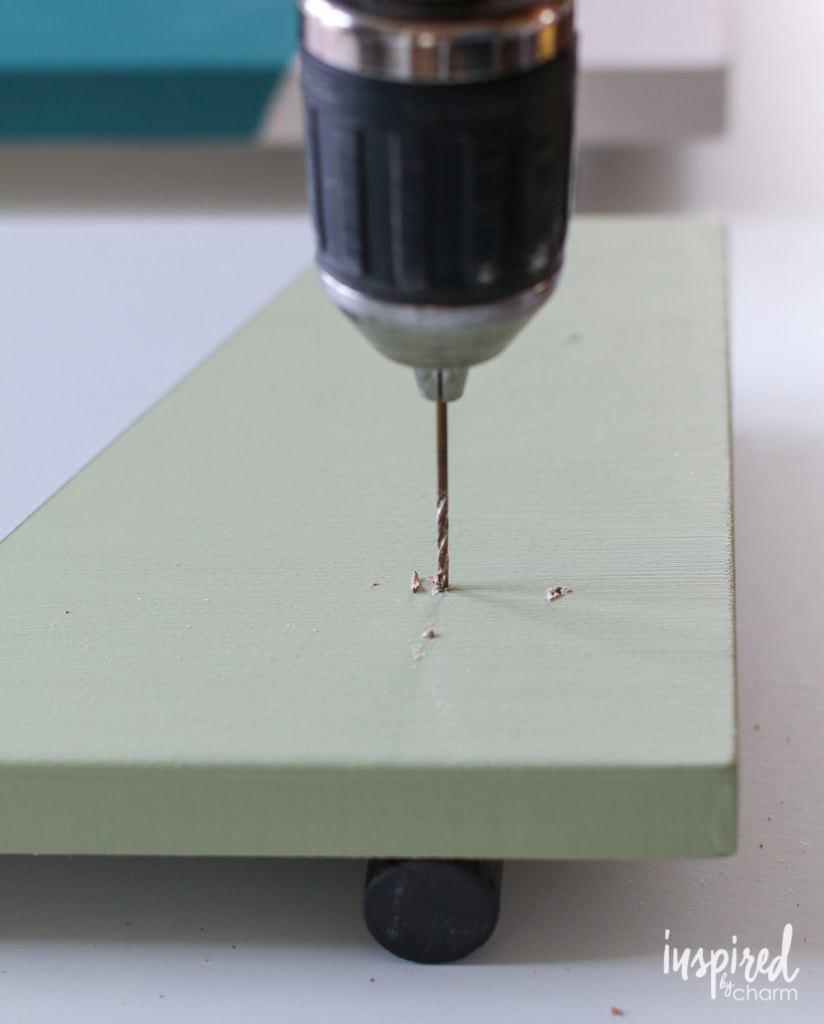
Now, flip the board back over. Redrill the inner holes (They now have the dowels underneath them.) going about halfway through the dowels.
Finally, attach your handles. The screws that come with the handles will go into the outer holes and the longer screws will go into the inner holes. Along with the super glue you used, they will keep your dowels in place.
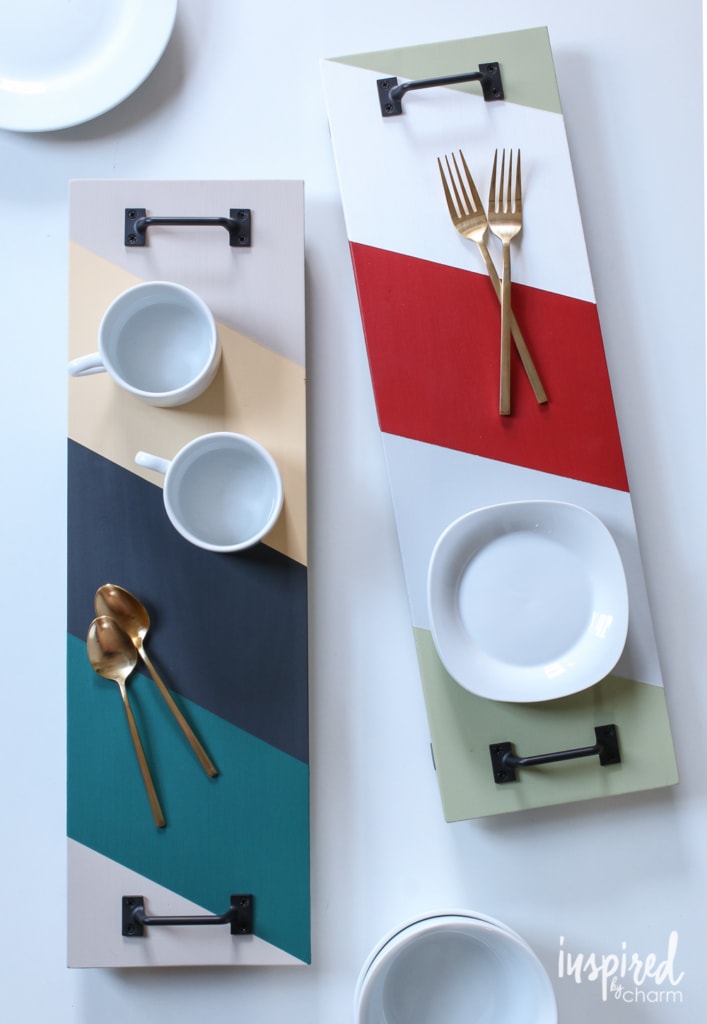
And with that, your DIY Serving Tray is complete!
That wasn’t too complicated, was it?
If you liked this tutorial, you’ll love these too:
- DIY Wood Picture Ledge
- Mounted Staghorn Fern
- Homemade Beeswax Candles
- DIY Bath Bombs
- Vertical Herb Garden
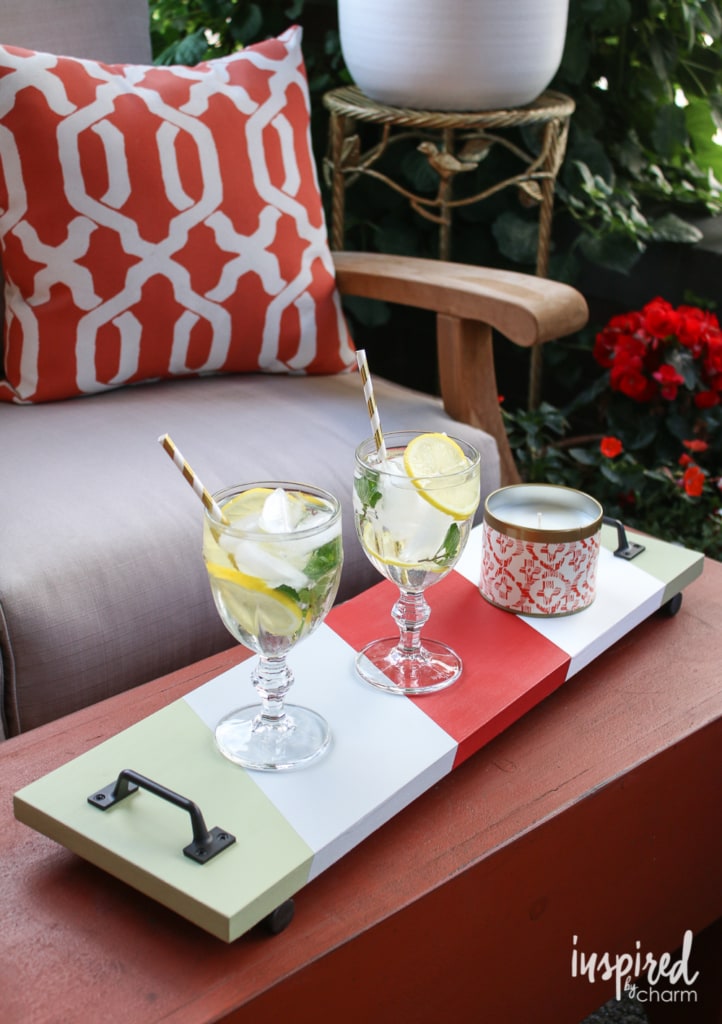
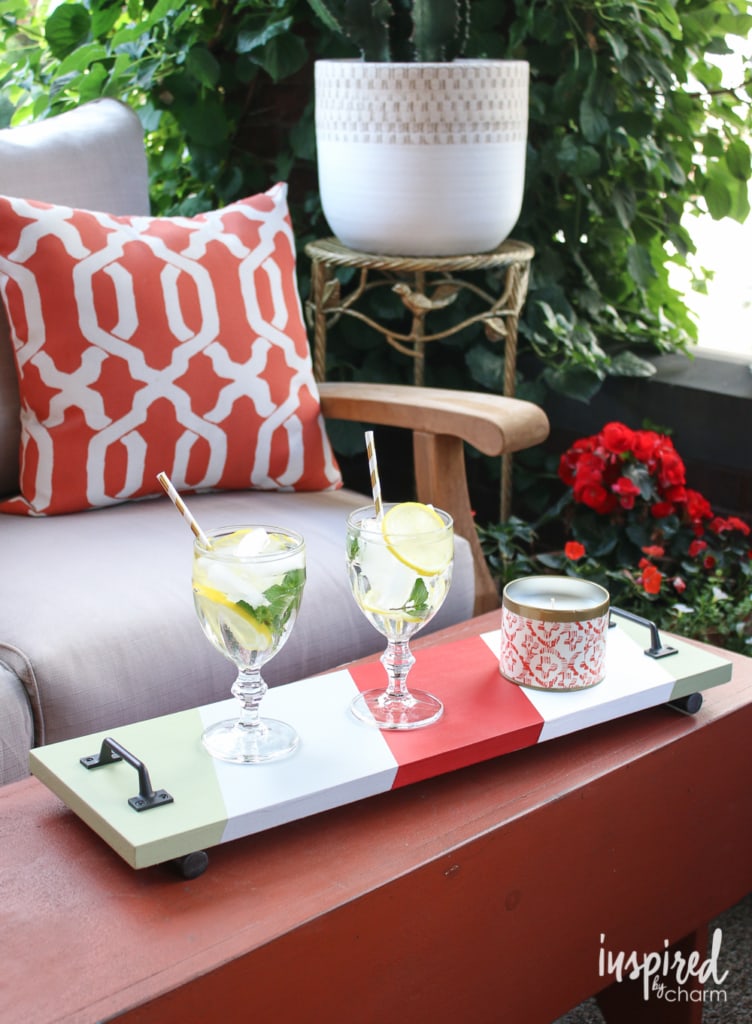
Naturally, you can use any color combination or pattern that you like. Also feel free to switch up the hardware to make it your own.
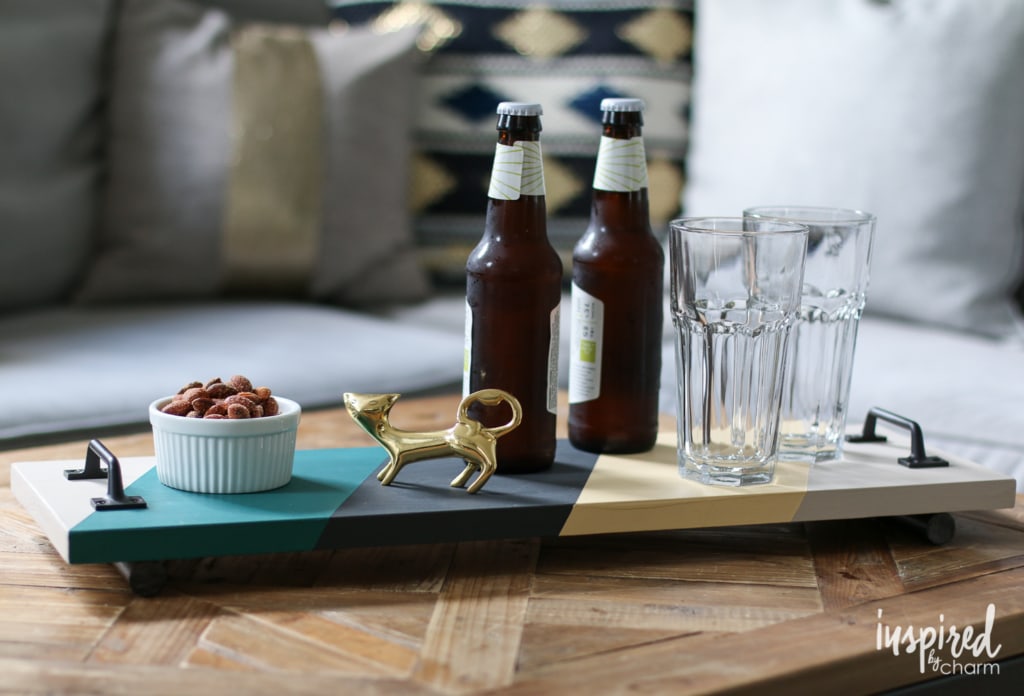
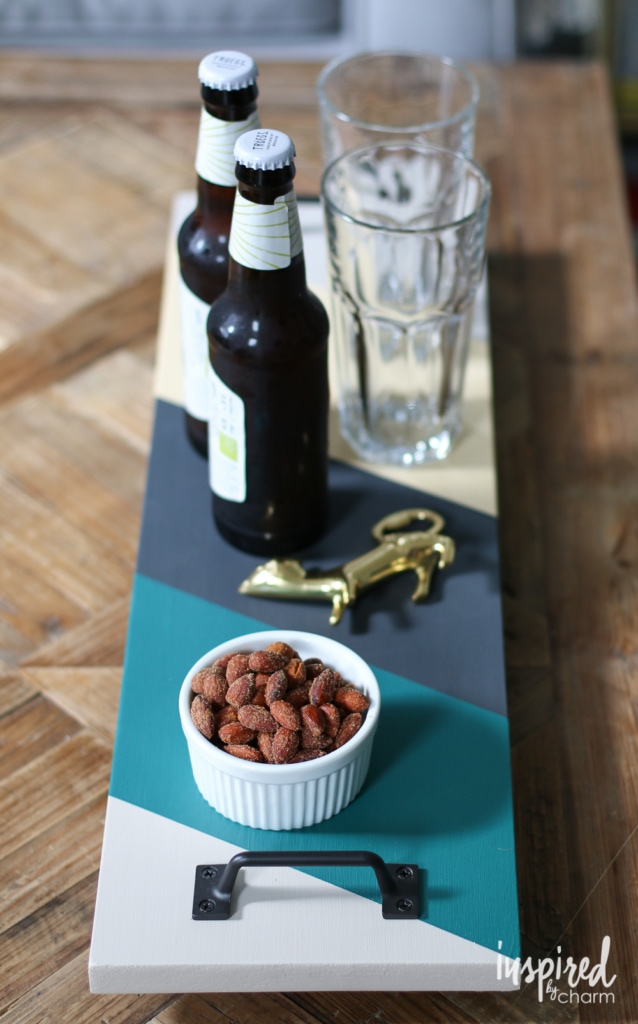
As you can see, these trays are handy for serving coffee, beer, lemonade, or whatever you fancy.
The only thing I couldn’t figure out was how to have the tray serve you without you having to do any of the work. I’ll keep working on that.
I hope you enjoyed this fun and colorful DIY Wood Serving Tray tutorial. Until next time.
Are the board dimensions correct? In the images with glassware and flatware, the board seems much larger than the listed size of 12 x 8 inches. Handle hardware also appears bigger to accommodate handholds. Wanting to make this project as a usable size serving tray, a larger board may need be necessary.
Hullo Michael, I can’t believe a single person didn’t ask about the gorgeous cutlery set you displayed!! Your trays are simply beautiful and the gold-ish spoons really up the style points!! I love serving boards and totally agree with you about how luxurious they feel. I know it’s been two years but please PLEASE tell me asap what make or company this cutlery is since I would like to gift them for a wedding along with a set of trays.. I love this post !! Thank you! and waiting to hear from you!!!
Are these treat washable because it will get stained with mostly the stuff will be serving or we can use any coating so that we can wash these
If you’re worried about staining I would definitely recommend a top coat that would be compatible with the paint your using. Even something like Mod Podge could work to seel it.
xo Michael
Hi. Well done. Great website. I just wanted to ask…..are those rods needed on the bottom?
Can the tray lay flat?
Yep, you can omit them. However, I think they help to make the tray special. 🙂
xo Michael
This is a great project, I’m new to crafting and I have lots to learn.
1. What size Fusion bottles were used for this project? The tester size or full size?
2. Did you also use Fusion paint for the dowel rods?
3. Are these paints only available online?
What are those yellow triangles holding your board while you pAint?
So .. is each tray 8″ x 36″? I love the look of these & have pinned your instructions.
Hey there! Nope. The original board was 8×36. I cut the board in half, so each treat is 8×18. Hope that helps. Thanks for pinning. 🙂
xo Michael
Hi! Where did you find the handles?! 🙂
SERIOUSLY! THE BEST THING IVE SEEN ALLLLL DAY! Amazingly great idea! You’re ideas are always so doable, and always so cuuute!
i really like the DIY serving trays you made! and thanks so much for including the instructions. (i have used an old cabinet door before to make a tray.)
Love these! Oh the possibilities!
Gorgeous! Love them!
I absolutely love these trays! What a simple but really stylish idea. Thanks for sharing…
Thanks for the inspiration! This is totally doable. I’m thinking about putting a painted wood strip around the outside of the board to form a bit of a lip on the tray:)