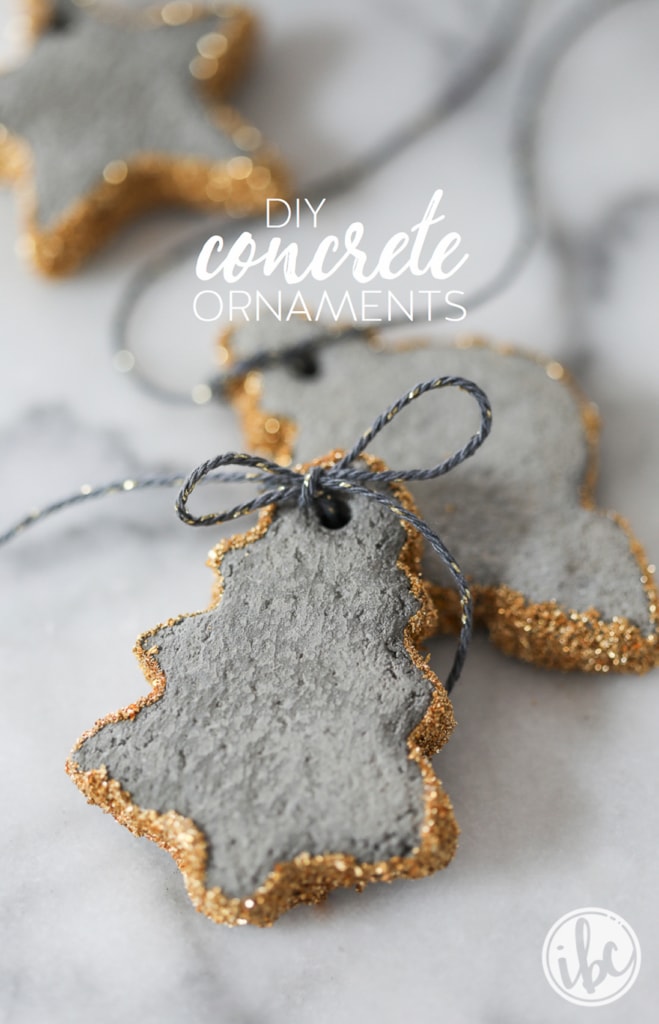
DIY Concrete Ornaments
This Post May Contain Affiliate Links. Please Read Our Disclosure Policy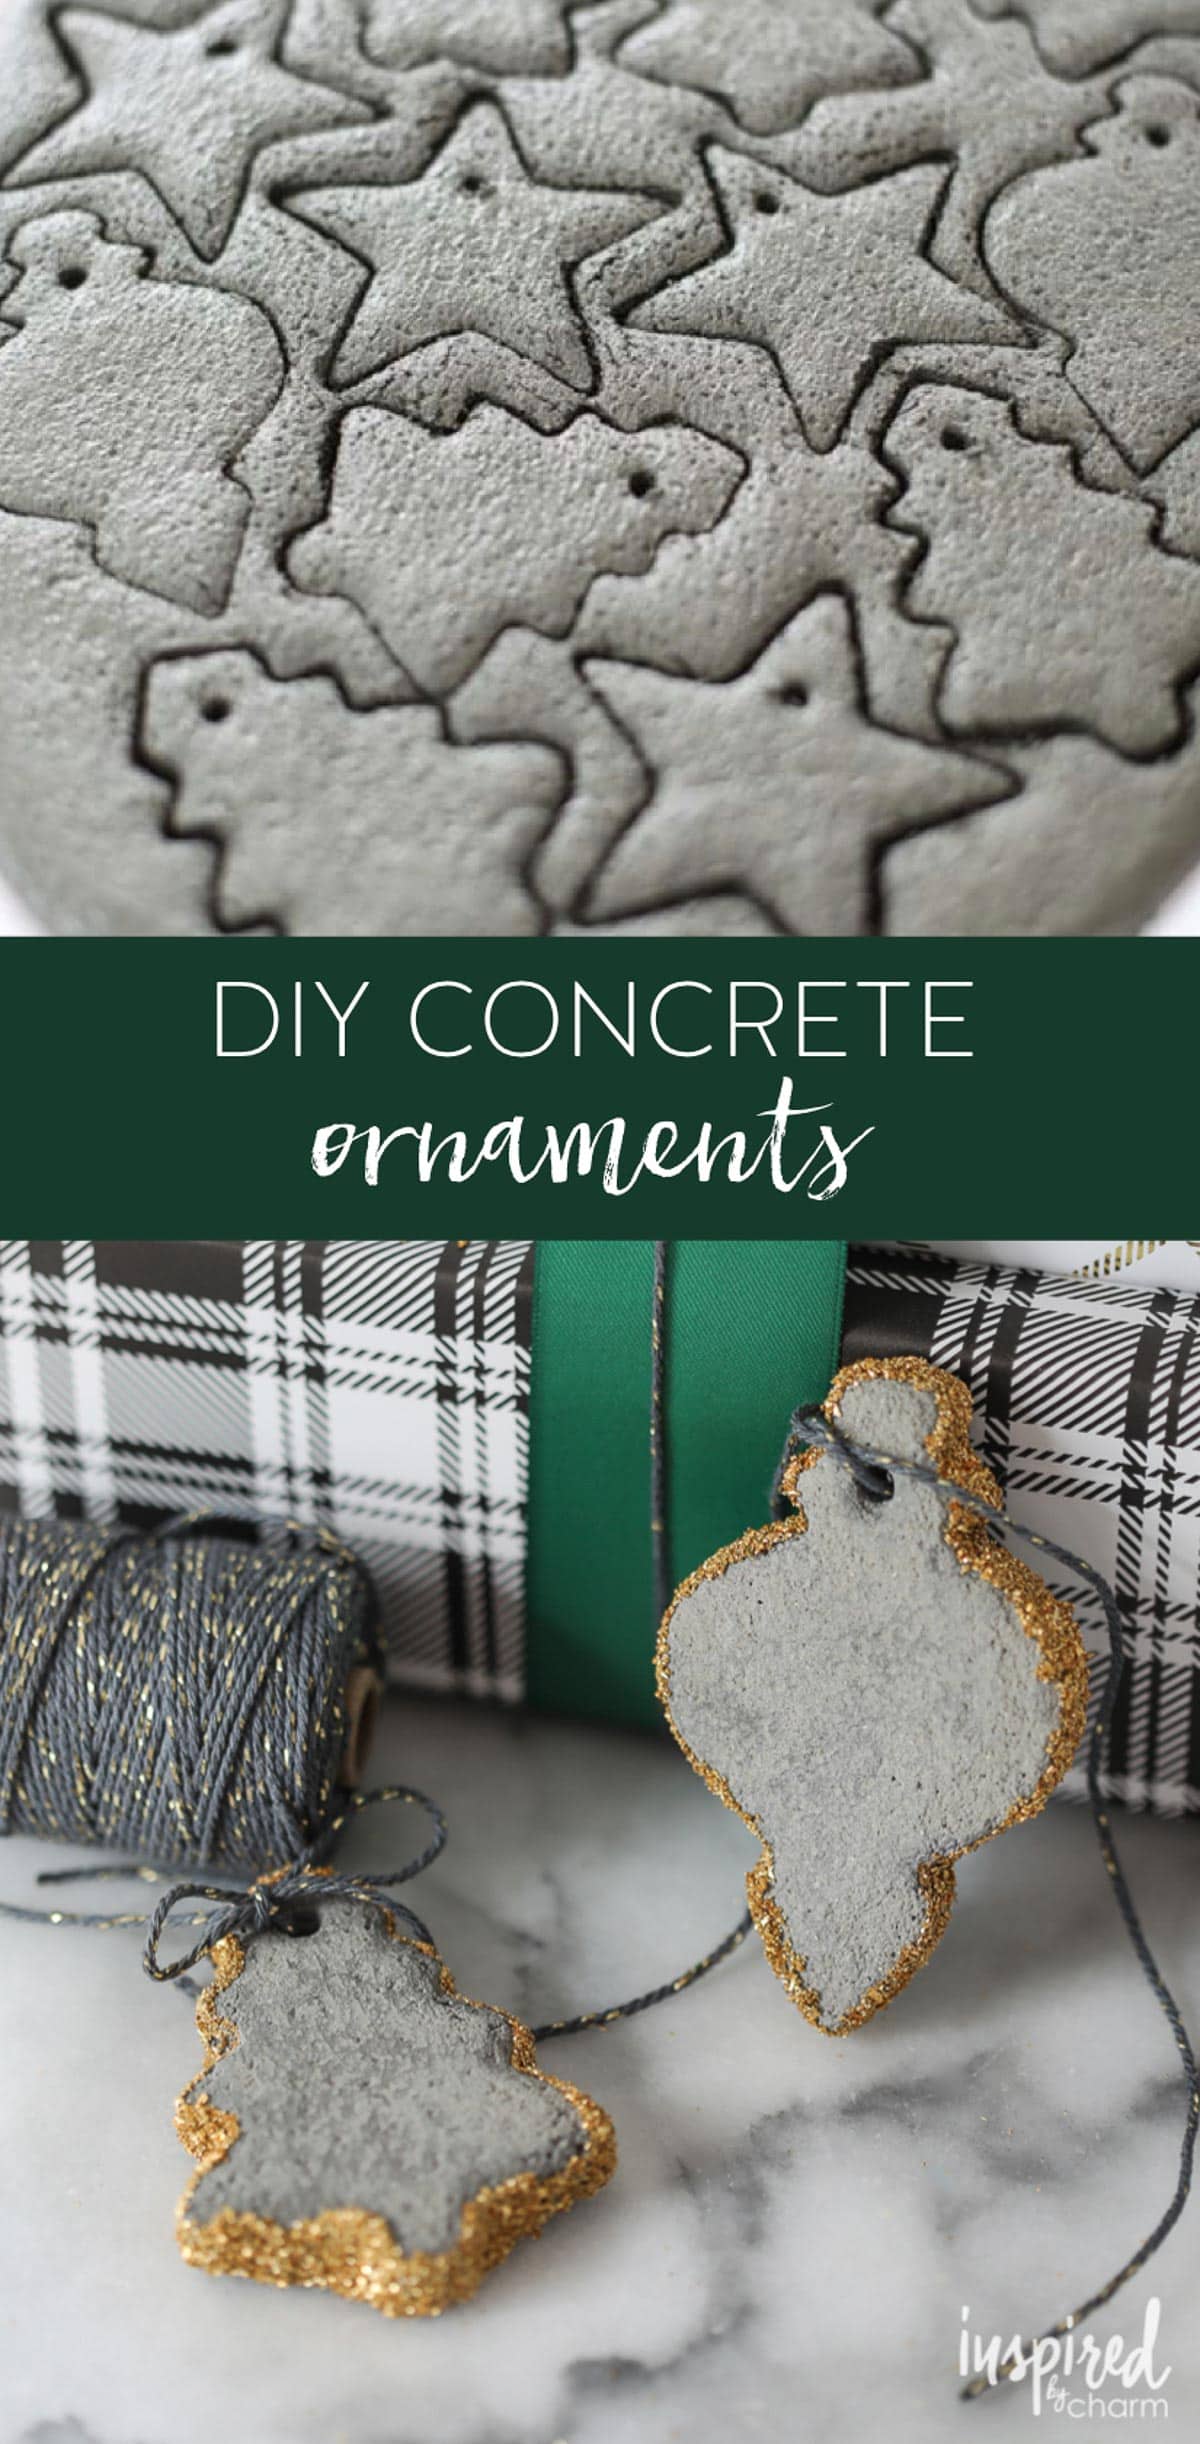
As I mentioned in a post a few weeks ago, back in October I was part of a group of bloggers and designers who got to travel to Napa and San Francisco with Zephyr (makers of the quietest kitchen range hoods on the market).Throughout the trip we had a chance to learn about their range hoods, meet with Zephyr designers, and of course, take in some of the wonderful things that California has to offer (including a sip or two of wine.)
One of the designers we met was Fu-Tung Cheng. With an impressive list of skills (designer, architect, and artist), he partnered with Zephyr to create the Cheng Collection of range hoods. (You can check out the collection here.) Fu-Tung’s artistic and modern vision makes him the perfect person to design for Zephyr. The resulting range hoods are beautiful and artistic elements in a kitchen rather than necessary but unsightly accessories.

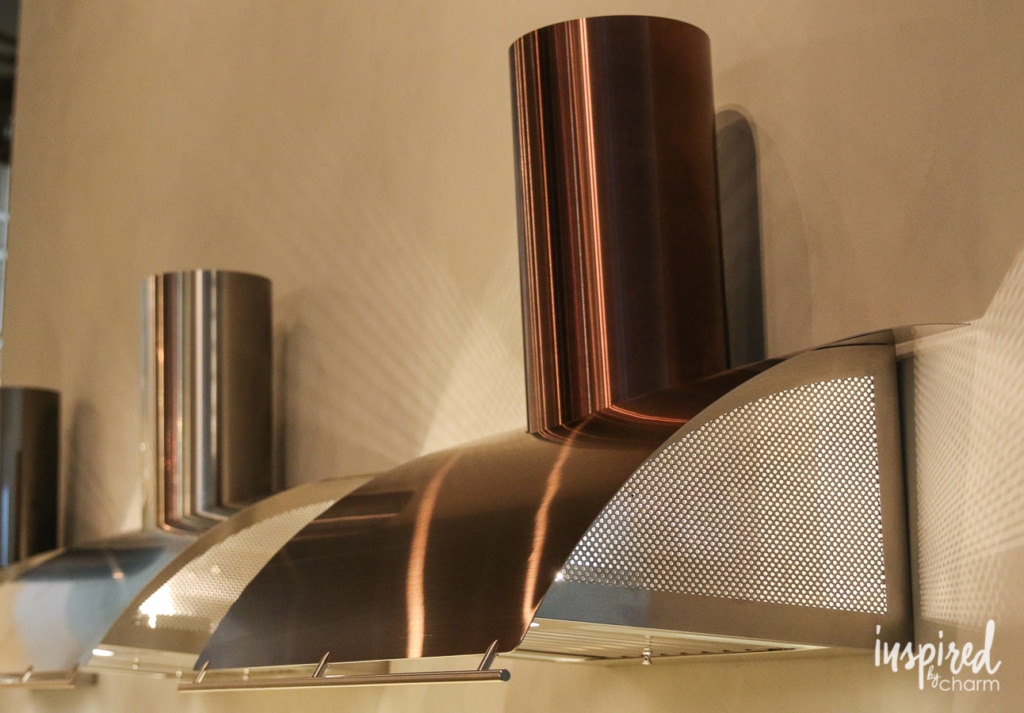
Beyond the Cheng Collection, Zephyr offers a wide variety of range hoods, including some of the quietest ones on the market. They even have a new range hood called Lux Island, which is mounted into the ceiling, so that the views in your home are not obstructed. Until my visit with Zephyr, I never thought much about range hoods, how important they are, or how stylish they can be. If you are shopping for a new range hood, redoing your kitchen, or building a home, be sure to check out what Zephyr has to offer.

Now, you’re probably wondering what all of this has to do with DIY Concrete Ornaments. Right?
Well, remember Fu-Tung Cheng? Among his many talents, he’s known for his innovative uses of concrete in architecture and industrial design. In fact, he was the first person to pour a concrete countertop in his own home.
Because Fu-Tung enjoys working with concrete so much, he’s created a product called ShapeCrete for crafters like you and me. This product is a shapable concrete that can be rolled, molded, or poured into almost any shape imaginable.
As soon as Fu-Tung mentioned it, I was on my phone ordering a tub of it because I knew I could come up with something creative to share here on IBC. And that’s exactly what I did. I made these DIY Concrete Ornaments.
When it comes to holiday decor, they are a bit untraditional and modern, but that’s exactly what I love about them.

Let me show you how to make them.
How to Make Concrete Ornaments:
First, pick up a tub of ShapeCrete.
💌 SAVE THIS POST / RECIPE!
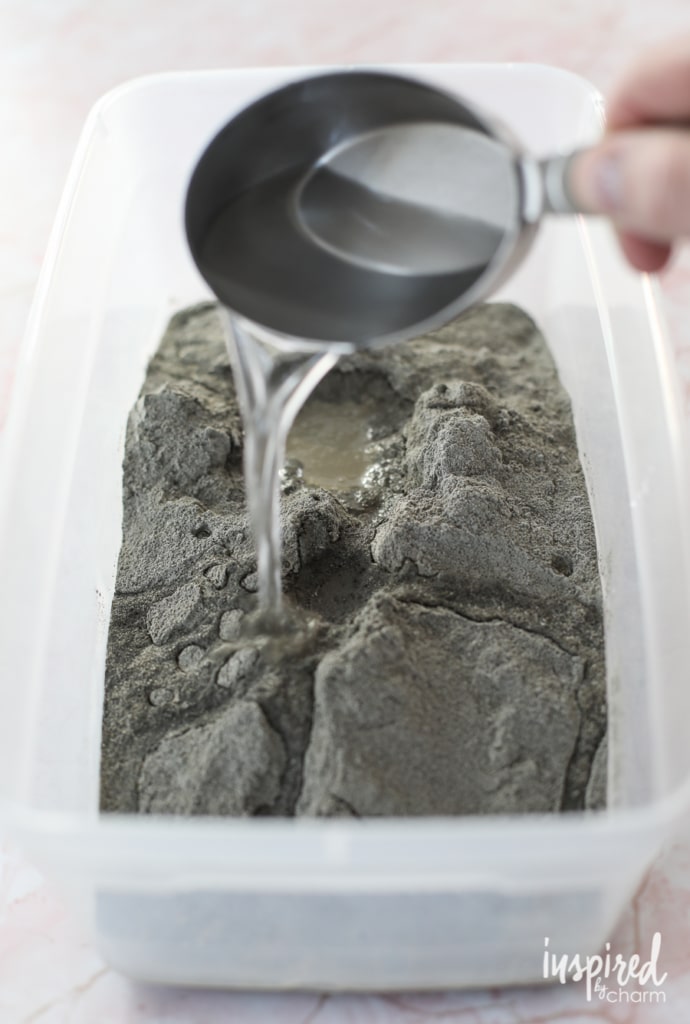
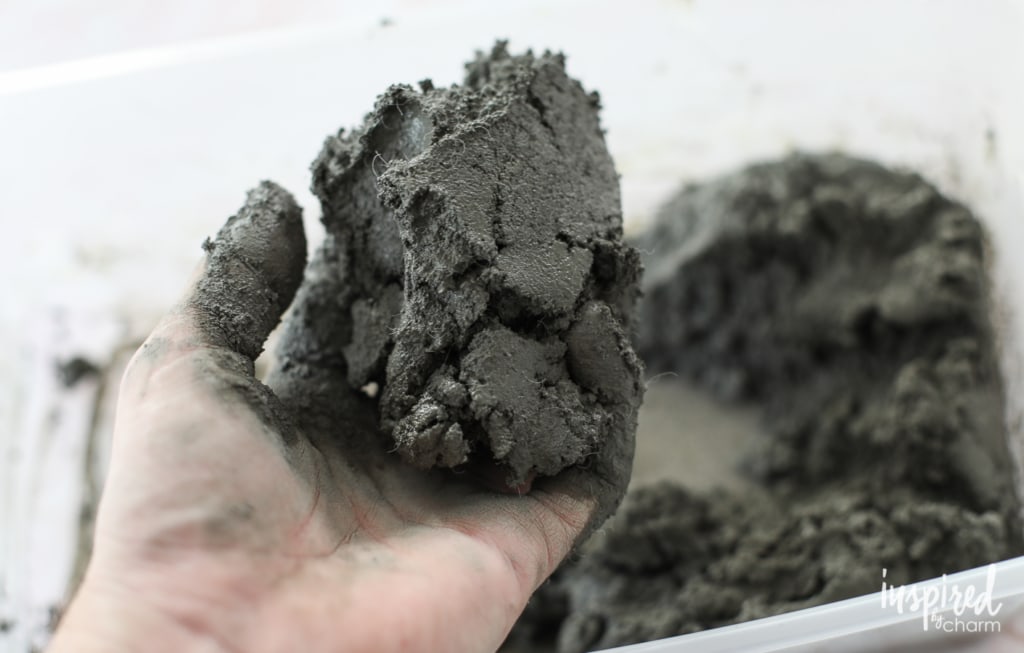
Then, grab an old plastic container or bucket. To get the clay-like consistency you will want for this project, mix about 4 cups of ShapeCrete with 1 cup of water. Add the water slowly until you get that clay-like consistency. I recommend mixing this with your hands.
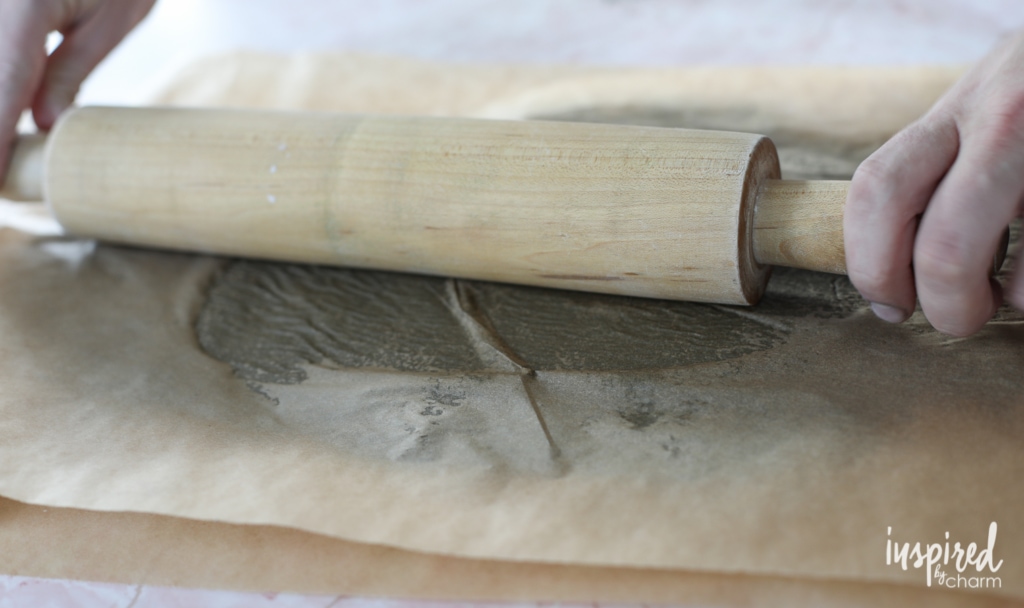
Next, roll out a piece of parchment paper and scrape the mixture out of the bucket onto the paper. Top it with another piece of parchment paper and roll it flat with a rolling pin. You’ll want the concrete to be about 1/3 -1/2-inch thick.
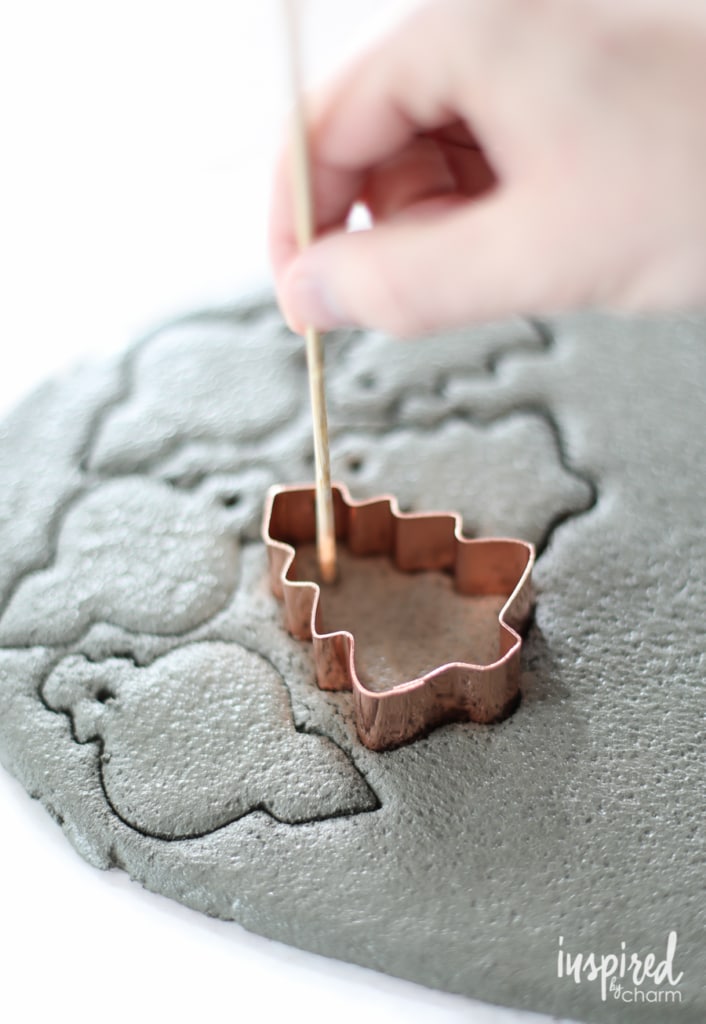
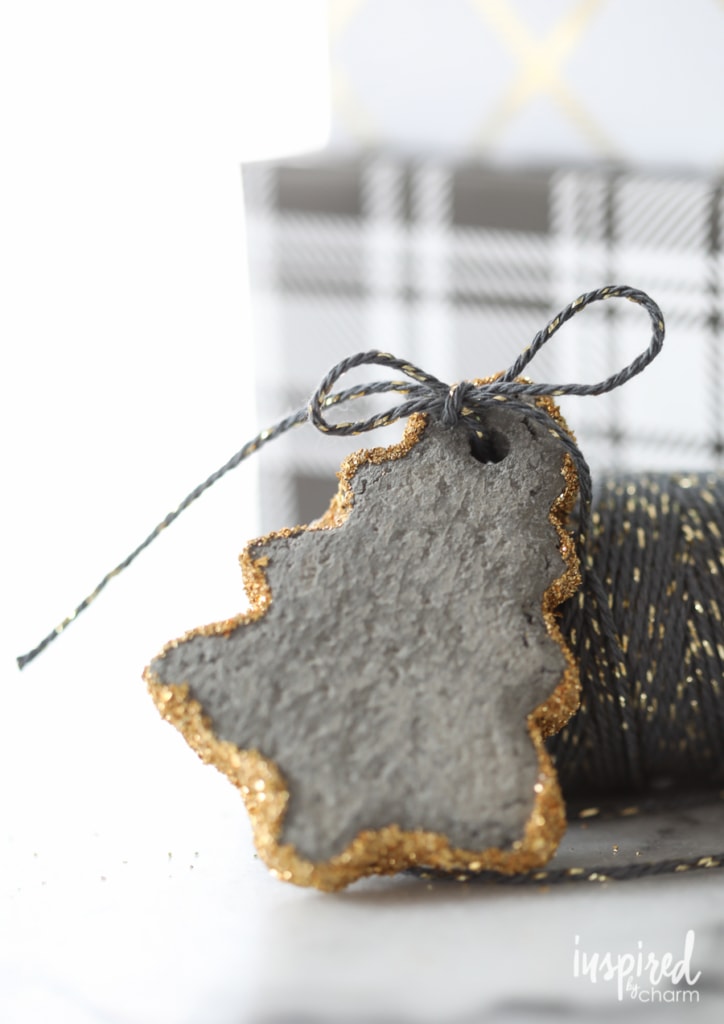
Use cookie cutters to cut out your ornaments. Be sure to press the cutter all the way through the concrete. Then, with the cookie cutter still pressed into the concrete use a toothpick or wood skewer to make a hole near the top for a ribbon or ornament hook. Doing this with the cookie cutter in place will help prevent the concrete from cracking.
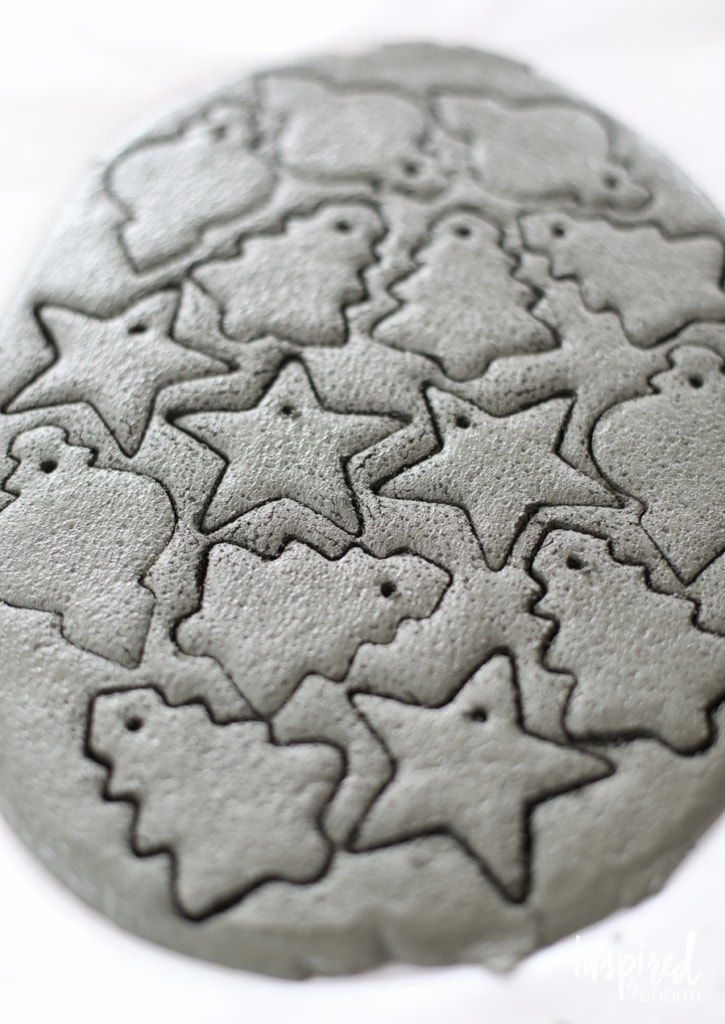
Do not remove any of the excess concrete because this might crack the ornaments. Let the concrete set as-is for about 24 hours (or overnight at a minimum).
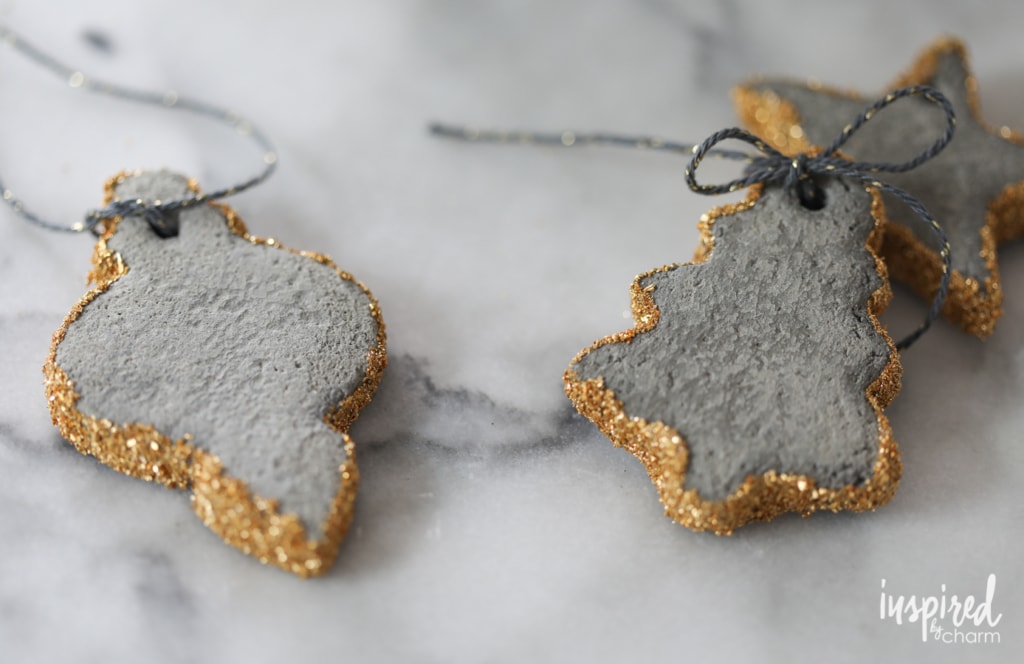
The next day, break off the excess concrete so that you’re left with your ornaments. Use a piece of sandpaper to smooth the edges and remove any extraneous bits of concrete.
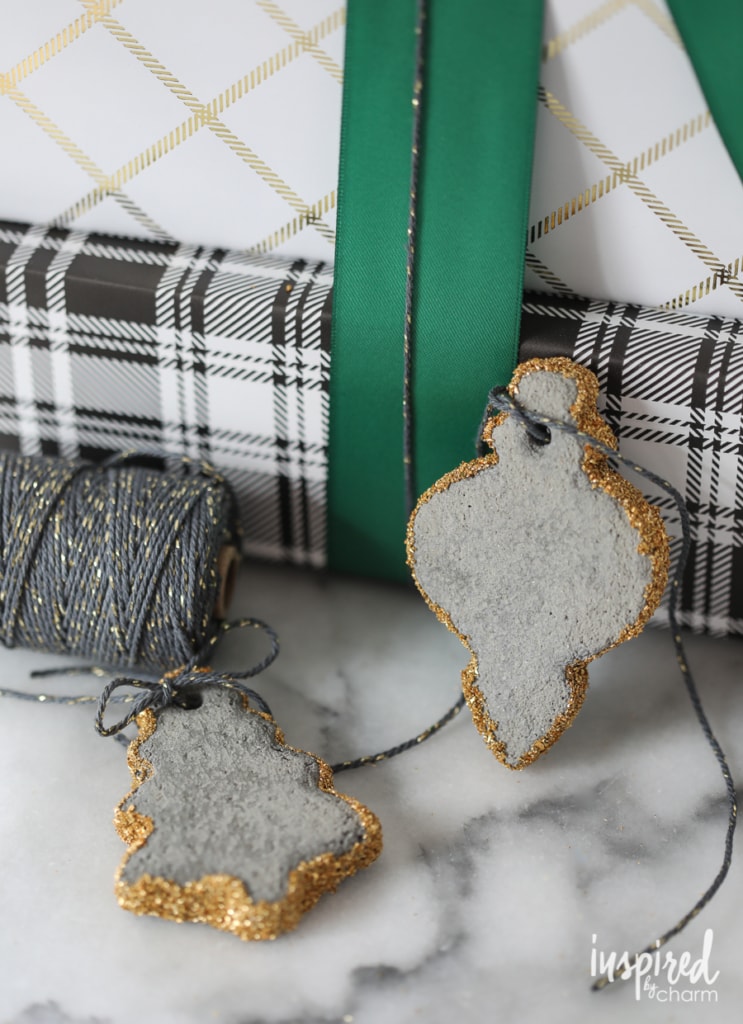
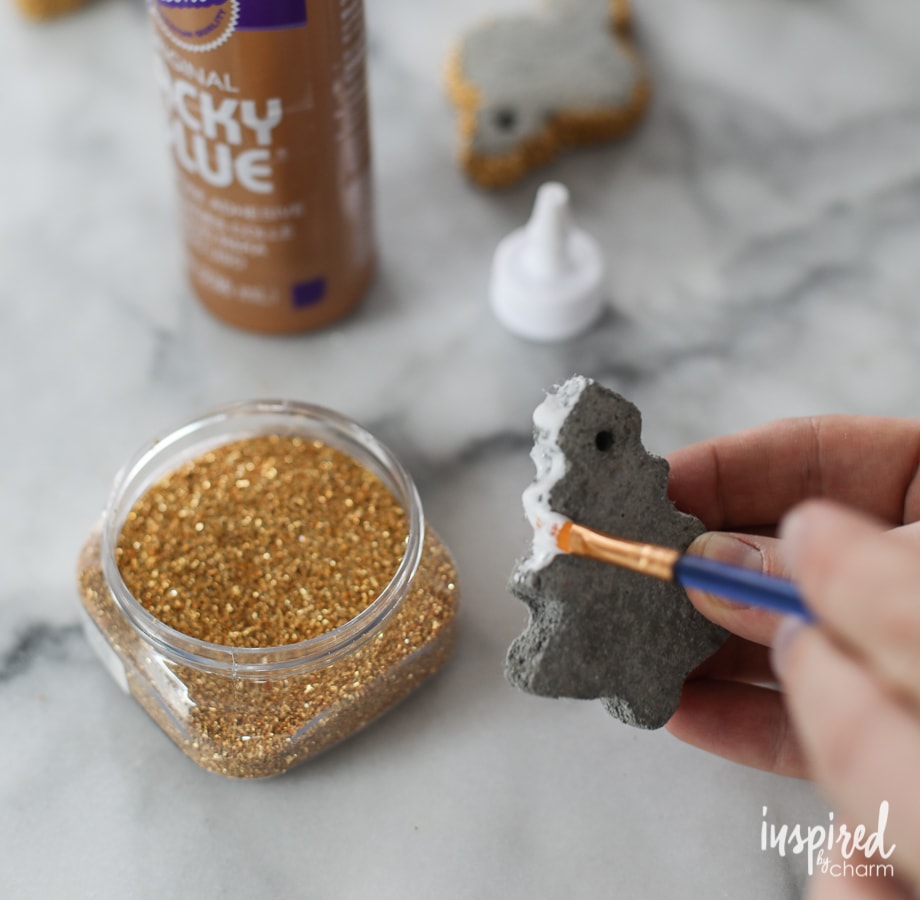
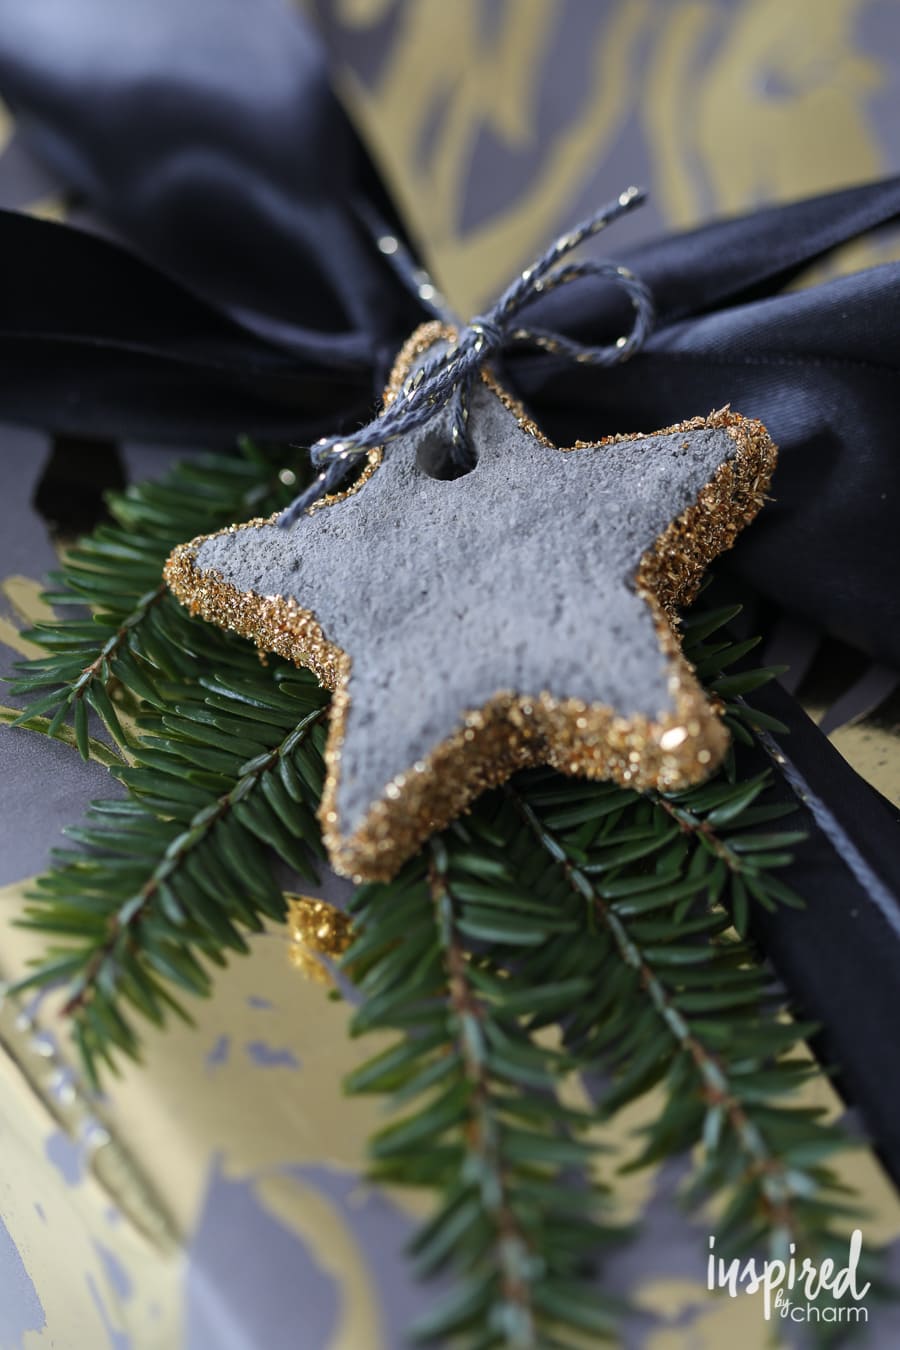
Finally, you’ll want to create a glittered edge. Using tacky craft glue, paint the side of your ornaments with a paint brush. Then dip them in the glitter.
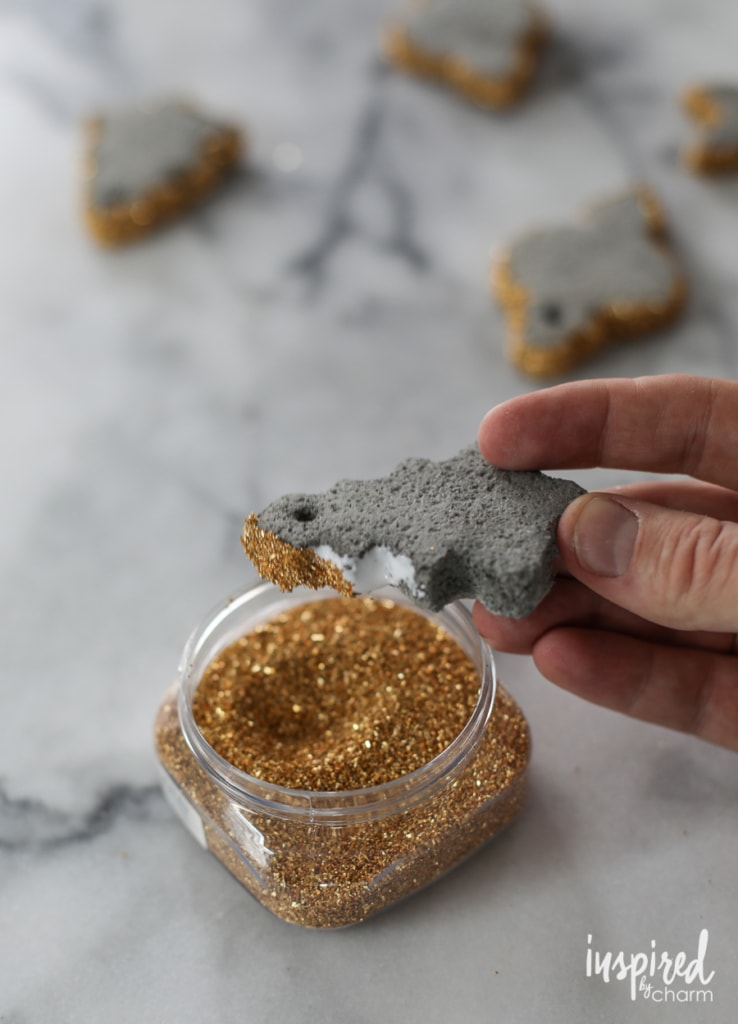
Once the glitter is dry, your ornaments are complete!
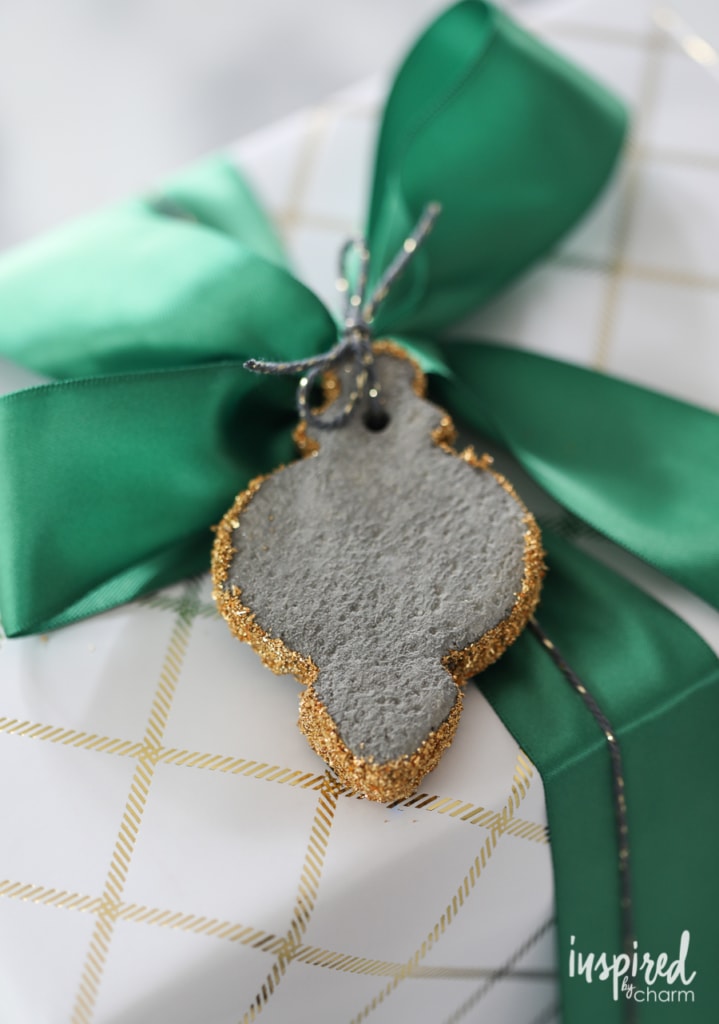
Pretty cool, right? I bet you’ve never seen a concrete and gold glitter ornament before. These look great on a tree, but I also love adding them to packages for a one-of-a-kind, modern touch.

I hope you enjoyed this unique and festive project. A big thanks to Zephyr for hosting a fabulous trip and educating me on range hoods.
I love the look and what seems like the simplicity of making them, however, I think they will be too heavy to hang on the tree. I think they would pull the limbs down.
This is an excellent idea. As always, thanks!
Awesome idea! Ornaments with a masculine concrete twist! You are so inspiring (hence the name of your blog, huh!)
These are amazing! Totally doing this. Where did you find the bakers twine?
This is SO clever! I’m for sure going to attempt this, even though I’m not all that crafty. This solves what ornaments to get everyone this year – woot! Thanks so much!
Hi, I have been wanting this product since I learned about it. How heavy do the finished pieces seem to you?
It’s definitely like concrete. I would compare it to holding a rock of a similar size. I hope that helps. It’s a fun product. I can’t wait to try more things!
xo Michael
very cool! and it pairs PERFECTLY with your holiday decor/wrapping! love your wrapped packages.
I love this! What a great product too – its what DIY dreams are made of