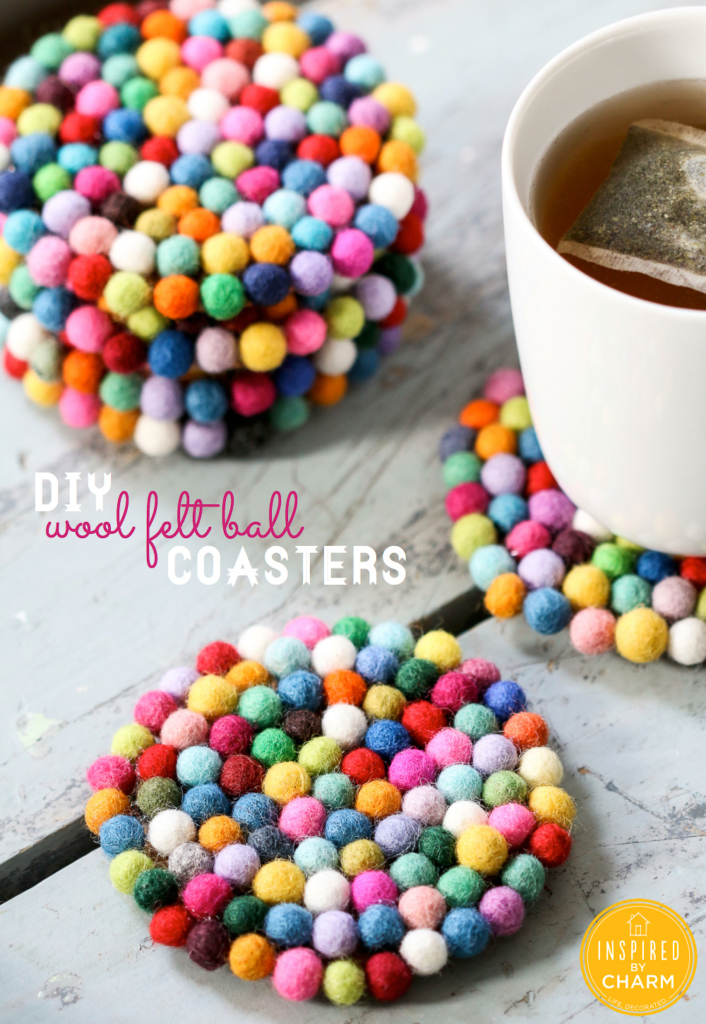
DIY Wool Felt Ball Coasters
This Post May Contain Affiliate Links. Please Read Our Disclosure PolicyHello, friends! Today I’m back with a fun little DIY. Right before the holidays I came across an image of felt ball coasters. You may have noticed that these little felt balls have been popping up all around craftland. I saw lots of them this past holiday season in garlands and ornaments. Wanting to get crafty with these little guys, I decided to make some colorful coasters for my new office space!
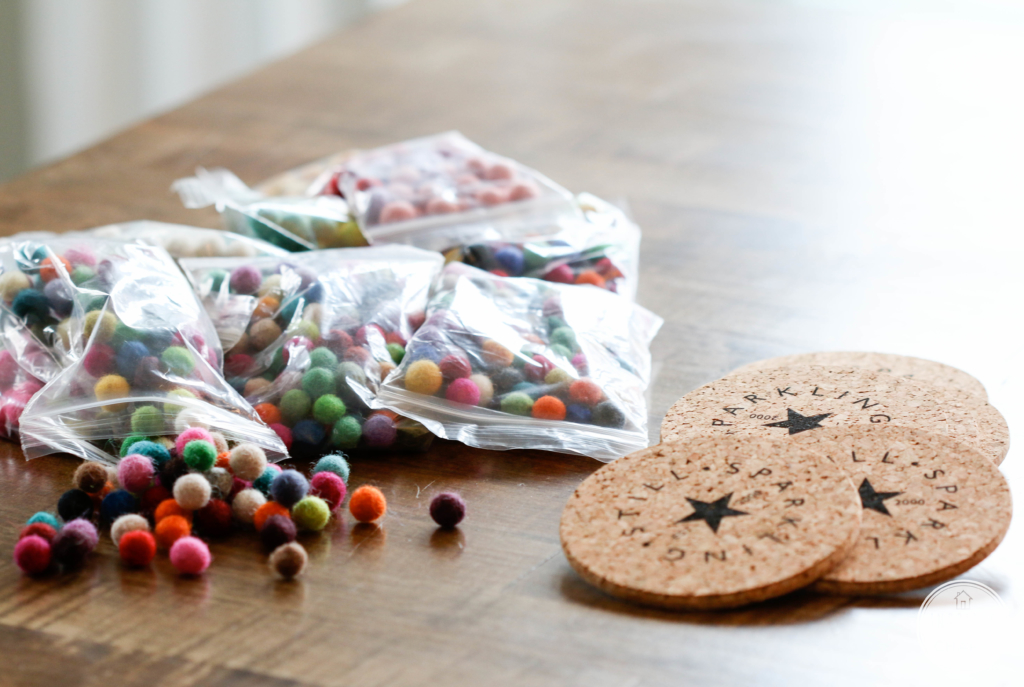
I ended up ordering felt balls from this fab Etsy shop. (The shop owner Claire is a delight!) You can buy the felt balls in multicolor packs or pick whatever combination of colors you like best. I did both. I used the 1cm size for this particular project.
As I’ll describe below, I basically glued the balls to some clearance cork coasters I found at TJ Maxx. After doing a little more research when writing this post, I realized that these felt balls could also be threaded onto string and then sewn together. This would eliminate the need for the cork coaster. This would also make the felt balls a bit closer together. I may try this method with a larger size ball. If I do, I’ll be sure to show you how.
I’m just super happy with how my coasters turned out. They appeared in this Instagram yesterday, and I was pleased to see that they received such a positive response!
Let me show you how I made them.
DIY Wool Felt Ball Coasters
Here’s what you’ll need:
1 cm wool felt balls (90-100 per coaster depending on the size)
cork coasters
E600 glue
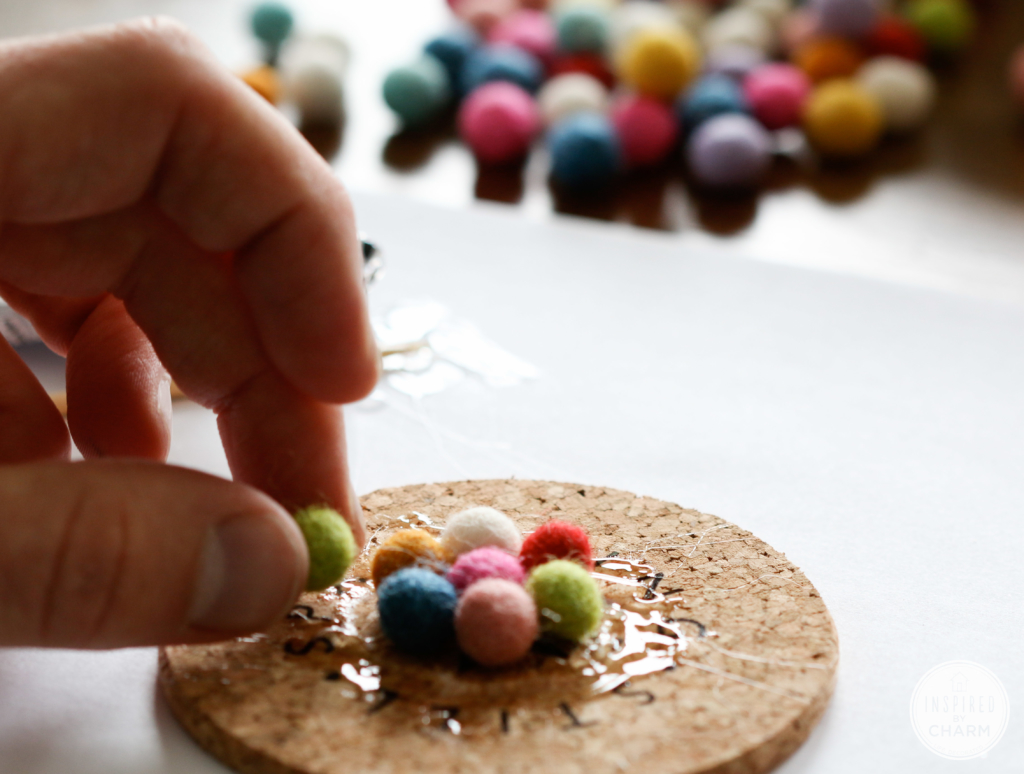
Begin by gluing one felt ball to the center of your coaster.
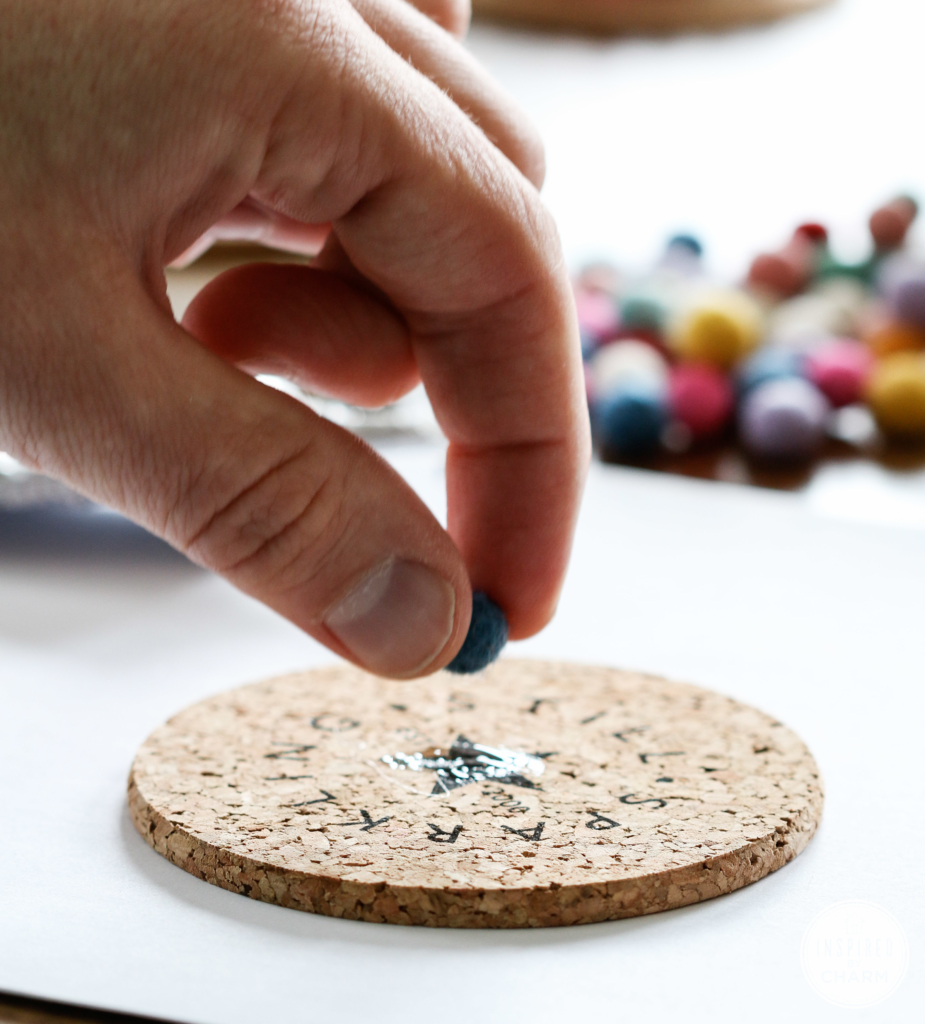
I used a long wood skewer to place the glue where I wanted it. When I got to the other rings, I just put the glue directly onto the cork.
💌 SAVE THIS POST / RECIPE!
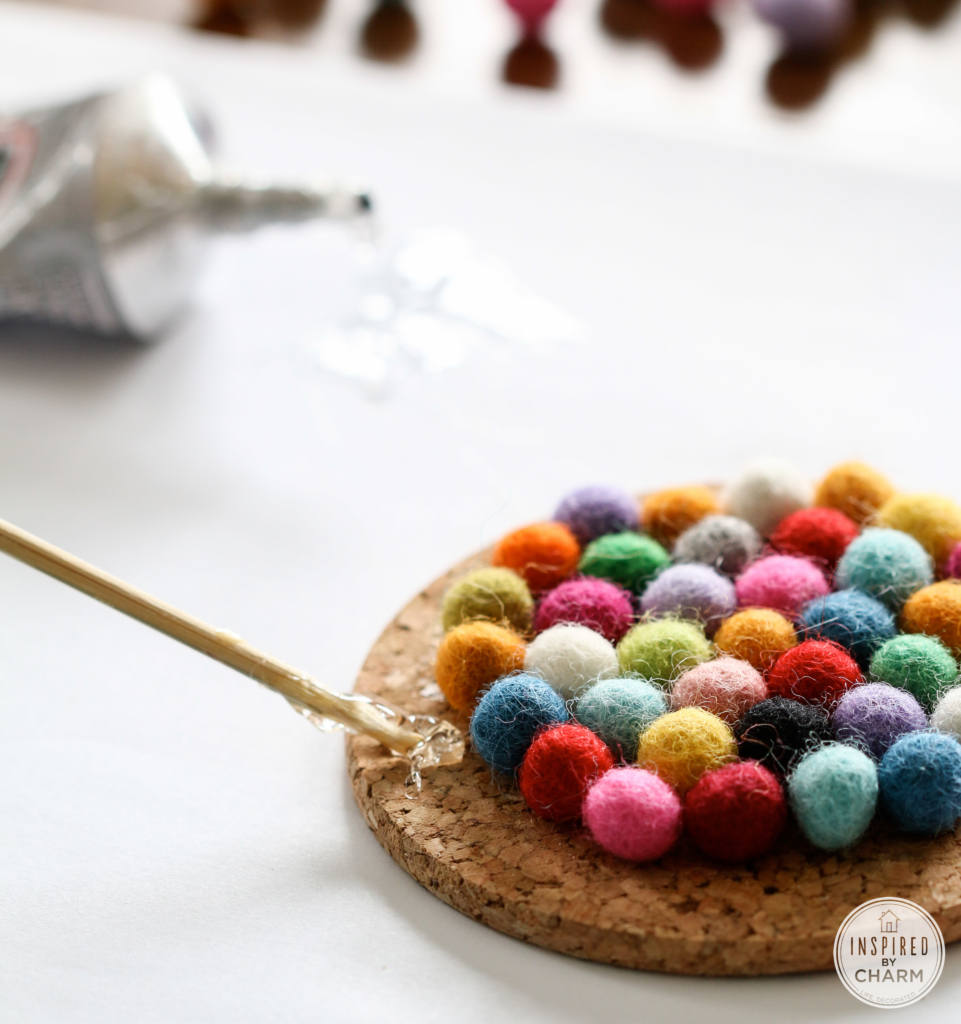
To keep the felt balls as tight as possible, you’ll want to stop and allow the glue to dry every so often as you work around each coaster. I worked on my coasters off and on throughout the day.
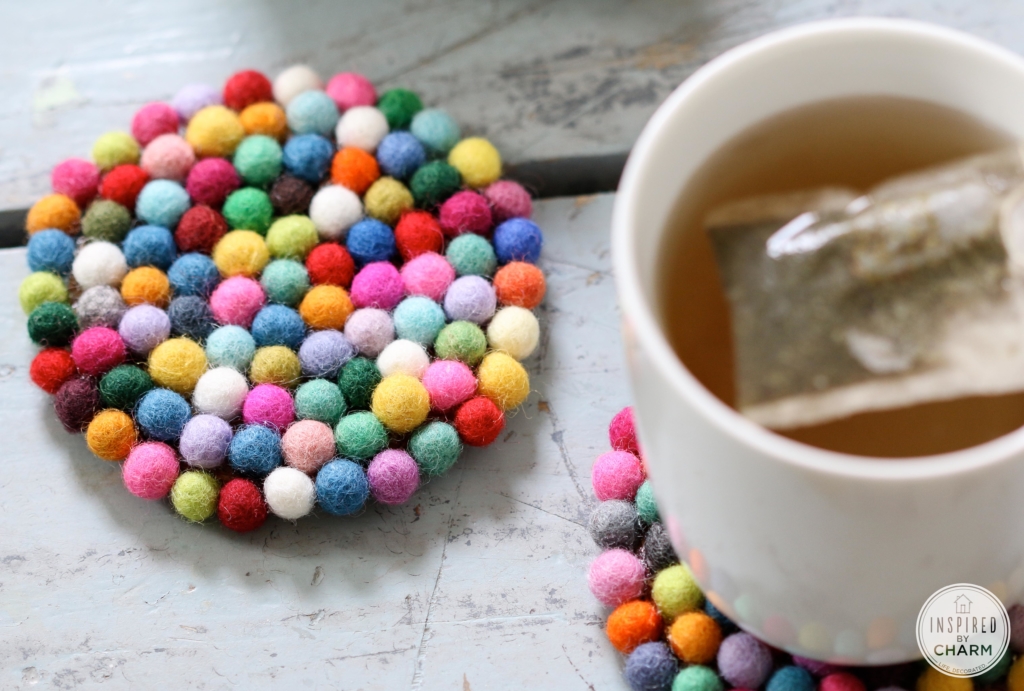
Continue working all the way around until your coaster is completely covered. For the last row, I had just enough space to glue each ball a little to the coaster and a little to the felt ball next to it. This made the cork coaster virtually disappear.
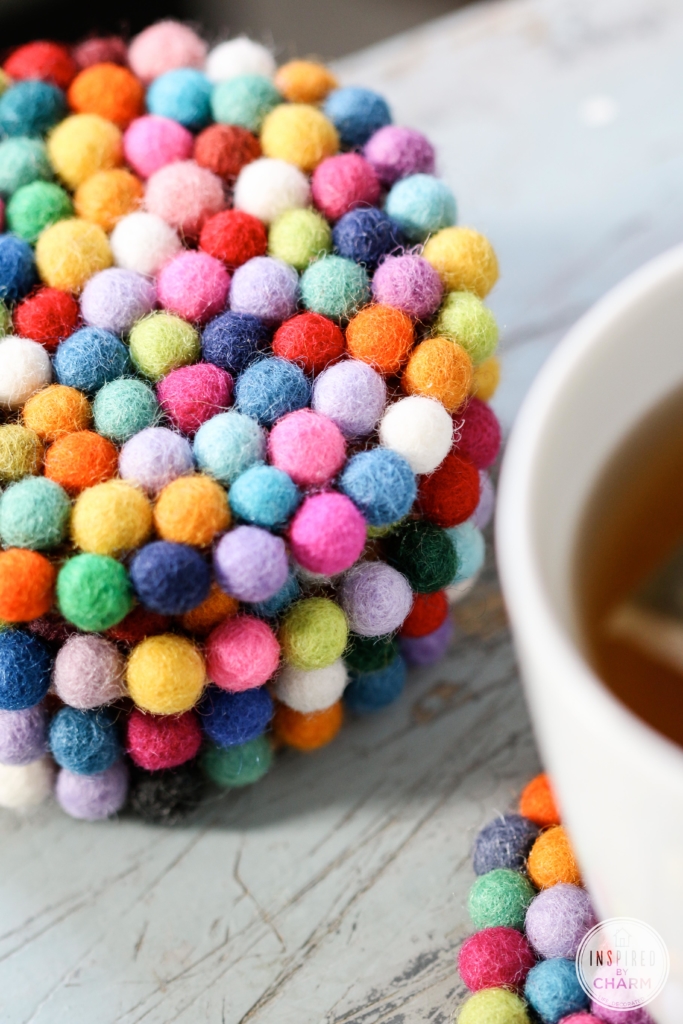
After everything is dry, your coasters are ready to use!

This is a super simple project, and I think the end product is really spectacular. The coasters are so unique and colorful, clearly a perfect addition to my space.
I also really love that they are customizable. The felt balls come in oodles of colors you could do varied shades of blue or a more neutral pallet with grays and whites. Either way, you will have a cozy spot for your favorite beverage.
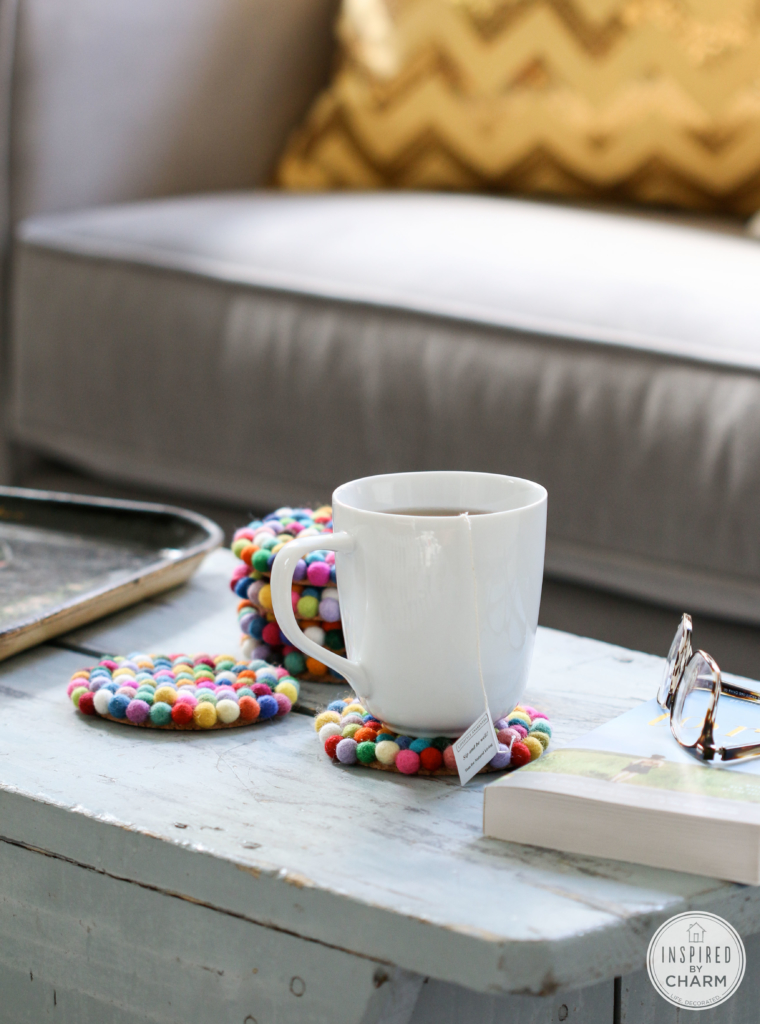
How do you like my colorful coasters?

What a great Father’s Day gift for my Daisies and Brownies to make.
love them i want to make some
Absolutely love these! I am making these for my craft event. Where can you get the wool felt balls in bulk?
These are great. Can’t wait to try them.
Awesome
such a cute craft!! where do we order these? and is the glue kid safe? Thank you
ok love these! I made trivets with the felt ball garland both large and small balls over at Homeroad never having seen yours either! Great idea to put them on cork coasters!
Thank you Michael! Such a nice and creative idea you share here!
it is very useful for me thanks for sharing
Hello my name is olivia and I am SEO expert
Wow anything with chocolate sprinkles is a must, that s a really good idea the colours are fab.
Another great idea! All are so colorful and cute! I love them. I’m trying to get an idea of how many to order.
I was thinking about providing everything, except the glue, for this project. When we do that, we put “Glue not included” on the instructions and flyers. Have you tried just regular Elmer’s glue for this? Does it hold up?
This looks like a great project for the kids, can’t wait to try!
I love the colours on these! Am I the only person who saw these and immediately thought of chocolate freckles? You know – the chocolate circles covered with sprinkles.
how to draw
Thank you for sharing such a creative post as per your interest. It’s nice
a very helpful idea. I tried it, but it doesn’t seem like my workmanship is good. The seam is a bit bad