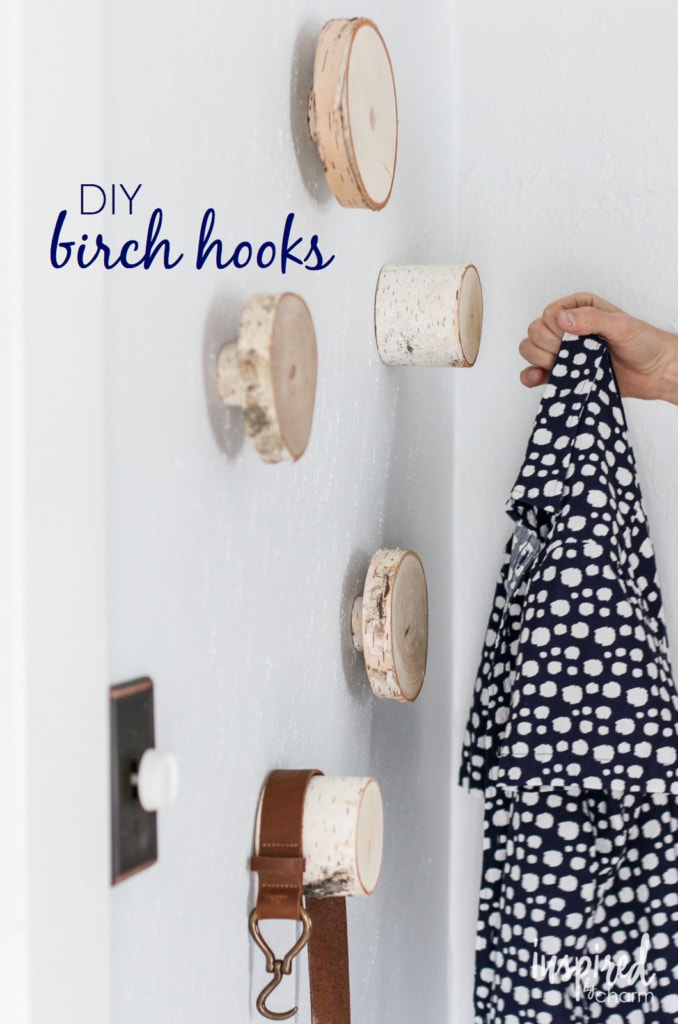
DIY Birch Hooks
This Post May Contain Affiliate Links. Please Read Our Disclosure PolicyI have a bad habit of leaving clothes lying about in my bedroom. It’s not the stereotypical messy-clothes-strewn-everywhere scene, but I can almost guarantee there’ll be a stray t-shirt on the floor, a crumpled pair of jeans in the corner, or a hoodie on the dresser. One reason is that I’m usually in a hurry when I get dressed or go to bed. Another reason is that I don’t really have a place to put clothes I’ve worn that aren’t really dirty. And while time management is definitely something I need to work on, it’s not something I can fix in an afternoon. So, today I’m going to tackle part two of the problem and show you how to DIY some birch hooks.

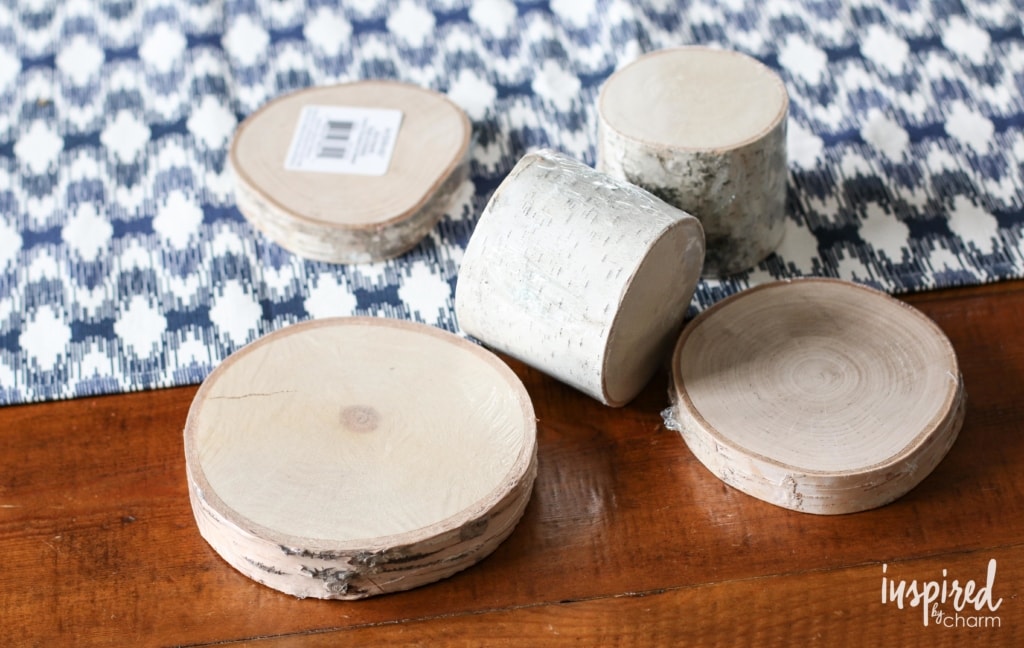
When I was in Michaels recently, I happened upon these birch wood pieces. I thought they would make sturdy and unique hooks for clothes. With a little DIY muscle, they ended up working perfectly in my closet. Let me show you what I did.
DIY Birch Hooks
Here’s what you will need:
birch wood – slabs, sticks, branches, etc.
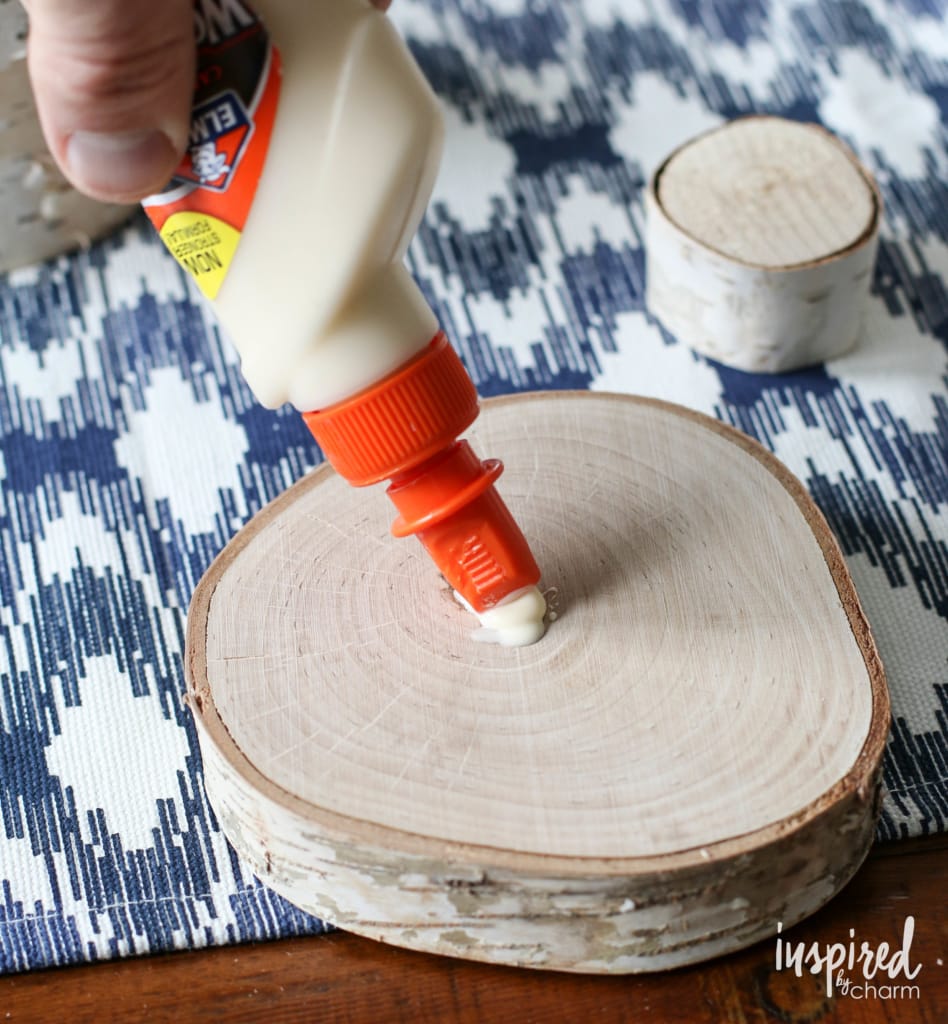
wood glue
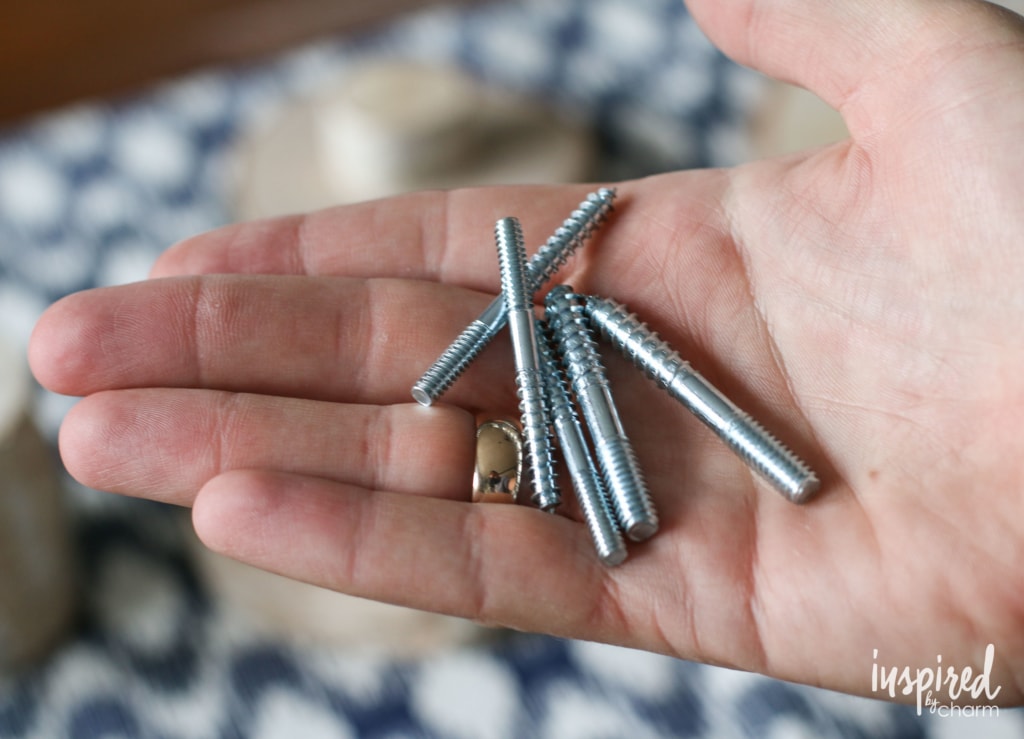
double threaded coach screws
electric drill and drill bits
pencil
paper
scissors
First, get the birch wood. As I said, I purchased mine, but if you have access to free wood in your own backyard, go for it. In addition to the pieces I picked up at the craft store. I also had a couple birch branches that I cut into 1 – 2-inch pieces. If you don’t have a branch, a thick dowel rod or spare piece of wood will work fine.
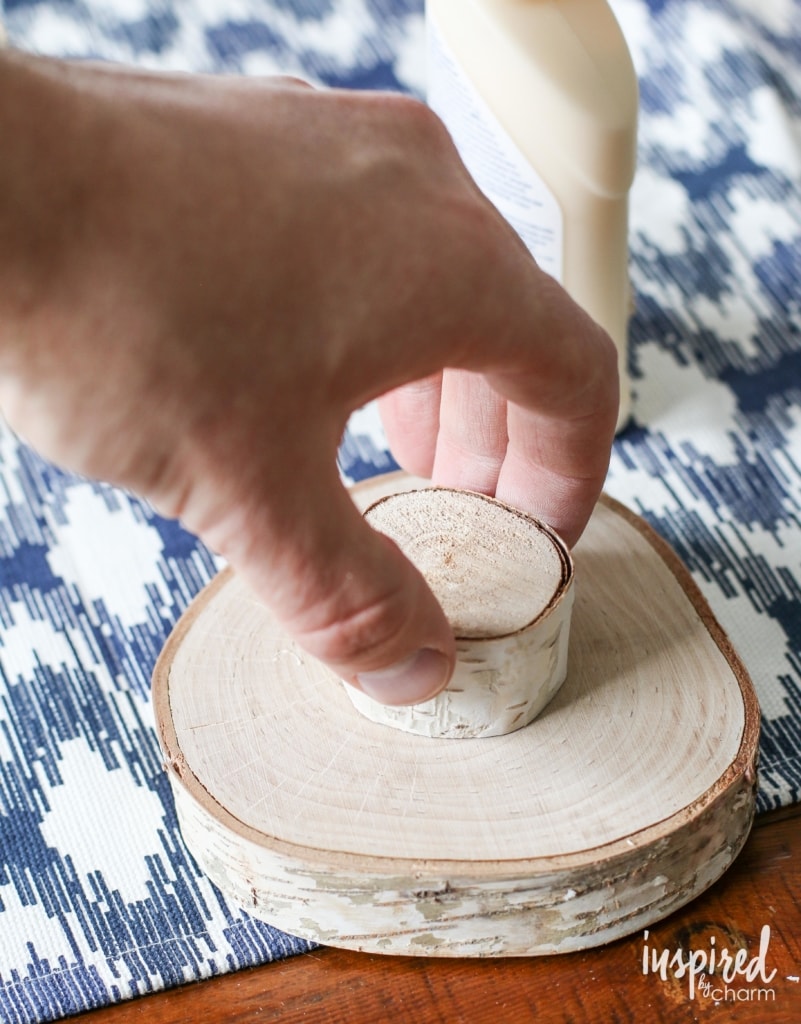
For the larger slabs of wood, I used wood glue to attach my cut piece of birch branch to the back. Then I let it dry.
Next, you’ll want to put the double threaded screws in the wall. You will use these screws to attached your birch hooks to the wall.
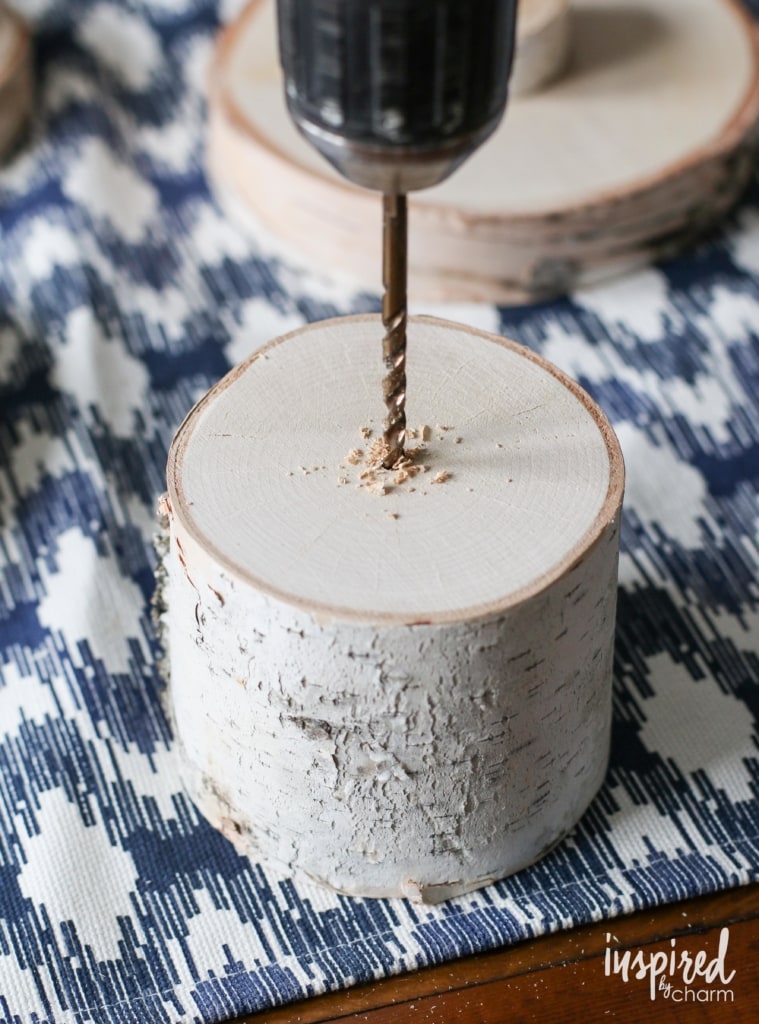
Begin by drilling a hole in the back of your birch wood with a drill and bit. The bit should be slightly smaller in diameter than the diameter of your screw. Drill in far enough so that when you insert the screw, only the threaded end that will go into the wall is still showing.
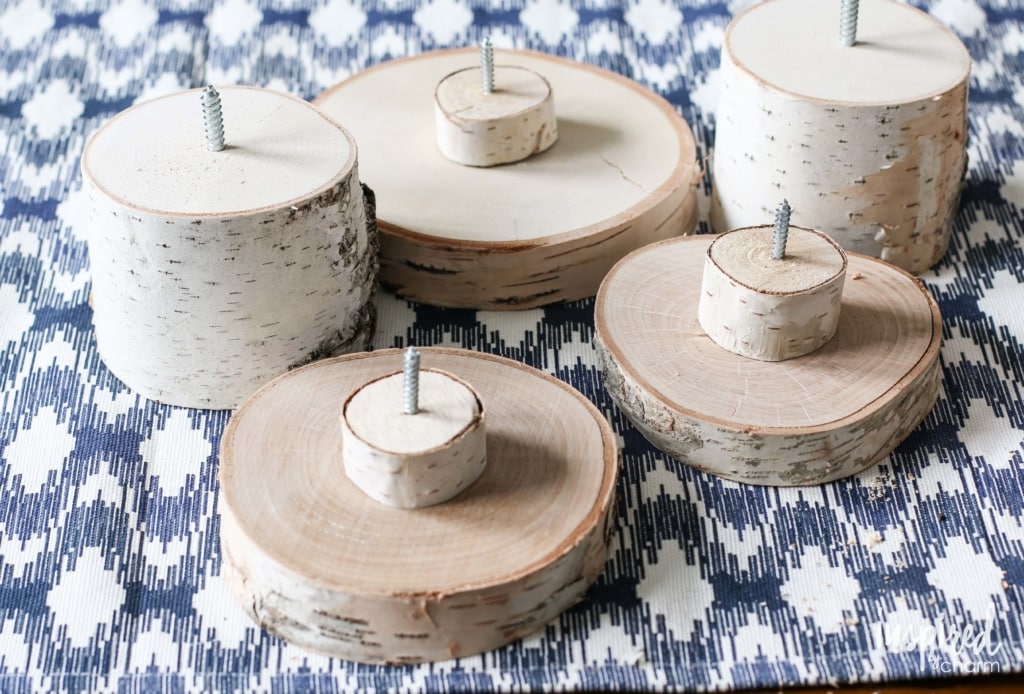
Next, use pliers to screw the non-pointed end into your birch wood. Repeat with each of your birch pieces.

Once complete, you’re ready to attach them to the wall. For placement on the wall, trace each wood slab onto a piece of paper with a pencil and cut it out. This will allow you to get the pattern you’d like on your wall without struggling to hold the wood pieces in place.
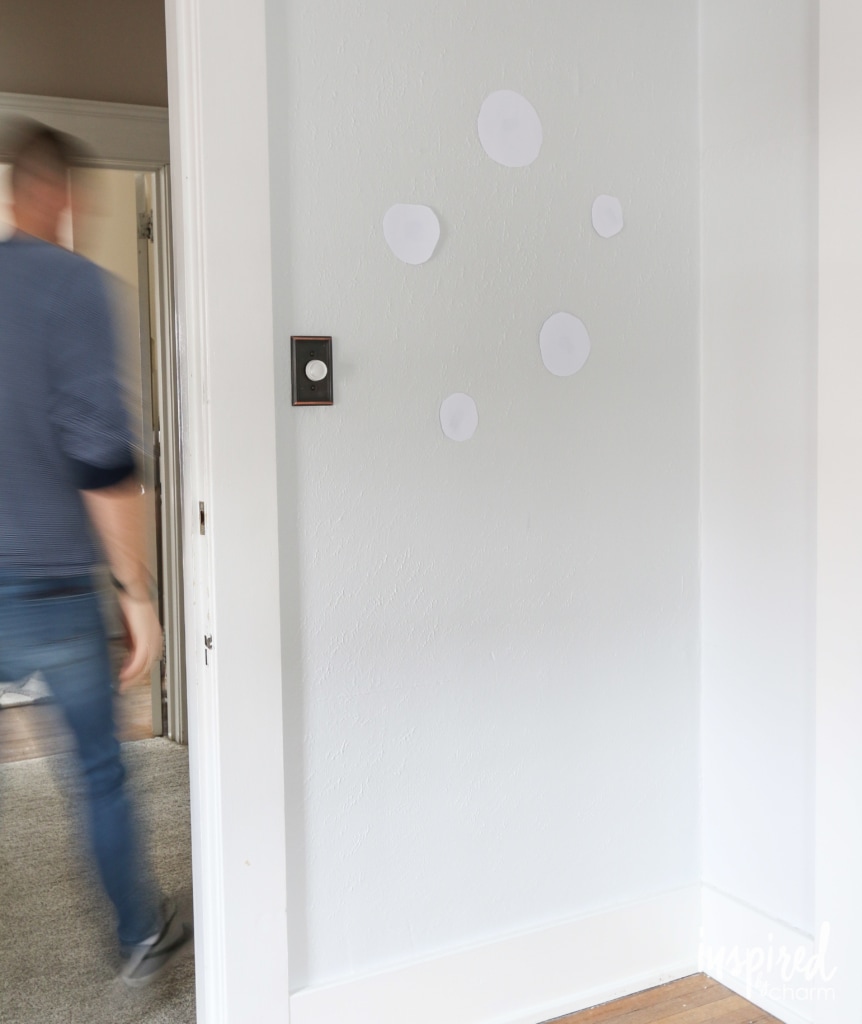
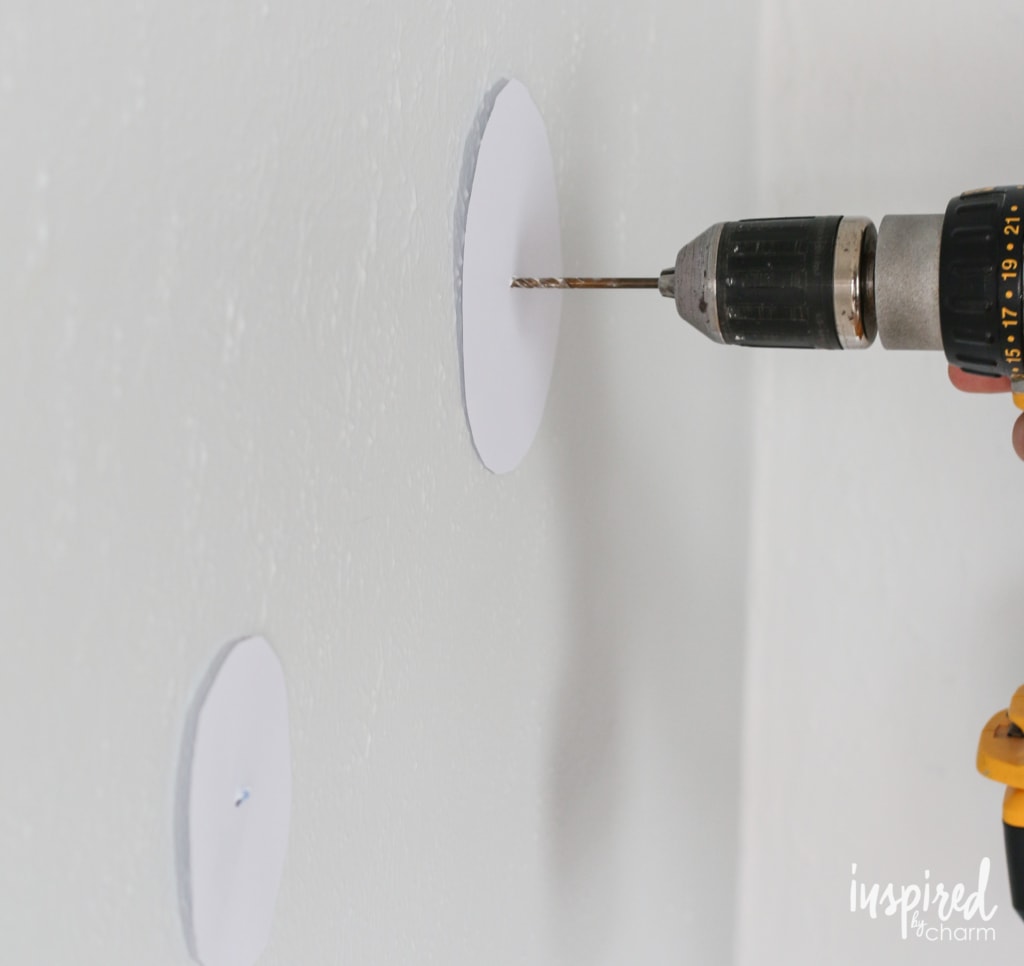
Then, using a drill, screw into the center of each paper to mark a hole for each birch hook. Depending on your wall surface you may need to hammer in a wall anchor before screwing in the hooks (especially if you’re putting these hooks into drywall). My walls are plaster and lath, so they tend to hold screws quite well.
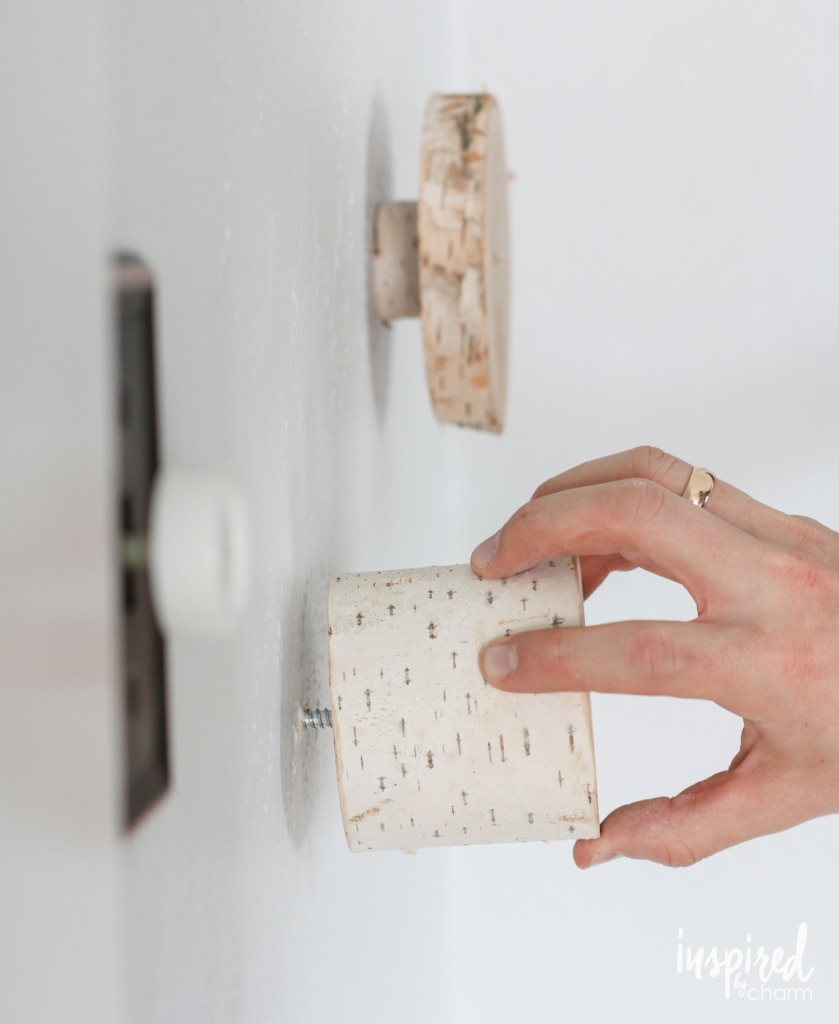
Now, screw your hooks into the wall, and the project is complete.
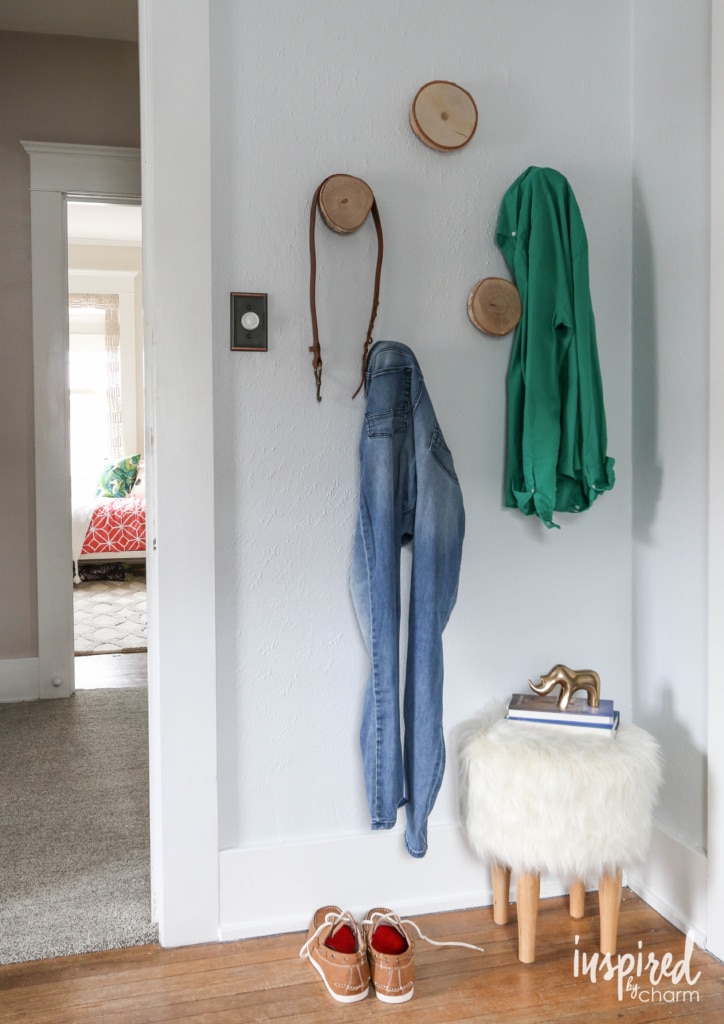
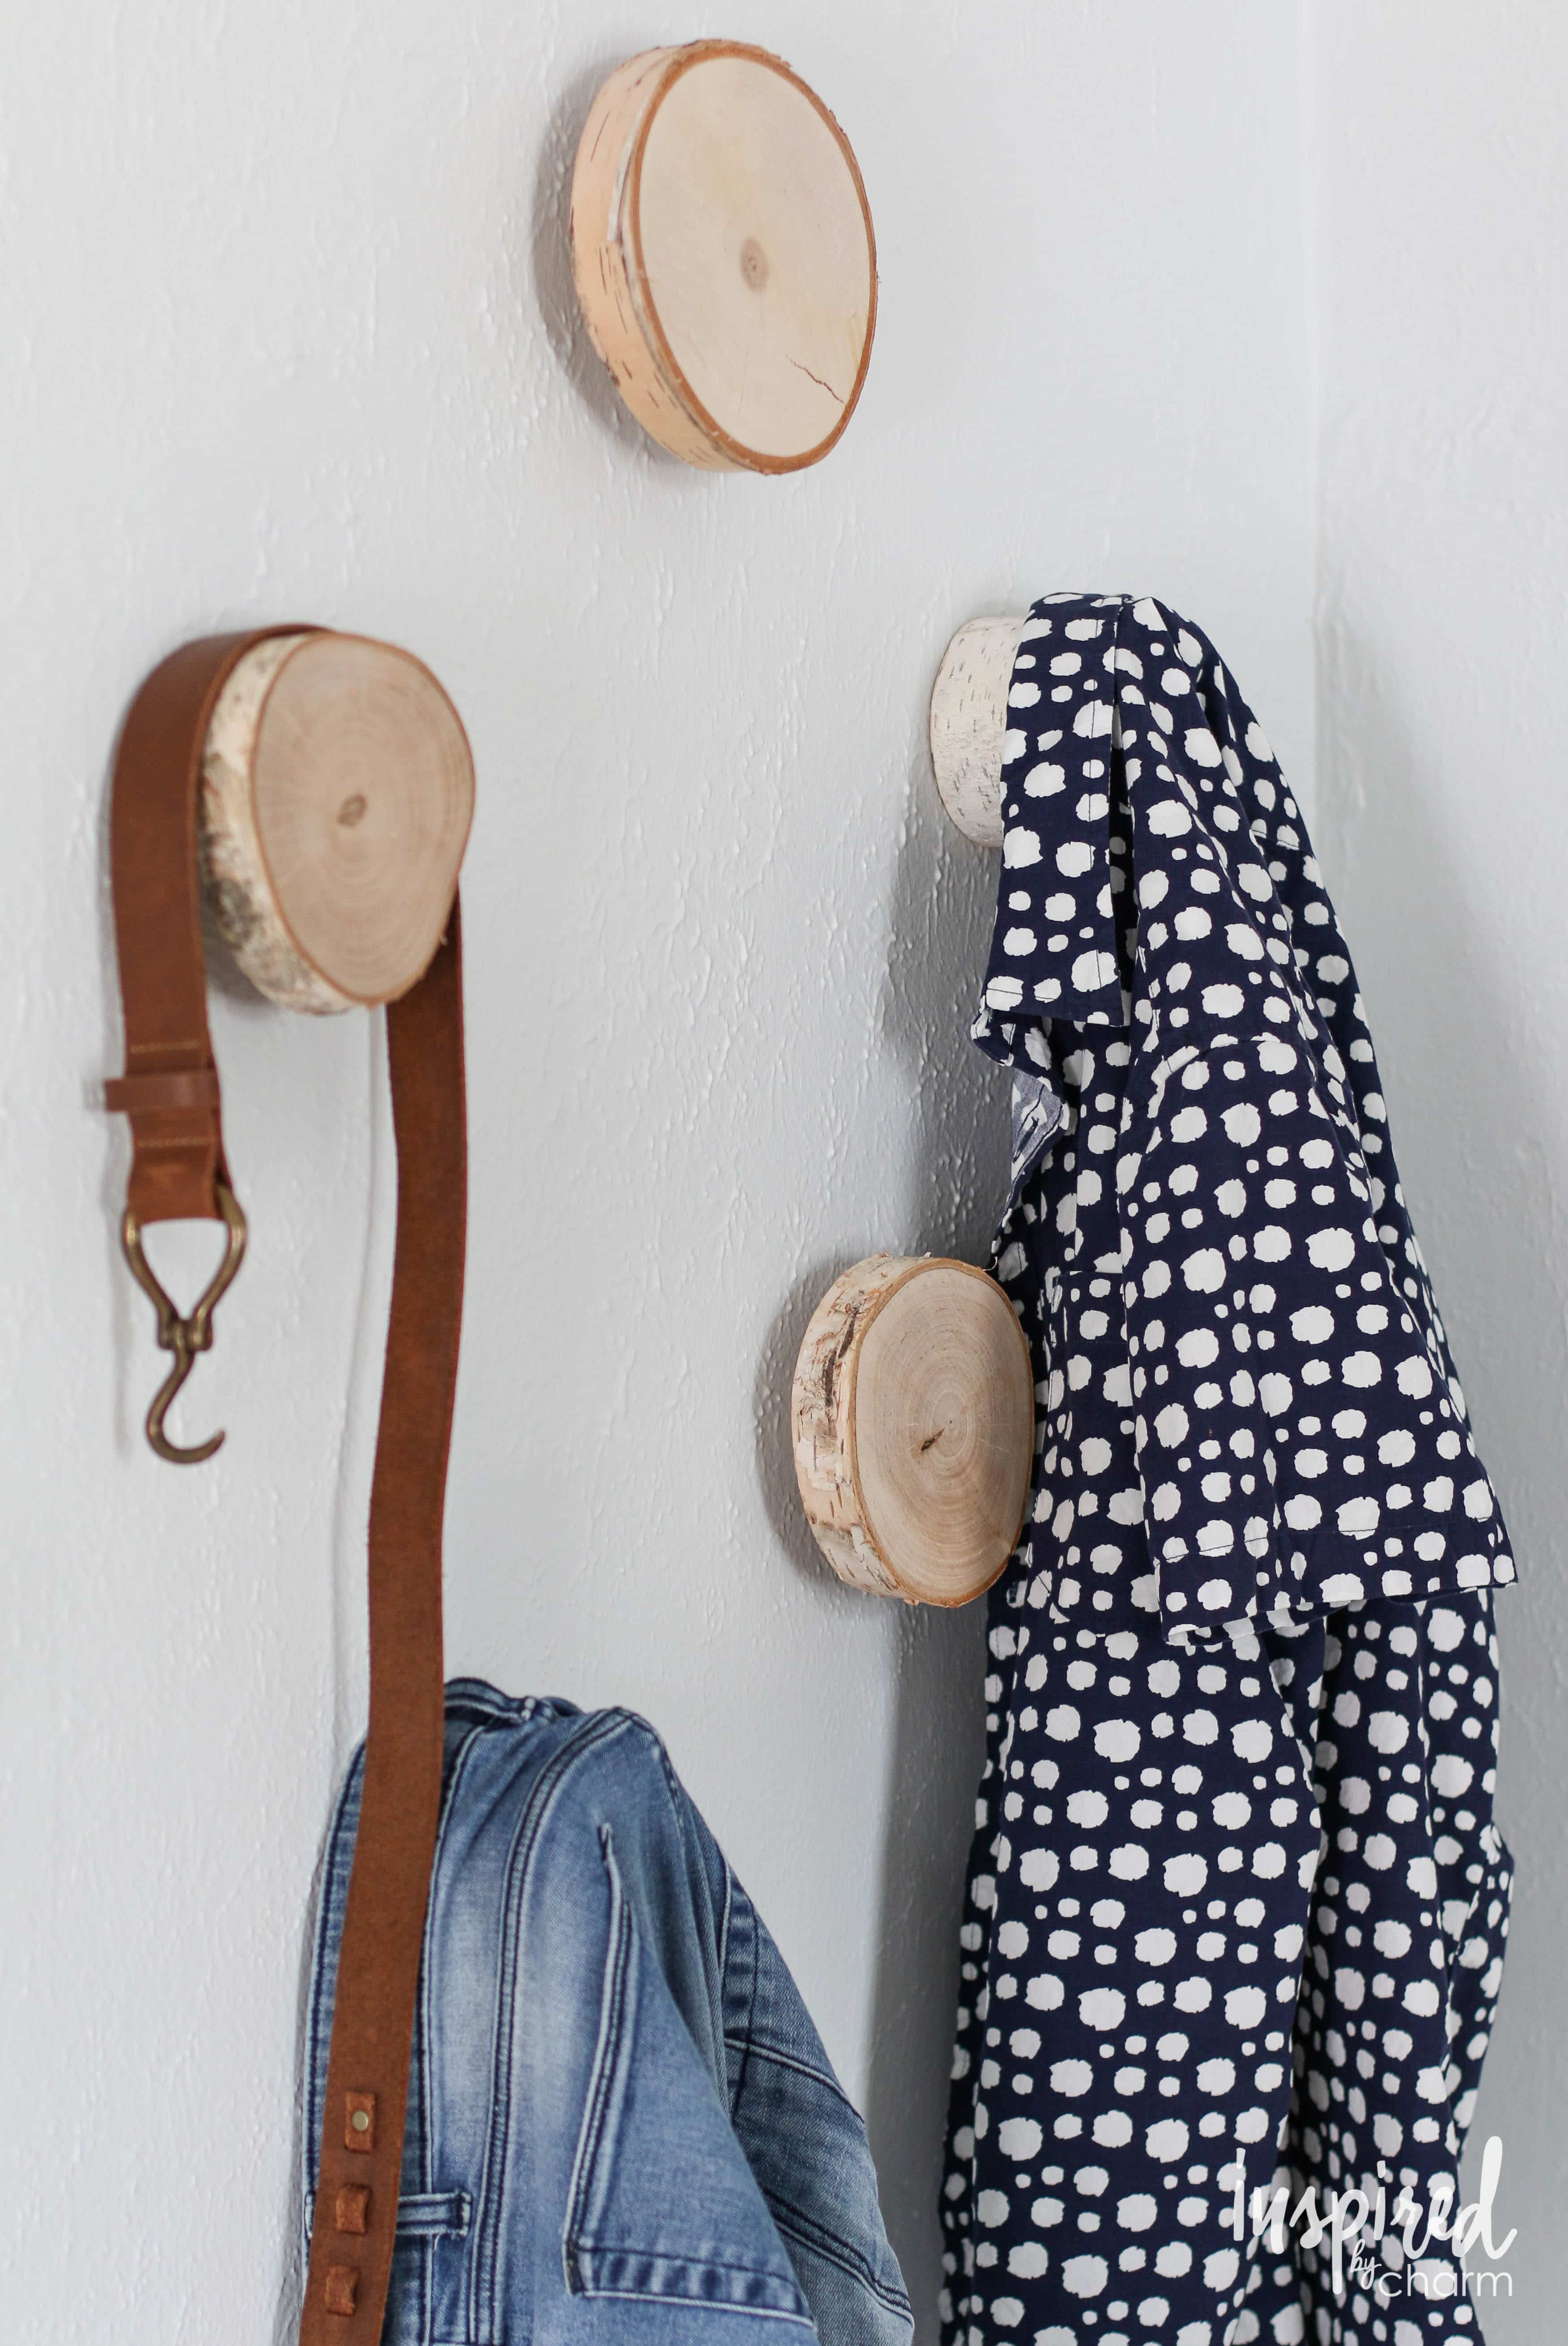
As you can see, these hooks work great. I really like the shape of them as clothes drape on them nicely. You don’t get any of those weird bumps in your shirts like you would with a standard clothes hook.
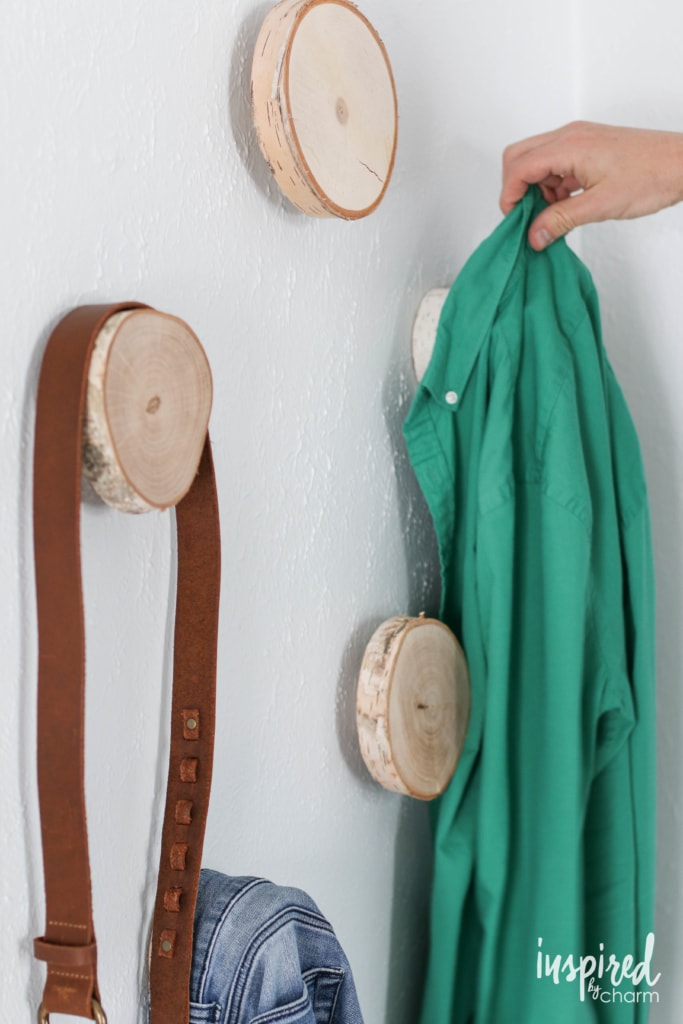
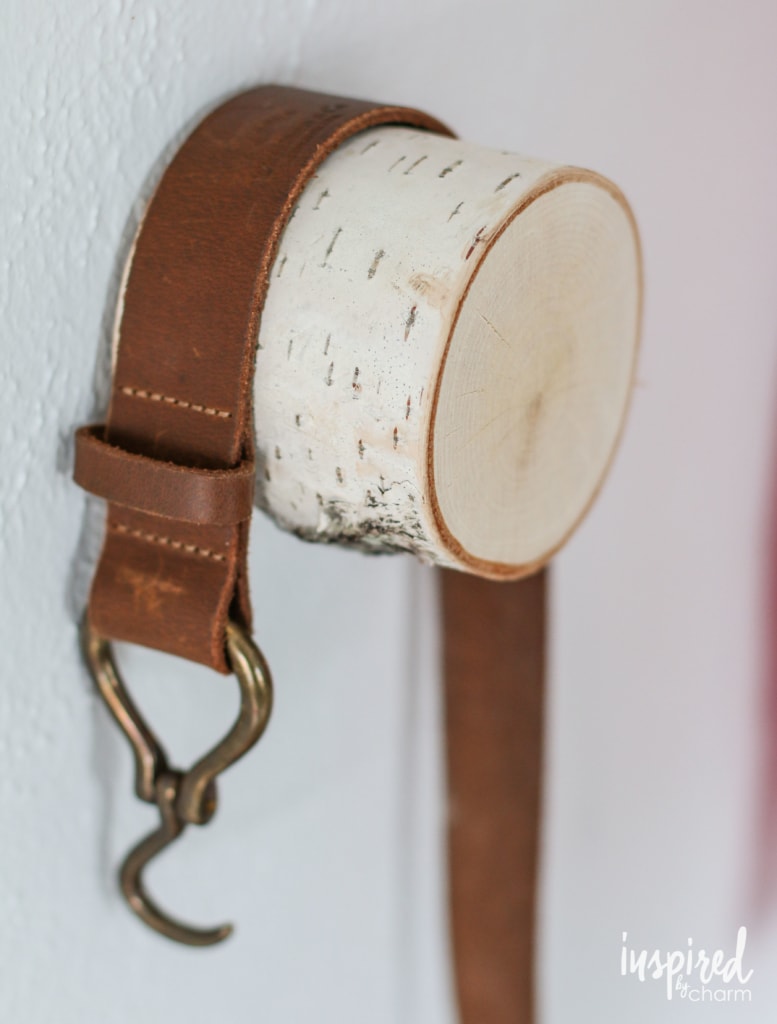
Things like belts and ties also stay on them very well.
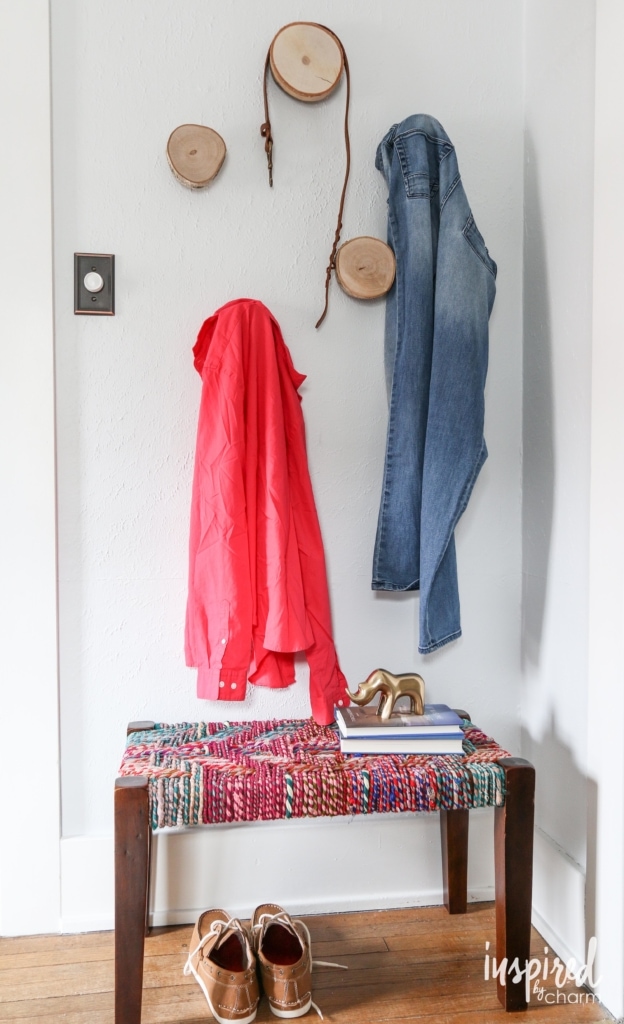
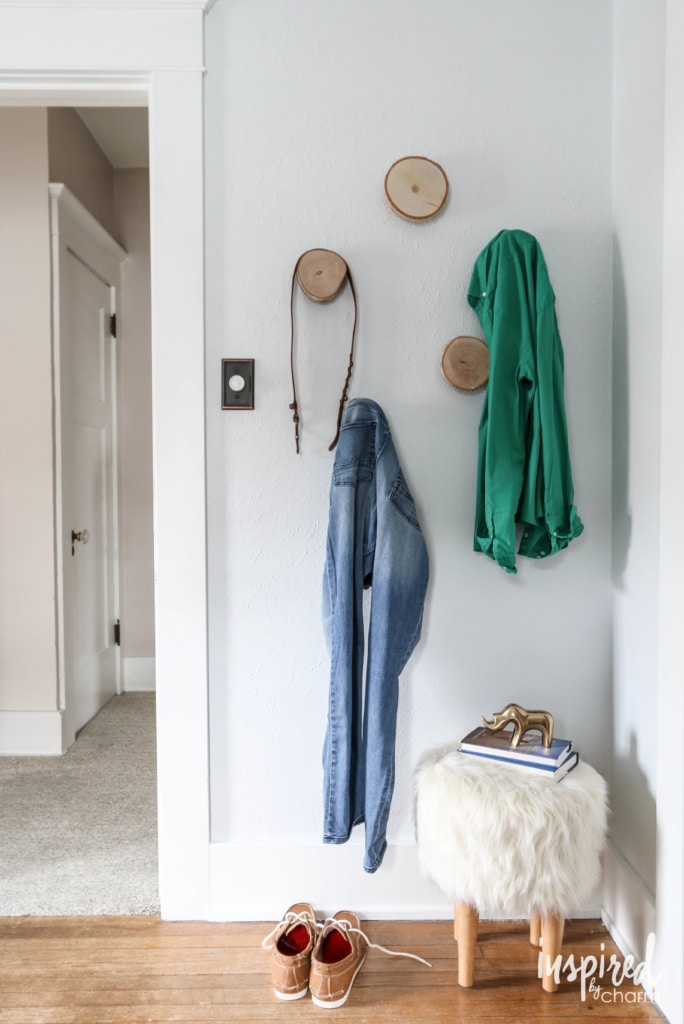
I need a bench of some sort below the hooks. I played around with a few things I had on hand, but nothing seemed to be the right size or color. I’m thinking this stool from Target could work out perfectly.

I hope this will help keep me a little more organized and tidy. Do you have a place in your home that could benefit from some DIY Birch Hooks?
Oh, one more thing. As much as I love these hooks in their natural state, I might paint the face of them. Maybe just some of them? Maybe just half of each face (on a diagonal)? Maybe even gold leaf? I’m not sure. What do you think? Do they need a little something-something or do you like them as they are?
I hope you enjoyed this DIY project. Meet you back here tomorrow.
Excellent post. I love birch and have even made a neat outdoor table using birch 2inch limbs. Your idea for display shelf above bench is inspiring! I have a TV in our bedroom on a white bookshelf that is crying for your display shelves above. Much more interesting than a gallery. Thanks ibc.
Neat. I agree with Leesa, I could tell it was Marilyn Monroe when it was shrunken very easily. So, I was very surprised to see Einstein too. I minored in psychology back in college and this definitely reminds me of some experiments we’d conduct. Thanks so much for sharing this Dr. Deb.
Elizabeth – you are a fabulous example of how to always be professional online, while at the same time providing just enough personal information that people know they want to work with you!
Commento live:a proposito del google bombing a natale 2005 fu fatto partire il primo bombing “umanitario”: si è riusciti a fare in modo (tuttora funziona) che inserendo la parola di ricerca “regali” si venga indirizzati sul sito di unicef italia.
❤️ them in their natural state. Very nice, Michael.
Guns should never be the first answer to a situation. Alarms, lights, dogs should always be your first line for defense. When these fail to prevent an intruder from entering your home, you need something that will stop that person or persons in their tracks. That is why you need a home defense gun.I especially like your advice of going to the range to gain expertise and to store the gun in a safe ma.nrenExcellent blog.
I love them! And I also didn’t know about double-threaded screws, so thanks a ton for that info 🙂
i ABSOLUTELY love this idea….my husband & i have been trying to come up with something for our entry way for coats and could only find ugly hooks….this totally solves our problem! 🙂
Yay! Perfect! Glad you found something that would work.
xo Michael
You are so very clever and have a great design aesthetic…these are truly fabulous! You never cease to amaze me. 🙂
These hooks are the bomb. They are fun wall art when not in use.
Great idea, Michael. I love birch wood and have been wanting a bunch to put inside my not-functional fireplace. I like you idea of using them as hooks. My vote is to do half of each in gold leaf. Anything you do rocks, so whatever! You have the Midas touch!
Love your site and ideas! I say, leave them as they are. If you paint them, you’ve defeated the whole purpose of having ‘the look’ of the natural birch look.
These look amazing. Genius idea!
Looks great and simple enough. I like them au natural but if you need some color in your room I would paint the whole face of 2 or 3 of them.
Very cool! Would you ever write a post about working with plaster and lath walls? I’ve got an older home and tend to fear putting many holes in the plaster. Thanks!