DIY Wood Slice Photo Ornaments
This Post May Contain Affiliate Links. Please Read Our Disclosure PolicyWelcome back to Day 9 of the 12 Days of Christmas!

Today I have a fab holiday-inspired DIY for you: DIY Wood Slice Photo Ornaments!
And, as you probably also know from previous posts here on IBC (like this one, this one, and this one), I’m all about incorporating personal photos into projects and décor. I especially like to do this around the holidays. It’s a great way to reflect on the year, remember special moments, and think about the people we hold dear.
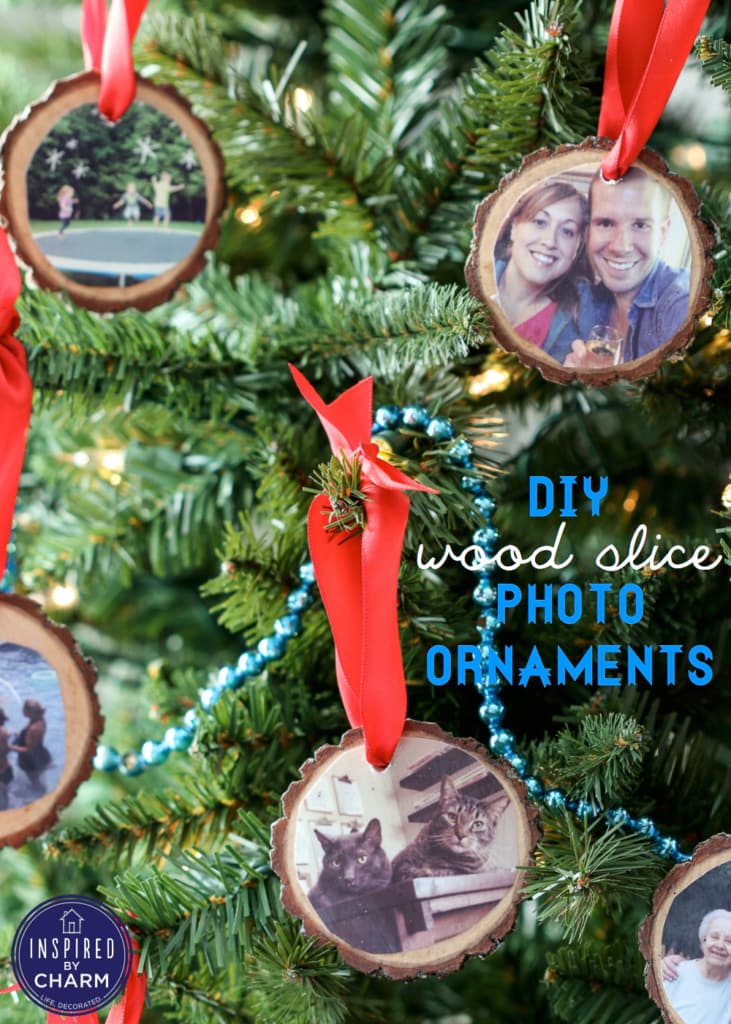
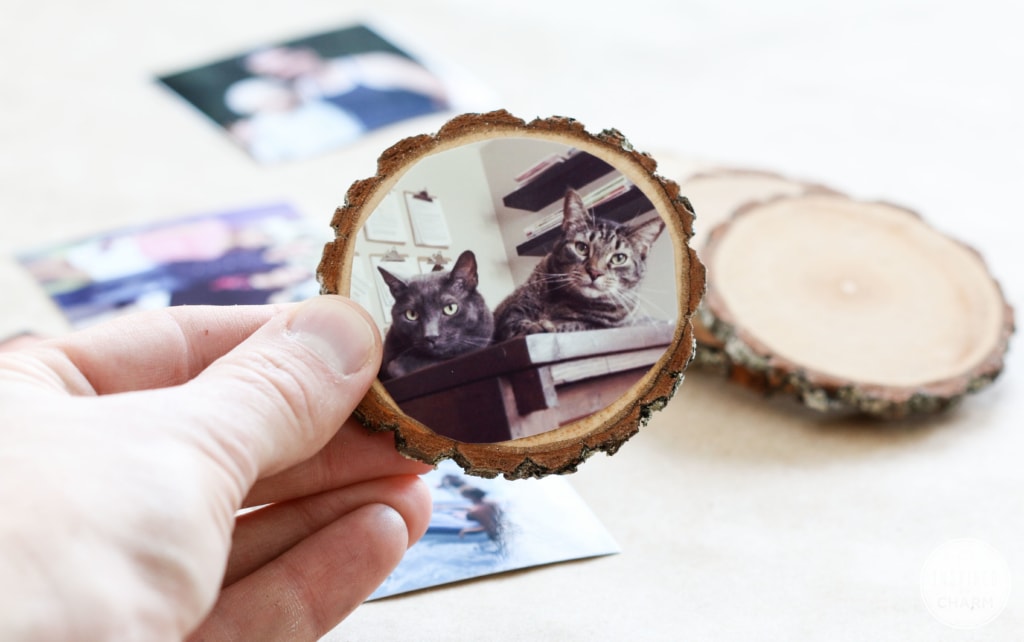
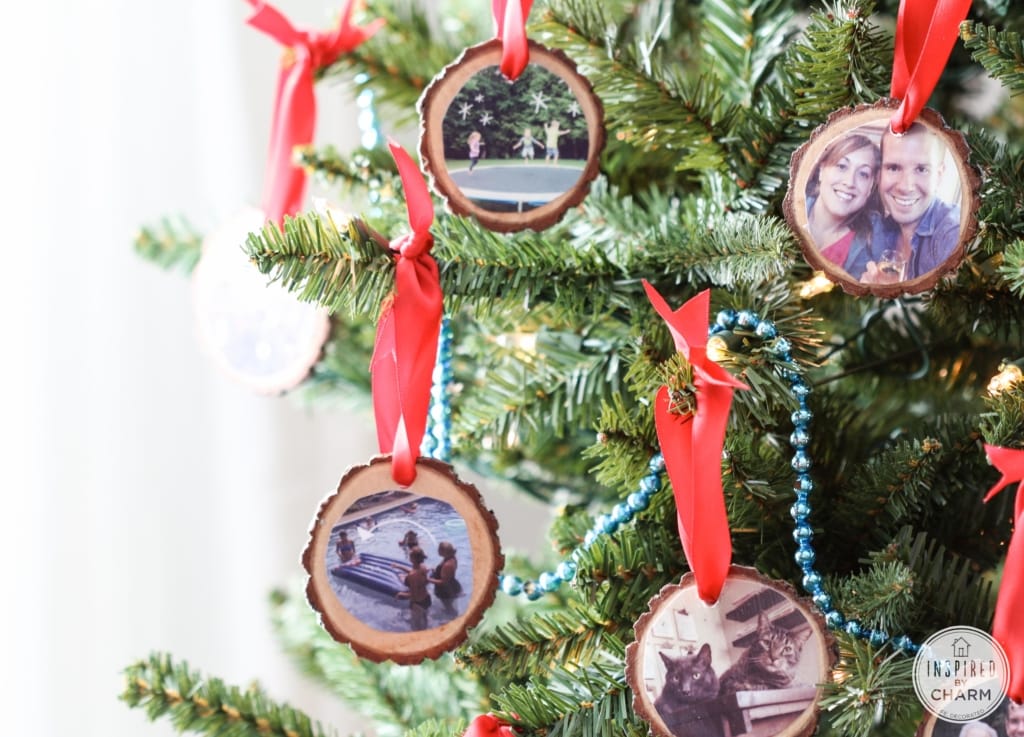
This year I decided to make some photo ornaments using wood slices. Aren’t they fun?
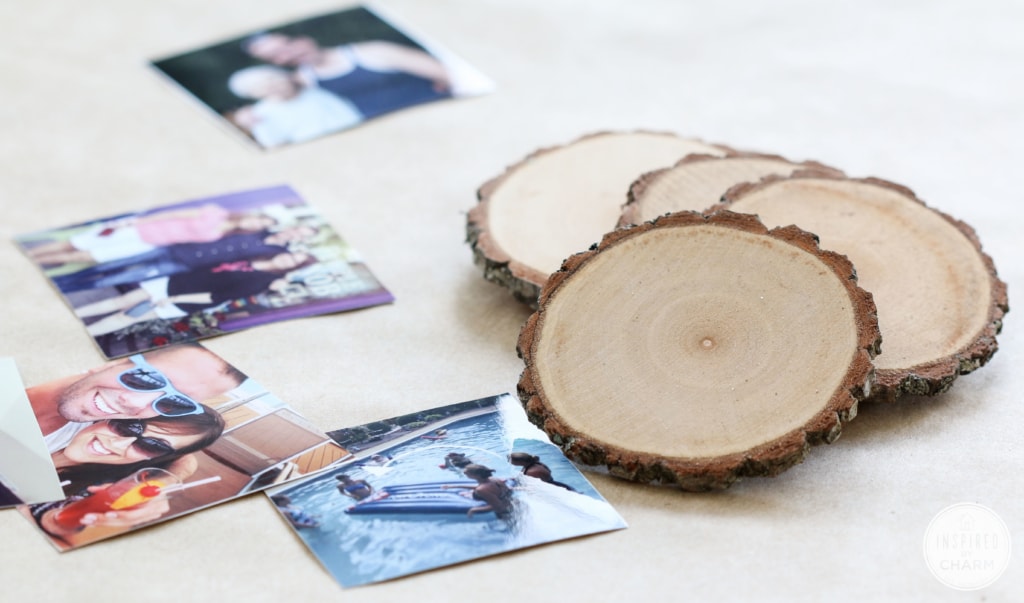
A while back I spotted wood slices on eBay and bought them in hopes they would inspire some project down the road. Thankfully, they did. However, if you’re slightly handy, you can just cut wood slices from a tree branch.
Today I’m going to show you how to make these personalized ornaments.
Here’s what you will need:
Wood slices
Photographs
Mod Podge
Foam brush
Drill and drill bit
Scissors
Ribbon
Pencil
Let’s get crafting!
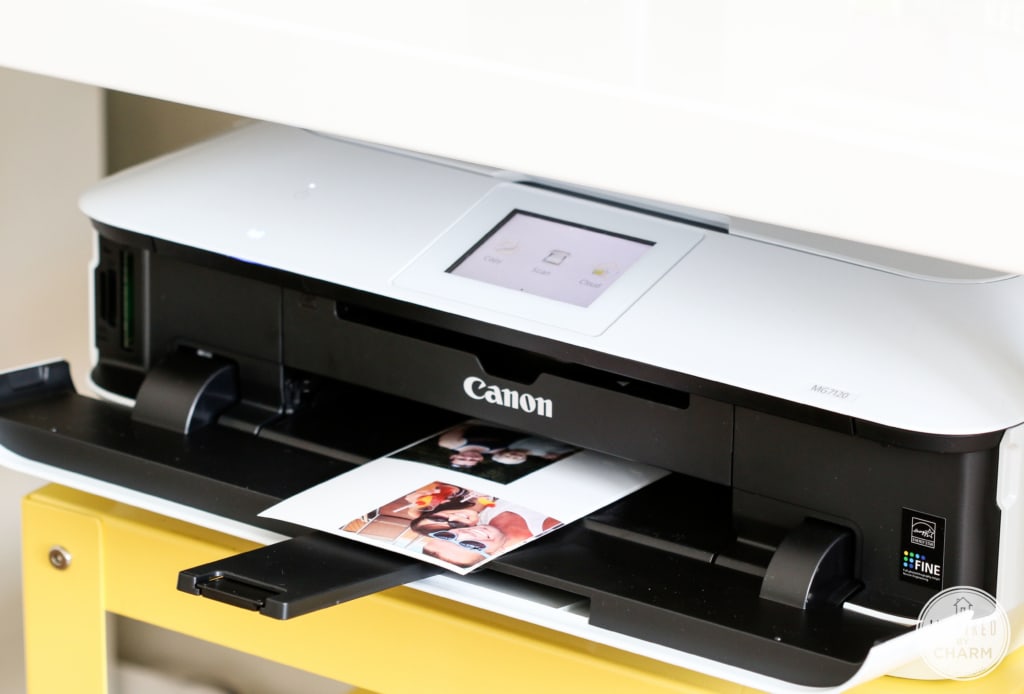
First, get your photographs. I recommend an at home photo printer to print them out, but any photo will do.
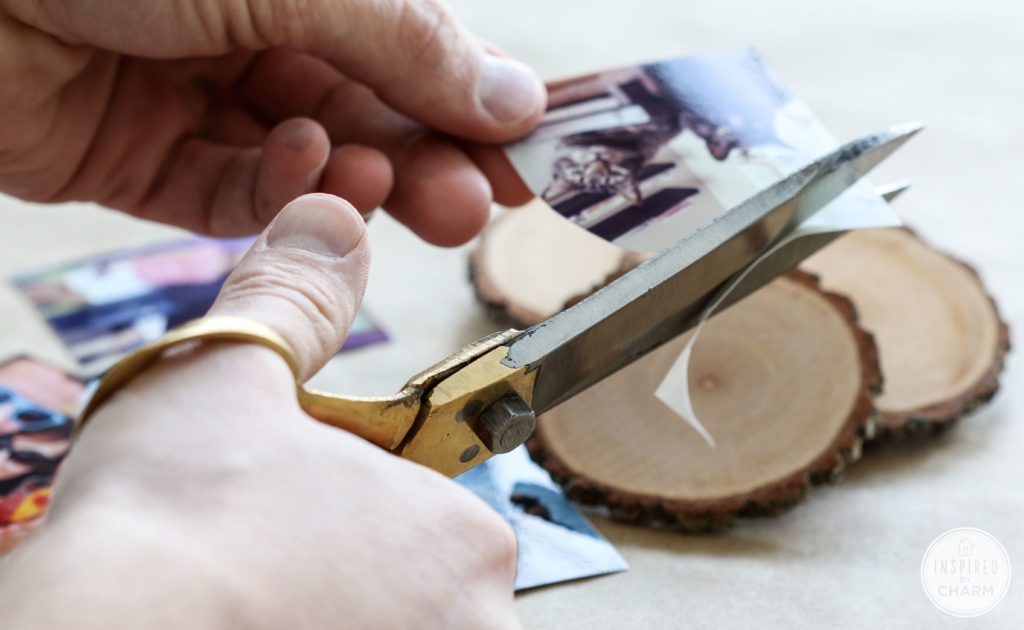
Next, cut the photos to fit your wood slices. I just eyeballed it, but you can use a pencil to trace a circle around your wood slice onto your photo as a guide for cutting.
Once your photo fits nicely on the wood disc, grab your Mod Podge.
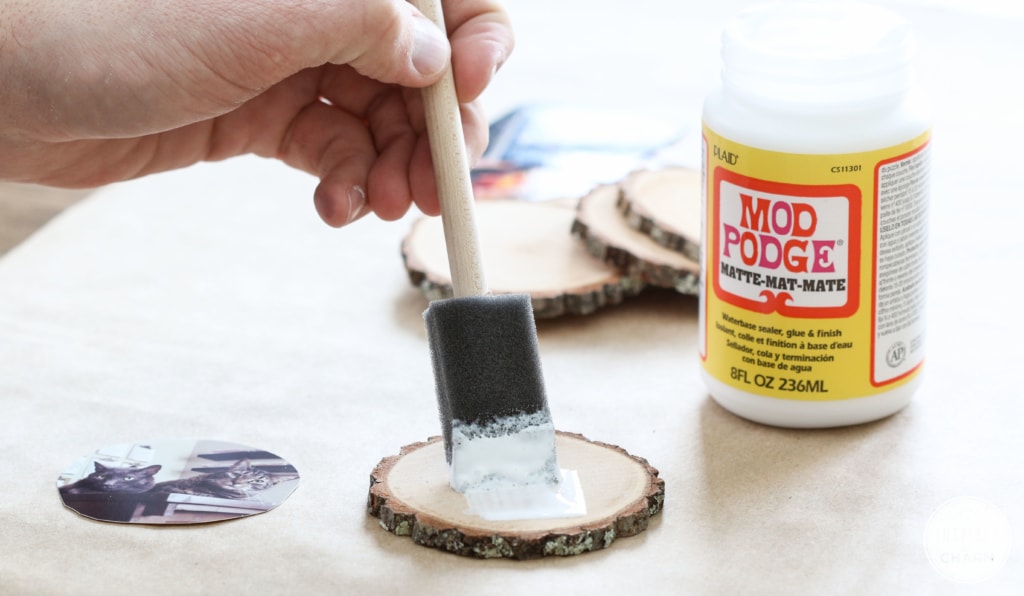
Using a foam brush, apply a layer of Mod Podge on the disc.
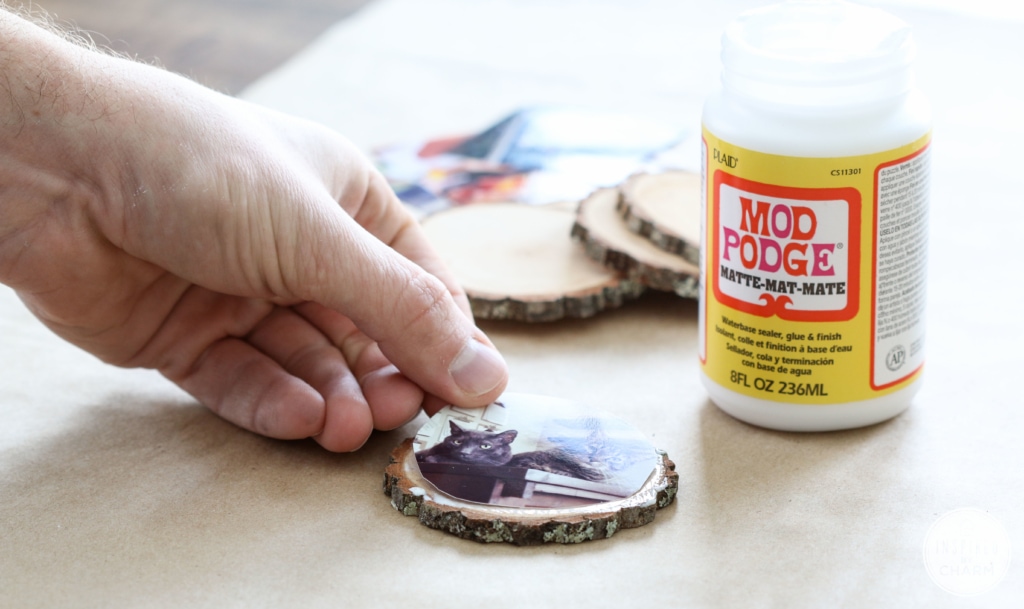
Then, place your picture onto the wood disc.

Once you are happy with the placement, apply another layer of Mod Podge over the picture.
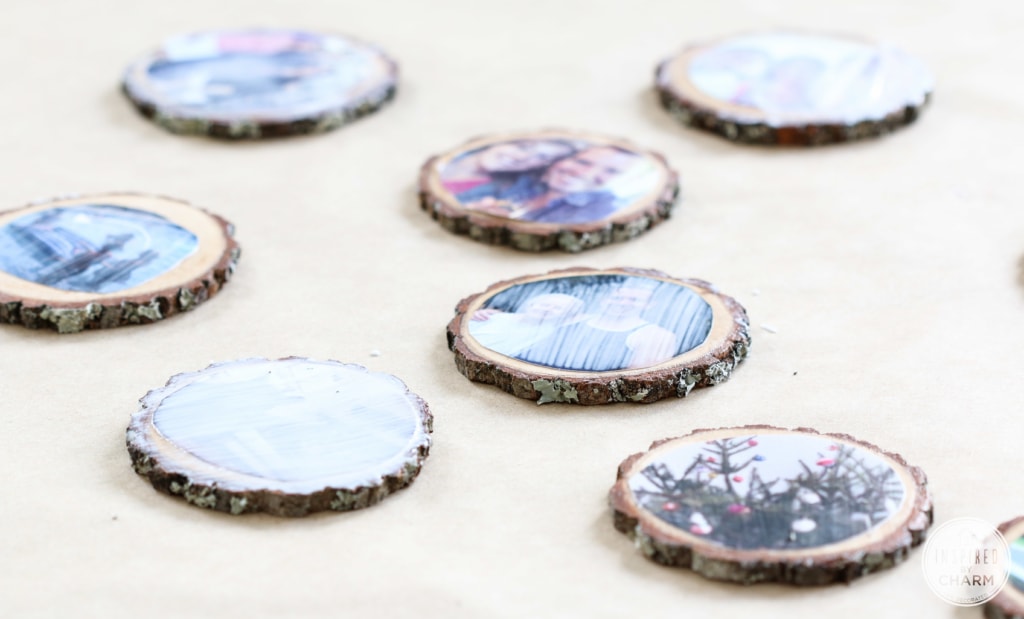
Allow the first layer of Mod Podge to dry; then give it another coat.
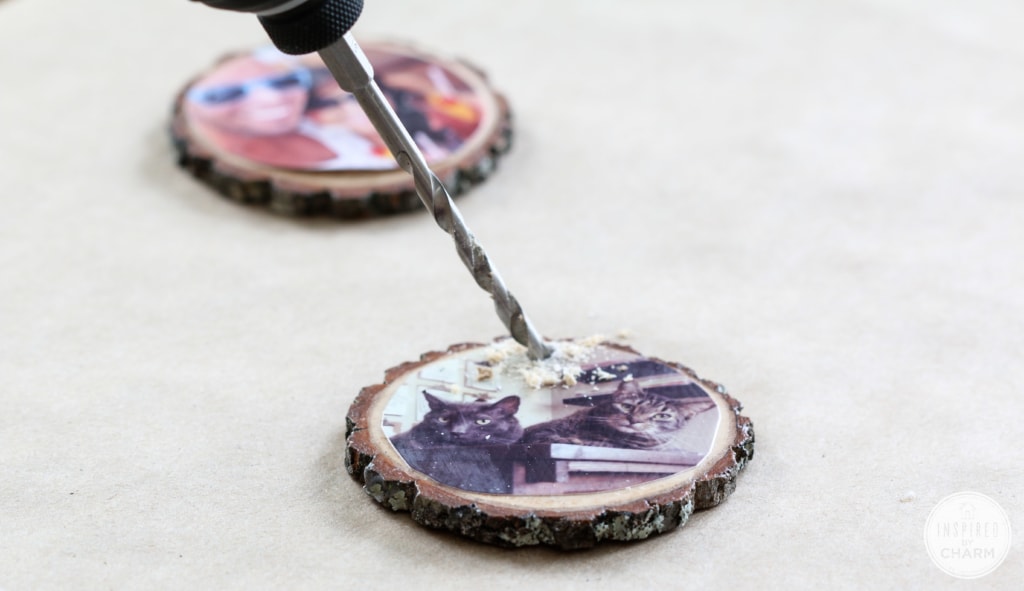
Once your second coat is dry, use your drill to make a hole near the top of your wood disk.
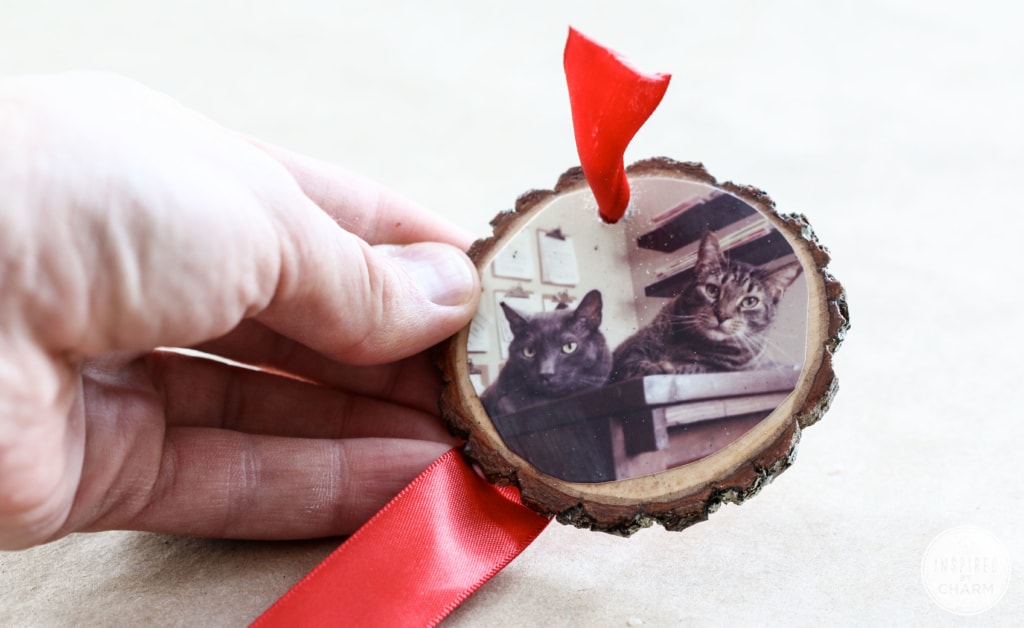
Then slide a piece of ribbon through the hole and tie it in a knot at the top of the ornament.
Voilà!
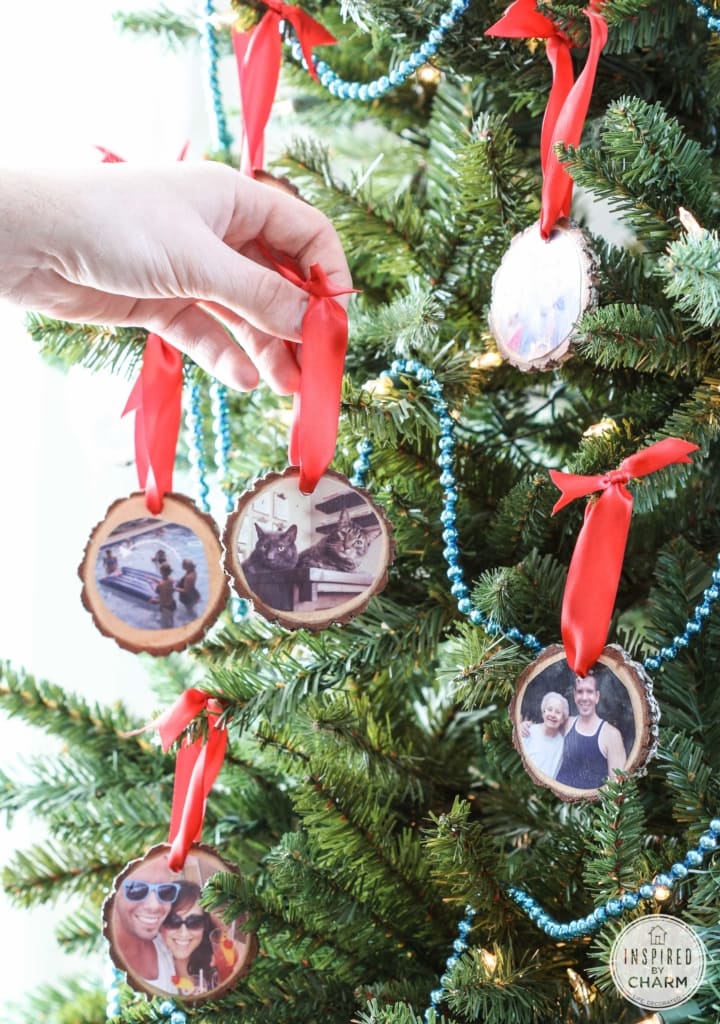
In no time at all, you’ll have a collection of personalized, homemade ornaments for your tree.
What I also love about this project is that these ornaments can double as gift tags.
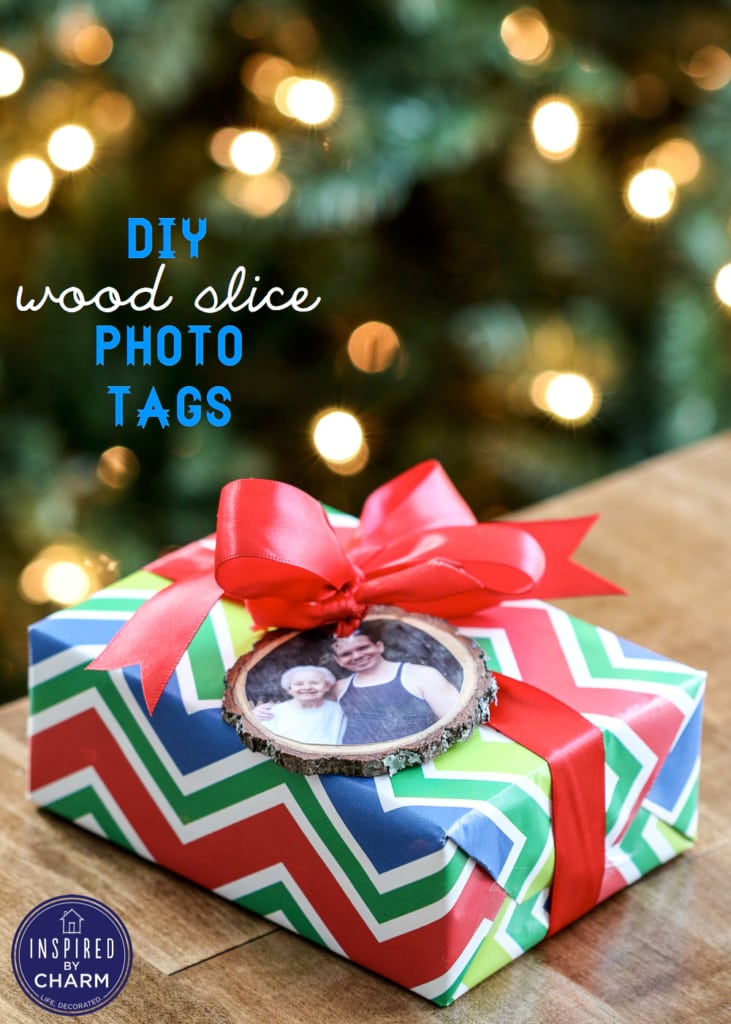
Use the picture of the recipient for the photo and tie the finished ornament onto the package. You’ll quickly know who the gift is for, plus the recipient will then be able to use the tag as an ornament. Who doesn’t love a bonus gift.
Once you have all of the supplies gathered, this project is easy to do. The is also a fun project to involve the kids in. They could make ornaments for their friends or classmates.
I hope you enjoyed this little DIY. What holiday projects do you have planned?

What type of paper did you use to print your pictures?
I made about 15 of these ornaments with real birch wood a week ago. I used glossy mod podge and they turned out good. My husband recommended that we get the wood really dry first to prevent bubbling. We smoked the wood slices on our grill for about 2.5 hours. Unfortunately, the wood shrunk as it dried causing the bark to fall off. I still like them but buying the wood slices seems like the way to go.
I love to make ornaments for family and friends. Love you DIY! Might have to find some wood disc and make a few.
I LOVE THESE! I’M HAVING A PROBLEM THOUGH–AFTER I MOD PODGED THE PHOTO ON THE FRONT OF THE ORNAMENT, A FEW DAYS LATER THE WOOD STARTED CRACKING AND BUBBLING THE IMAGE! IF I DO IT AGAIN, WOULD MOD PODGING THE ENTIRE ORNAMENT WORK(LIKE FRONT, BACK AND BARK)? ANY OTHER SUGGESTIONS?
That’s so strange. Maybe it was the type of paper you used. A thicker paper works best.
xo Michael
Mine have wrinkled and bubbled after just a couple days. I am wondering what is wrong. I am using photos on photo paper, Mod Podge matte, and wood slices.
I’m using real wood from a tree. Do I have to treat the wood first so the glue and picture will stick? Or maybe sanding it first??
Hi, I am wondering what type of wood you used. Would pine tree branches work? Once pine is sliced, do I need to worry about the sap? Thanks…these are super cute! I am trying to make for Christmas gifts for my students.
Tried to make these bc they look amazing & mine didn’t turn out. I am sooo disappointed bc I love yours. My photos wouldn’t stick to the wood slices they kept coming loose. Then after a week the picion them was all wrinkled. Any ideas of what I’m doing wrong? 🙁
I have seen these wood slice type DIY ornaments all around the net lately! lol..Yours look SO great! much better than some I’ve seen haha
Thank you for the chance to win!! I need this printer!!
Happy Holidays!
Joey
I meant to ask you if you email the winner? I see it says “announced at the top of the post”..I’m so scared I’ll forget to come back & look even though I do love your blog & love coming here to visit..my memory is just getting bad lol
Thanks for checking Joey! The winners are always emailed however I often forget to come back and update the post. 🙂 I’m getting better though.
Thanks so much for following along.
xo Michael
Love these! They’re perfect for those extra little somethings I was looking for for my coworkers. Can I ask what size your slices are?
They range from 3 – 4 inches in diameter. Hope that helps.
xo Michael
I have a similar printer by canon and it’s amazinggg. It’s wireless which pretty much makes me as happy as can be.
Really cute and personalized idea! Makes great use of all those pictures we take for Instagram!