Fall Decorating with Vintage Book Pages
This Post May Contain Affiliate Links. Please Read Our Disclosure PolicyFor me, fall is the beginning of the holiday season. It’s the time of year when a house really becomes a home. People move inside and get a little closer. We tend to gather around the table just a bit more. Food really takes center stage and we all put on a few extra pounds to keep our bodies and hearts just a little bit warmer. It’s also the time of year when seasonal decor and decorating is in its prime. It’s when we take time to showcase our joys, style, and personality.
I love seasonal decorating. Just the thought of it literally makes my heart flutter. I can remember years ago when I was just a little kid, some of my favorite memories were picking out pumpkins, bales of straw, and cornstalks and tucking them in the corner of the porch at my childhood home. We’d hang those colorful cardboard cutouts in the windows – a witch in front of a moon or a black cat on a jack-o-lantern.
While I still do a little seasonal decorating, it’s definitely something that has been put on the back burner as life gets busier. Life is so busy anymore, it seems that a lot of holidays and special events are gone before you notice. Do you know what I mean? I remember last year I barely decorated for Christmas. I miss those days when I would spend the day or weekend shopping and decorating with my mom.(Yes, even as a young boy I had a thing for decorating.) They are some of my best and happiest memories. This year I’ve decided to make seasonal decorating fun again. To make more happy decorating memories instead of treating it like a job or a pain in the you-know-what. I want that flutter and excitement in my heart again. So today, I’m making a little ‘happiness pledge’ to MAKE time for the seasonal decorating I loved as a child – and enjoy every minute of it! Who’s with me?
I shared this post last week via The Idea Room. With my new proclamation, I thought it would be the perfect time to share it here on IBC. I hope you enjoy it again or for the first time. Let’s decorate!
…………………………………..
Today I have twelve mini-projects to share with you. Yep, twelve! Old books and old book pages are popping up everywhere in blogland and the craft world. So I decided to take this idea and give it a festive twist. If you remember, last week I shared all of these idea with my blogger pal Amy of The Idea Room. I felt it was such a fun and easy project, that I wanted to share it here as well.
To get started, I picked up a couple old books at a local thrift shop. (Book lovers, cover your eyes.) I tore out a few pages from the books and then grabbed my laptop. I hit up one of my favorite clip art galleries, The Graphics Fairy, and downloaded all the Halloween-related images.
Using two small pieces of double stick tape, I attached one book page to the center of a piece of standard card stock.
Using the word processing program on my computer, I selected one of the clip art images and printed it on the book page taped to the card stock.
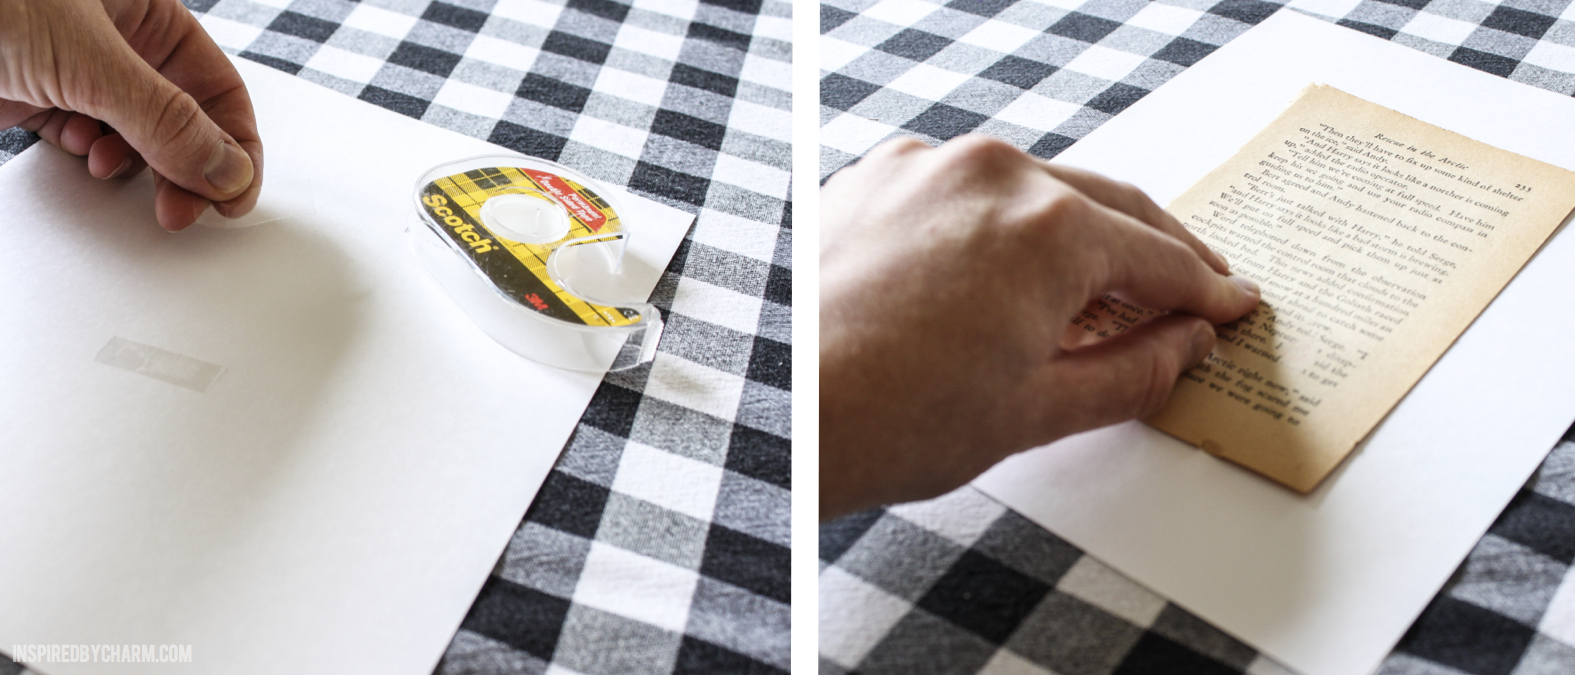
Simple as that! I repeated those steps for all my images. With a stack of embellished book pages in hand, I started to get crafty. Let’s get going!
No. 1: Place Cards
Just add a name in your word processor before printing your page (or write it in later) and then cut to fit.


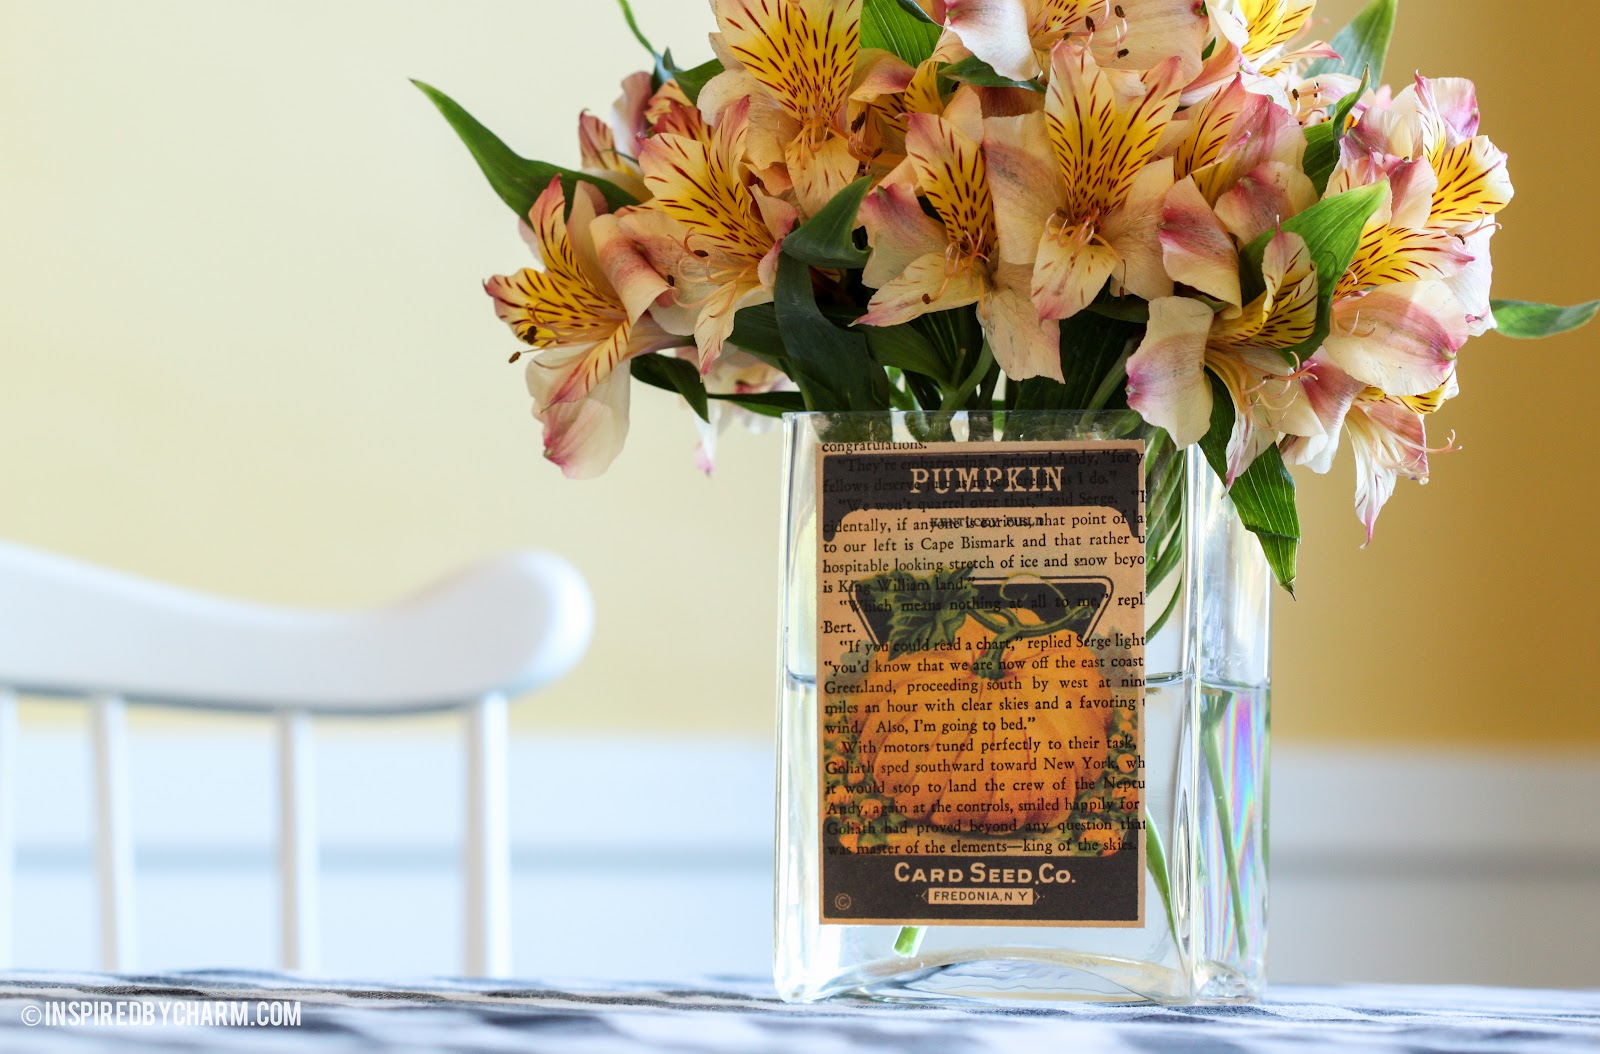
No. 2: Vase Update
I have this great rectangular vase that was begging to be jazzed up. I just cut around the printed image and attached it to the vase with double stick tape.

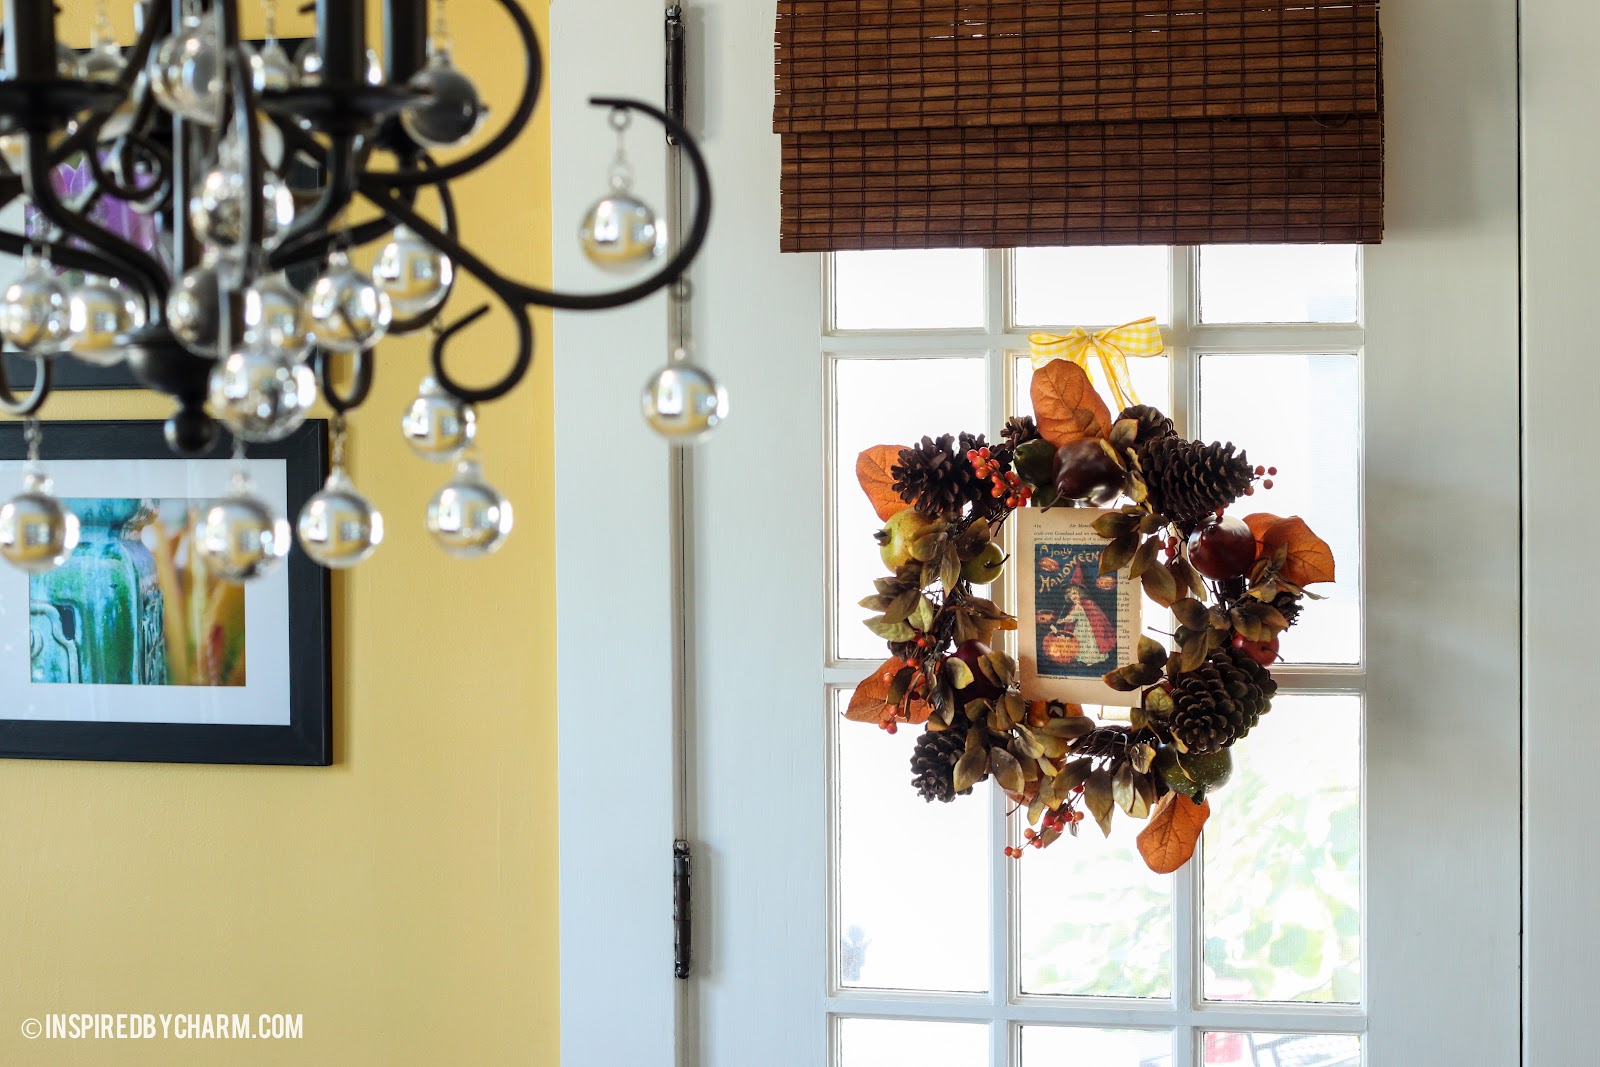
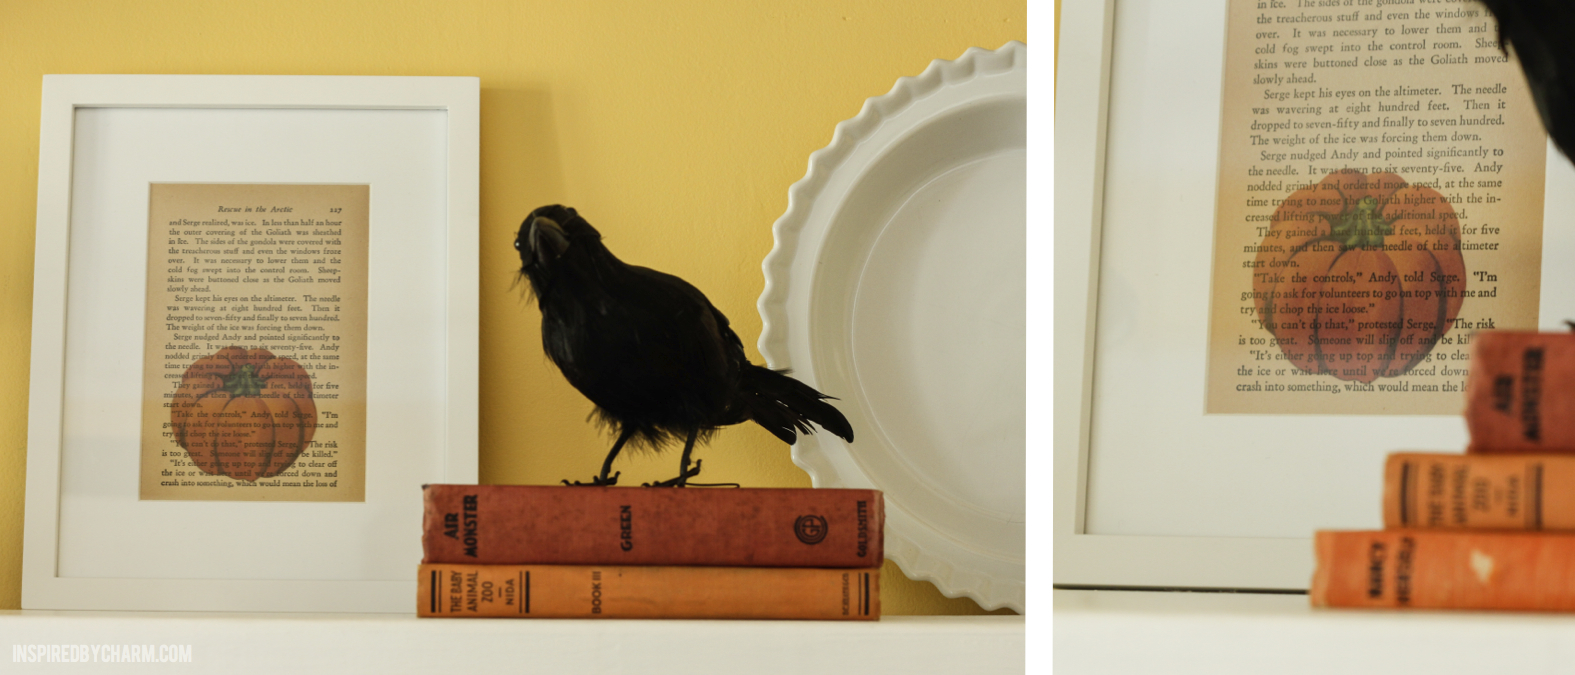
No. 3: Wall Décor Accent
I have a display of plates and mirrors in my dinning room. I simply tucked in a few of the book pages for a spooky new look! This could be done to anything hanging, be it a frame, mirror, or other wall decoration.


No. 4: Decorative Jar Candle
Have a simple looking candle? Wrap it with an embellished book page. After cutting out the image, I attached it with double stick tape.

No. 5: Vintage Wreath
This one is a piece of cake. Just tuck a printed page into your favorite wreath for an instant vintage touch.

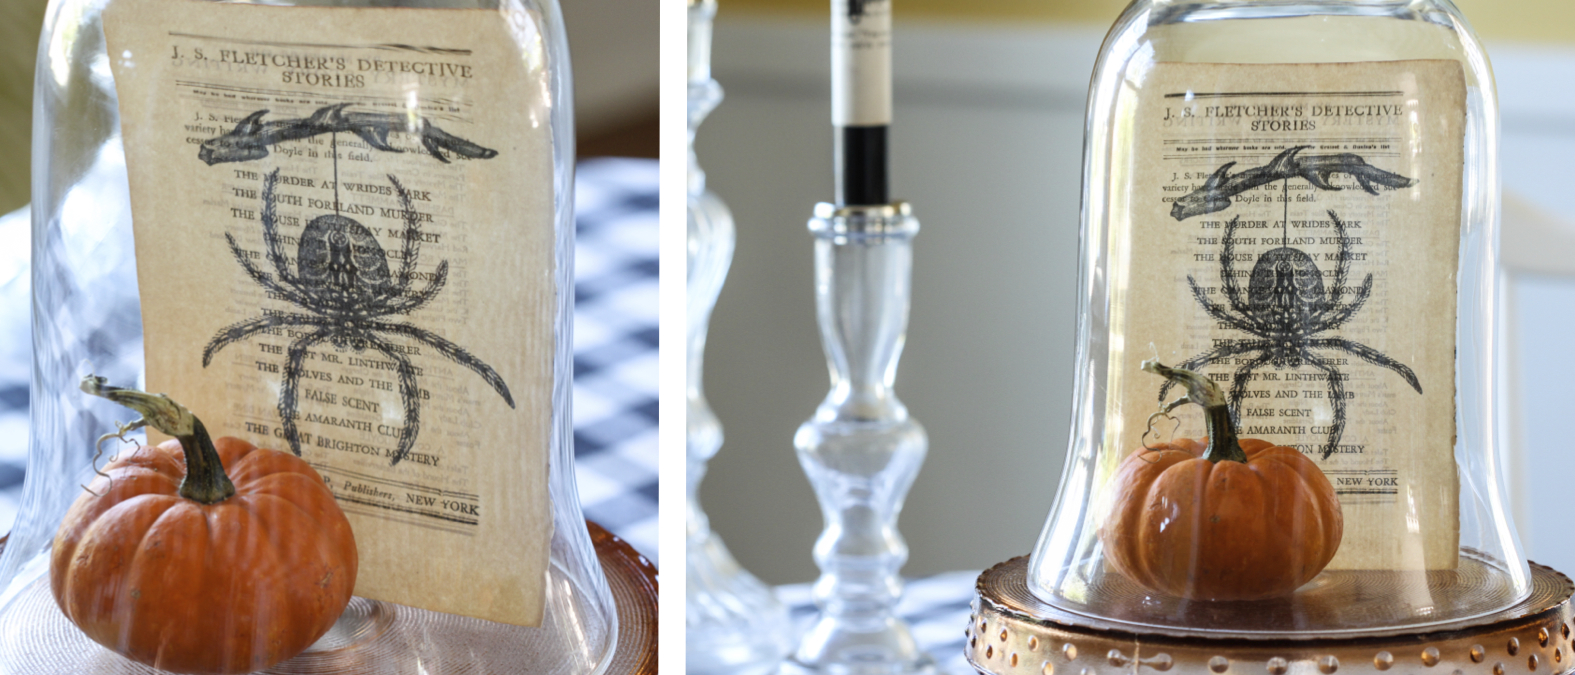
No. 6: Put a Cloche on It!
Slide a mini-pumpkin and one of the pages under a cloche. Anything under a cloche always looks special and important.

No. 7: Candle Wrap
Trim the page so there is just enough to wrap around the candle. I used double stick tape to affix the page. Being tall and skinny, the skeleton key graphic worked perfectly. Use caution if you do decide to light these as old paper and flames don’t really go well together.


No. 8. Jazz up Your Jam
I thought the paper would rip on this one, but it couldn’t have worked better! Cut a square out of your paper with your image centered. Place it on top of your jar lid and screw on the top. I then added a fun label to make the presentation even more special. In case you were wondering, that’s peach jam.

No. 9: Art Swap
This is another easy one. Swap out a piece of artwork for one of the pages, or add it on top of a piece of artwork that may be a little larger than the printed page.
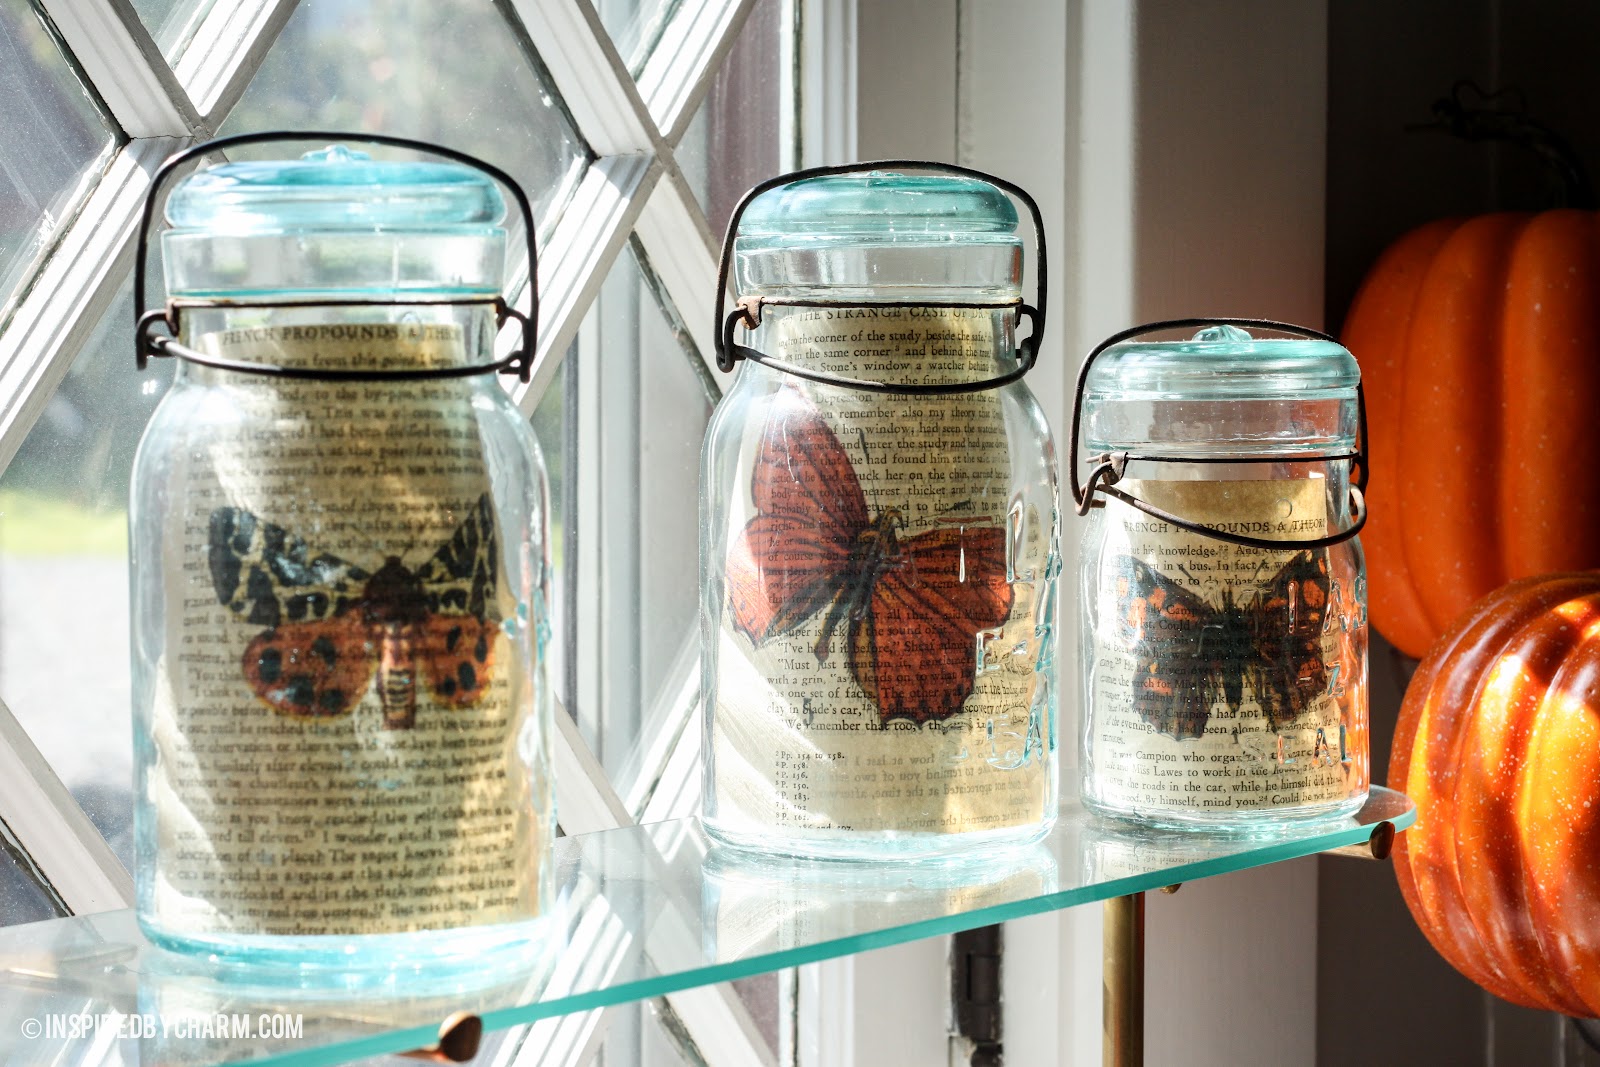
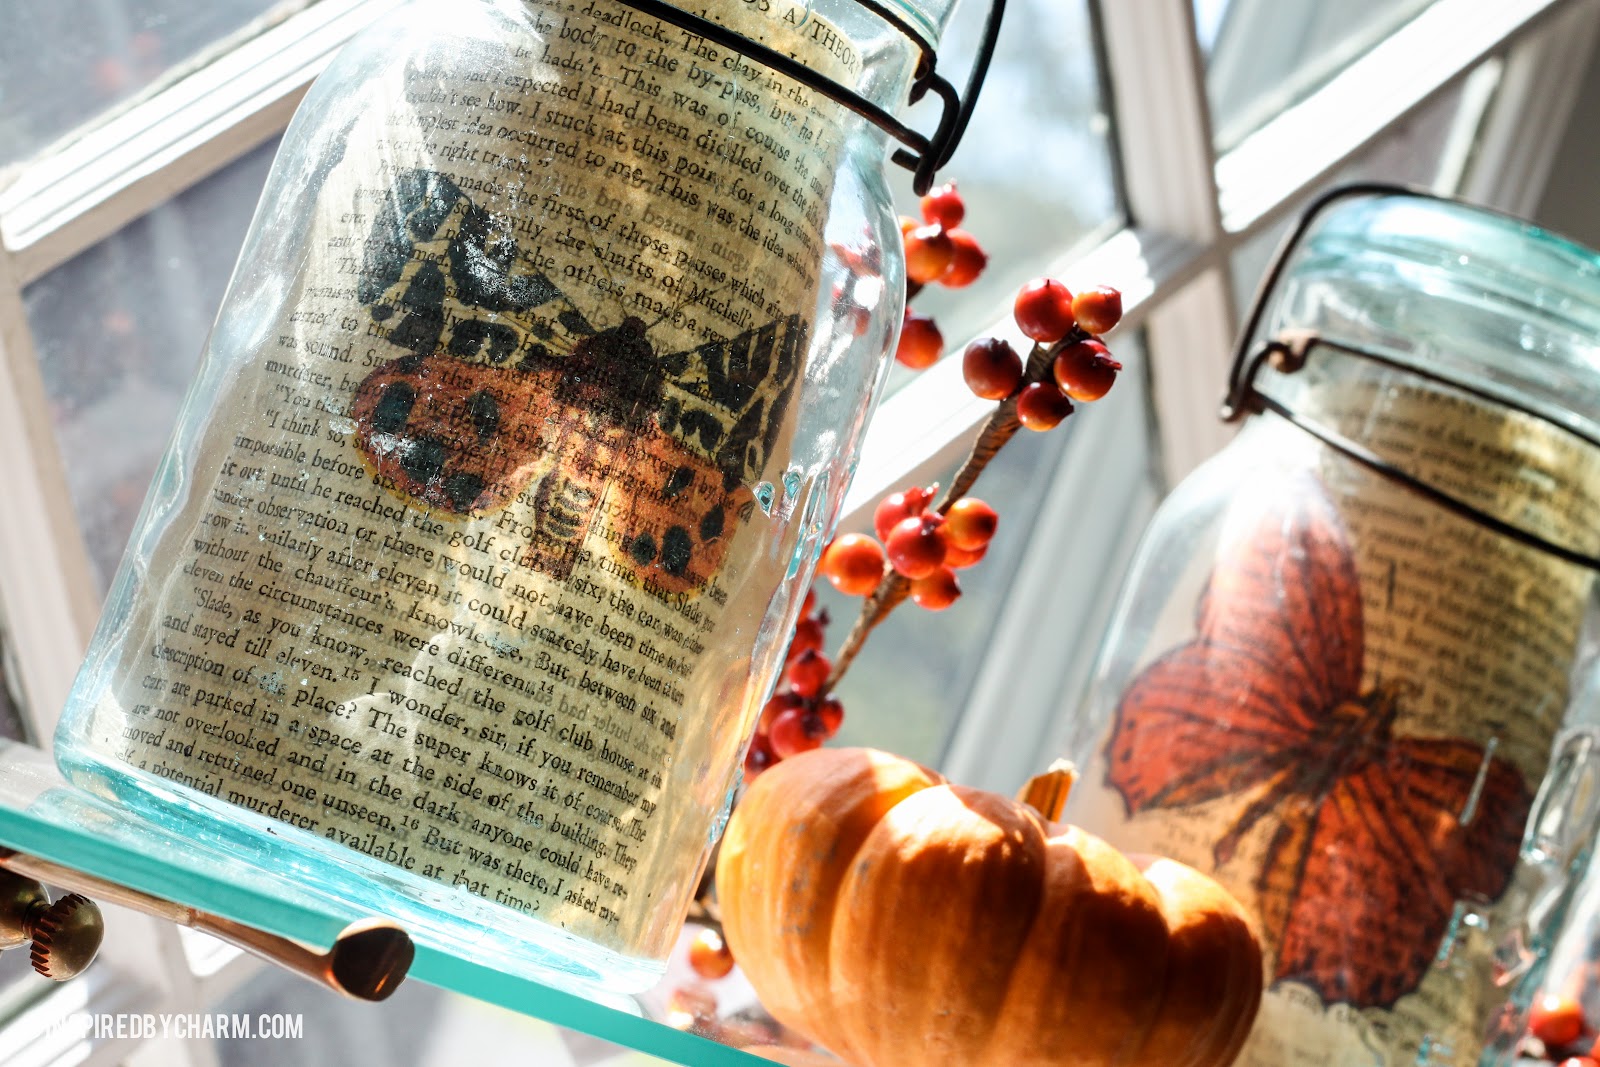
No. 10: Specimen Jars
These vintage mason jars are always coming in handy for me. After I printed the orange and black butterflies, I trimmed the pages to size and tucked them into the jars. These would look great all year long.
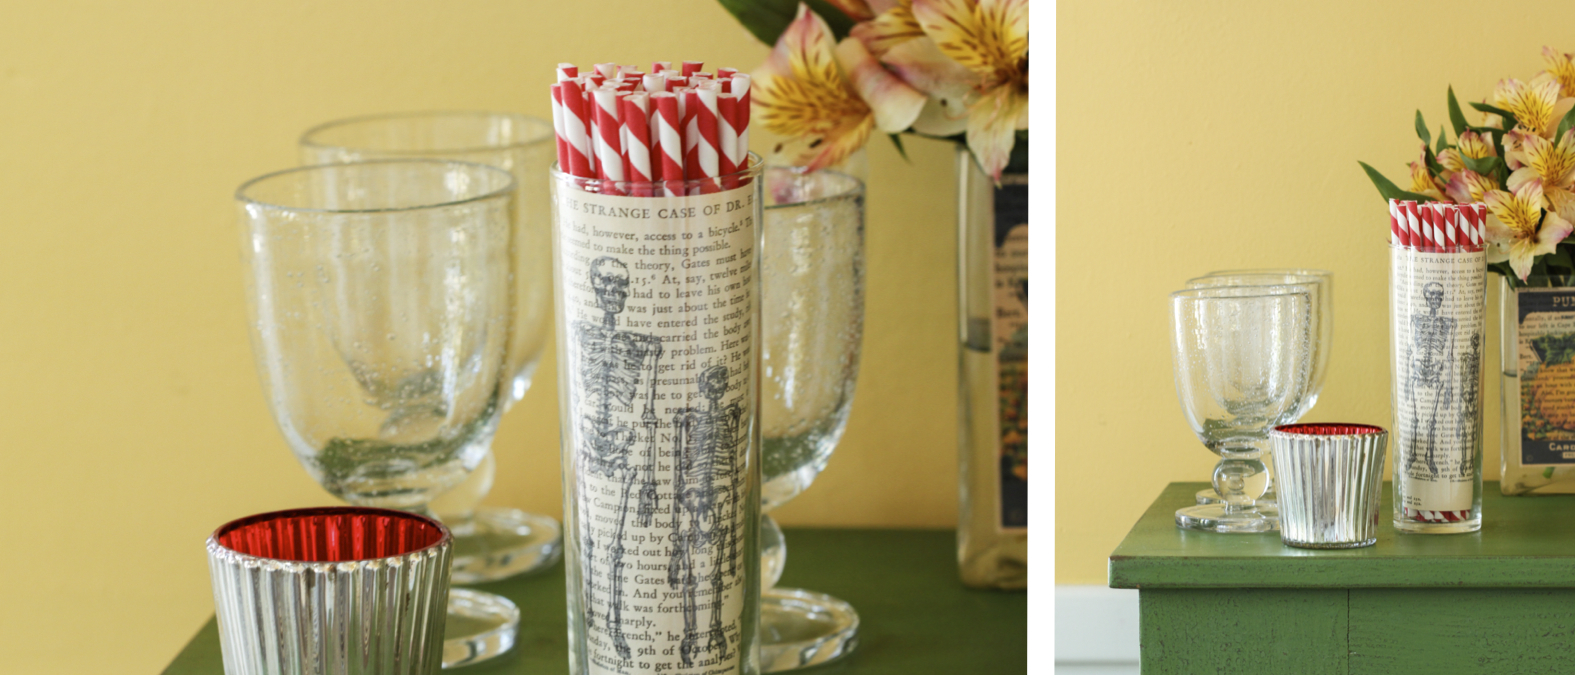
No. 11: Boring to Bold
It’s all in the details! Take a boring glass of striped drinking straws over-the-top by sliding in a page printed with skeletons. It doesn’t get any easier than this!
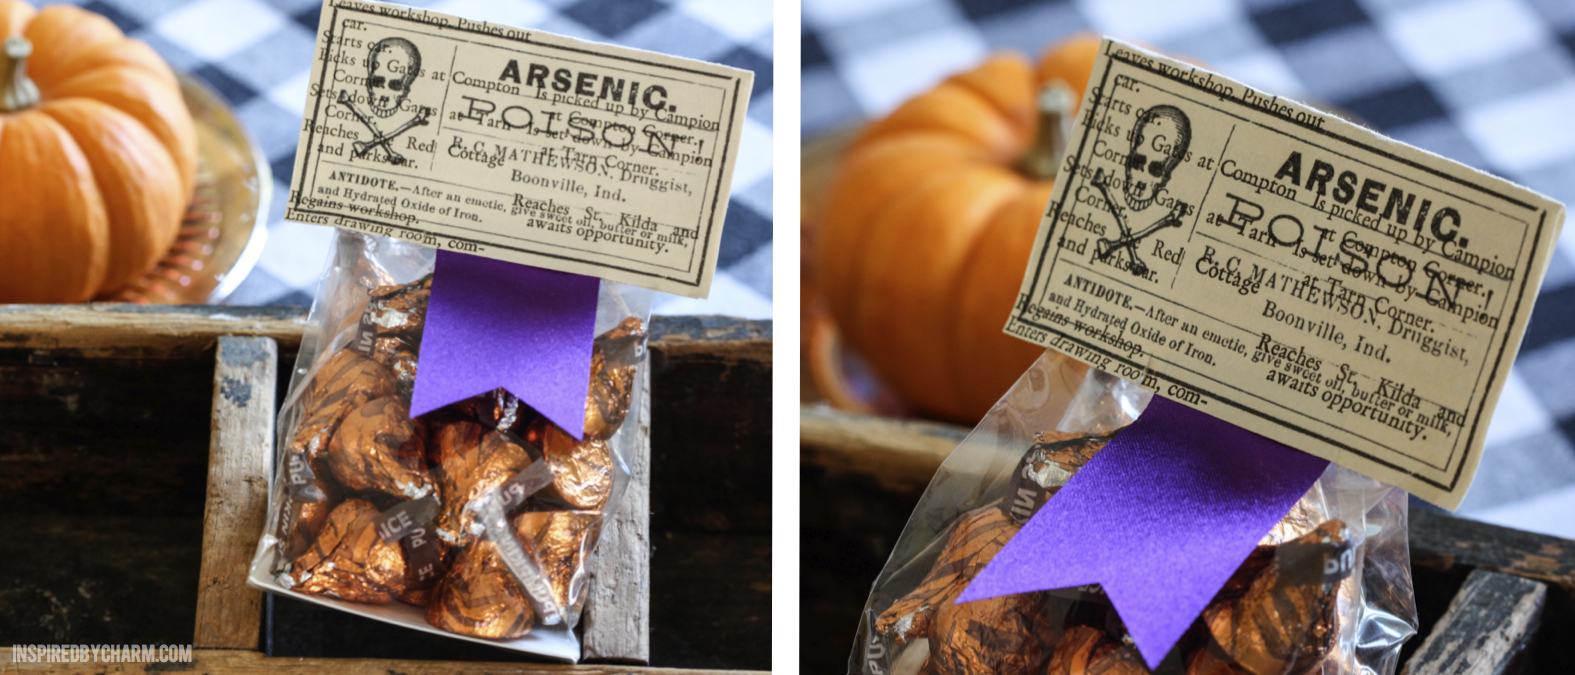
No. 12: Goodie Bags
Last but not least, turn an old book page into a fun label for treats. I folded my page in half at the top of the label and cut it out, making sure not to cut the fold. Again, using double stick tape on both sides of the interior of my label, I attached it to a bag full of yummy pumpkin kisses.
That’s it! Simple, but totally fabulous and unexpected. It really is all about the details. I hope you can use some of these ideas for your Halloween and fall decorating. What other ideas do you have for embellished book pages?
Love these! Michael, where do you find all the book pages…e.g. the pumpkin card one
The book pages are from an old book. I used my printer to add the fall / halloween graphics. The graphics were found in various places online.
Hope that helps!
xo Michael
I am loving your creativity! Thanks for all the great ideas. I have to ask – and I have to know – where did you get those white-rimmed round mirrors on your dining room wall?
Lots of great ideas!
Love your ideas, Michael! I would be inclined to use these for art in a home library as well. The old key print in particular.
I love very one of them! So creative and you are right, unexpected!
Great ideas, Michael. I especially love the toppers for jars. How festive your home looks and what fun for your guests.
Halloween is such a fun holiday for children AND adults.
Michael I love these ideas! I’m going right now to make some prints! Thank you!
Susan
homeroad
I’m so glad you decided to share these ideas here on your blog because I totally missed them on the Idea Room!! Wow!! I love all of these ideas!! So cute!! I think my favorites are the framed art work & the vase!!
Thanks so much for sharing your creative ideas with us Michael!! Hope you have a great weekend!!
Wow! What wonderful ideas, Michael. I Love them! Thanks for sharing and have a wonderful weekend!
sandraallen260@centurytel.net
Awesome ideas! I love the creative ways you have used the book pages. So clever and festive. =)
wow, so many great ideas! you’ve inspired me!! is this your inn? it’s a beautiful backdrop!!
Thanks for the great post! I always loved holiday decorating as a kid too, and sadly as an adult I often look at it as a chore. I was going into it half-heartedly again this year but after reading your post, I’m going to stop being a holiday decorating grump! Thank you for helping me change my outlook:)
—
A person essentially help to make seriously articles I might state. That is the very first time I frequented your web page and to this point? I surprised with the research you made to make this actual publish amazing. Fantastic job!
I just love all these ideas you shared! Now the wheels are turning for me to create!
Smiles,
Carol